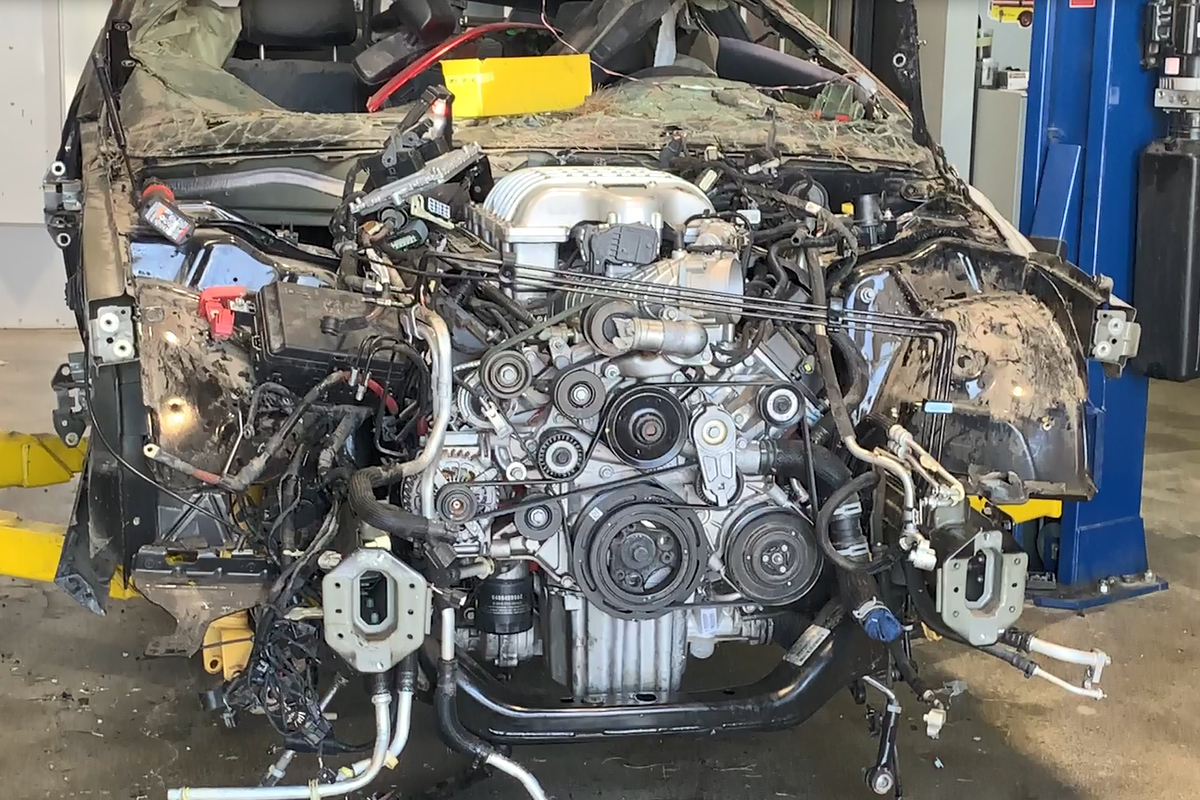
If you’ve ever seen a car that’s been rolled over, then you know that along with each tumble the car will pick up a collection of whatever is beneath it, and take it along for each subsequent roll. Even with the tight engine compartments we see in modern cars, much of what is getting picked up lands all around the engine, and it gets into crevices that are difficult to clean out without removing some parts first. This Hellcat was no different, and we had a long journey ahead of us.
Part of the reason it took a longer than expected timeframe to receive our engine was because the original deal included removing the entire drivetrain, as well as multiple interior components. And because of that deal – which we constantly had to remind the seller about – our project was conveniently put on the back burner because he had “other customers whose cars needed to be done.” We had to remind him, on several occasions, that he wasn’t doing all that work for us for free – we were a customer as well, and one who had paid him already, in full.
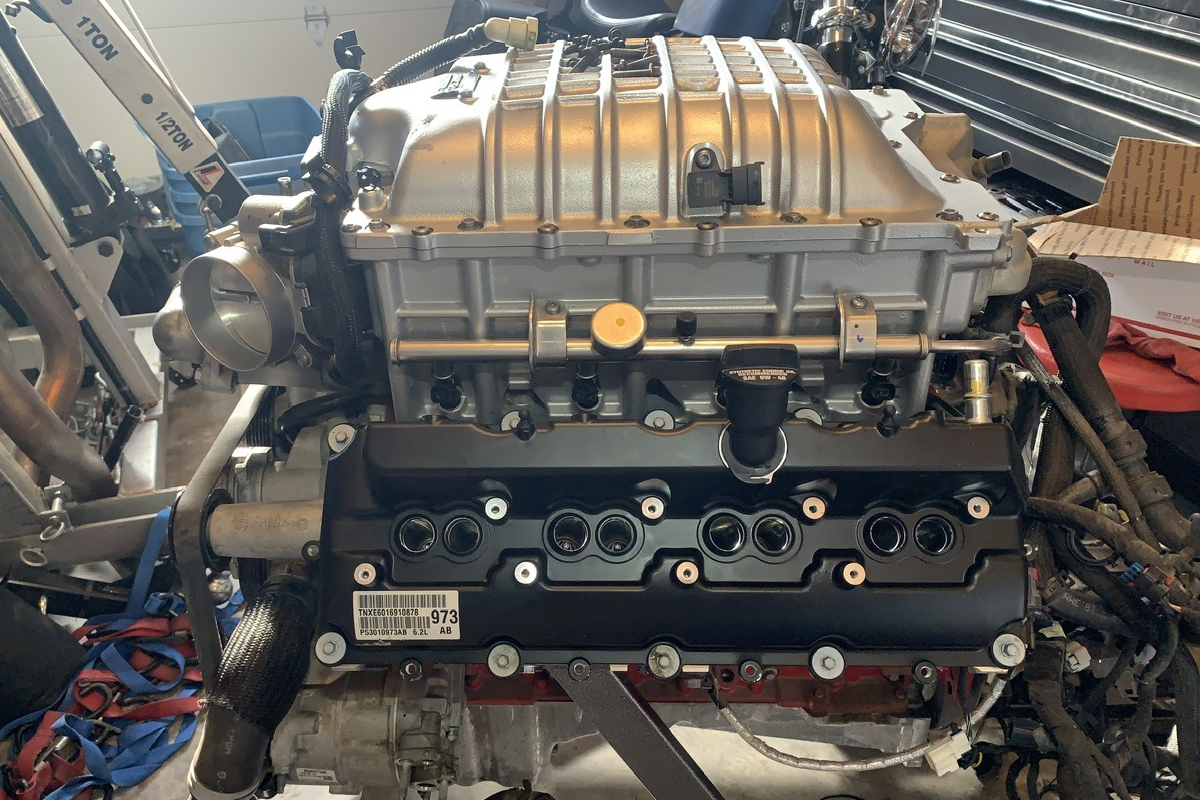
We had done our research into what was available for a Gen 3 Hemi engine – and a Hellcat engine specifically – and there’s not really much out there, yet. For pulling the engine from the car, it was much easier to detach the engine subframe from underneath and raise the body, due to the tight confines of the engine compartment. To lift the engine, we found a set of Schwartz Performance lifting brackets that work for all current Gen 3 Hemi engines, including the Hellcat. They’re stout pieces that bolt to the cylinder heads, with convenient cutouts for valve cover clearance. These brackets will set you back about $180. These lifting brackets will facilitate engine installation into a classic musclecar like ours.
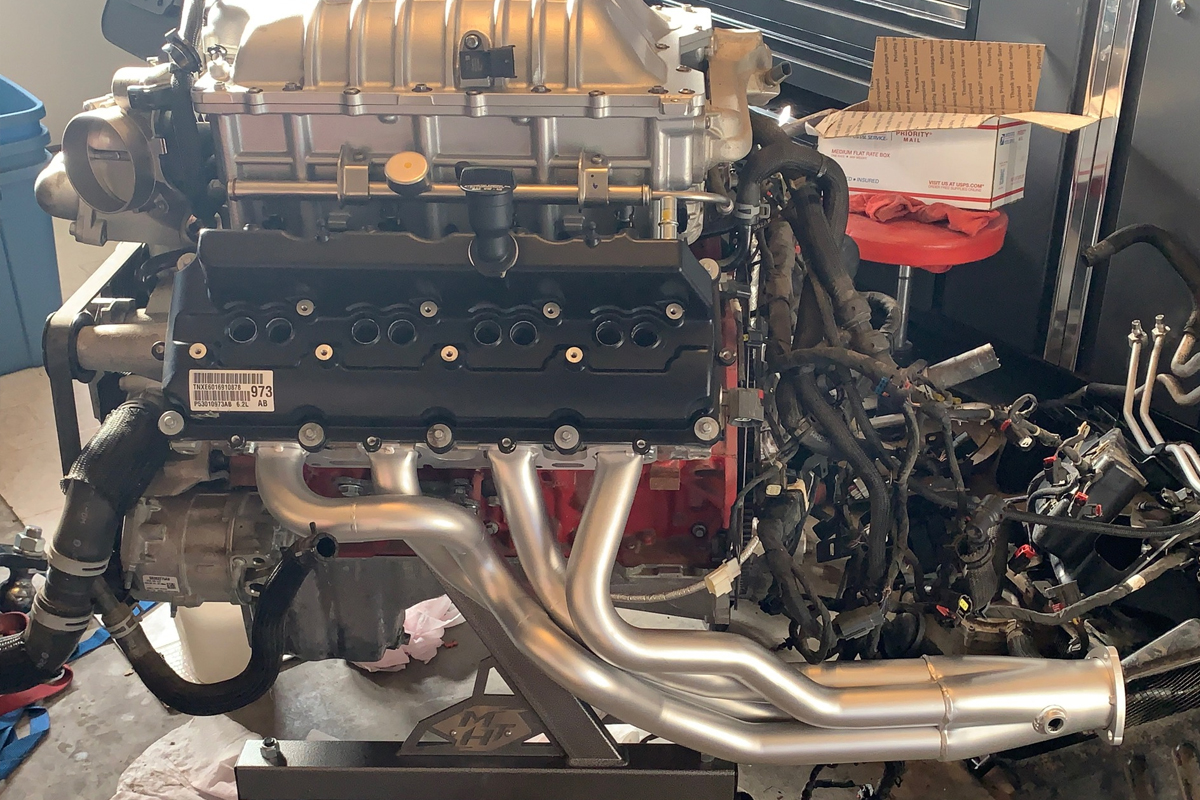
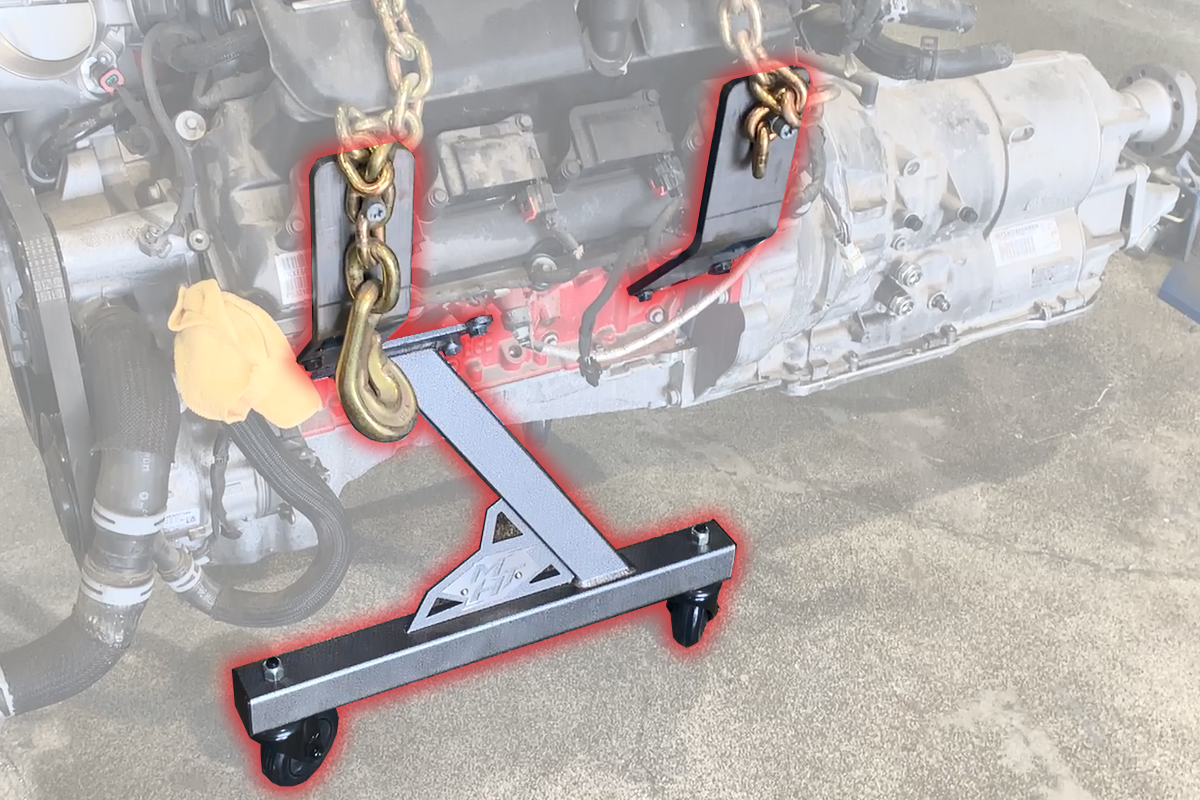
The traditional type of engine stand that most of us have used isn’t listed, but we know that the Gen 3 transmission bolt pattern is essentially the same as a small-block Mopar. We have two types of engine stands for the 360 that was in the car, but neither of those will do what the Motor Head Techniques engine stand will do: allow for both header and transmission to be attached while the engine is on the stand.
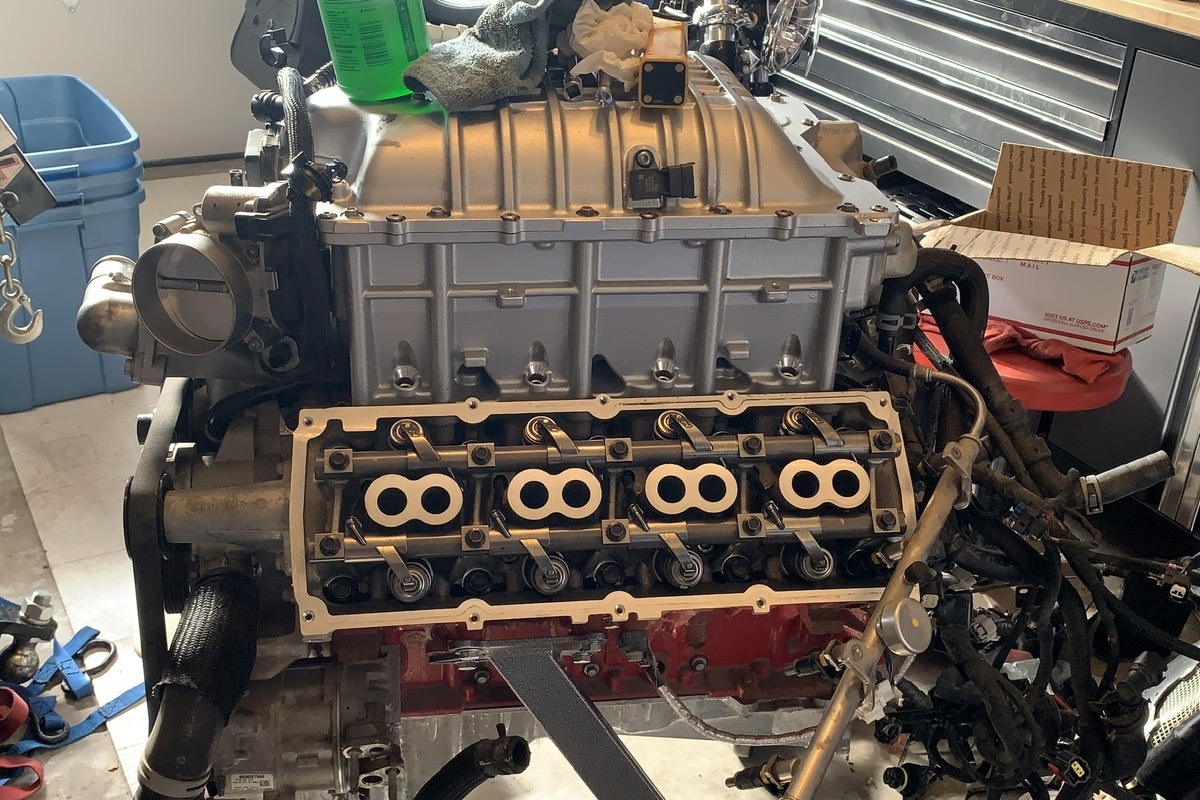
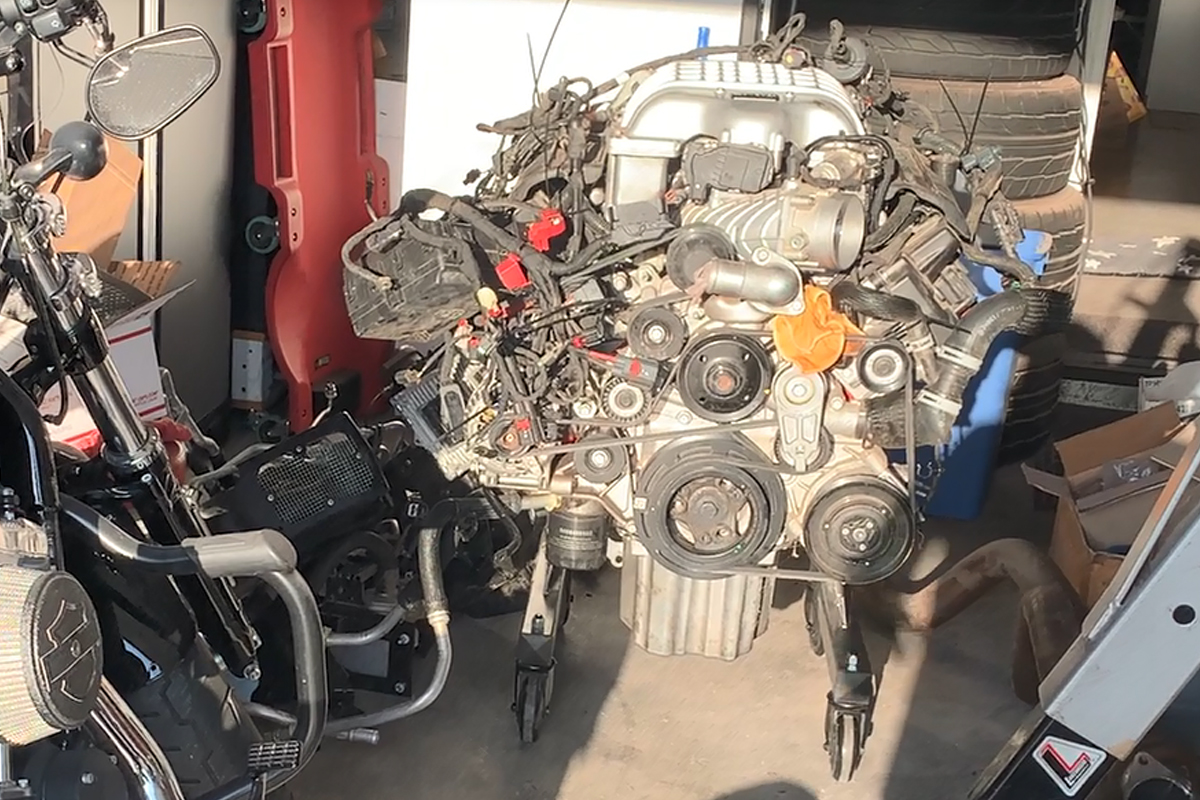
The MHT engine stand, as you can see in the photo above, is more than capable of supporting the weight of the Hellcat along with the 8-speed 8HP90 transmission. The engine stand bolts to the engine mount location with just four bolts on each side, which allows us to test-tit some of the components we will be showing you in future articles. The stand also includes large rubber casters that make it a breeze to move this behemoth around in the garage. This stand will set you back just $229, and includes the hardware.
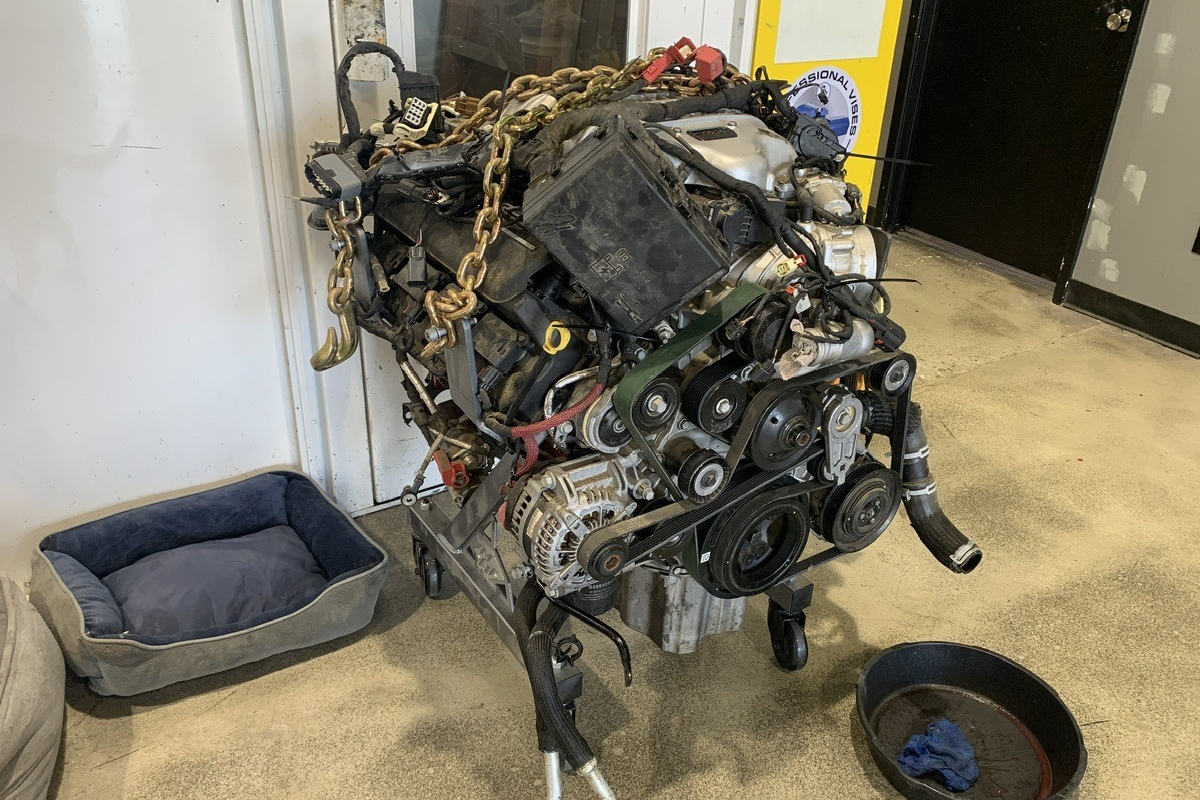
With the engine finally out of the car, and the nod for us to come and pick it up, we were ecstatic about getting it home and starting on the long process of our build. The first thing we had to do, however, was to remove OE harness and give our cat a bath, because there was a lot of dust and dirt all over it. We picked the engine up and took it home, and it basically came off without a hitch. We were about at our limit with the engine hoist; we had it maxed out on the height to reach into the box of our lifted RAM 1500. To facilitate that process, we backed the front tires up on ramps, angling the rear of the truck down just enough to clear the tailgate and roll the engine into the garage.
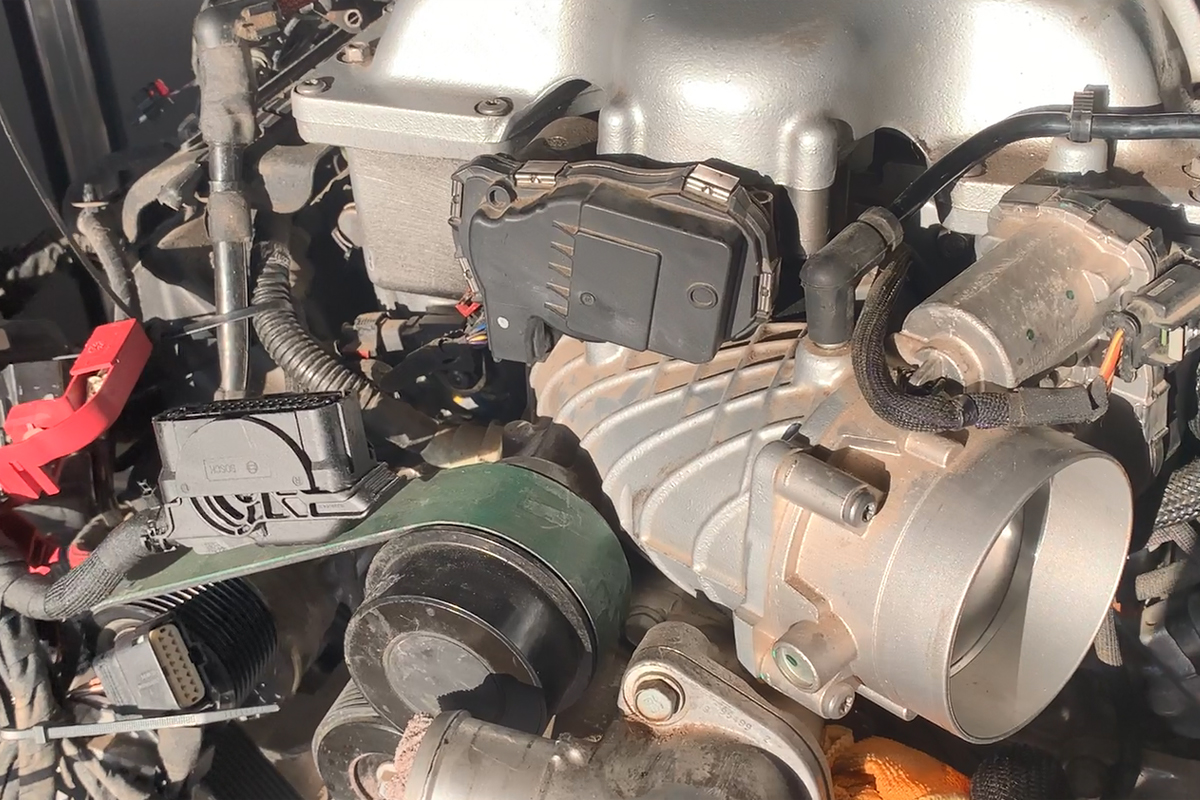
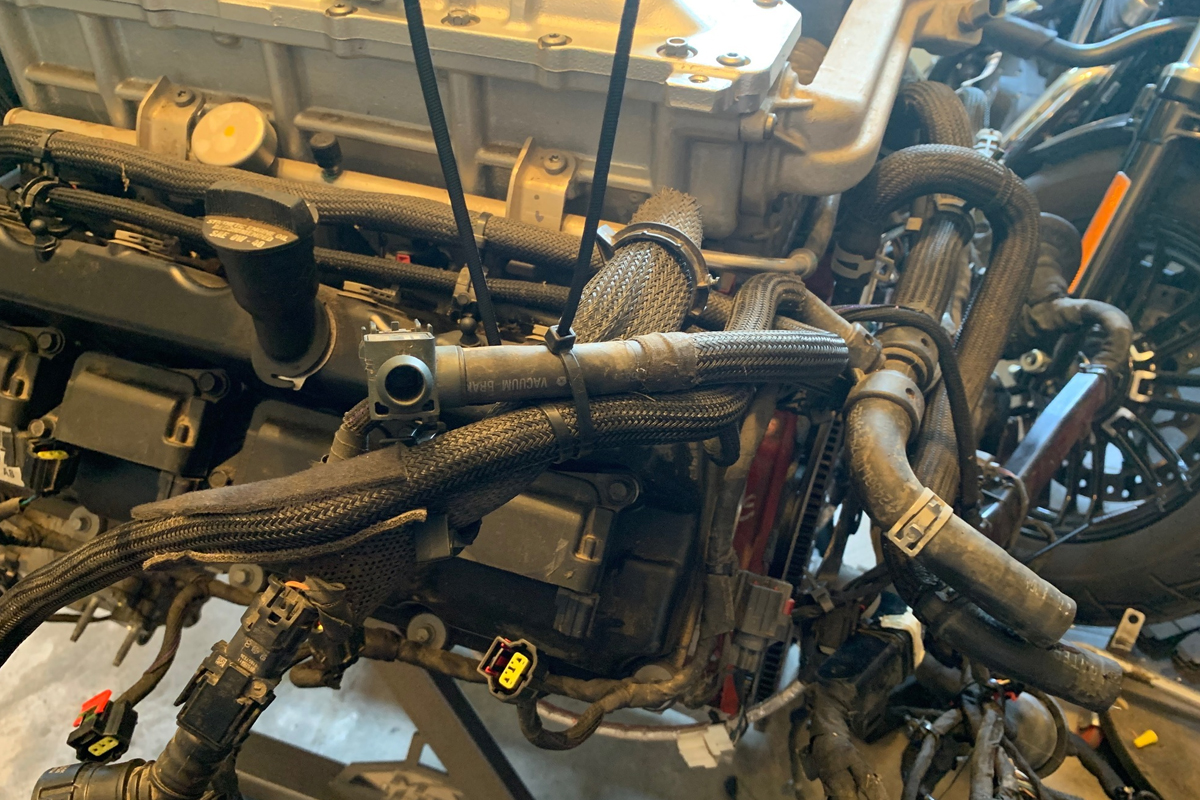
With the OE harness still attached, it felt like a project that was far more than we thought we were getting into, and it is a bit daunting at first. Gone are the days of simply pulling a few plugs apart and removing a few wires – there are a couple of dozen sensors on this engine, and most of the plugs require some ingenuity and digital dexterity. Almost all of the plugs have a clip that slides out so that the plug can be separated from the component. If you haven’t done these before, it is a little nerve racking at first but after you figure it out it does get easier, and you’ll be able to do so without breaking the plastic plugs.
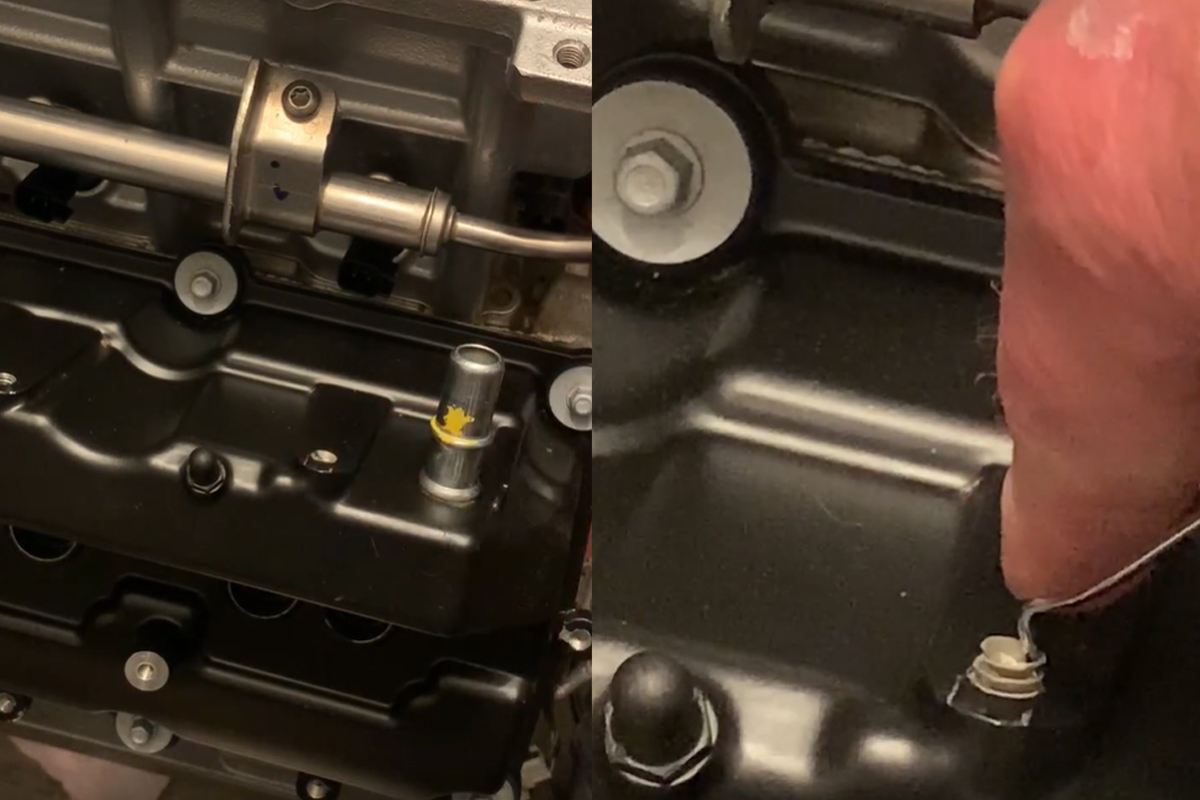
As you might guess with a modern engine, all of the harnesses were compact, and attached with clips that are, for the most part, one-time use only. After fidgeting with some of them, we finally realized that it was easier to just allow them to break and move on to the next one. Still, we didn’t have the proper arsenal in our tool box to facilitate clip removal, so we hopped online and checked out what Amazon had, and we even found a kit that could be delivered the same day, just a few hours later, and that saved us a lot of time.
We had some difficulty removing some of the remnants of certain clips that were pressed into a void that was closed off on the opposite side, and learned from others that a pick tool and a little counter-clockwise rotation of the remnants was all that was needed to pull the broken pieces out. Again, the first couple of times it was a learning curve, but then the last of them came out with ease.
With our education in harness removal, and getting familiar with our engine, as well as figuring out where to stash all of the ancillary components to our build, it was time call on the green stuff – and we’re not talking about coolant this time. We’re talking Simple Green; this is the product we’ve used countless other times in our hot rodding career to clean up the messes that were created by our hobby. At some point, Simple Green needs to be added to the Duct Tape & WD40 “repair anything” kit.