A few years back, I was doing an engine swap with a newer block than what originally came in the car. As I was bolting the engine mounts in place, I discovered that the engine mounting bracket from the older block did not fit the newer block. What made that discovery even worse was that the engine and transmission were hanging from the engine hoist, already lowered into position. Had I test fit all parts prior to loading up the hoist, I could’ve avoided being in that predicament. Fortunately, I had the newer bracket on the shelf (chalk one up for us pack rats) and I was able to clean it and throw a quick coat of paint on it without having to pull the engine out and start over.
Now that we’ve cleaned up the Hellcat, we have to start test fitting all of the new parts that are necessary to swap this modern Hemi into our 1965 Belvedere. The first part that we knew was going to get mated up to the block is our existing transmission: a Pro Series 4L60e, built for us by our friends at Performance Automatic, out of Hagerstown, Maryland. While this transmission was for our prior engine, which suffered from a poor build, the goal was similar: a boosted engine with a performance transmission that could back it up. The good news is that both the Gen 3 Hemi and the LA engines have the exact same transmission bolt pattern, so that was already a win. We’ll get a little more into the transmission itself in a later article, and explain why we aren’t using the 8-speed 8HP90, just yet.

Header Choices
When it comes to headers, there are actually a couple of choices when it comes to a swap like this, depending on what year and model vehicle you have. Looking at the compact size of the OE exhaust manifold it almost seems like a no-brainer to keep those and build the exhaust from there. The only uncertainty is that we don’t know if the stock manifold will clear our steering shaft, let alone the car’s chassis – or the Control Freak coil over suspension. That would be another unfortunate discovery if it didn’t work, because we would only know once the engine was lowered into the car.
Since we’ve used headers from TTi Exhaust, in Corona, California, on two prior builds, we decided to purchase another set for the Hellcat swap. TTi Exhaust has been making headers for Mopars – almost exclusively – since they opened shop. TTi does something unique that few other header manufacturers do – if any. Its headers are designed with engine swaps in mind; meaning, you can swap your small block to a big block – or even the Gen 3 Hemi – without having the fabricate an entirely new exhaust system. The collectors are located in the same place for each set of headers, and are clocked identically. No need to throw on a set of Cherry Bombs and head down to the local muffler shop to get your exhaust system fabricated, and that’s another check in the win column.
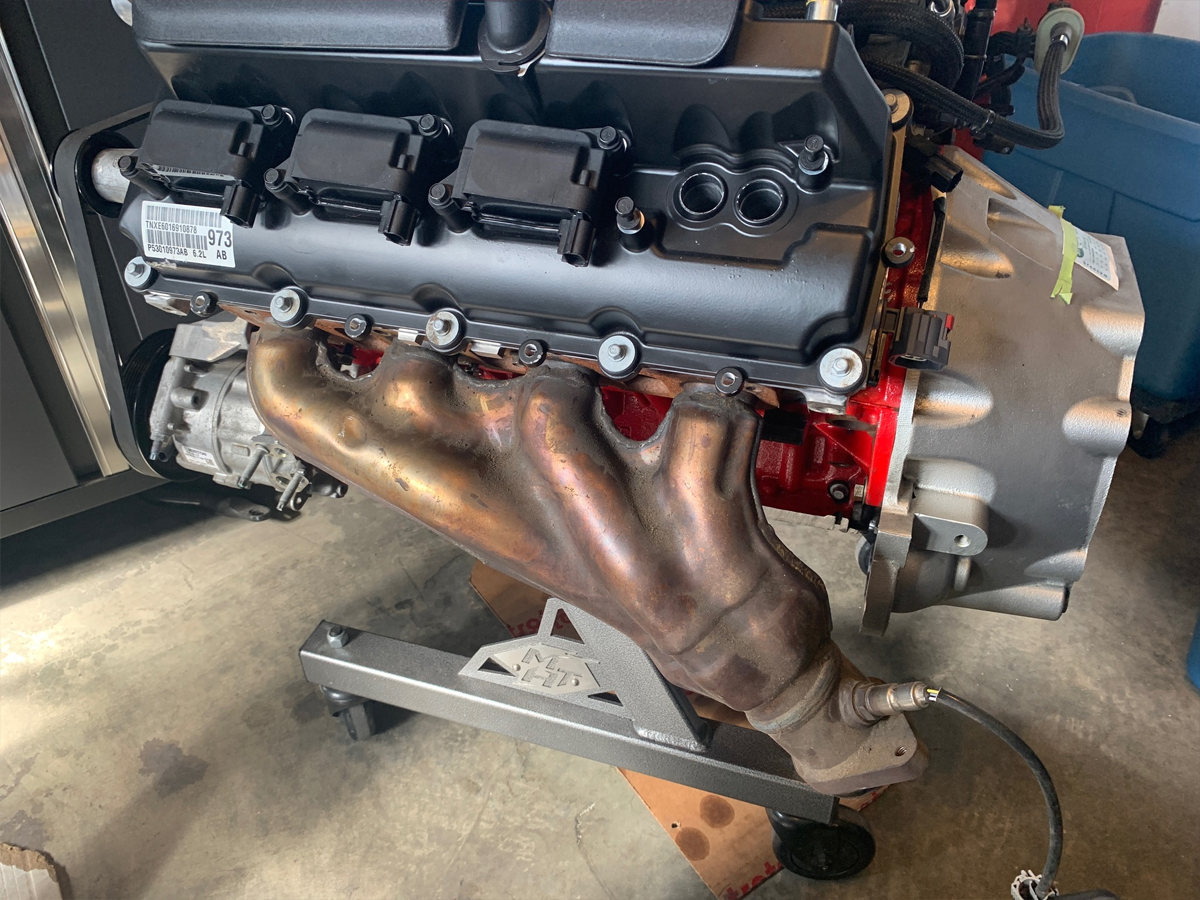
Another benefit with TTi is that they spend hours upon hours communicating with other manufacturers to design its headers to clear other popular aftermarket components, such as Borgeson’s steering box, Control Freak’s coil over suspension, and Schumacher’s conversion engine mounts. The logic behind this is simple: TTi headers are so gorgeous, it’s unfathomable to have to use five-pound persuasion to get them to fit – it’s literally a crime to dimple these mandrel-bent, ceramic-coated headers. The win column is filling up nicely on this swap, so far.
Starters
The engine block for the 6.2L and 6.4L Gen 3 Hemi is the BGE block, or “Big Gas Engine.” The OE starter on the 2019 Challenger was located on the passenger’s side, but our transmission is set up for the starter to be on the driver’s side. Looking at the block, it was manufactured for the starter to be placed on either side, and that makes life simple for us when it comes to mounting a starter – well, mostly simple. The first choice in starters, beyond choosing which side, is to visit the TTi website again, where they have a list of recommended starters, with part numbers.
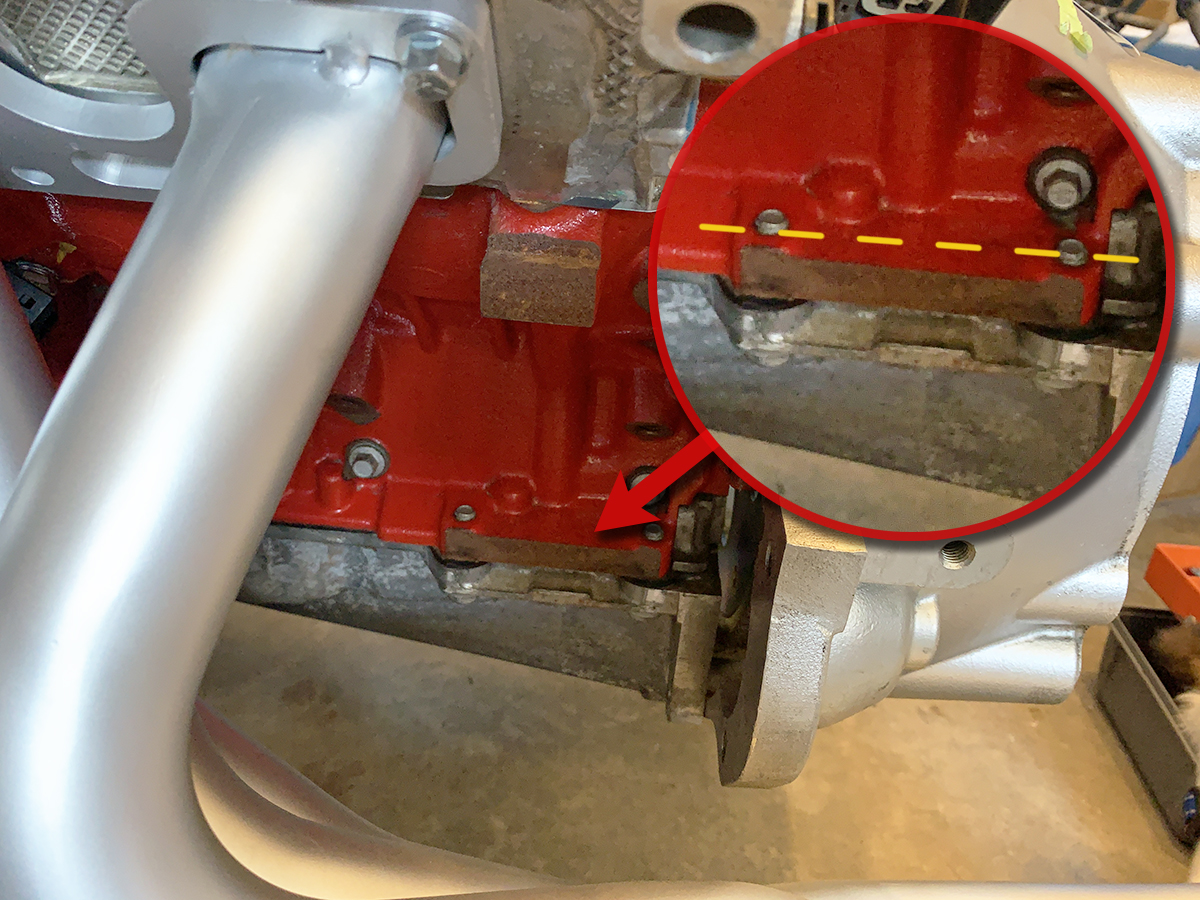
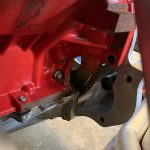
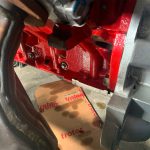
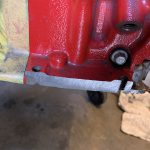
Prior to test fitting our starter, however, there’s one well-known issue that needs to be addressed: we needed to clearance the block at the starter mounting location. The OE oil pan has about a dozen smaller bolts, and at the rear there are two larger bolts on each side that are further outward than the smaller bolts. This area will prevent the starter from sitting flush in the transmission bellhousing, and if not clearanced properly could create starter alignment problems that can be catastrophic. We already know that the OE oil pan won’t work in our car anyway, so it’s getting replaced.
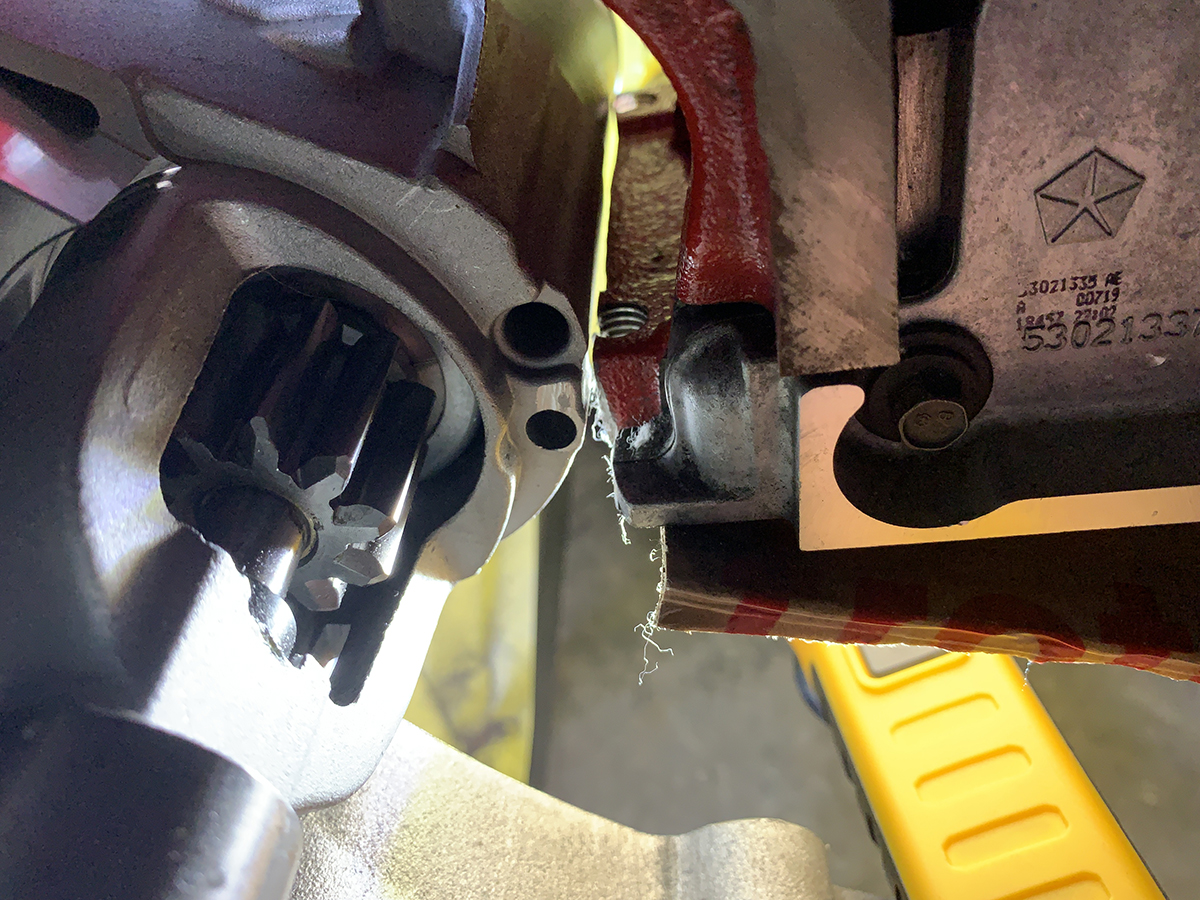
The solution is simple enough, however, and once we removed the pan we could easily remove some metal with our angle grinder. The starter almost seats into the bellhousing, but fortunately we have a removable bellhousing on our 4L60e that allows us to get a virtual ‘inside look’ at the starter. The starter housing rests against the block here, and forces it to sit crooked, so even though it might look like it will work: it won’t. We had to remove enough material from the block that we actually cut into the threaded bosses for those two larger bolts. But no need to worry, as with most aftermarket oil pans, those two bolts are bypassed, and not used.
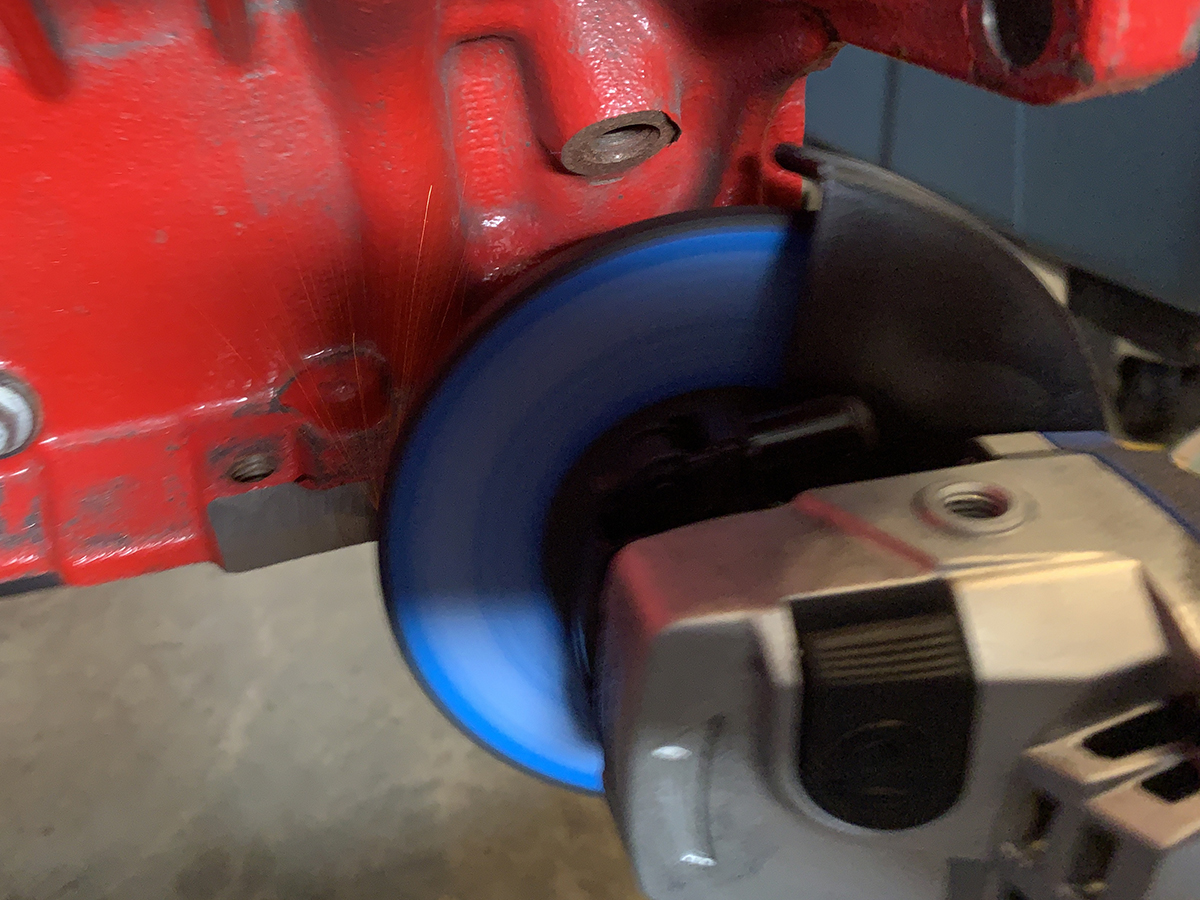
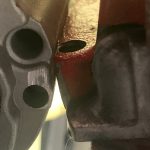
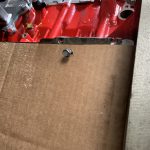
Left: An angle grinder made quick work of removing the metal.
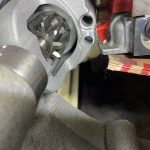
Right: Seeing light between the starter body and the block means we have removed enough to mount the starter.
While the small-block MSD starter we already have will bolt into place, there’s a problem with clearance on the header primaries – it’s a close fit, but it won’t work. Sticking with what is recommended by TTi is the best bet, because you can go out and buy a multitude of starters and end up with a multitude of returns – and believe me, there are a lot of Mopar “mini” starters available. The starter recommended by TTi is part number 56029274AA, which is specific to RAM 2500 and 3500 trucks with the Hemi.
They also list a Bouchillon Performance starter (part number 61R274) for this application. This is its “Extreme Mini High Output Starter,” and though it’s a little more costly, it is a high performance starter that we can benefit from. It’s not only compact enough to clear our TTi headers, but it’s also more powerful than some of the other aftermarket starters available. It has permanent magnet fields that aren’t affected by the heat as much as the OE starter. When reliability and dependability are key factors with your build, it sometimes pays to go with something that was built with your swap in mind.
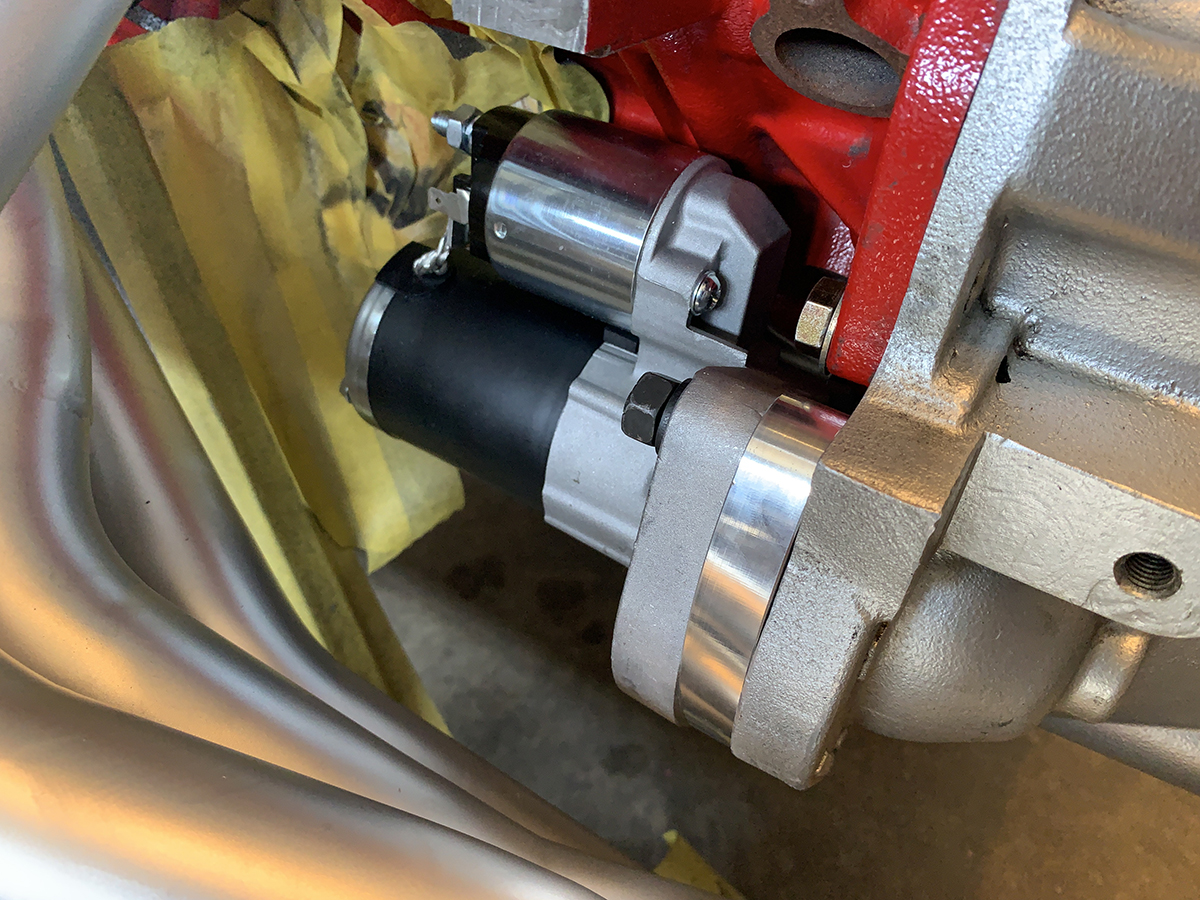
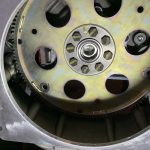
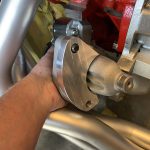
Left: Both the bellhousing and the spacer for the starter were components we acquired through Silver Sport Transmissions.
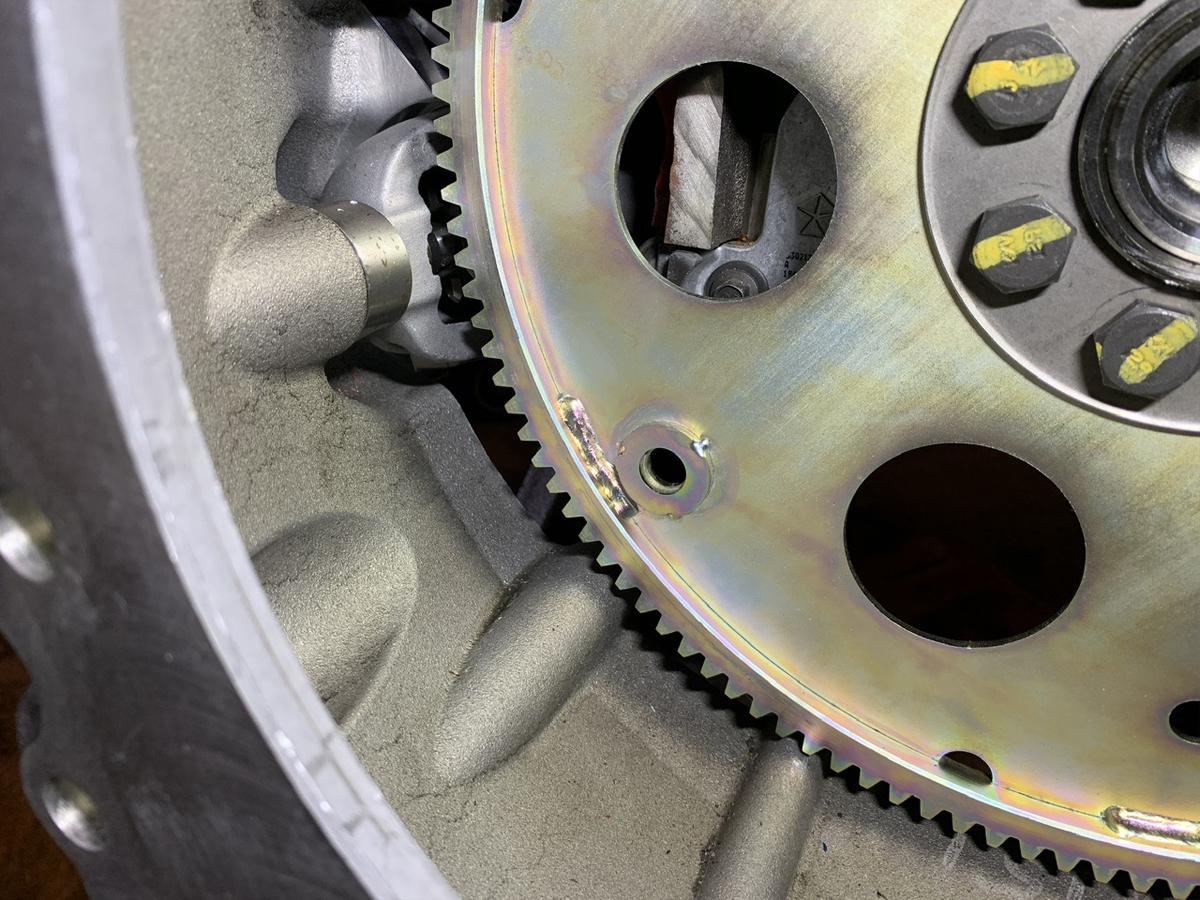
Right: We also acquired the flexplate from Silver Sport, and you can see that it’s a close fit, but a perfect fit, nonetheless.
For Part 2 in this fitment issue, we’ll address a couple of other components, such as the Oil Pan, the supercharger coolant pipe, and our engine mounts, so stay tuned for that entry coming up soon.
Gallery: