After finally getting the Hellcat Redeye engine from the totaled car, the first thing was to clean it up, remove the OE harness, and inspect the engine for any damage. We had heard it run, and didn’t worry too much about damage, but it was one of those times when you channel your inner curiosity and you just want to take things apart and see how they work – and hopefully remember how to put it all back together.
Part of most any build is how detailed you can get, and for the Hellcat it was no different. We could keep it looking just like it did from the factory, or give it a new look and catch some glances along the way. There’s nothing like an engine with lots of clean painted or plated parts to draw some attention at a car show or car meet, and since we had the engine out and had started pulling things apart, the decision was made to add some color to the otherwise boring silver, red, and black Hellcat Redeye mill.
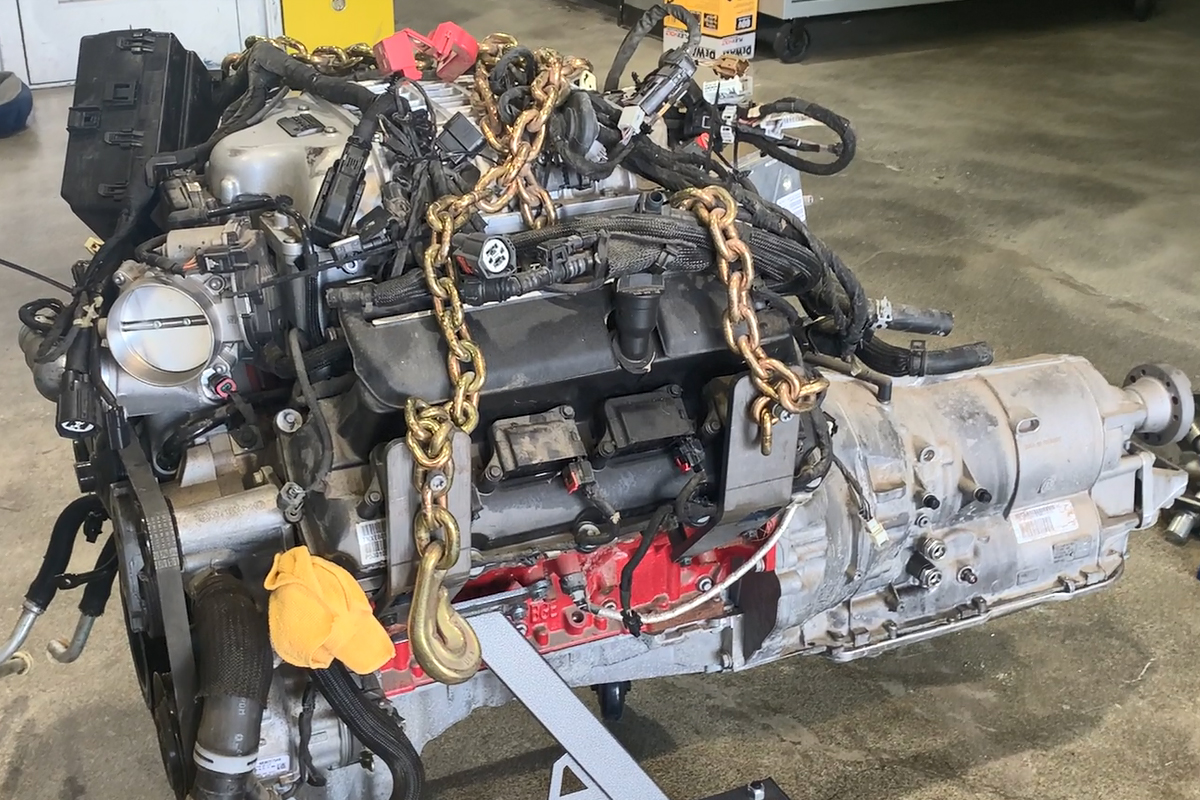
After all of the cleanup of the mill, our sights were set to adding a splash of color and some detail to the engine before dropping it down between the aprons of our ’65 Plymouth Belvedere – which we aptly named: Hellvedere. It’s going to be a long project build (which one isn’t?), so instead of rushing things we’re going to take our time and hopefully do it right. And doing it right means that some parts need to come off if we want to add some color.
We were embarking on a project to test fit parts for another component, but unfortunately we found that our goals were a bit loftier than our budget. We had to abandon that part of the project and return to where we hadn’t really started yet: getting this Hellcat into the Plymouth. In the process of that unsuccessful project, however, we had everything apart anyway, so adding some color was a simple task. Initially we thought about powder coating, but that got expensive and requires more than just masking off a component – it meant completely disassembling a few things, and that also was getting out of our budget. We settled on paint.
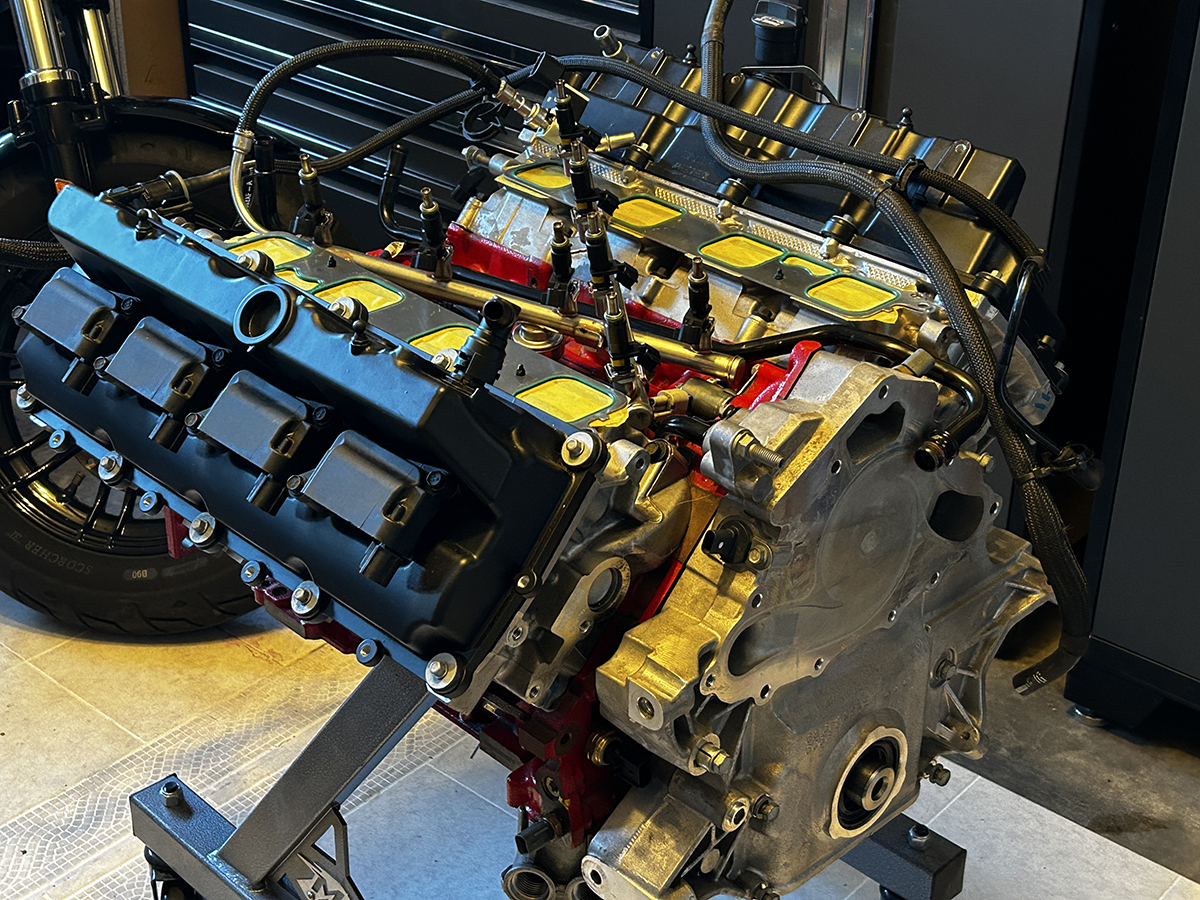
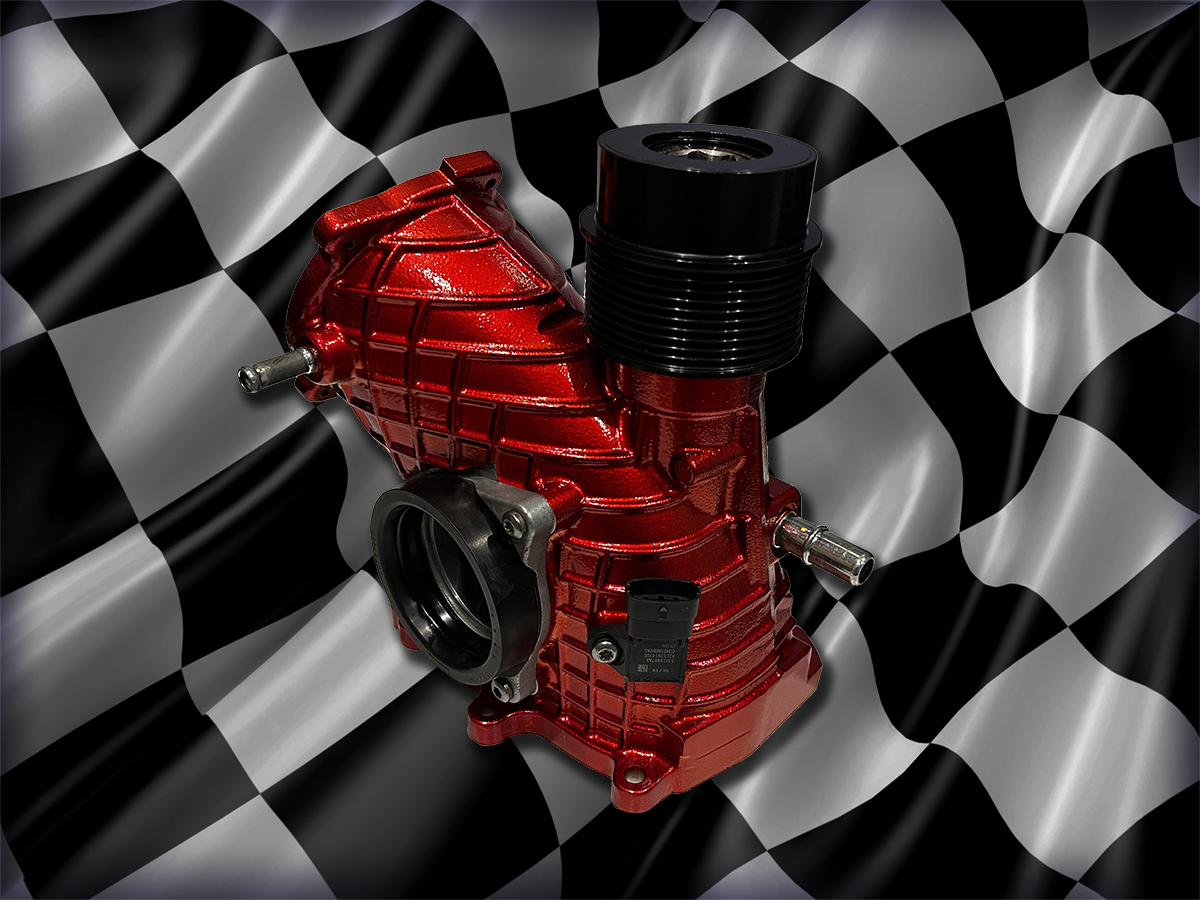
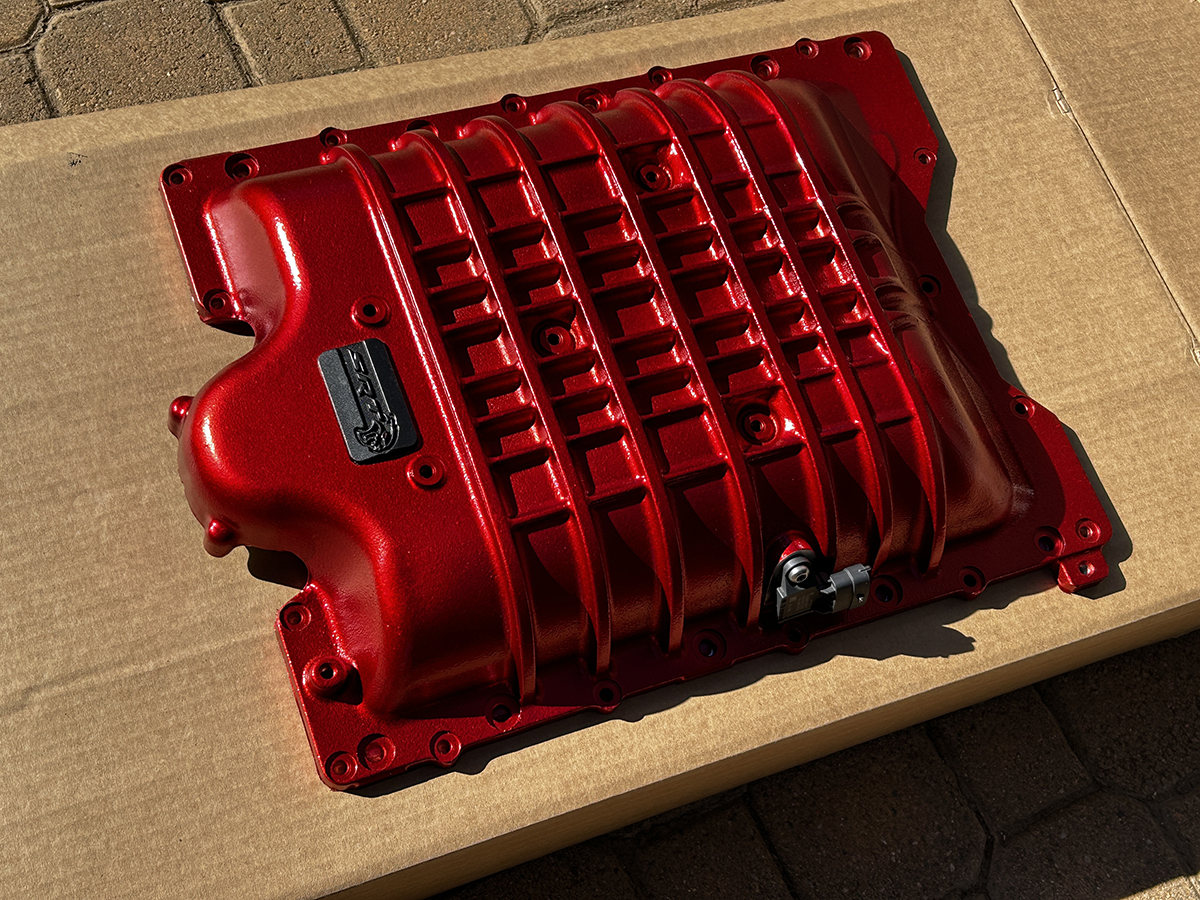
The decision to paint the supercharger, the supercharger lid, and the supercharger snout meant even more disassembly – our previous experiment required removing the timing cover, so that’s how we got to removing the supercharger completely. In order to remove the front cover, we had to remove the water pump and the crank pulley. And in order to disconnect the coolant tube on the right side of the engine, and to remove the supercharger snout, the supercharger needed to be raised, so all of the bolts needed to be removed.
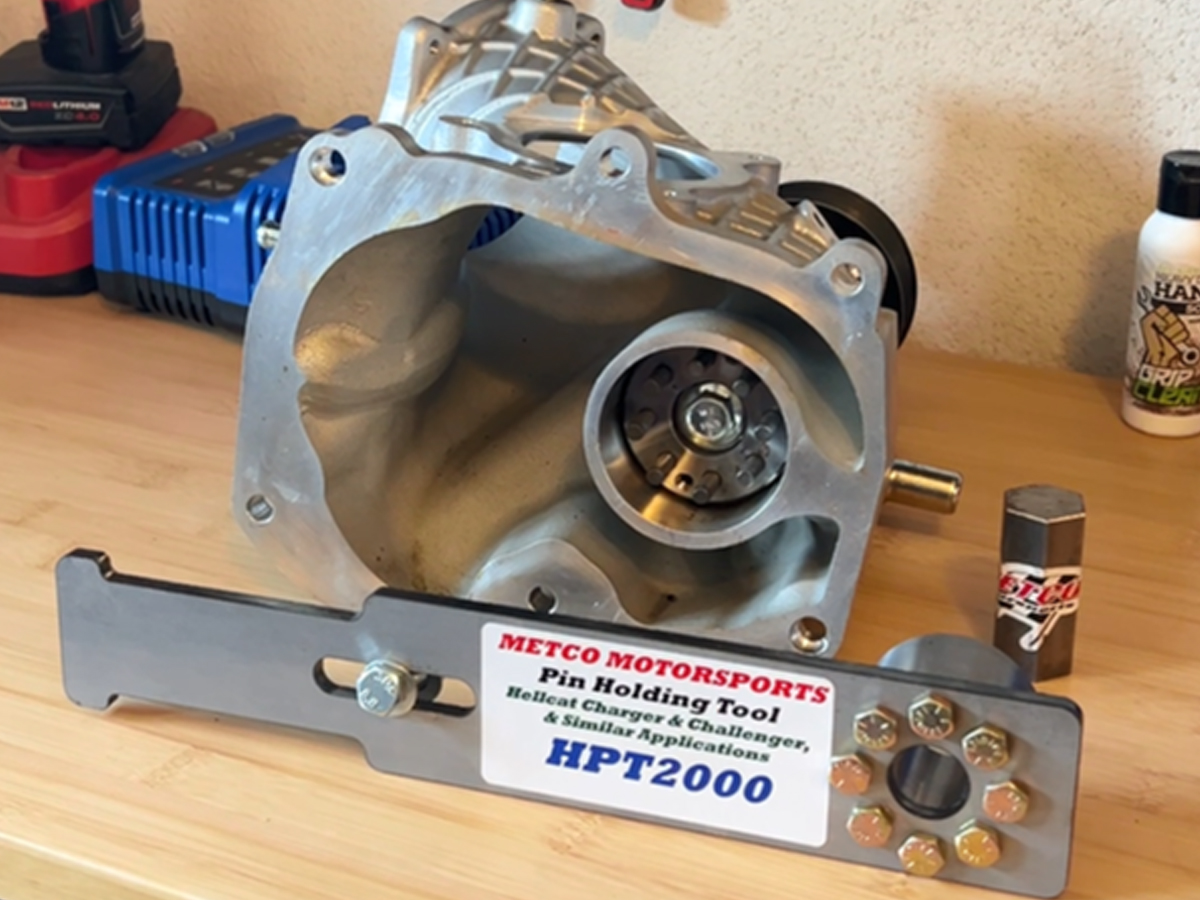
Pulling the snout wasn’t difficult, the blower drive pulley is pinned at the supercharger side, so it just slid out. Since we decided to paint the snout while we had it removed, we needed to remove the pulley, which we thought would be a simple task. We watched a few videos, read a couple of writeups, and then we decided to contact Rick Bejarano at Metco Motorsports. The one constant in nearly every video or write up was the specific tool that Metco crafted to hold the shaft in place while turning the large Allen nut that was part of the pulley itself.
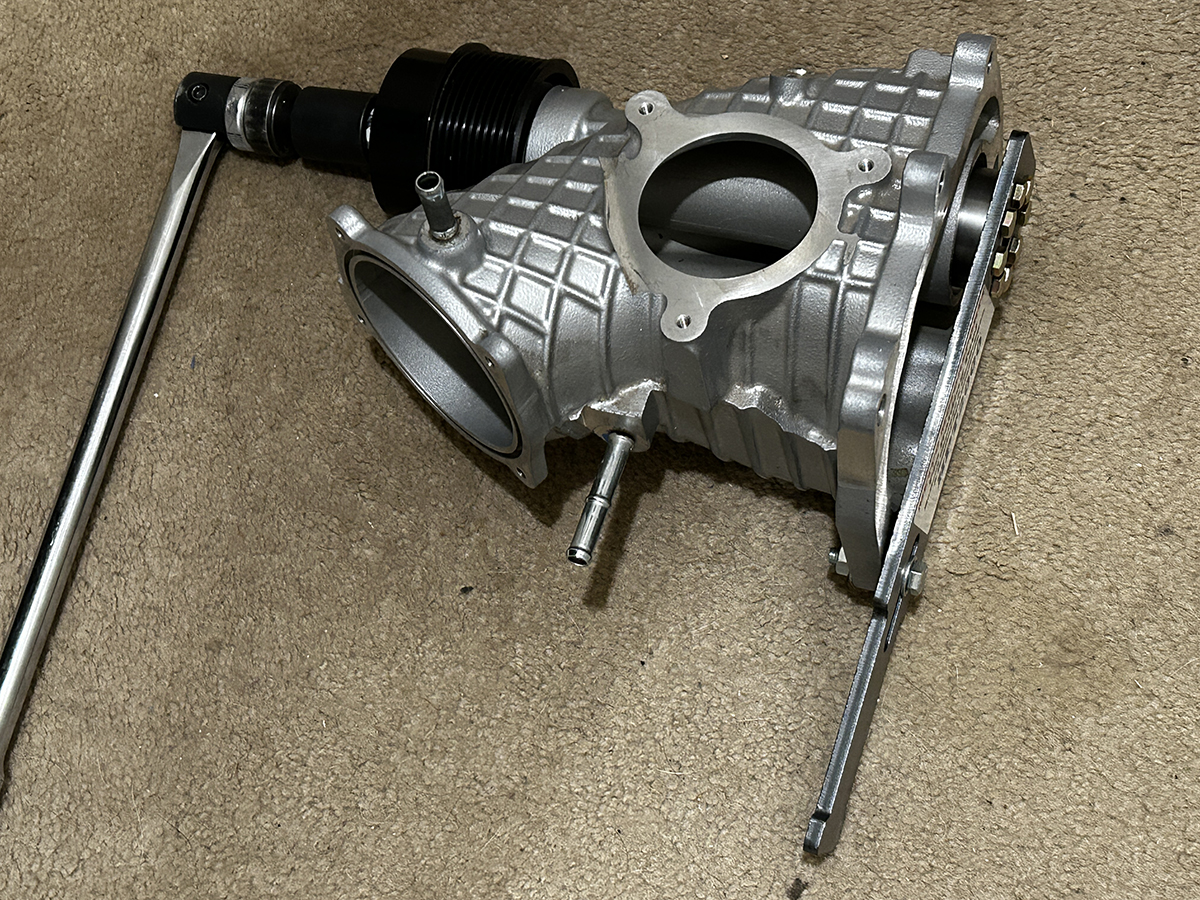
While trying to remove the pulley, we ran into some difficulty, and we had the same problem that most everyone else had: the pulley wasn’t coming loose. If you go to the forums or social media groups like we did, you’ll find all sorts of answers and warnings of what not to do. We were even told that by turning the pulley a little we were destroying the shaft. Some said hit it with an impact, some said never use an impact, and others suggested we just send it out and pay someone else to do it.
We had noticed that the bolt on the back side had come loose, and after a few minutes of struggling, our call to Rick turned out to be the only solution – and the simplest one, at that. Metco has been making supercharger pulleys for quite awhile – since the late 1990s, and when the Hellcat first arrived in 2015 it was added to the lineup for parts; Rick is no stranger to the Hellcat. When we told him about our struggles, and about that bolt on the back, he had one simple piece of advice. “One of the reasons we have a hole in the tool where it attaches to the drive is to access that bolt. Put some red Loctite on it, and torque it a little above spec, which is about 65 ft-lbs,” he told us.
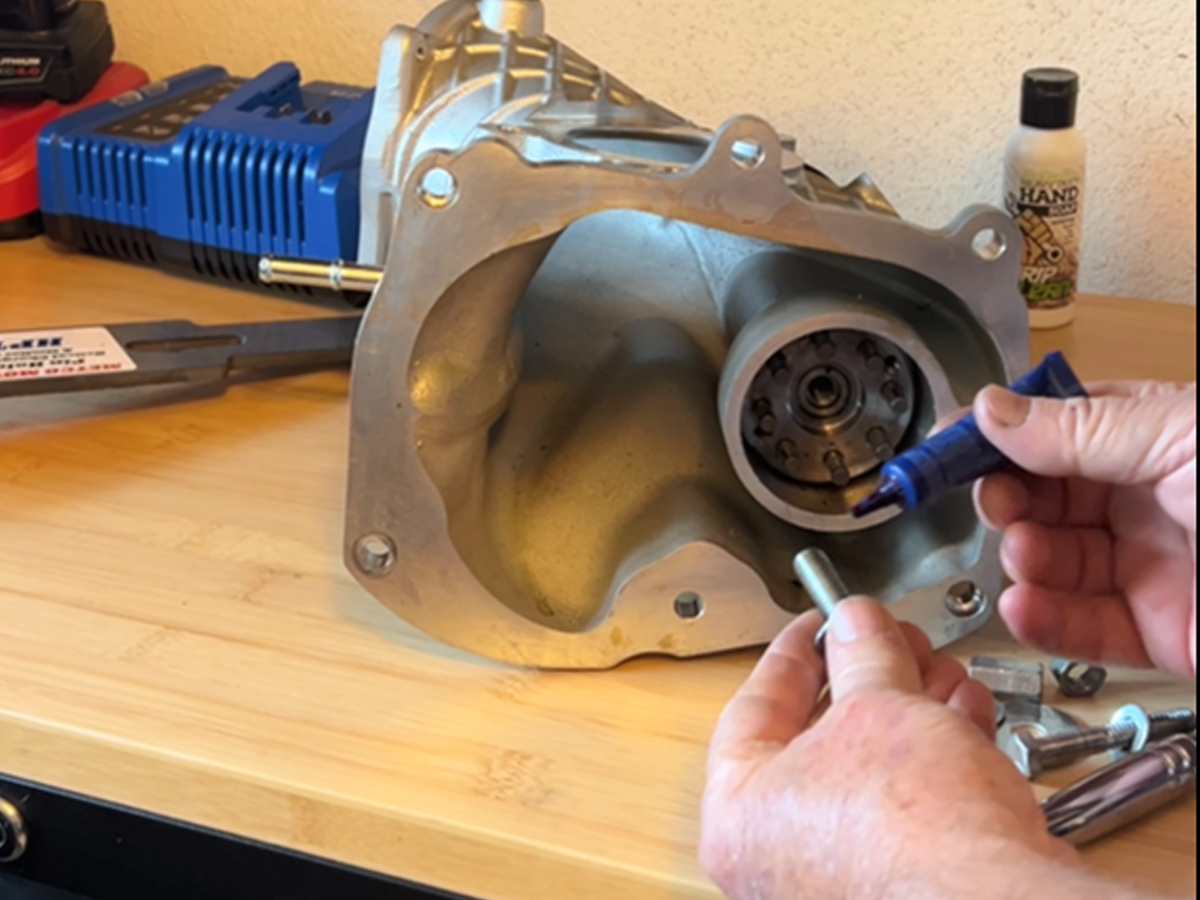
We took Rick’s advice, with the reminder to loosen the bolt when we were done and return it to spec, and after letting the thread sealant set up, it was a piece of cake to get the pulley off. When we embarked on the pulley, it was the weekend, so we didn’t call Metco to get this suggestion, but after a couple of hours of watching videos and reading about everyone else’s struggle, the decision to call Rick for advice had paid out.
He did mention that many shops that do pulley swaps will hit the pulley nut with an impact, and even after talking with Brandon from Street Alphas Performance Garage the suggestion was the same, as he has done a few of these himself, and also warned me to take some of the comments about ‘destroying’ the shaft and requiring a complete rebuild with a grain of salt. As Rick had mentioned, “You’re being cautious and taking your time, which is a good thing.” While it is possible to destroy that $3,000 piece of hardware by not removing the pulley the proper way, he assured us that we should be just fine, and let us know that he welcomes phone calls seeking assistance with the tools and parts that he manufactures. Next: we go old school with the blower and paint it with the same Duplicolor Metalcast red paint.
Left: After all was said and done, the Metco Pin Holding Tool and Redeye Adapter got us to where we needed to be: the pulley removed and laying down a fresh look on the supercharger snout.
Right: We also applied the same color to the supercharger lid: Duplicolor’s Metalcast Red, with its metallic silver basecoat applied to provide a bright finish.

