
After making sure the headers cleared the oil pan rail, as well as the starter, the next step in this major project was to test fit the oil pan – but first a decision was made as to which oil pan to buy. There are a few choices, and most of those choices meet a simple condition: clearance. For Hellcat swaps into classic Mopars, you need to 86 the front sump oil pan and decide on either a mid-sump or rear-sump pan, with most choices being the rear sump.
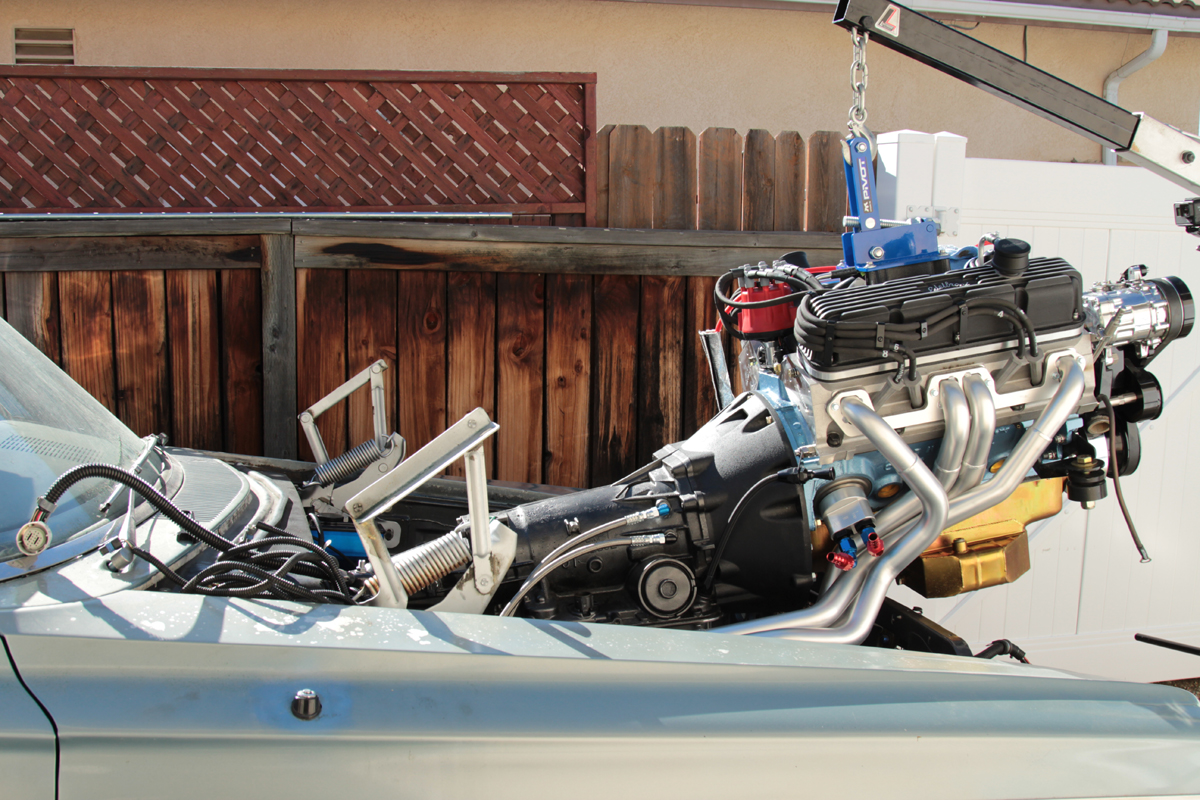
While the mid-sump pan might be a little bit of a stretch for some, depending on what suspension system and K-member is being used, we’ve had success with the Milodon mid-sump Pro-Touring oil pan that was installed on our 408 stroker small-block. Not only did it clear the Control Freak front suspension sub-frame, or K-member, but we were able to install the engine with the 4L60e transmission, the TTi Headers, and the Milodon mid-sump Pro-Touring oil pan installed to the engine. It went in like butter, with our Mac’s Pivot Lift Plate getting the assist.
Our choice for Milodon was simple, primarily because we’ve worked with it’s pans before and love the products. Since the Belvedere is occasionally road-raced, and driven very aggressively when a winding road approaches, the decision for a Pro-Touring pan was our only choice. Baffling in the Pro-Touring pan assures that oil can slosh into the center, but not out of it, when cornering.
When perusing the Milodon website, we were initially met without a current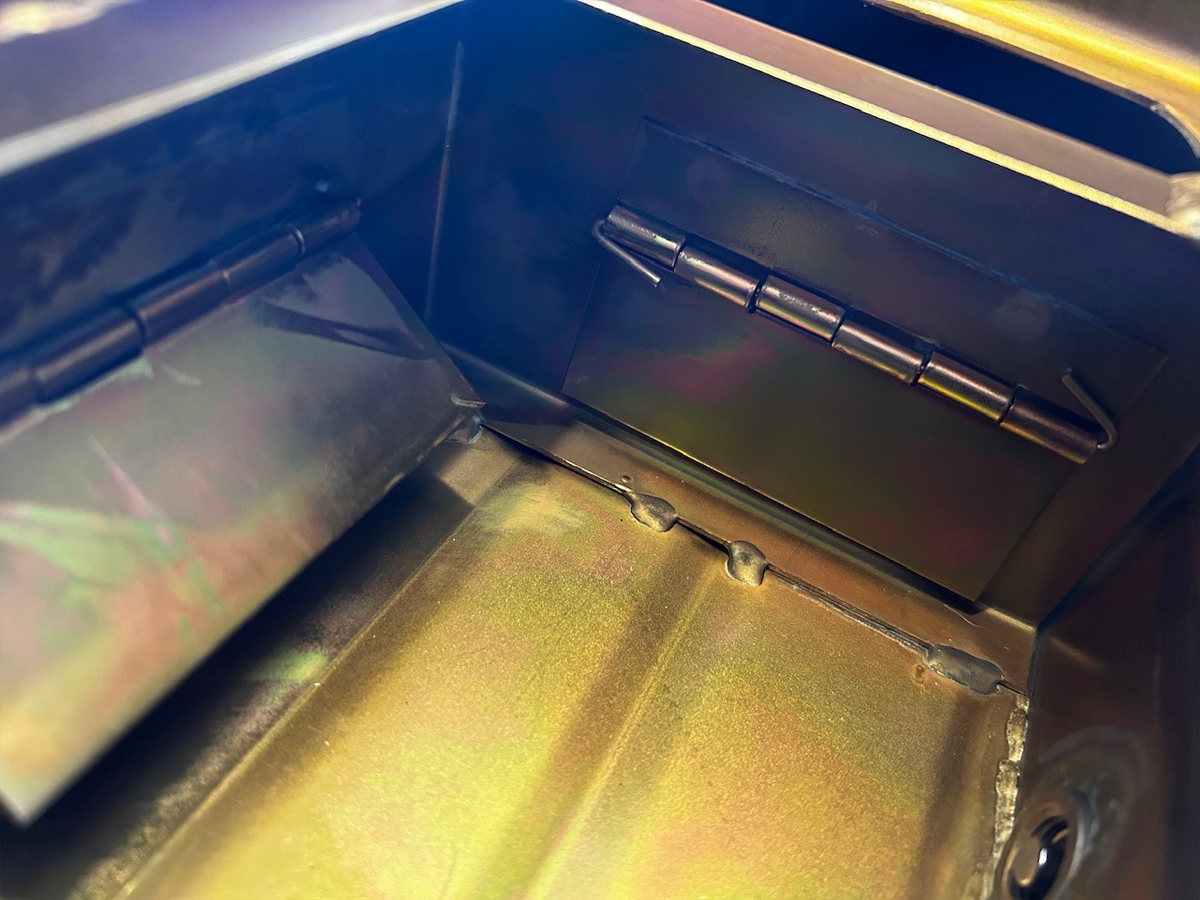 mid-sump listing for the Hellcat engine – which we’re told they’re working on. There is a listing for a rear-sump Pro-Touring pan, however, header clearance won’t allow that fitment, so a mid-sump was our only choice.
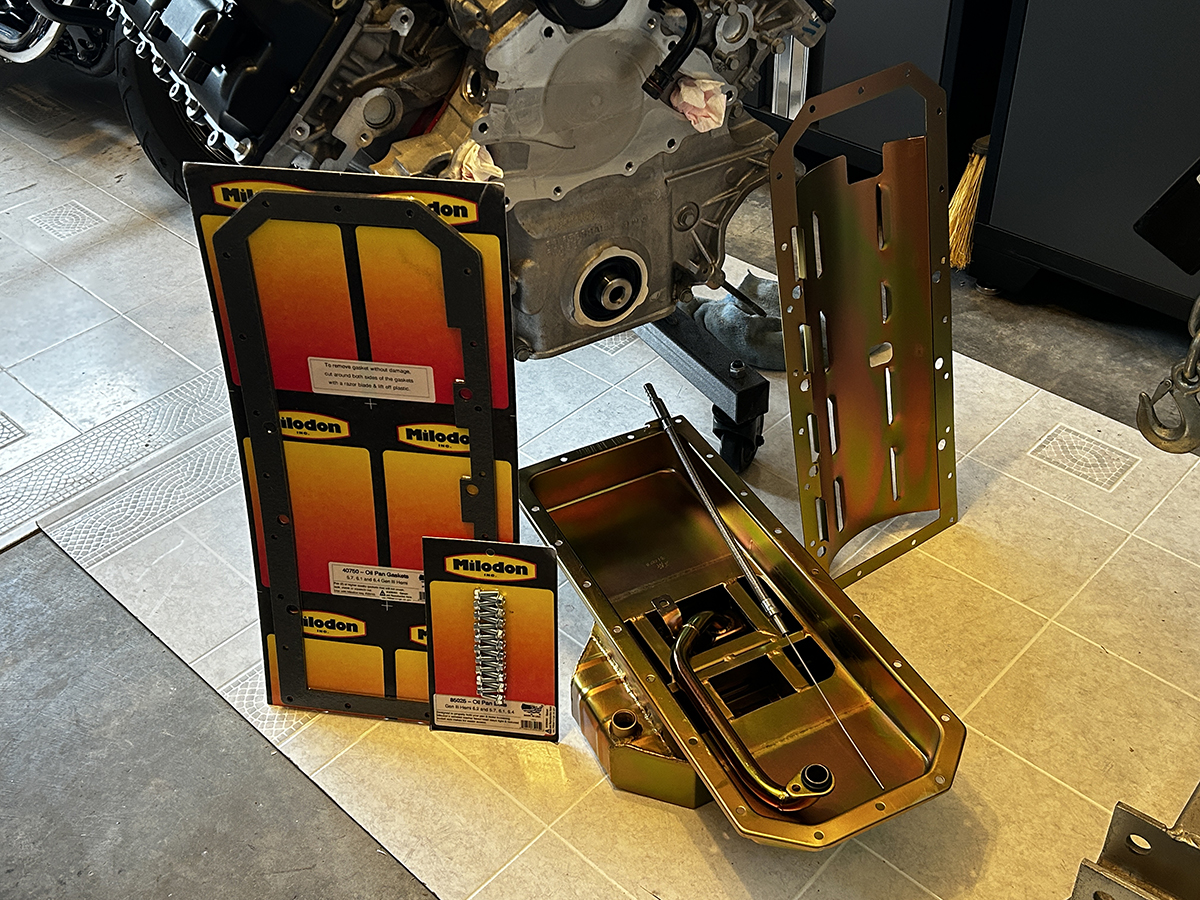
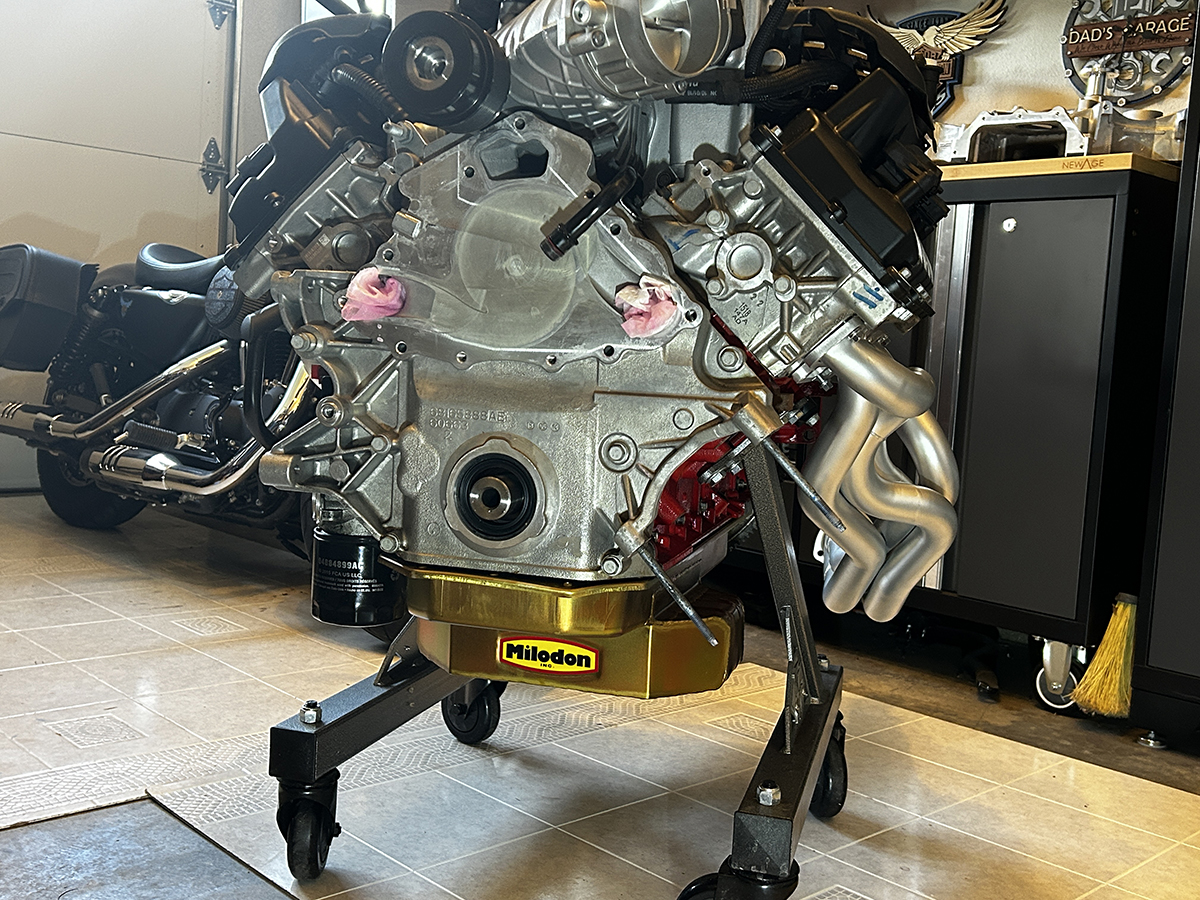
Since we’re converting over to a 6.4L timing cover and water pump for another part of this project build, we found our road race pan from Milodon, part #31003 listed, and all of the necessary components were listed with it. While we’ve seen others who install the Milodon pan without the accompanying components, it just seems wiser to go for the full install and get the components we know will fit – which includes the pickup tube, the windage tray, a pair of gaskets, and the oil pan mounting hardware. Aside from our past experience with Milodon, its trademark gold iridite plating looks great on any build.
Having two drive belts on Hellcat engines, the thickest belt driving the supercharger, it eats up some real estate in front of the engine. For that reason, it seems that the team at Dodge chose to make a change to the Hellcat timing cover, as well as the water pump, for the necessary clearance the blower drive required. That change created a need for a shorter oil pan for the Hellcats, which creates a bit of a divot in the front of the pan to clear the oil pickup tube.
Since the block is a 6.4L block, we know that the 6.4L pan we ordered is going to fit the block, and with the timing cover change, it will be a perfect fit. Our initial thought was that the divot in the Hellcat pan was for a larger pickup tube; that’s not the case, and a couple of conversations with Milodon helped clear that up. That also cleared the way to order the 6.4L pan with all of its components, and gave us confidence that the Pro-Touring pan was going to be a great choice for this project.
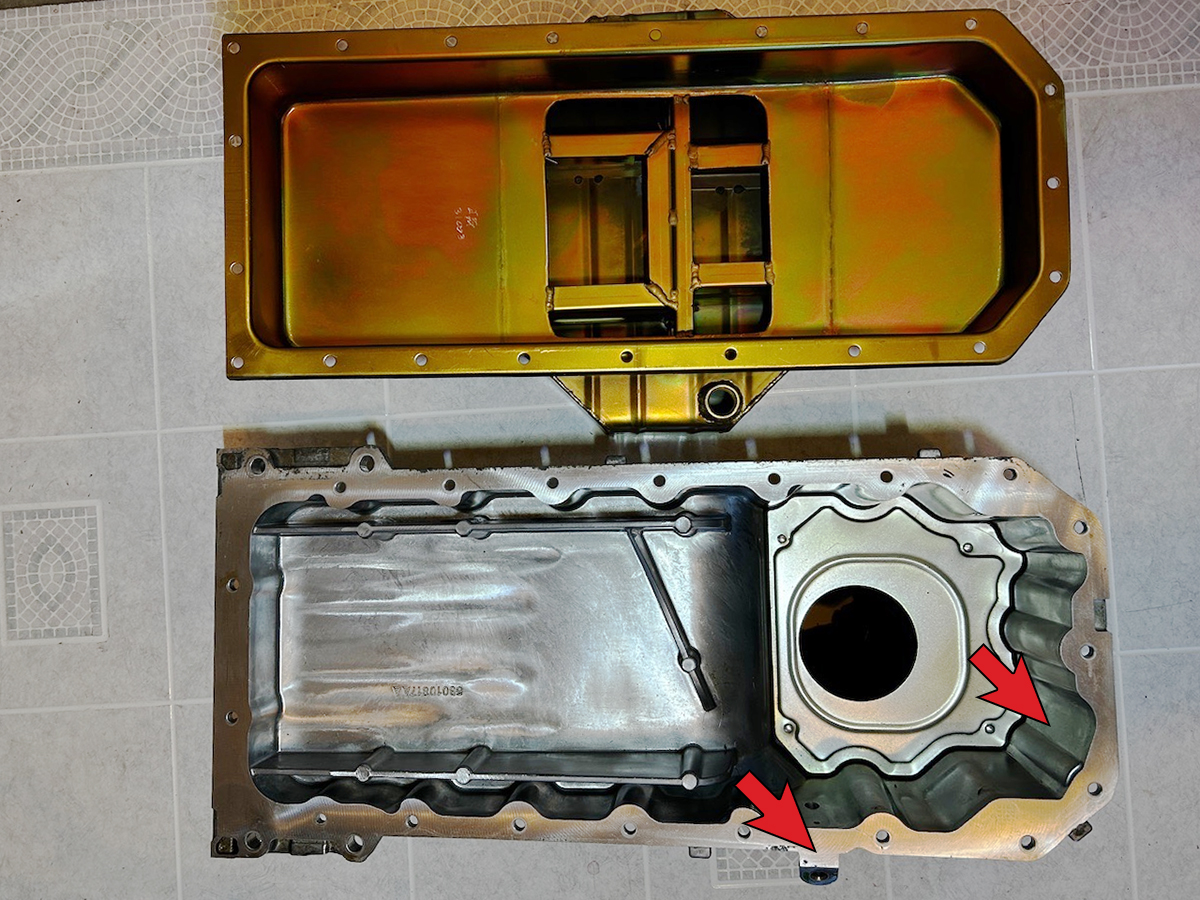
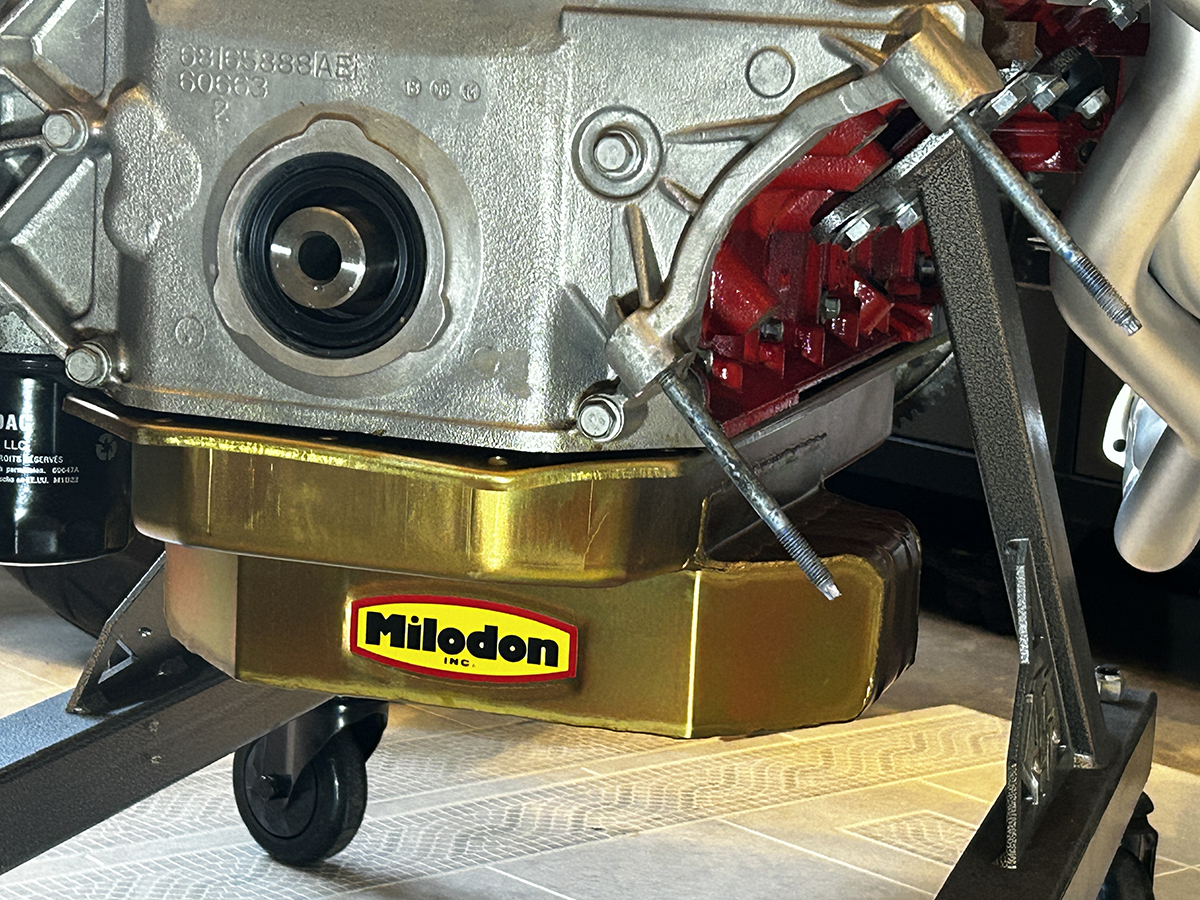
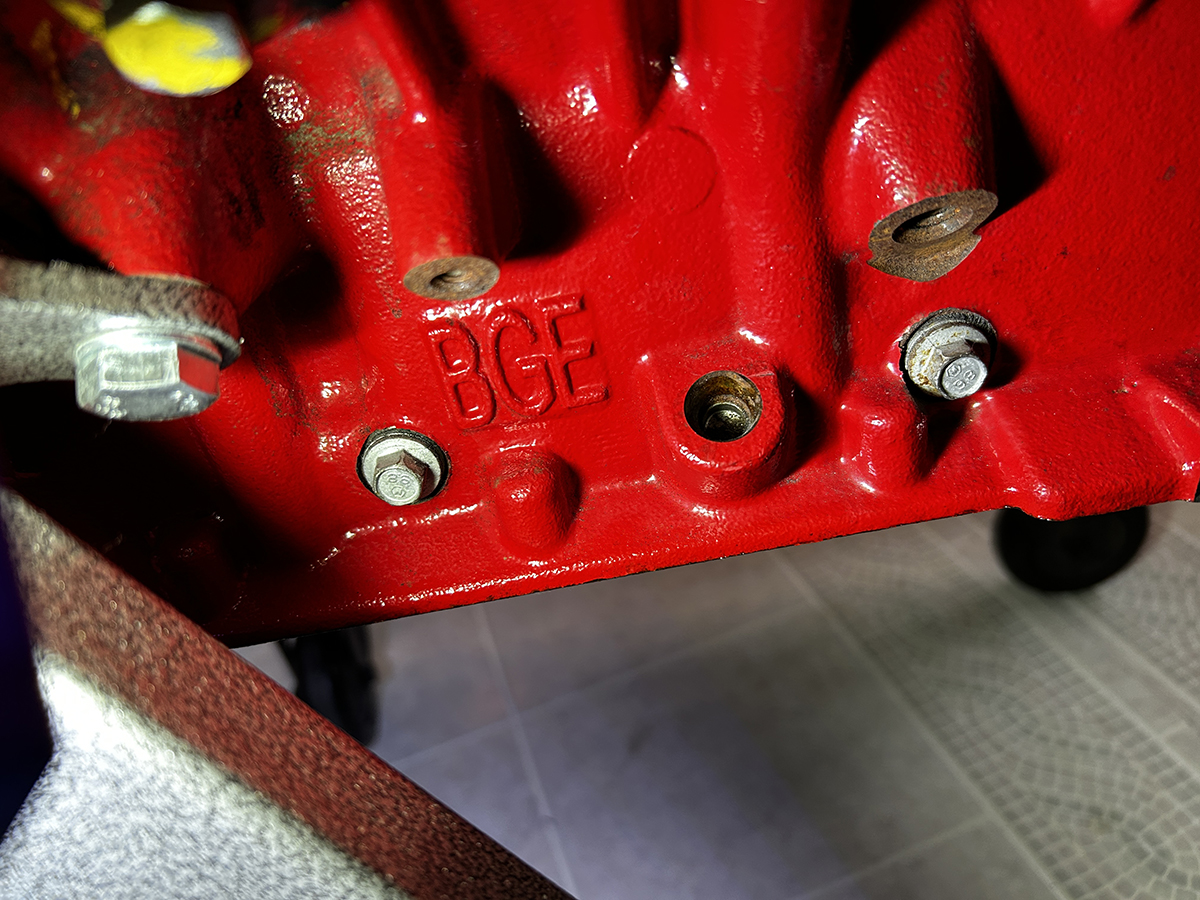
Left: You can see the area where the OE Hellcat oil pan deviates to make room for the pickup, as well as the OE oil dipstick, which is mounted outside of the rail.
Right: With the Hellcat timing cover still in place, you can see how much longer the 6.4L pan is, and why it won’t work. We’re replacing the timing cover anyway, so it’s really a non-issue.
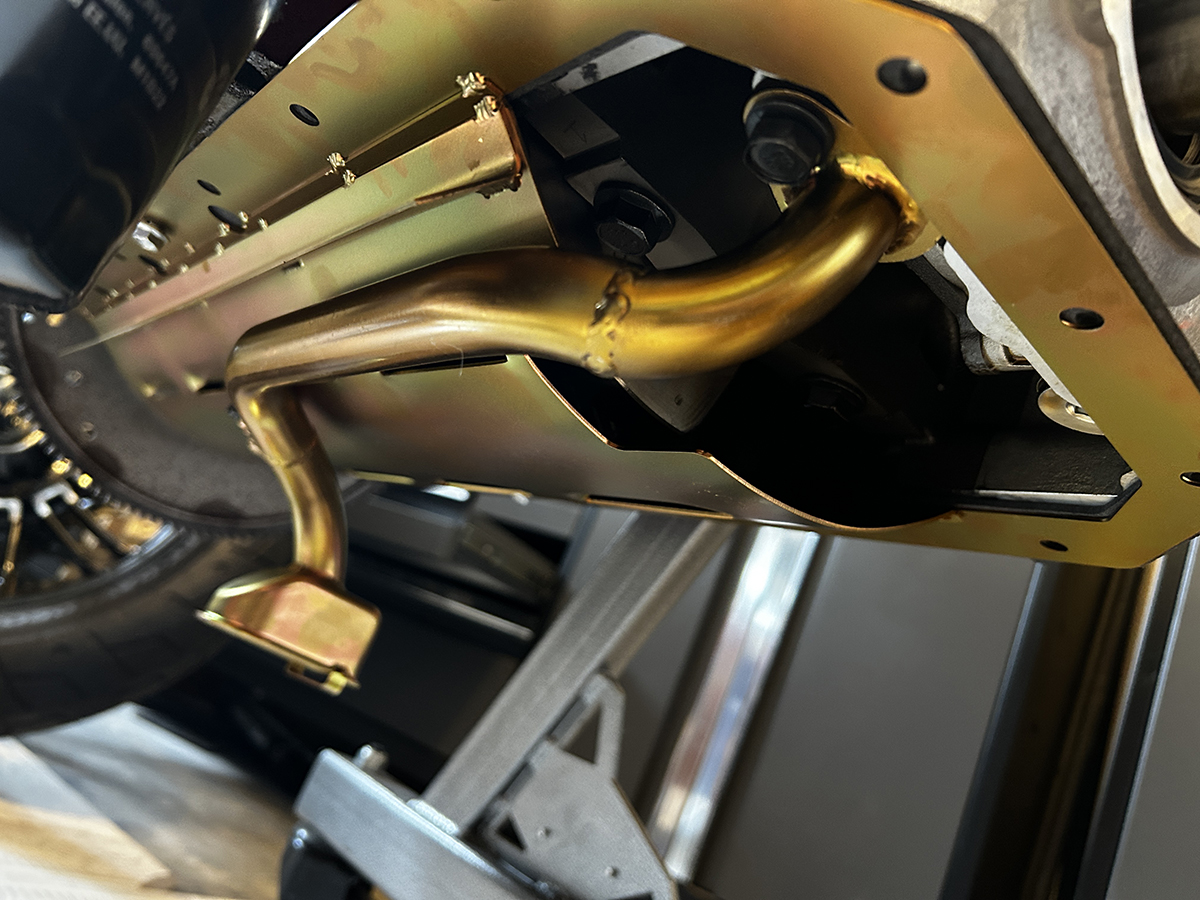
During our test fitting of the pan, we wanted to make sure that we wouldn’t have any clearance issues with the TTi Exhaust headers, and we also did some preliminary measuring to see where the mid-sump oil pan might sit in relation to the subframe for the Control Freak Suspension. Since we’ll be using the same transmission currently in the car, a measurement from the transmission mounting surface to the front of the mid-sump dropdown let us know we’ve got plenty of room for this oil pan.
With its extensive and meticulous attention to detail, Milodon is one of those companies that works with others to make sure clearance isn’t an issue, and they’re familiar with many of the other companies making aftermarket parts for classic Mopars, whether it’s suspension, engine mounts, or headers. We’re no stranger to modifying parts to fit, but in some cases with Mopars, all of the guesswork has already been done.

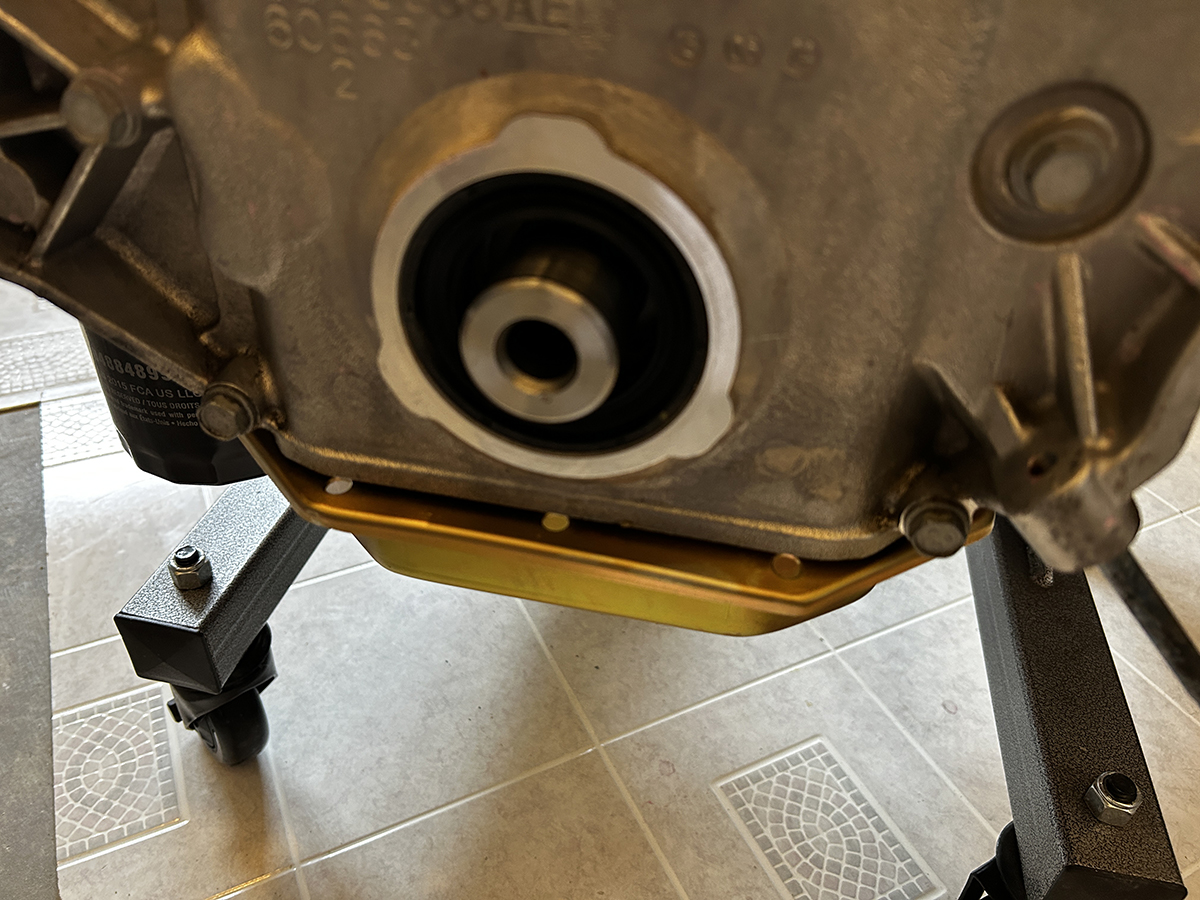
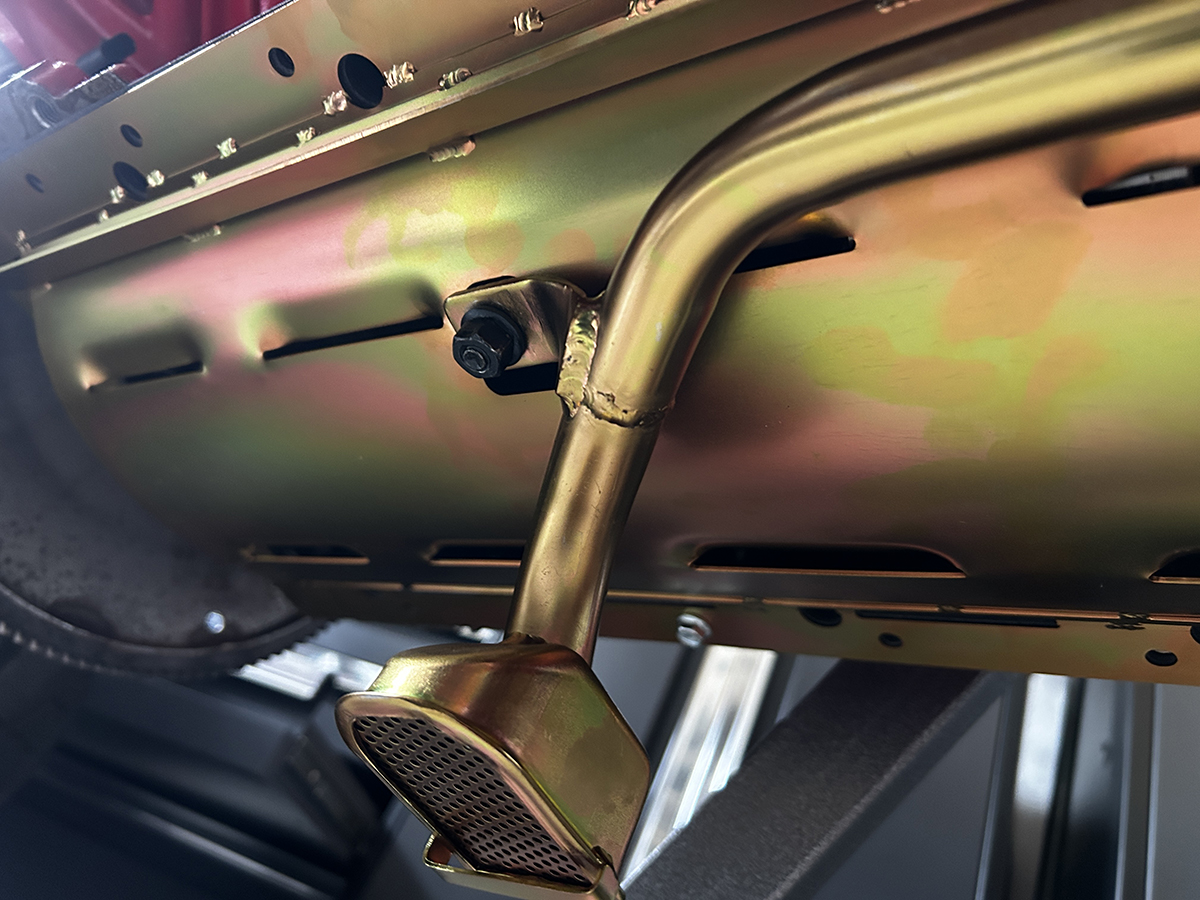
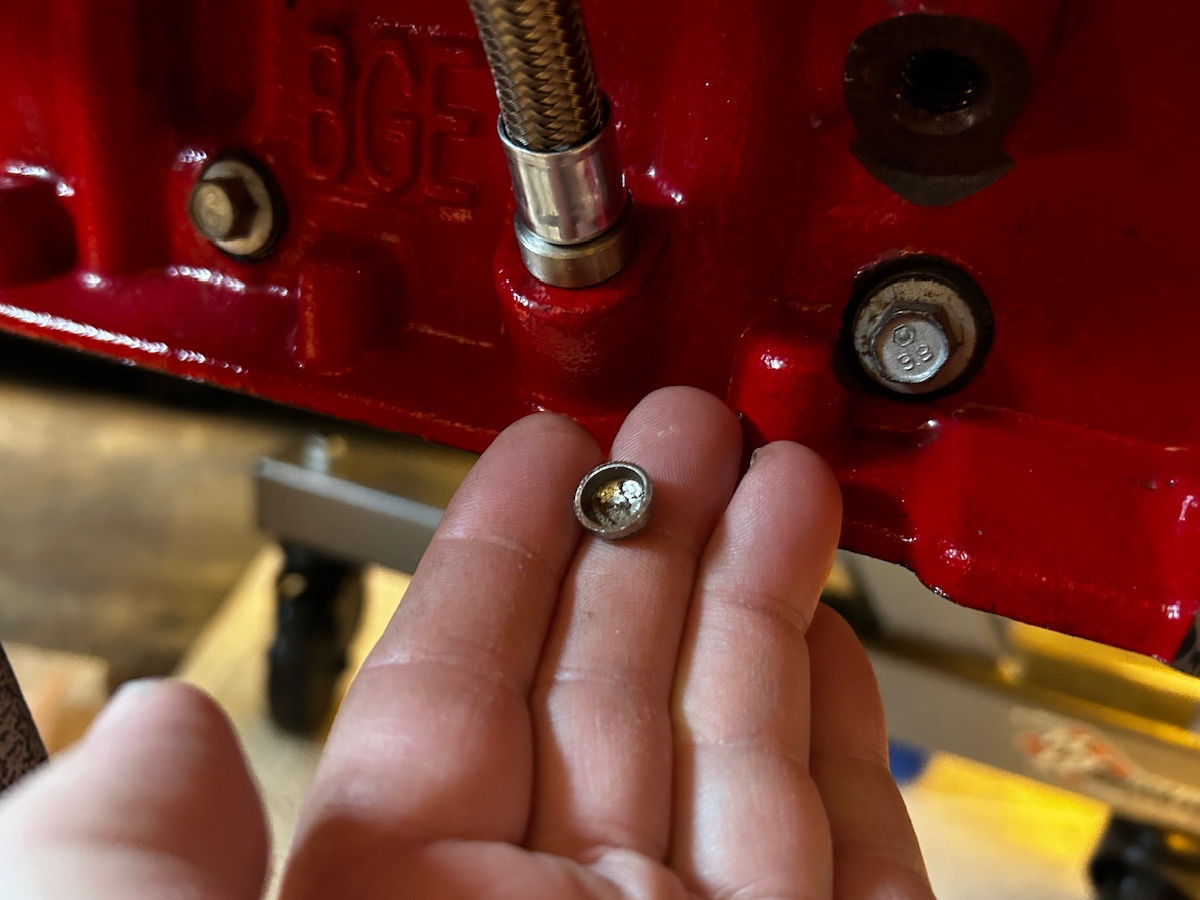
Left: A quick measurement from the back of the block to the front of the pan let’s us know that we’re not going to have a clearance issue with the front steering rack.
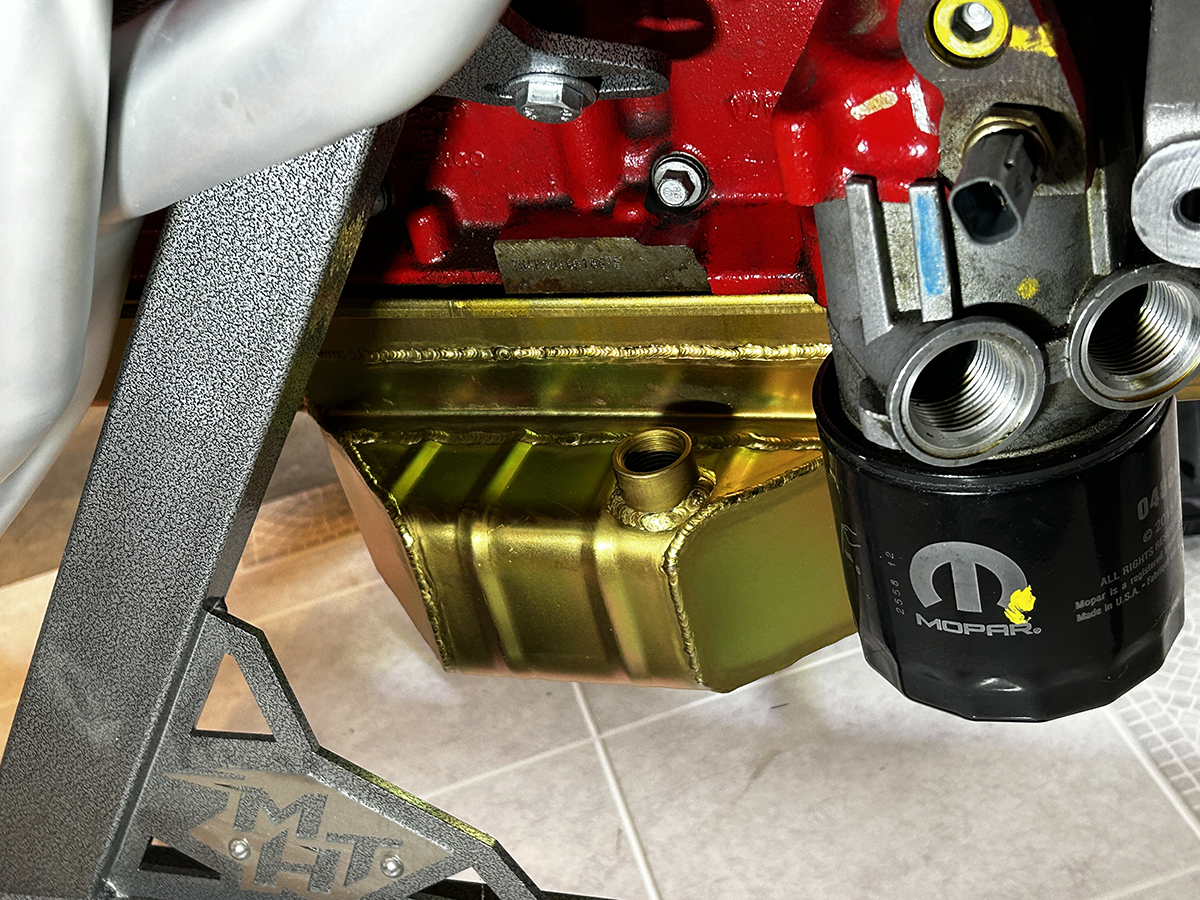
Right: That fitting is for a mechanical pressure gauge, but can be plugged off with a 1/2″ NPT fitting, found at most auto parts or home improvement stores.
Prepping A Milodon Oil Pan For A Gen 3 Hemi
For this part of the project, we wanted to perform a dry install, just to make sure everything fits, clears, mounts, and looks great doing it. Putting all the pieces together, however, is going to be like a jigsaw puzzle – and if the engine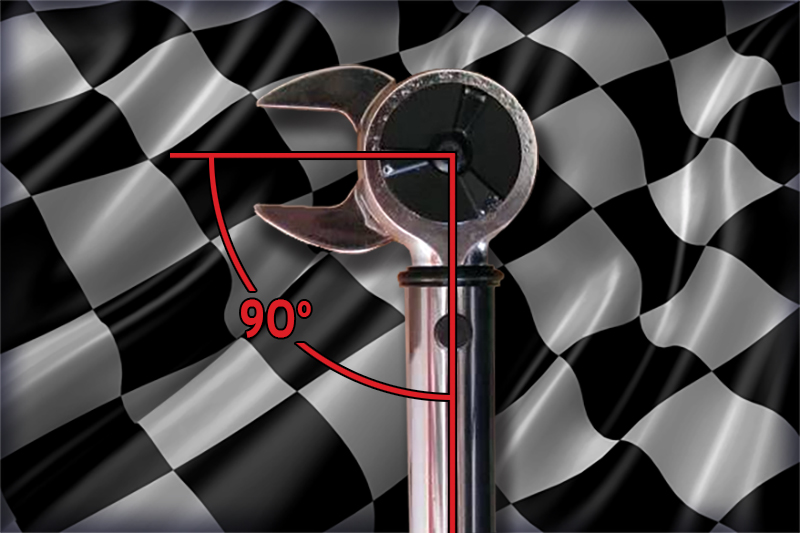 was upside down on an engine stand it would be considerably easier. For this, it’s on the back wrenchin’ old school style. The parts need to go on in this order: gasket, windage tray, pickup tube, gasket, and pan. But first, we need to move a couple of bolts.
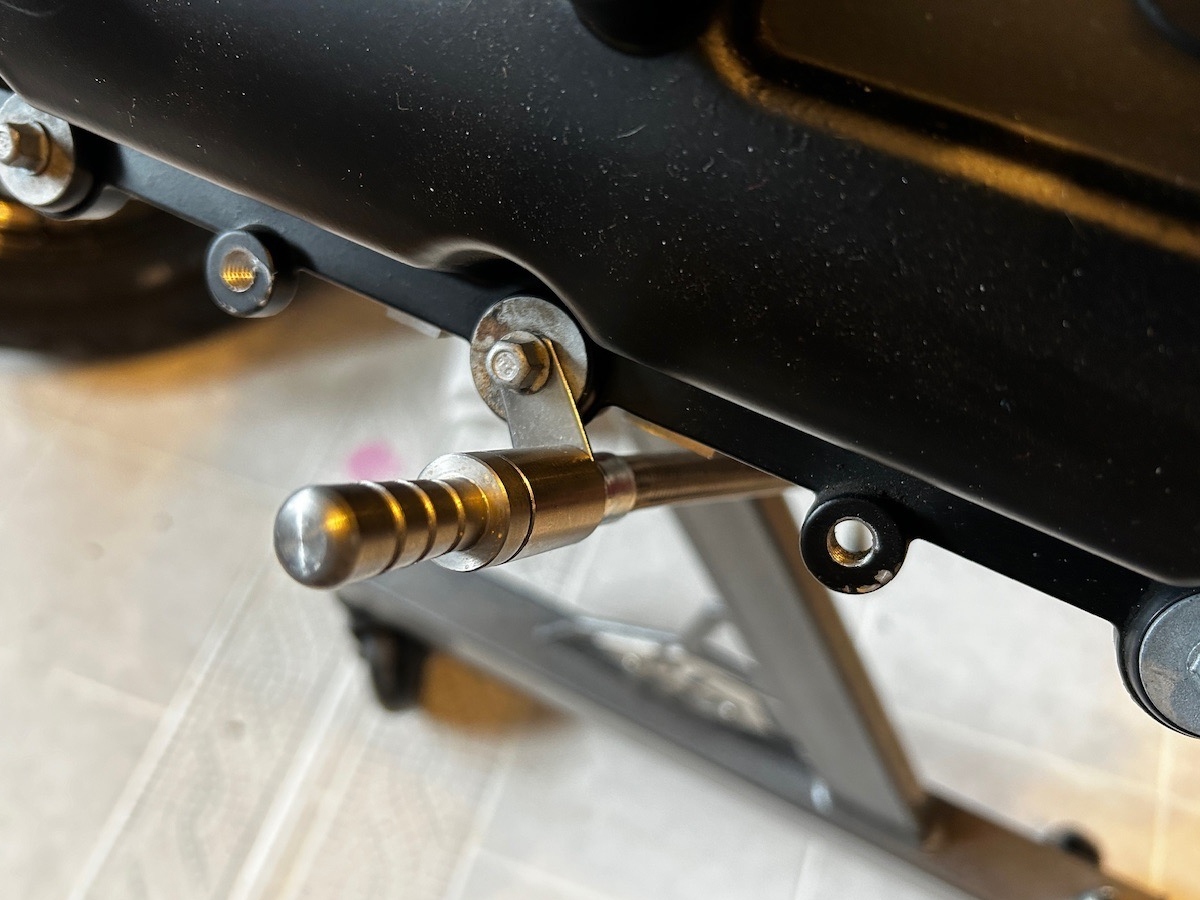
On the OE setup, the front sump means that there’s a support stud for the pickup tube incorporated into one of the main cap bolts, and that needs to be swapped with the center main cap bolt. The good news is that you won’t need to go out and buy new hardware for this swapping of the bolts, but you will need a really deep 15mm socket, because the standard deep socket isn’t deep enough. You can use a 15mm crows foot attachment, and as long as it’s at a 90º fitment with the torque wrench, it shouldn’t affect the torque setting – so be sure not to use the ratchet part of the torque wrench and keep the crows foot at 90º

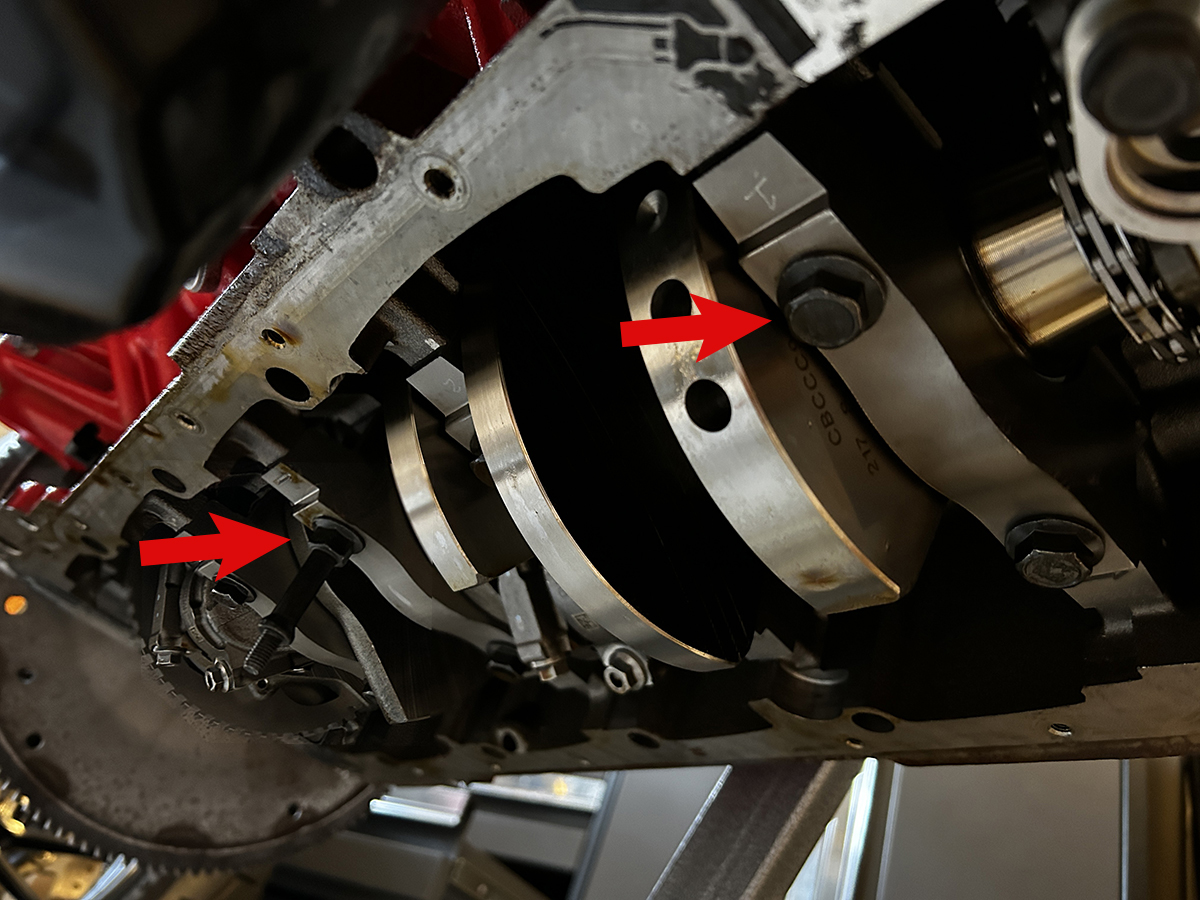
The support stud for the pickup tube needs to be moved to the center to support the mid-sump pickup tube, and you can simply swap the two bolts.
Here’s where things might get a little interesting for you; if you’ve ever assembled a Mopar block you’re probably used to seeing about 85 ft-lbs to torque the main cap bolts. The Gen 3 Hemi is less – considerably less – so hopefully you didn’t go all gung ho on tightening the bolts without getting the specs first. The Gen 3 Hemi mains are torqued to 28Nm, or just 21 ft-lbs, followed by a 90º turn of the bolt. For reference, 21 ft-lbs comes pretty quick, but that quarter-turn follow up is where the business end takes place.
While just about everyone has their go-to when it comes to sealing gaskets, we reached out to Milodon to see what they recommend for the four gasket surfaces on this install. Since we still have to remove the front cover and perform some changes, it will be a while yet before we actually seal up the pan, but wanted to have everything else done to ease installation when the time comes.
If you’re working with the engine on a stand, like we are, it might come in handy to have an extra pair of hands to hold parts in place so the pickup tube can be installed.
When it comes time to install the oil pan and seal it up, there is a procedure, as mentioned above. With twice the gaskets, you’ll be using twice the sealer. Most people have their go-to sealant for specific components, but we wanted to know what Milodon recommends, so we reached out to Tom Short, Sales Technician. He recommends an RTV type silicone for sealing up the pan. RTV is an acronym for Room-Temperature-Vulcanizing, which means it will cure at room temperature, and doesn’t require getting the engine up to temp for it to fully cure.
“You can use the red or the black, but you want to be sure to seal it, especially if you’re running a synthetic oil,” Tom told us. “I would start with an application to the block, then add a gasket, another application to the gasket and add the windage tray.” From there, the process is repeated by adding sealant to the tray, adding the gasket, another layer of sealant, and finally the pan. In the middle of all of this, however, is when you need to add the pickup tube, which must be attached after the windage tray is placed on the first gasket, as mentioned earlier. That’s a lot of sealant, so make sure you have everything ready to go before you install the pan – it would be a shame if you thought you had enough in that partially used tube, and ran out on the fourth pass around the block.
One final part of the prep work was to install the oil dipstick; there’s a plug on the left side of the block and punching that out (upwards) will open up access for the dipstick to slide into place. Because of the varying applications for the Gen 3 Hemi, the dipstick itself isn’t marked, and the pan depth is a little different from the OE pan, so you’ll have to fill the engine with oil, then insert the dipstick and make marks on the end of it with a file. One way to do this is to pour one less quart in and let the oil settle, then mark the low spot, and then add the final quart and mark the high spot when the oil has settled.
Left: The Dipstick tube mounts to the valve cover, but keep in mind that header tubes may require it to be moved to the next bolt location.
Right: It’s starting to shape up, and next we get to remove the blower so we can swap out the timing cover to the 6.4L cover.