
As gearheads, we rarely ever read the instructions until after the installation failed. We try our best, and tell our friends, “This is a piece of cake, it’s so simple my kid can install it.” We kind of show off a little, don’t we? And then when we hit a brick wall, we try to blame it on the parts: either they don’t fit, or they aren’t the right parts. It’s an honor thing, and sometimes admitting failure is admitting defeat.
We’re too proud to read the instructions; especially if those instructions were likely created by a someone who has never installed the part themselves, right? Yes, we’ll use any excuse we can for why things don’t go together properly.
Once our installation fails we realize that we should have followed those instructions the first time. When we follow good instructions, everything goes together properly, and we have a successful installation.
Sometimes the instructions are spot on, and developed by people who know their product and how it installs. An example of that would be the instructions that come with a set of gauges from Dakota Digital. If you want to talk about thorough instructions, they even let you know when a certain task should not be performed, especially when you think it should. They know what you’re thinking before you think it, clearly because it’s exactly what they would have thought.
But that’s only going to happen if you actually get instructions, something we include with every fan relay kit we sell.

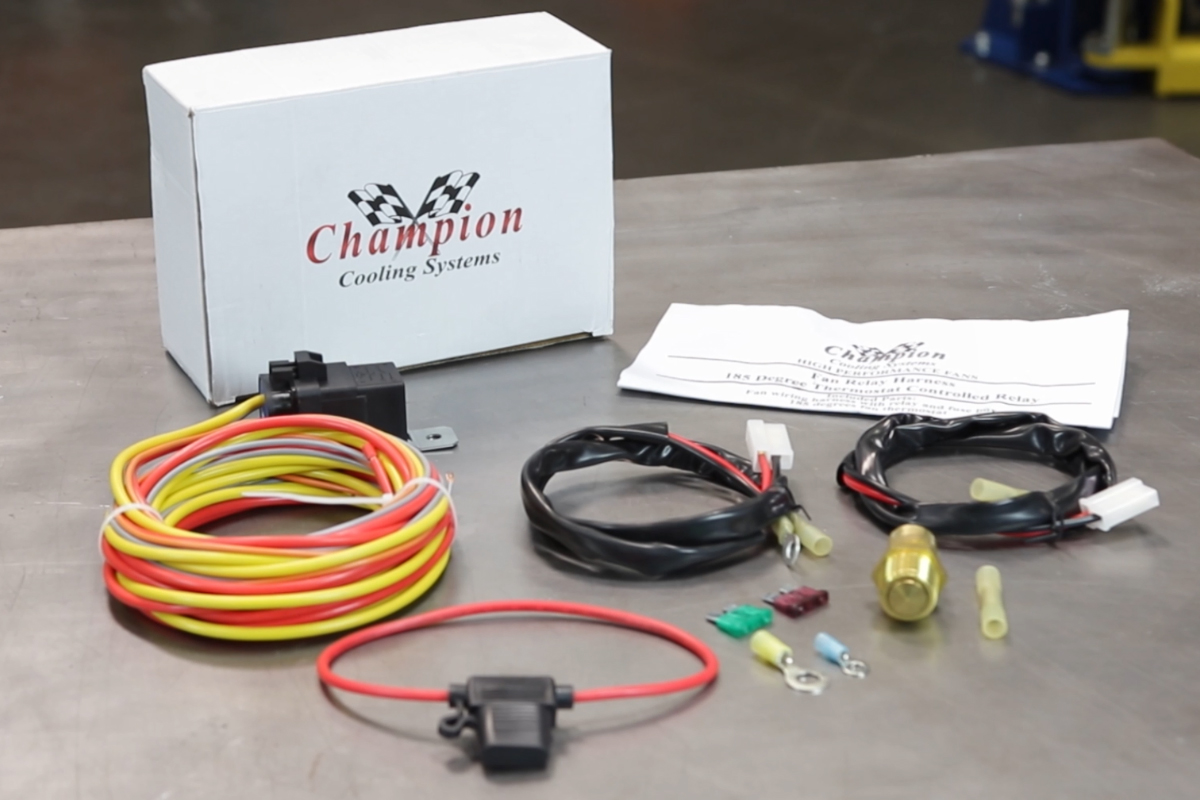
If your relay kit doesn’t come in a box with our logo on it, then it’s not our relay kit (left). Full instructions are included, plus you find instructions on our blog.
Where Are My Instructions?
We get calls occasionally here at Champion Cooling Systems and the customer tells us that they didn’t receive any instructions with their cooling fan kit. They tell us they’re not sure which wire goes where on the relay and since we didn’t include instructions they can’t wire it up properly. However, what we almost always find out is that even though they bought a genuine Champion Cooling radiator from one of our dealers, the fan and relay kit wasn’t our product.
As a manufacturer, we sell radiators and cooling fans, shrouds, and relay kits, both to our customers and our dealers. But as a dealer, they may buy our radiator and not our fans or relay kits. They might get them from another vendor, and if they don’t come with instructions, there’s literally nothing we can do about that.
Because it’s a Champion radiator, the customer will often assume that the rest of their purchase came from us as well, and we get that call. The only thing we can do is refer them back to the dealer where they purchased the relay kit, or sell them one of our own kits – which always include instructions.
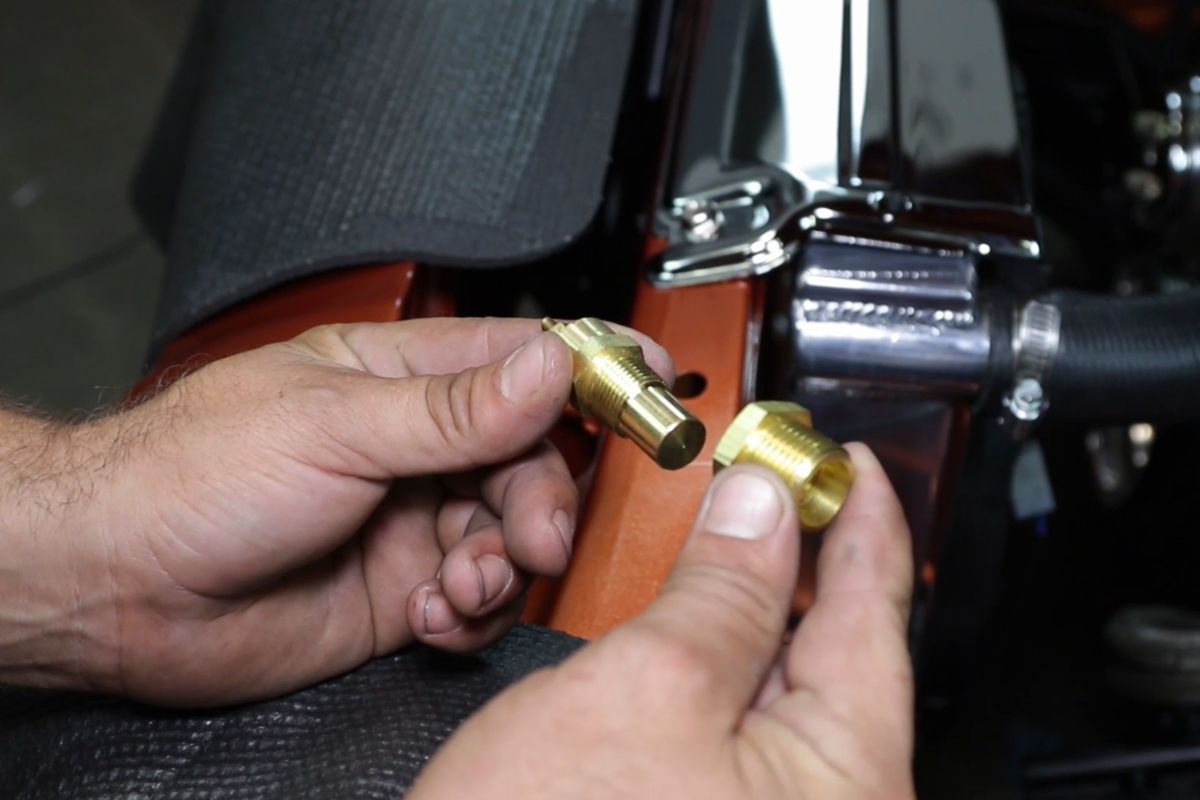
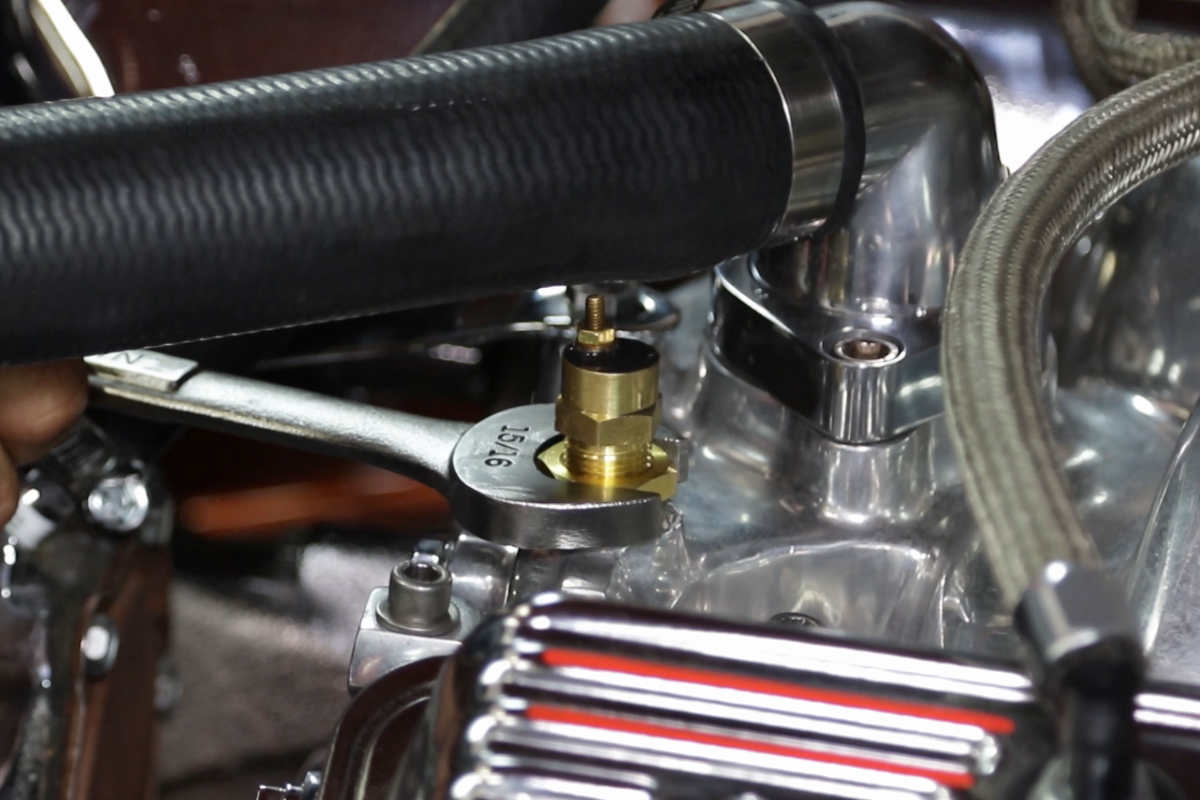
The temperature sender is designed to provide a solid ground connection once the temperature reaches 185 degrees. The wire connected to the sender can be removed grounded to check the system; if the other wire has a +12 volt source and the relay clicks, it’s functioning properly.
How Do You Wire Up A Relay Kit?
Relays are fairly simple, and there is a standard 4 or 5 prong relay that most everyone uses. The fifth prong – labeled 87a or 87b – is typically not used except for certain situations. Our relay kit uses four of the prongs, labeled: 30, 85, 86, & 87. It sort of sounds like a tennis scoring system, and to the rest of us it doesn’t make much sense. It’s actually based on DIN 72552, a German Institute for Standardization for automotive electrical terminal numbers.
On a typical relay, there is a switch system that works at a lower amperage than what the component can consume. Relays are used to protect switch circuits, as many automotive switches are not designed to handle high current. The relay consumes the current, switched on by a triggered connection, either by a switch or, in this case, a temperature sender. This is also why two wires are typically a larger gauge size than the other two.
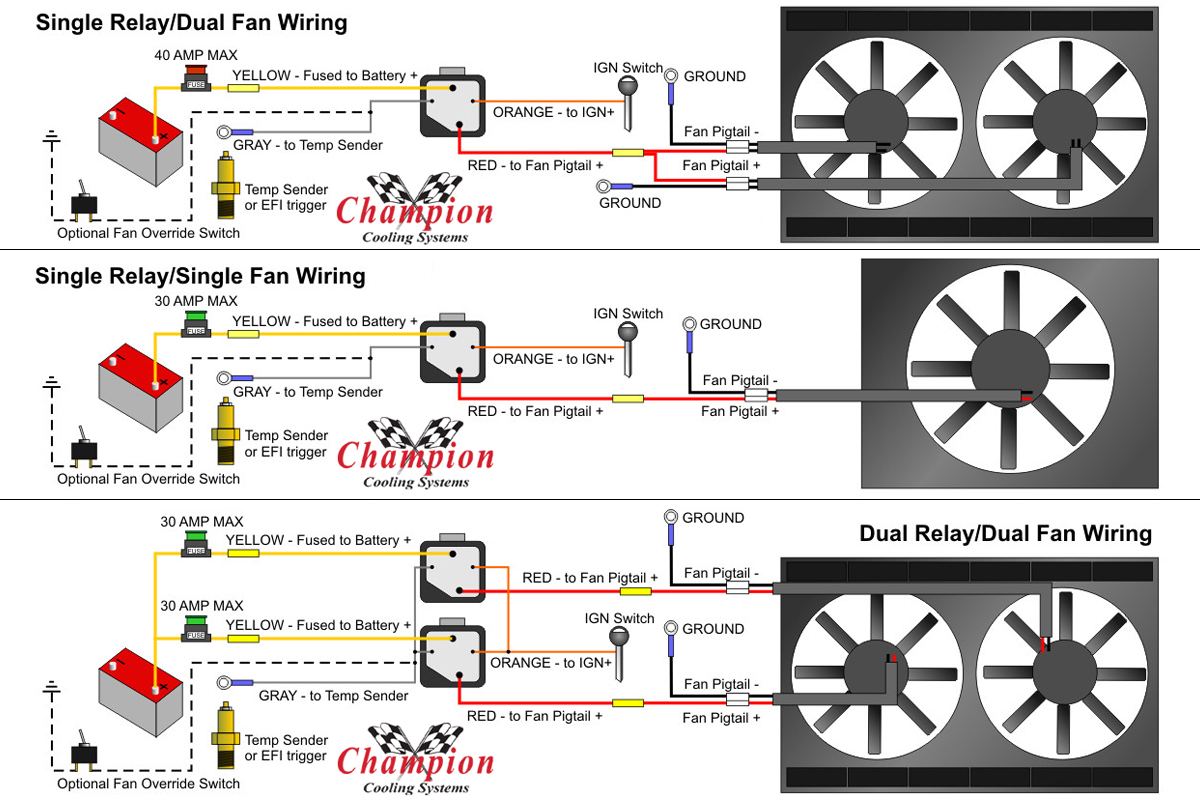

We include instructions for a single fan and a dual fan, using one or two relays, in every relay kit we sell. After all, we want to help you get back on the road as much as you want to.
To switch a relay on, the two smaller wires make the connection from hot to ground: the +12 volts comes from an ignition source, the negative connection comes from the temperature sender, which is designed to switch on at 185 degrees. Once that connection is made, a magnetic pull completes the connection between the 30 and 87 terminals, completely isolated from the switched connection.
Although it isn’t imperative that 30 is connected to the +12 volt source (battery) this is the standard. That connection supplies the needed 12 volts to the component, in this case the fan, connected to terminal 87. Relays can handle higher current loads than the switch can, but relays are also rated for the amount of current they can handle. Internally, if the current is too much, the circuit opens, and the relay will not function. So it’s important to use a relay rated for the kind of current load your cooling fan(s) requires.
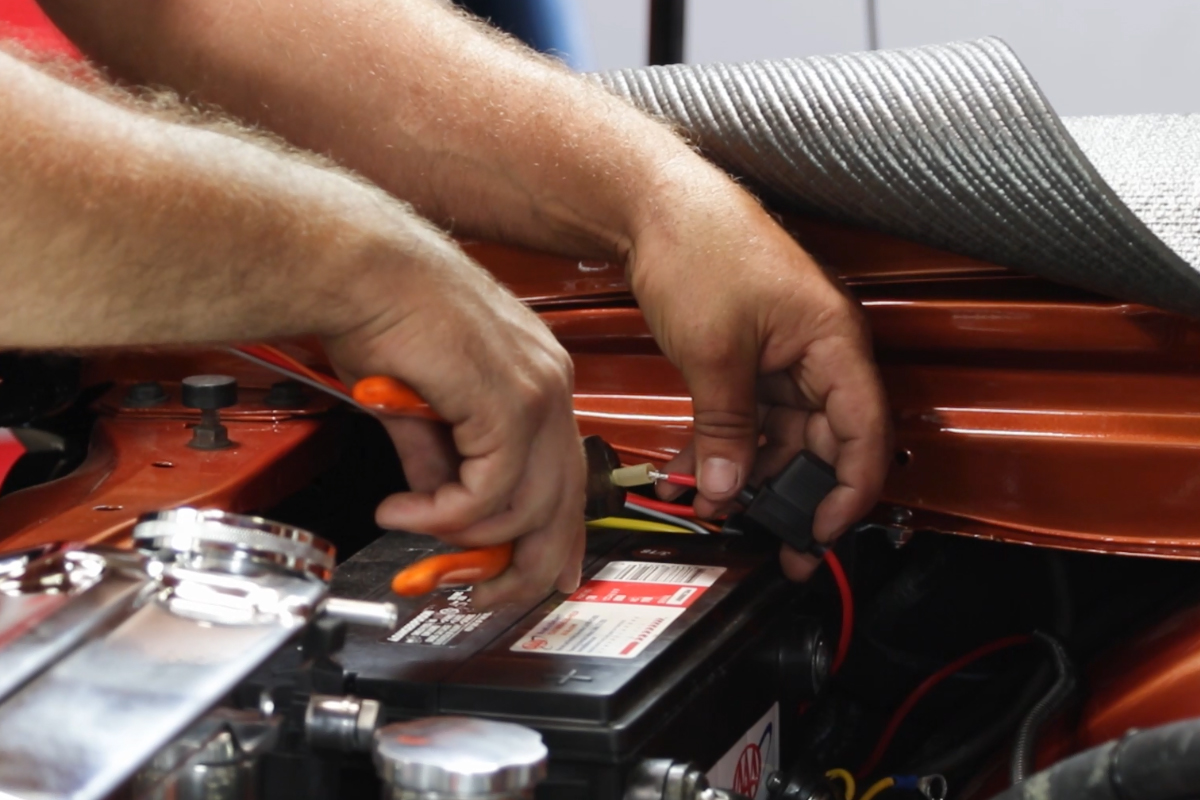
We’ve created a blog post to assist with wiring a relay, and that can be viewed on our blog page any time, but now that you know how a relay works, and how to connect the wires, this should help you get your cooling fans working – whether you received our relay kit or not. The video below will help with making all of the connections to get your cooling fans wired up properly.