When building a classic car or truck, there are lots of areas that can be improved upon over the way the vehicle rolled off the line decades ago. The standard upgrades typically include wheels, engine performance, and especially braking. But what’s left after you’ve made your ride more powerful, provided better handling and stopping power, and improved it’s looks? For us, going inside the car is an often ignored area and we can’t leave well enough alone.
The factory instrumentation was adequate for the day, and when it’s all you can get then you don’t really notice what you’re missing. Instead of an oil pressure gauge, you had a red light that came on to tell you that you had low (or no) oil pressure. Instead of an actual temperature gauge, you had that C-H gauge, sometimes with an orange light telling you that the needle being 5/16″ away from the middle mark is too hot.
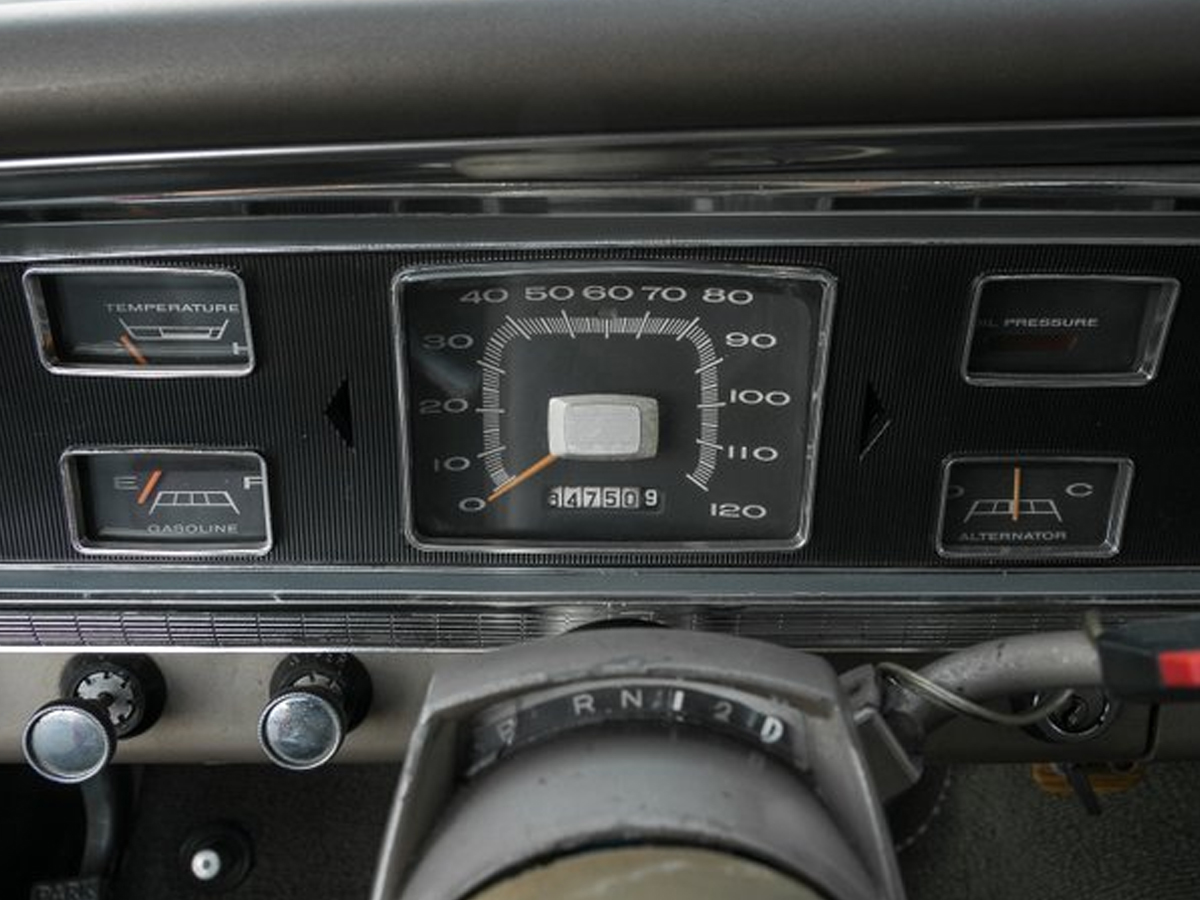
Like it or not, we often called them idiot lights – but only when someone else had them in their car. Occasionally, with spirited driving you would see a slight glow of the oil pressure light, but if it came on and stayed on you were probably going to have a problem. I remember an episode of Tool Time when Time asked Jill how long the light had been on. She casually suggested that she thought it would get brighter if it was a problem. Hence, “idiot light.”
Dakota Digital – The Information Gauge
Having a full array of gauges to occupy your instrument cluster, however, is a great way to keep track of everything going on with your vehicle: engine temps, engine speed (rpm), pressures, temperatures, levels, and even the time. Today, we can basically call our gauges an “engine management alert system” because it will inform us about everything going right or wrong with our vehicle.
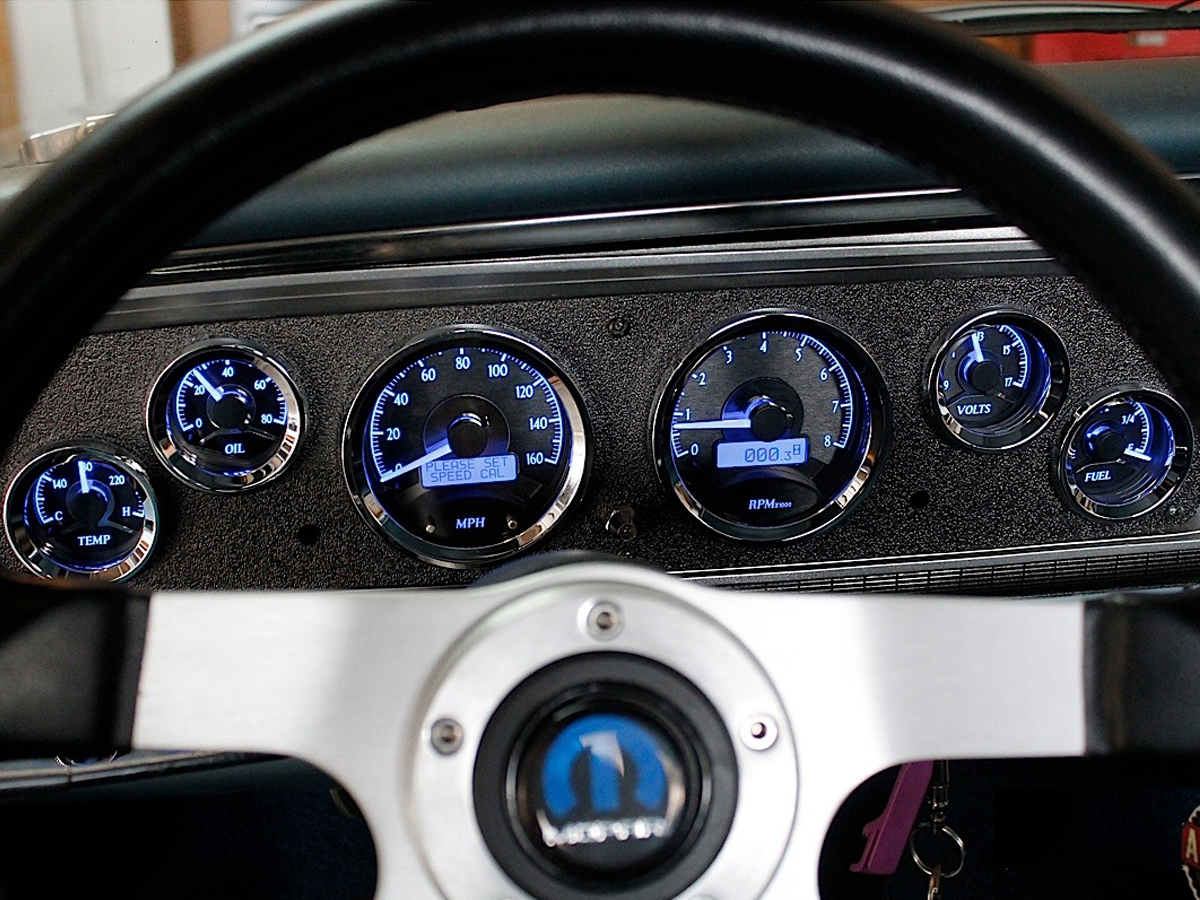
After having other aftermarket gauges in the car that were difficult to see at night, we came across Dakota Digital. In its early years, they were known as the company with the aqua-blue digital lighting seen in many street rods and customs. They were new to the custom car scene, easy to read, and you could have them light up in any color you wanted – as long as it was aqua-blue.
But over the years, the products have evolved into an incredible display of instrumentation with backlighting options that started with red, white, or blue and jumped into this century with dozens of color choices to complement or match your vehicle. Instead of choosing one color across the board, however, you can now light up the needle with one color, the backlighting can be another, and even the numerals and marking can be a different color as well – all lit by dedicated LEDs mounted on the circuit boards.
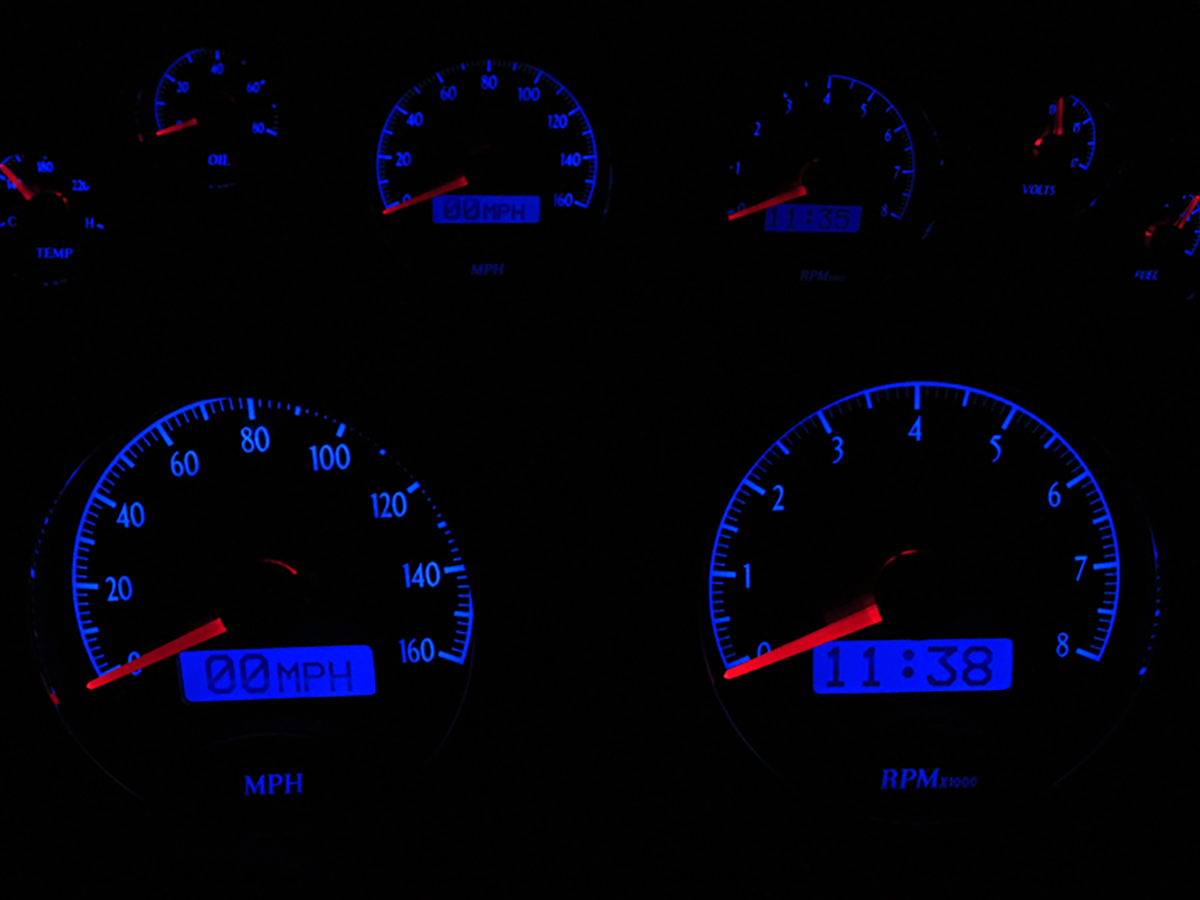
Customizing Our Gauges Even Further
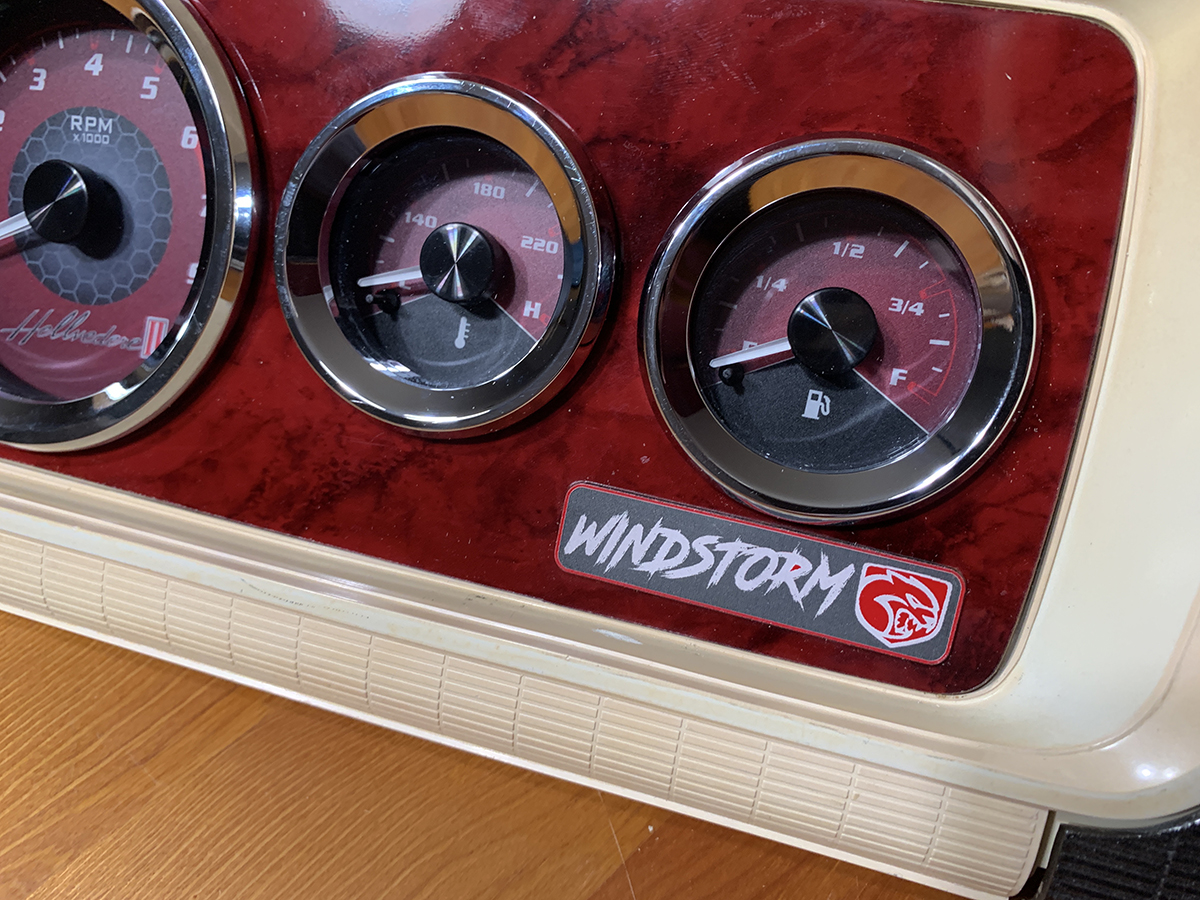
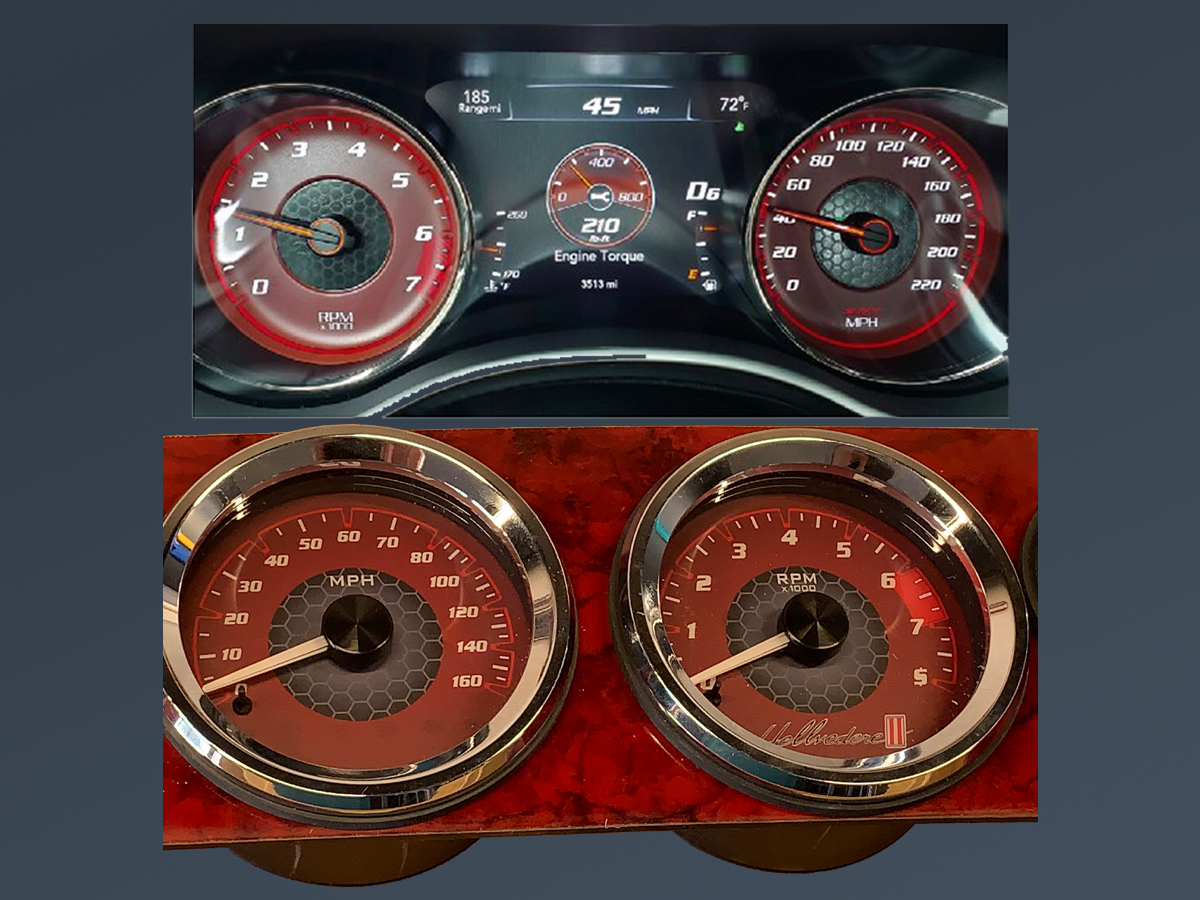
With the new array of colors comes a new array of choices, and while we were sporting the aforementioned VHX gauges with only one lighting choice, we cracked the seal and asked Dakota Digital to change the LED for the needle to red. That was the first change we made to our gauges, but we went back to them and made another request: a complete redesign of the printed gauge faces. We were hoping to mimic the Charger Hellcat gauges and fit them into the confines of our existing gauges, and with that came another challenge.
Since our project is going to include a modern powerplant with a modern computer to control the engine, our friend at Dakota Digital, Scott Johnson, recommended that we opt for the HDX line, because it can support OBD II – and query much of the OE computer’s information and feed it to the Dakota Digital control box. This redesign of our gauge faces will mean more than just sending them a photo, however, it will mean creating the images in layers.
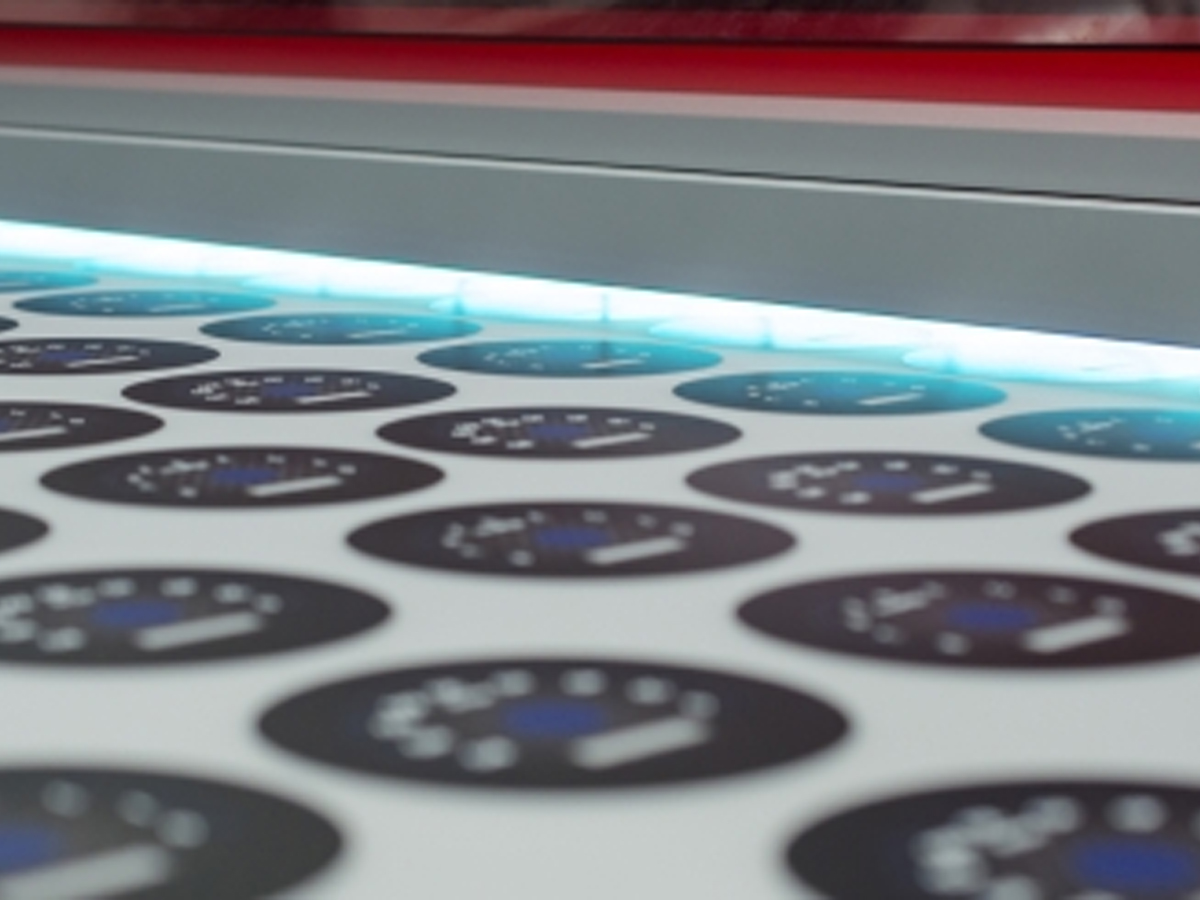
In order to create our custom gauges, we asked if we could do the design work ourselves, which is not something that is done often because of the complexity of the gauges and the placement of LED lighting. But they obliged our need to get into the nitty gritty of it all and we worked our magic; it does help by having a 40+ year background in graphic design, and 30+ years experience with programs like CorelDraw and Adobe Illustrator. Otherwise, the vision is left to the team at Dakota Digital to create your thoughts into a workable and visually appealing design.
The entire process can cost considerably more than the standard set of gauges, so if you’re working on a fixed budget then it’s best to stick with the standard gauges – of which there are multiple options with regards to color and design. A request such as ours can easily put you more than $1,000 over the cost of the standard set of gauges – whether individual, like ours, or a complete cluster. So keep that in mind before you decide that you want to create your own unique look, because the completed cost for a custom set of HDX gauges can run as much as a set of high quality, billet wheels would cost, and blow your budget out of the water.
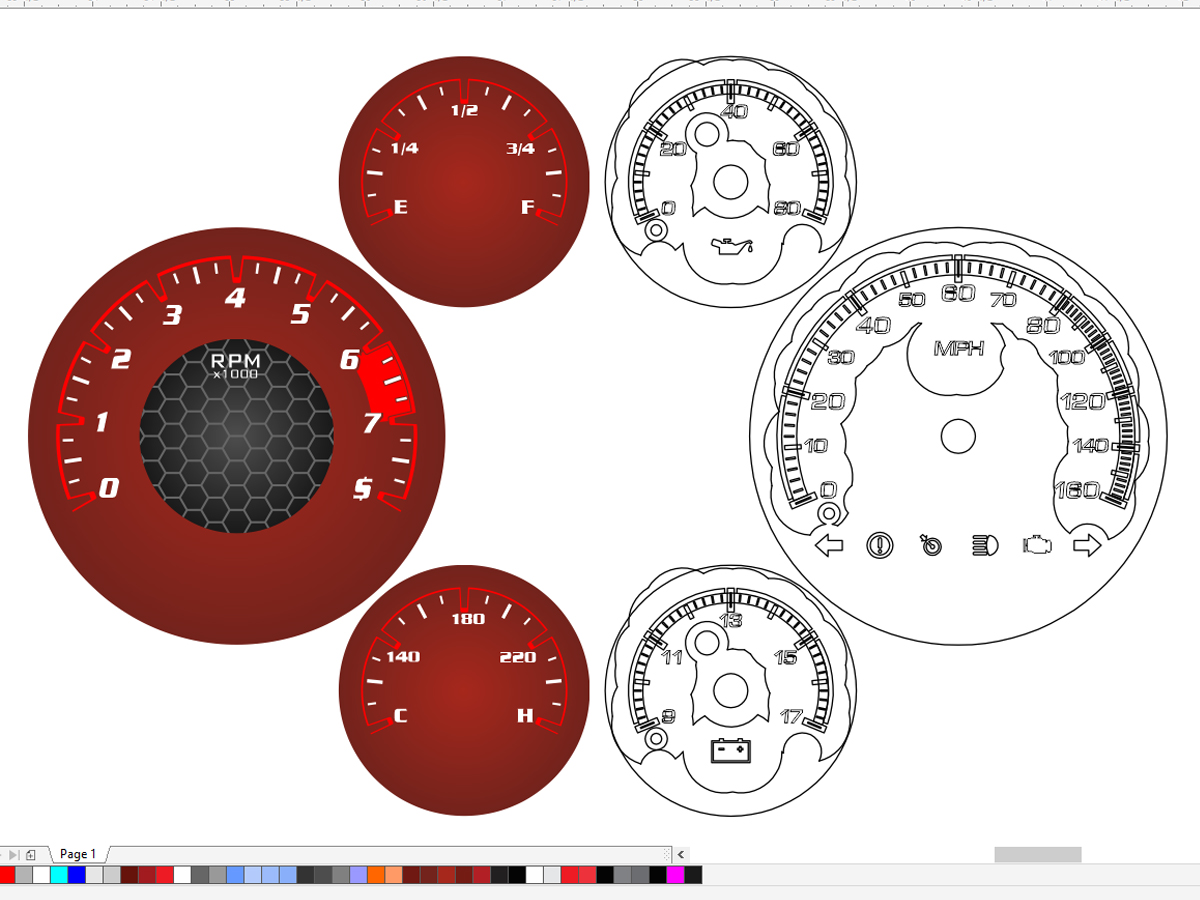
The process for customizing can be a bit over the top, there’s the back-and-forth of sending the design to them, them sending it back, them creating the files, and approving the design. As mentioned, if you have a vision for doing something like this, it’s best to let the pros at Dakota Digital handle it because it truly is a lot of work, and does require graphics skills and printing knowledge.
Keep following our Project Page on our blog, and we’ll show you the results in an upcoming article, along with installation of our new HDX “Hellcat” gauges for our Project Belvedere, along with the re-introduction and its new project name – we already dropped a hint in this article, can you find it?

