
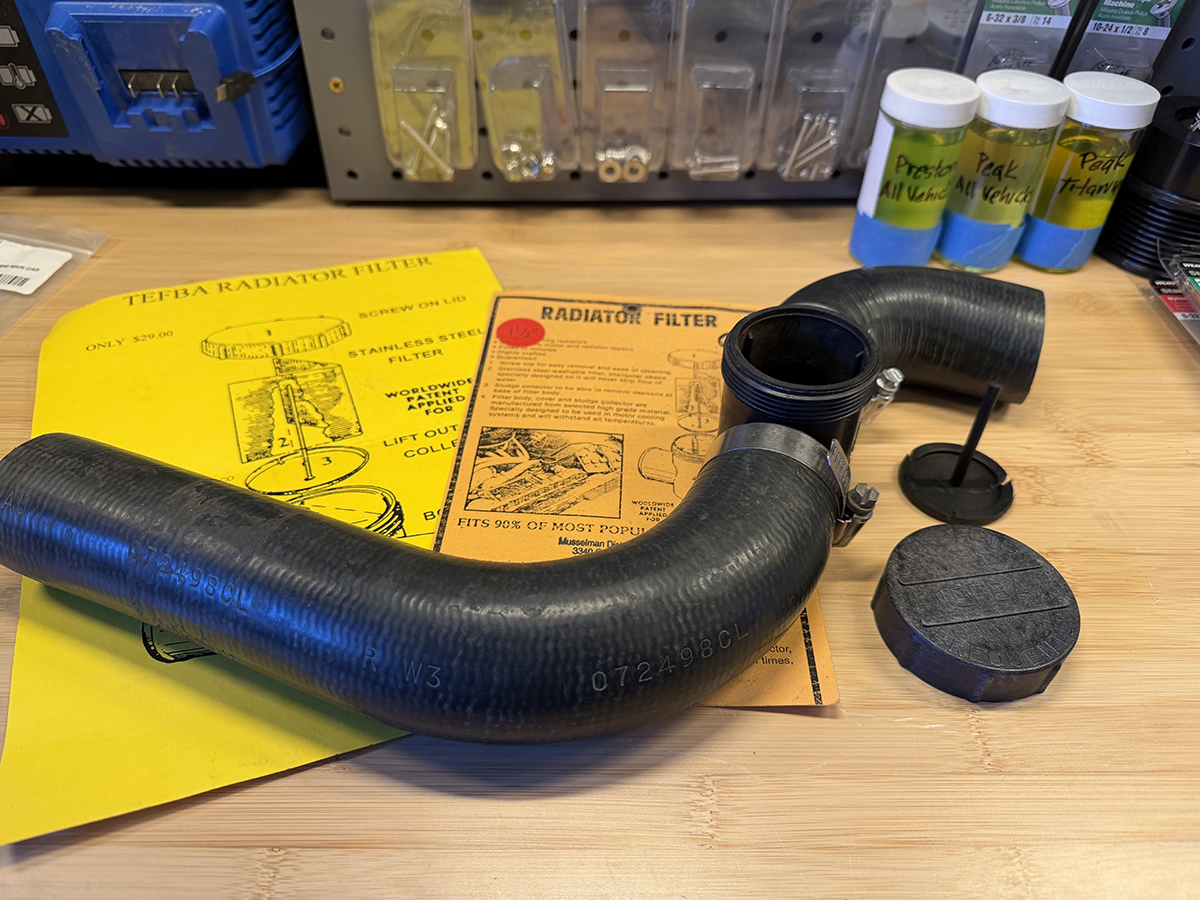
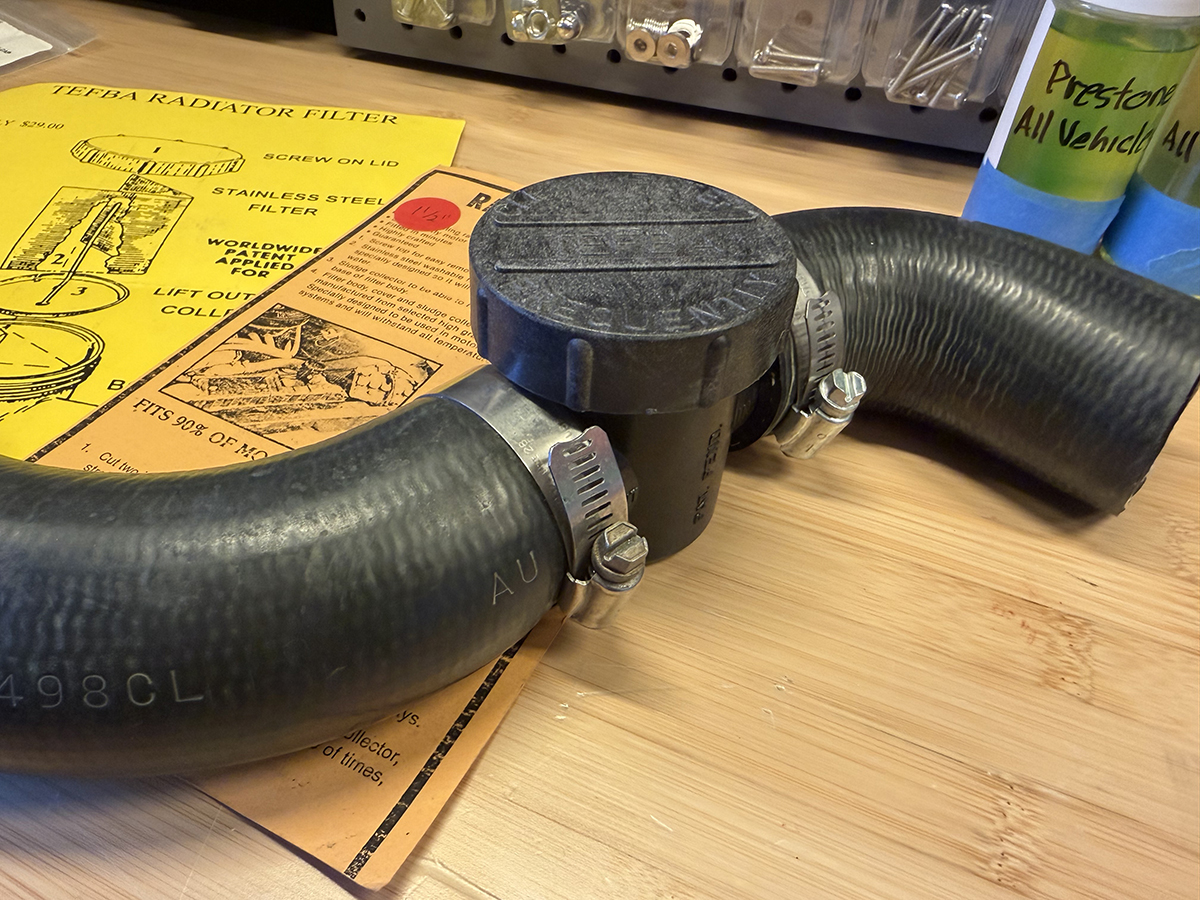
If you’re old enough, you might know that inline coolant filters have been around for decades. One of the earliest that was beneficial, yet cumbersome, was a simple ‘T’ fitting with a mesh screen that trapped debris as it passed from the thermostat housing to the radiator.
The filter worked, but there were a couple of inherent problems with it: you couldn’t see the condition of your coolant, and you had wait until the engine cooled down, and pressures subsided, before you could check it. Even then, you were essentially looking into a black hole without a light source, which still made it difficult to see how dirty your coolant is, or if there was a bit of rust in your coolant.
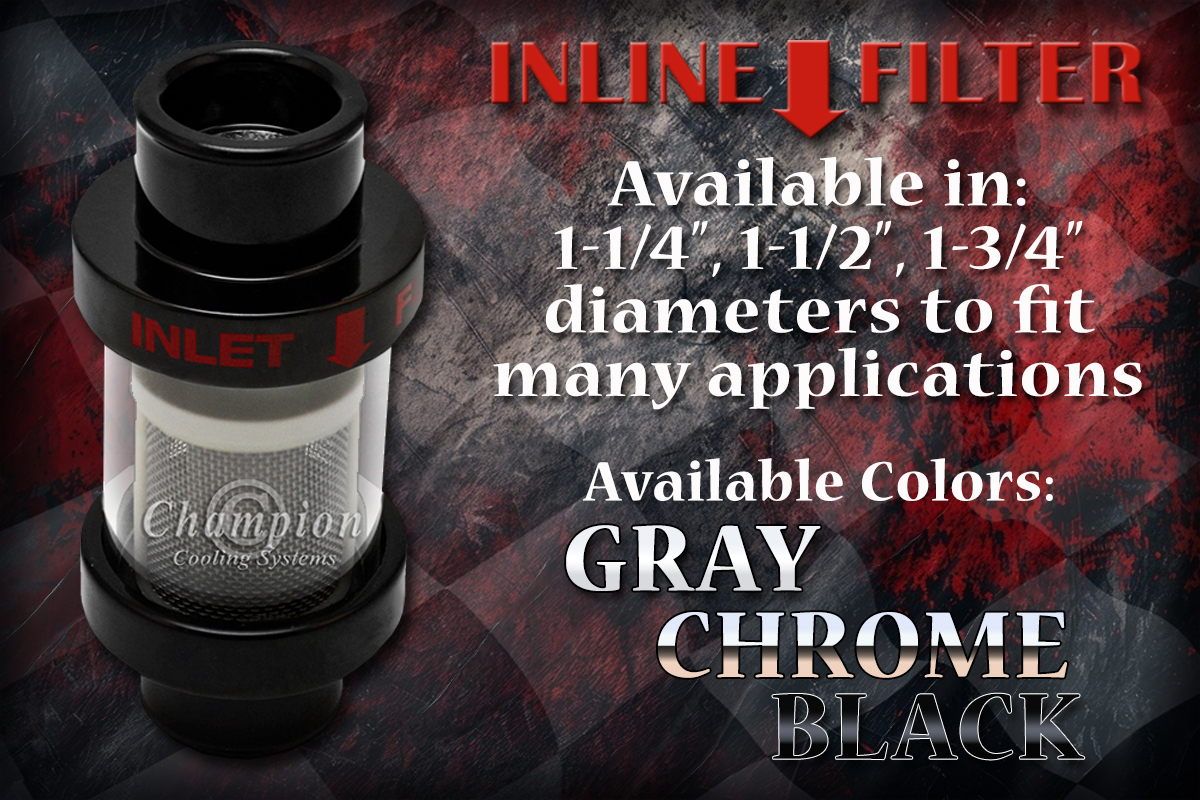
Like everything, inline coolant filters evolved, and though there are a few on the market that are similar to the original, the inline filter that we sell here at Champion Cooling Systems allows you to actually see not only the color of your coolant, but the condition, as well. Our high-temp glass sleeve not only provides a bird eye view of your coolant, but it actually adds a little color to your underhood display, as well.
While the older filter may have been a bit more stealthy, there’s a reason for advancing the design and allowing a full visual, allowing you to see the condition of your coolant: maintenance. The last thing you want is to remove that old cap to inspect your coolant, and find out that you probably should have checked it before you went on that last cruise. A clogged filter can give you signs, but usually those signs are a bit too late – like when you start overheating because the filter is clogged.
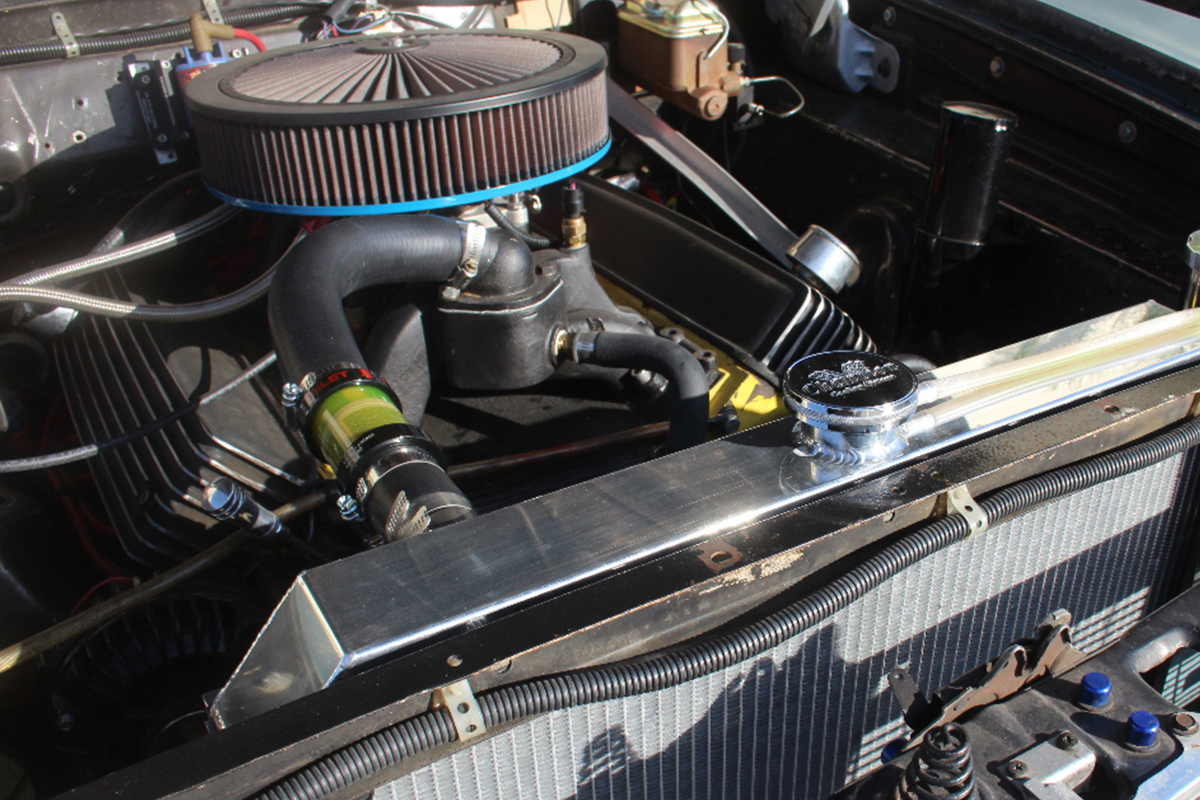 The filter adds a bit of color to the engine compartment, and the contrast is a nice touch.
When to Clean and Maintain Your Champion Coolant Filter
At the risk of sounding snarky, there is a simple rule in place as to when you should clean and maintain your filter: when it needs it. The rule hasn’t changed, but the ability to determine exactly when you should clean your coolant filter is far easier, and doesn’t require anything but opening the hood, and make a visual. The downside to this, of course, is if you don’t maintain your cooling system and someone else sees your dirty coolant while at a car show – they’ll likely say something!
But your ride is your pride and joy, so keeping up with engine maintenance and keeping your car looking and running cool is probably a priority, so you’re already on top of things, right? After all, if you’re opening your hood at a cruise night or a car show, you likely gave it a check before you left, and you’ll already know when it’s time to rinse out that filter. When it’s time, then you actually do need to wait until it cools down, and then you’ll have to disassemble your filter to rinse it out.
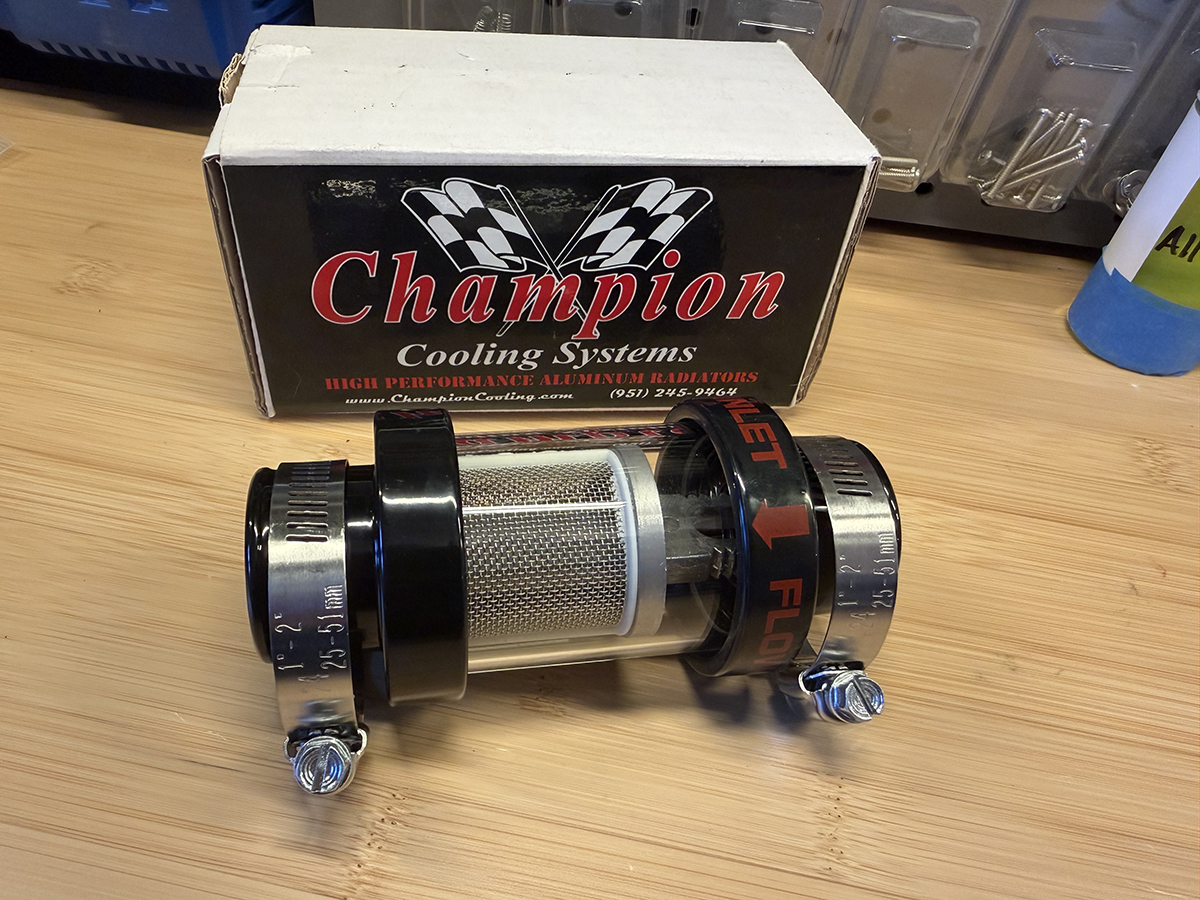
When you purchased your filter, it should be assembled properly, but don’t let that red arrow fool you! The filter can still be assembled incorrectly, so it’s important to know that it should be installed in a specific order, with the filter mounted to the radiator side, and not the thermostat housing side. This allows for a larger surface area to trap debris, and it doesn’t force debris to the inside of the filter, where it can build up and restrict flow.
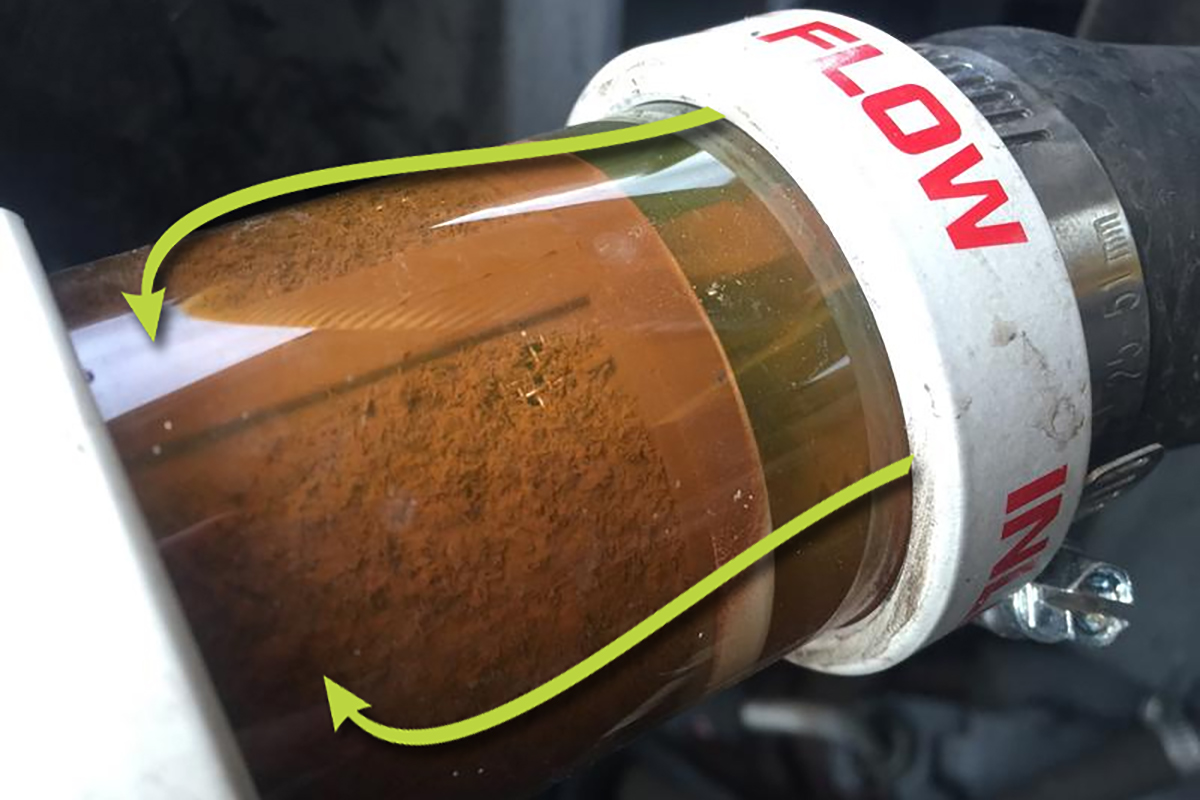
As seen in the image below – of a filter that is beyond the reasonable maintenance period – you can see how the debris is trapped on the outside of the filter, rather than ‘filling up’ the filter basket. We put that filter on a very old car that had been sitting for decades before being started. This was the condition of the debris in the engine, and all of the rust that would have ended up in the radiator, possibly clogging the radiator core.
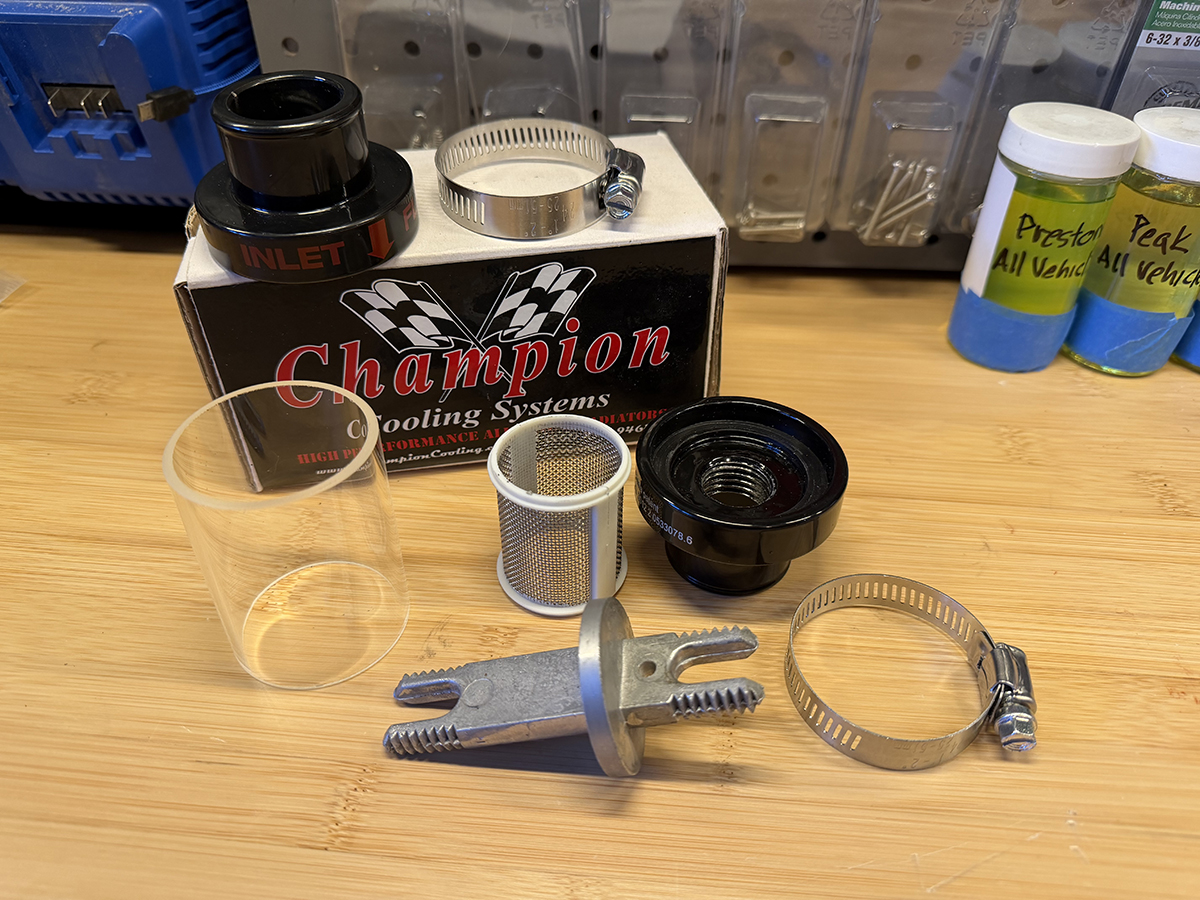
When cleaning the filter, first drain some coolant from the petcock on the radiator, to a point where the filter can be removed from the upper hose without any coolant left inside. Once removed, carefully take the filter apart by unscrewing the end cap at the radiator side, and placing the glass sleeve aside where it won’t roll off the counter or a table and fall to the ground. It is glass, but being high-temp doesn’t make it unbreakable. Next, remove the filter frame, and then remove end cap from the opposite side. It wouldn’t hurt to rinse all pieces off to remove any debris that may have attached itself to the rest of the filter.
Next, holding the filter mesh firmly, use a low pressure setting on your garden hose, and rinse the mesh from the inside out to dislodge any debris that has attached itself to the mesh. It’s recommended to do this outside to keep debris from going down the drain. Once all of the components are rinsed off, reassemble the Coolant Filter in the same order it was taken apart, and reinstall on the upper radiator hose. Then you can refill the coolant you removed, or if it’s time for a complete coolant flush, the opportunity is ripe.
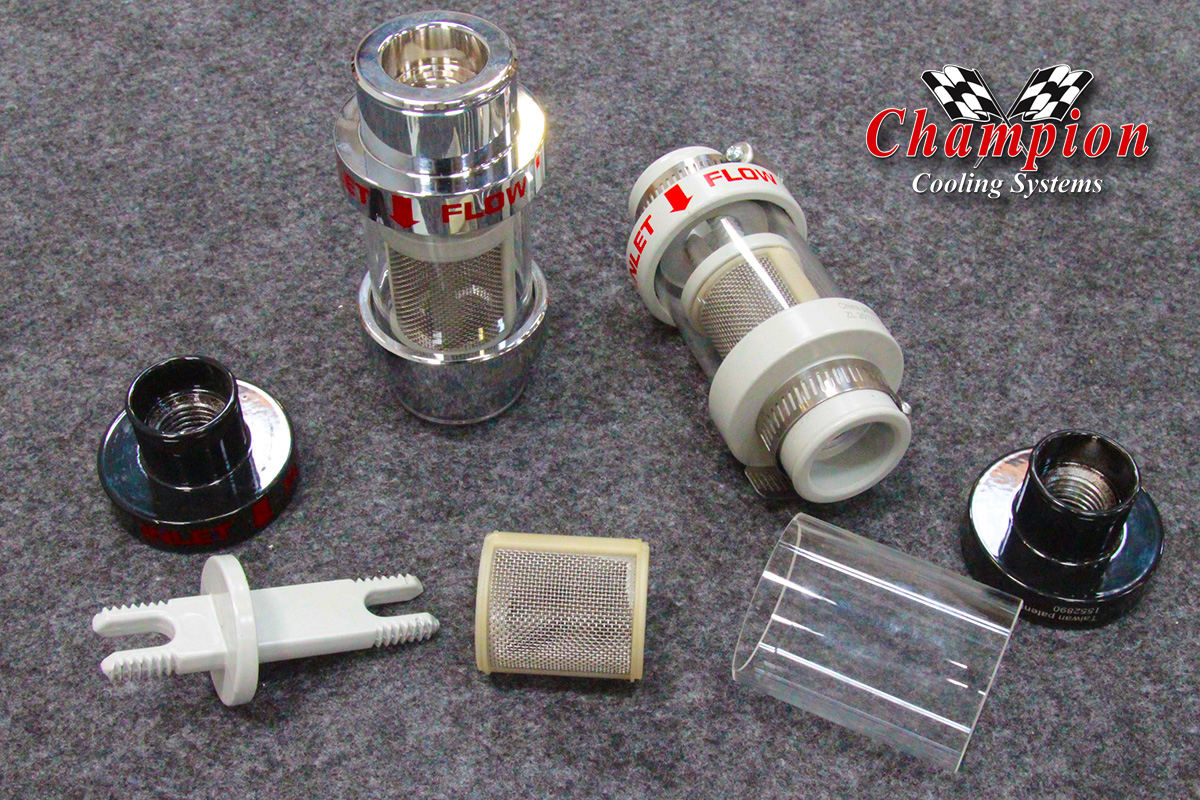
The filter can be taken apart and cleaned. The mesh screen will not rust, and will last a lifetime. It’s available in 3 sizes, in Chrome, Gray, or Black.
Please watch our video below, showing how to properly – and improperly – clean your Champion Cooling Inline Coolant Filter. As always, if you have any questions about cost, fitment, or availability, our friendly sales staff is waiting on your call or email. You can reach us at: Shop@ChampionCooling.com, or call 951/245-9464, M-Th, 8am-4:30pm.