
When you purchase a radiator from Champion Cooling Systems, you have some choices: our stealthy black finish, or a polished finish. When you choose the polished finish, you also have an option for a show quality finish for an additional charge. If you opt for the standard polished finish, you can expect that with time and after many heat cycles, that finish will need to be maintained, just like any other shiny surface. Add to that the occasional liquid that might drip onto a hot radiator, or an errant tool that crosses the upper tank, and it will become noticeable.
But all is not lost, you can actually bring back some of that shine yourself if you have the right tools, a little bit of elbow grease, and some patience. There’s no need to completely scuff down the surface, that’s actually going to make the job tougher, and it will take longer. If you have a deep scratch, a mechanical process might be the only way to remove that blemish, but as long as the blemish is only on the surface, you might be able to eliminated it with a few passes using a metal or aluminum polish, and a microfiber cloth.
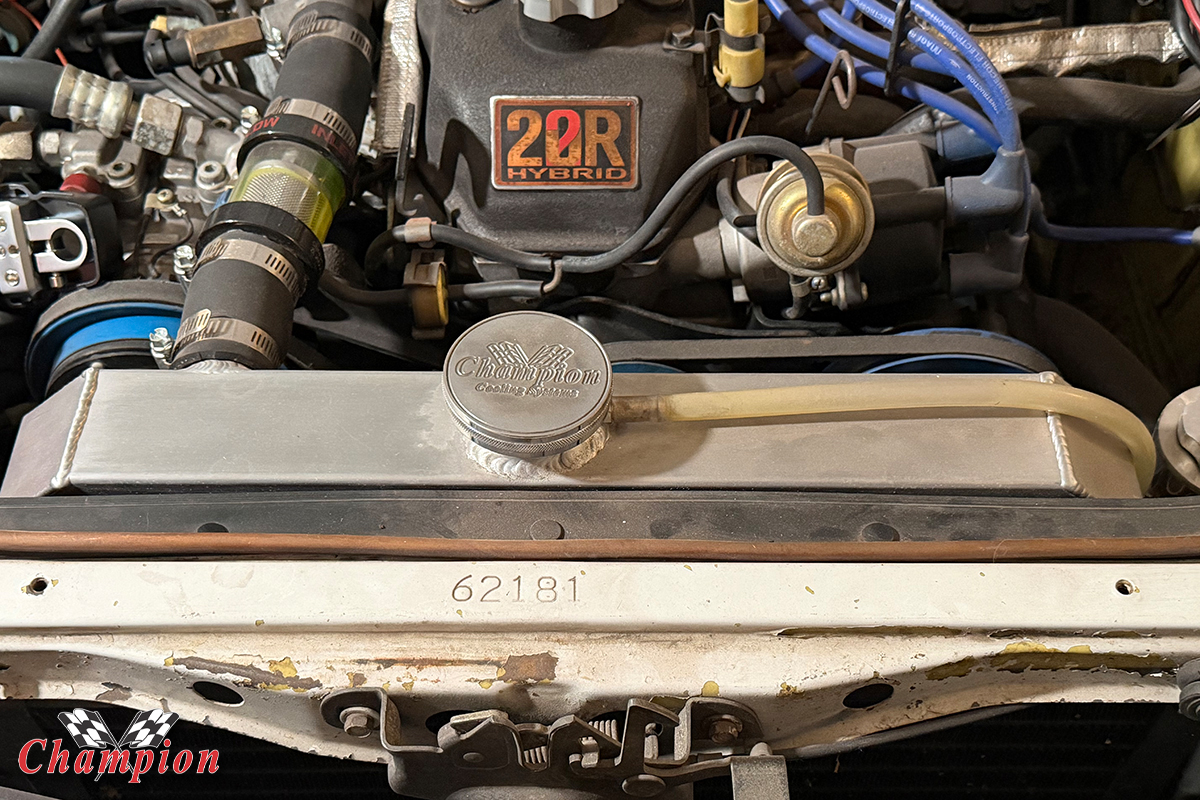
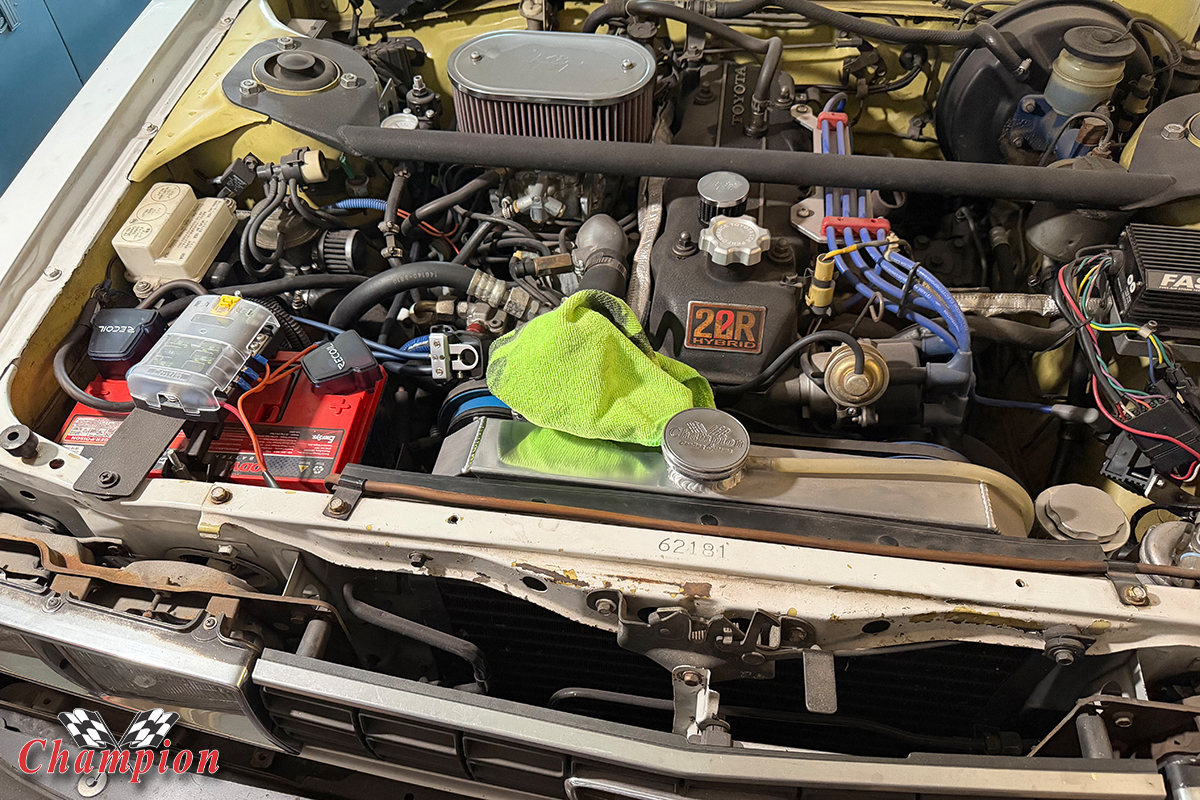
We chose this radiator for a reason: it had been scuffed with a Scotchbrite to clean it up, and then it sat for three years. Even after cleaning it up, it was still rather dull. Even after a couple of passes, that reflection is not going to cut it.
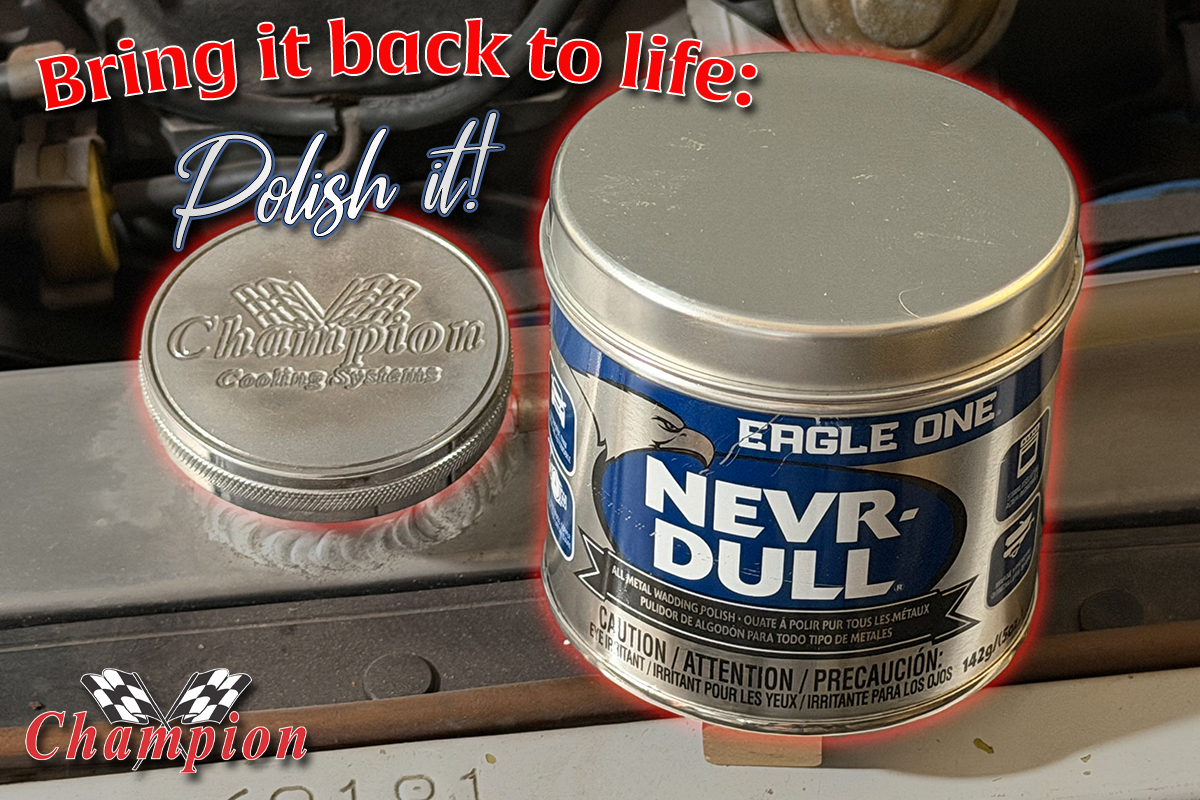
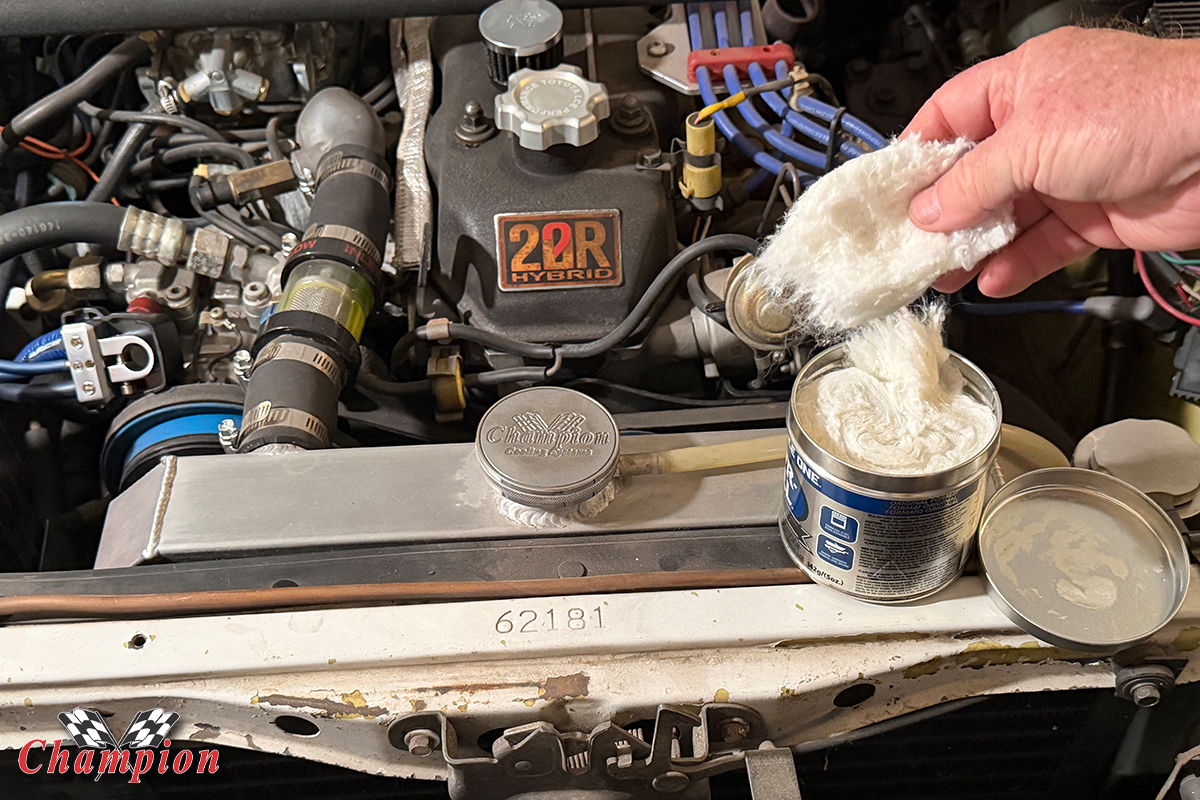
There are several different metal polishing compounds that you can purchase from your local auto parts store. And you can even find attachments for your cordless drill, or if you have a buffer, you can do a mechanical polish. If your desire is to get that mile-deep reflection and a mirror finish, you might have to go that route. But for a daily driver that you just want to show off, you can polish that upper tank by hand with one of our favorite polishes: Nevr-Dull. Nevr-Dull has been around for ages, and it’s now produced by Eagle 1 – a trusted name in the automotive aftermarket for cleaners, waxes, and polishes.
It should be said, if you’re showing your vehicle at a major event, by all means, hire a pro to put that mirror finish back on your radiator. But if you don’t mind a little elbow grease and you have a little bit of time to work on it, almost any metal or aluminum polish will provide excellent results. Always give the radiator tank a good cleaning: Simple Green is a great cleaner to remove any dirt or grime, and can also clean up any spilled fluid stains or grease that may be present.
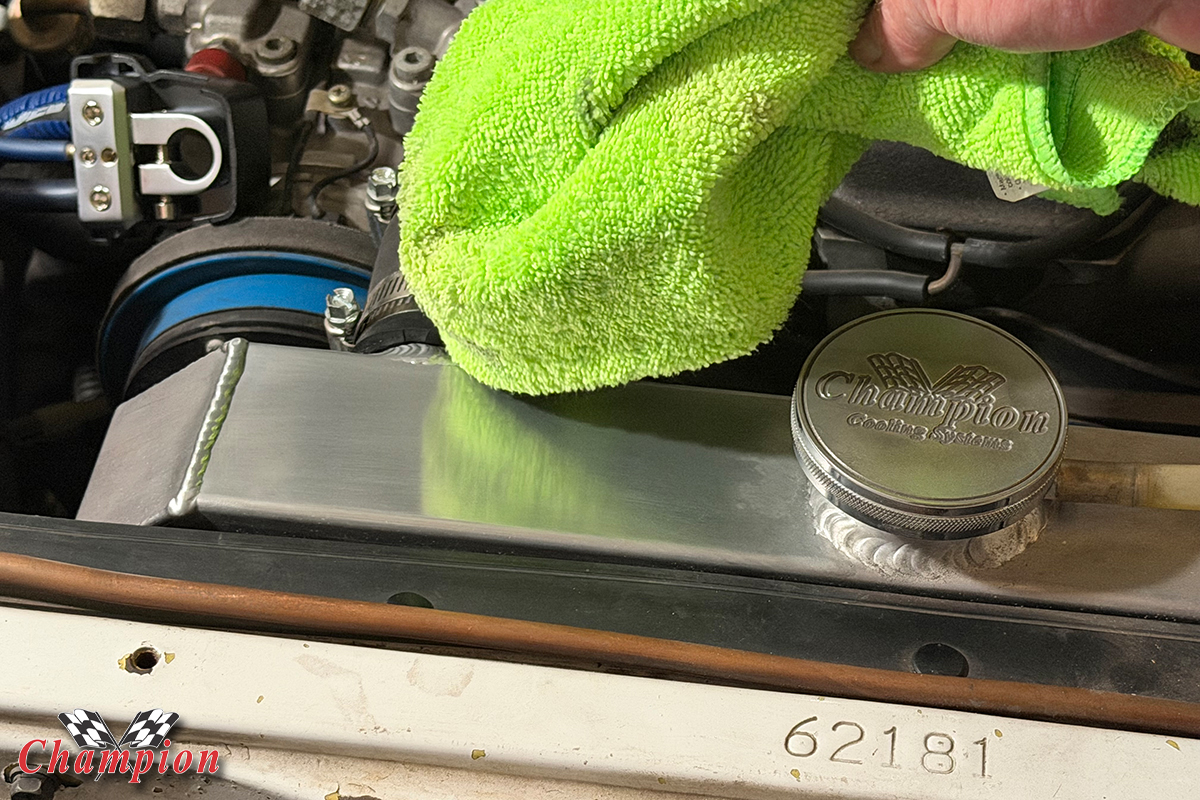
After about four or five passes, the sheen was starting to come back. There are more abrasive polishes that you can use to cut down the time, but for a nice finish that will get noticed, we opted for the less cumbersome way of doing things. To get a full polish on all sides of the upper and lower tank, it would require radiator removal, so we stuck with the ‘what you can see’ approach to clean this one up.
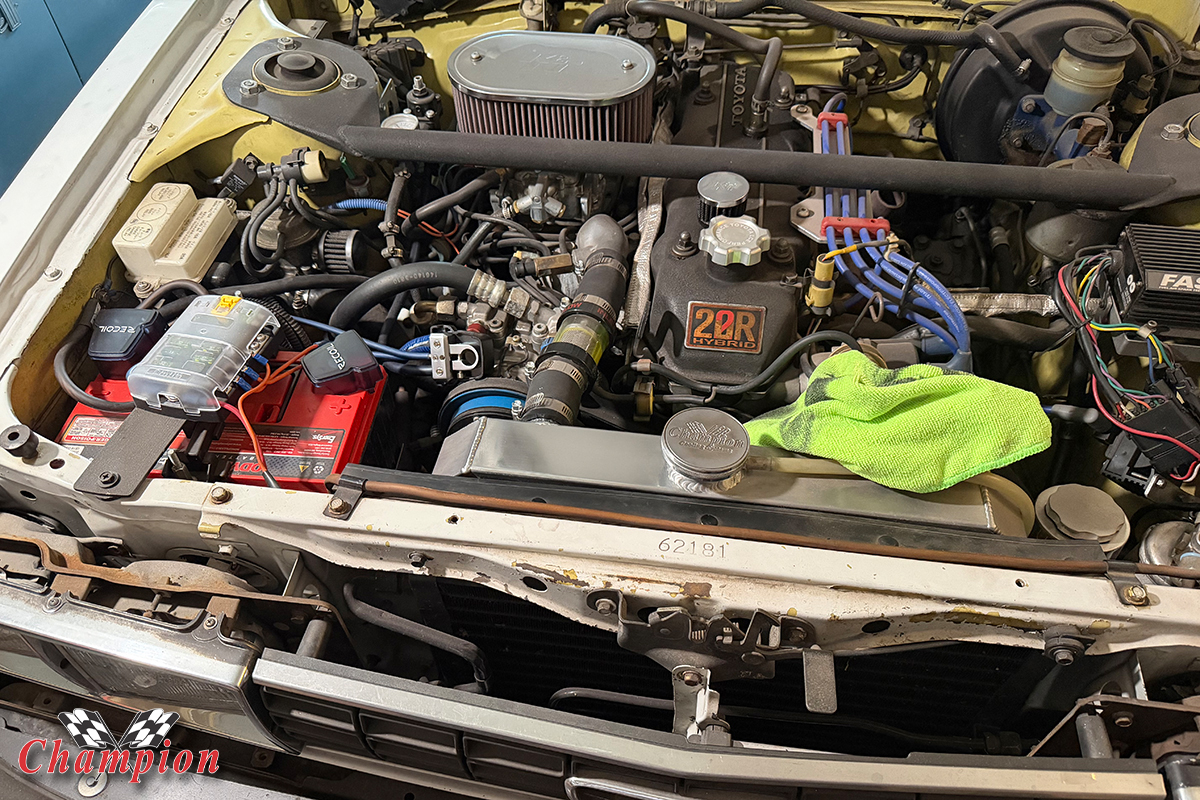
There is virtually no reflection at all on the right side, but the left side turned out pretty nice. Back to work…
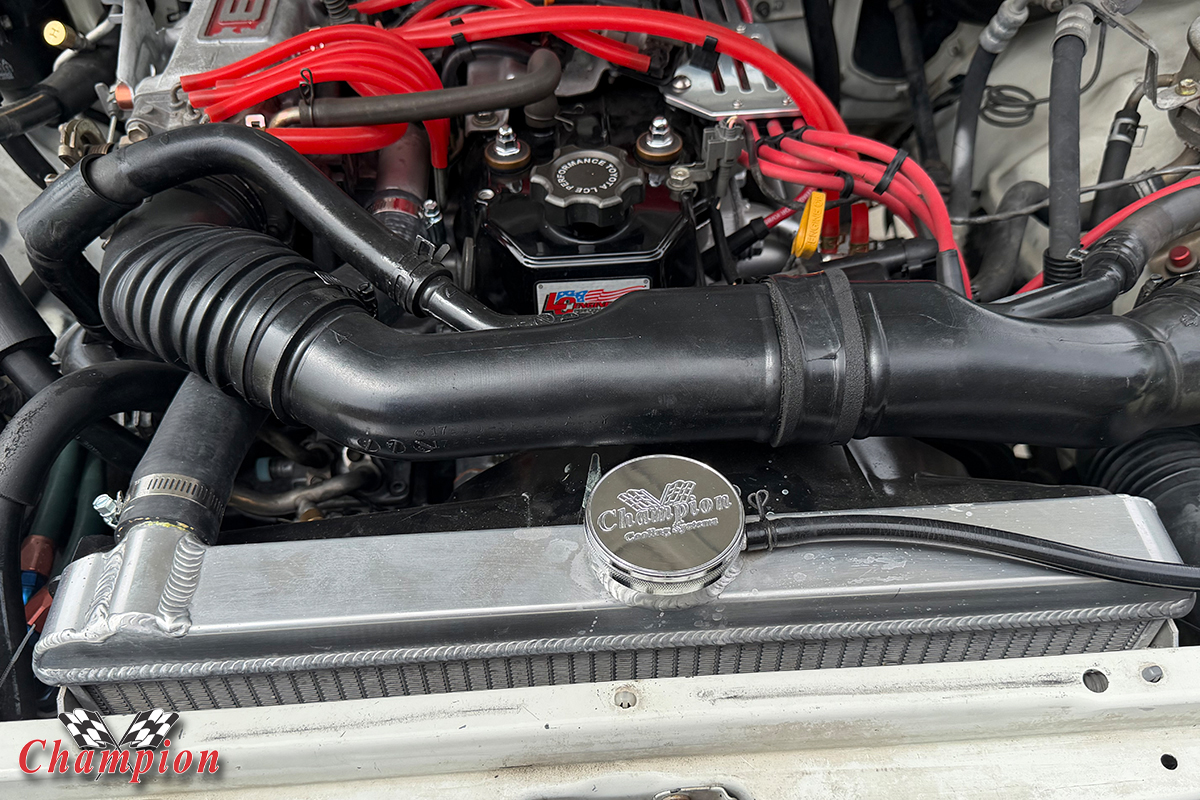
Overall, it took about eight passes to get the shine back, and compared to the right side of the radiator, you can see a huge difference. If you’re experienced with a mechanical polisher, by all means, have at it. But for a simple can or bottle of polish and a microfiber cloth, you can ‘git ‘er done’ in no time, and have a presentable piece of hardware to show off.
Next, we took to a radiator that was untouched, but sat for a couple of years while an engine was being rebuilt. This was a little easier, and we started with a better canvas to work with, and after a few passes we were able to start seeing positive results. It was blemished and a bit dull, but didn’t take long to start seeing some positive results.
We worked the polish in both directions to avoid a ‘pattern’ and polished in small circles at the later stages. With more of a cutting compound to remove deep scratches, patterns would be much more noticeable, just like it would be in your paint – which is why they tell you to keep moving and work in a circular pattern, or to vary the pattern to eliminate swirl marks. Orbital polishes help accomplish this when waxing your car, and replicating those motions while polishing metal can really help clean it up.

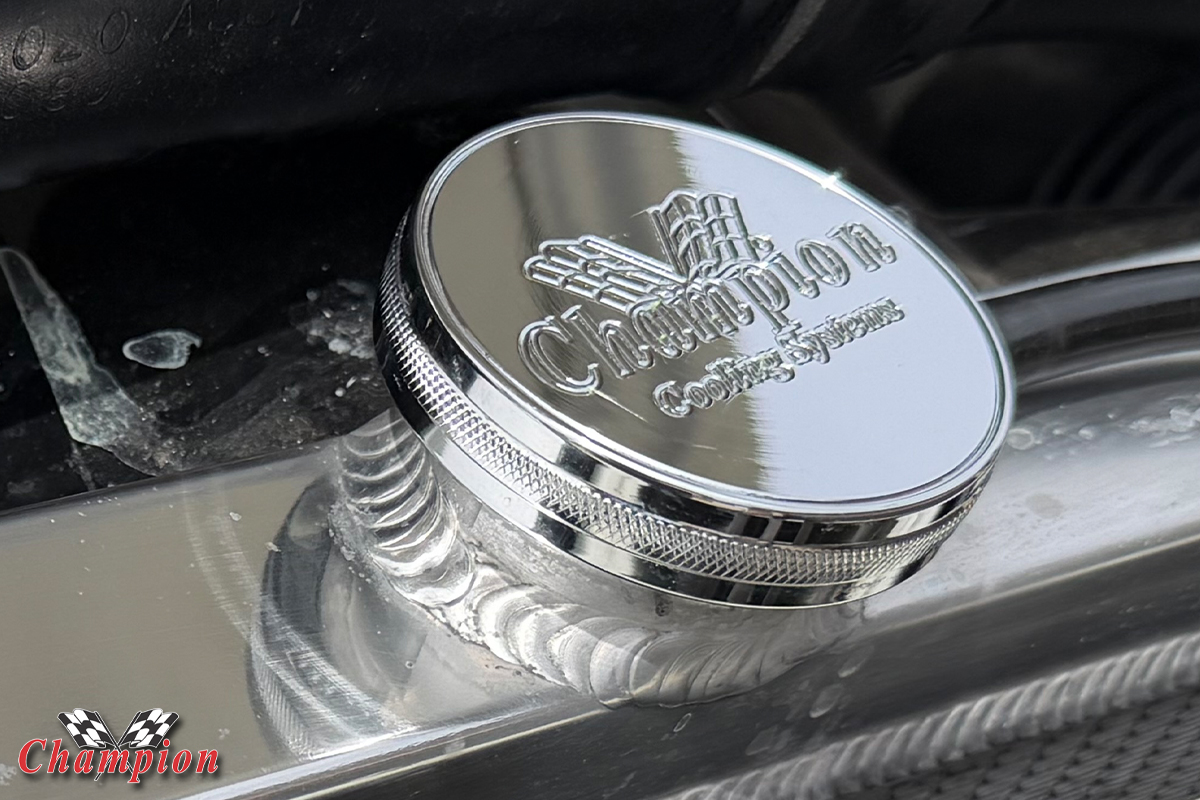
Once we finished, we were able to see the reflection from the underside of that cool Billet Radiator Cap again! This was a neglected radiator, but all is not lost if you follow through with the maintenance.
This one was much easier, and took a few less passes with the Nevr-Dull to get a nice reflection back on the upper tank. It’s a good product to have around, and works well on chrome and stainless trim, as well. It’s a low abrasive, but when you see that black residue on the cloth, you know that it’s doing its job to remove the oxidation and blemishes.
Of course, if you’re going to remove your radiator and go for that show quality polished finish by taking to the drill or buffer, you will have your work cut out for you. But the results speak for themselves, as evidenced in this video below that we found on YouTube, from Corvette Ed. This whole scene evokes fond memories of my 1970s-era shop class, where we learned about polishing using various rouge sticks and a cotton buffing wheel. Those were the days!