

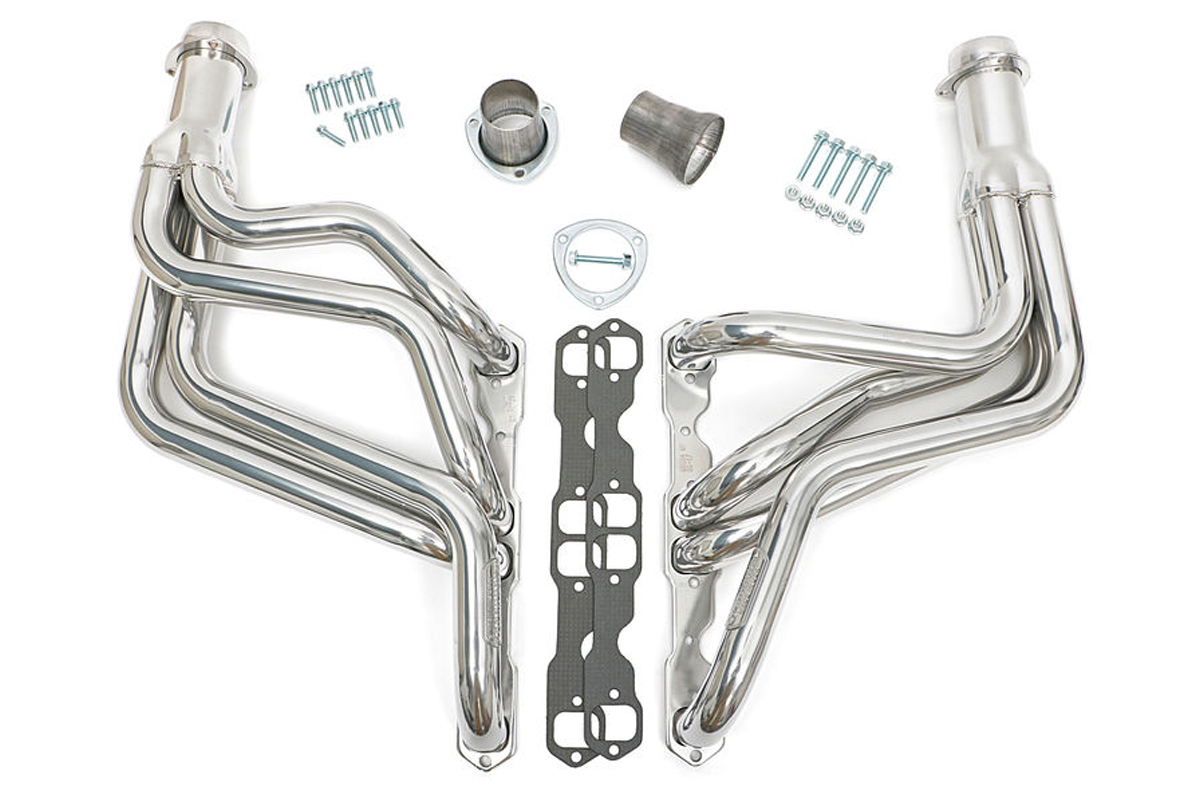
Our Camaro already had an exhaust system in place, and a set of headers, but something just wasn’t right with the way it looked or sounded. You would think that a 1979 Chevrolet Camaro would have plenty of choices for headers, and it did, but the problems we encountered were numerous, too.
For starters, the engine had been swapped out to a Blueprint Engines 355ci small block with Vortec heads. You know we’re not the first person to ever install this engine in a late 1970s F-body, so why did we have a problem with the headers? The old saying comes to mind here: “Too much of a good thing.”
 It used to be easier to get headers, but there are so many options when it comes to engines and styles.
There are so many choices for headers, that it is overwhelming. To give an idea of how many, I did a search on one of the online stores and came back with 49 different part numbers. We needed new headers because they didn’t fit well; they rested against the frame causing a bad vibration and stress on the drivetrain.
Off To The Muffler Shop
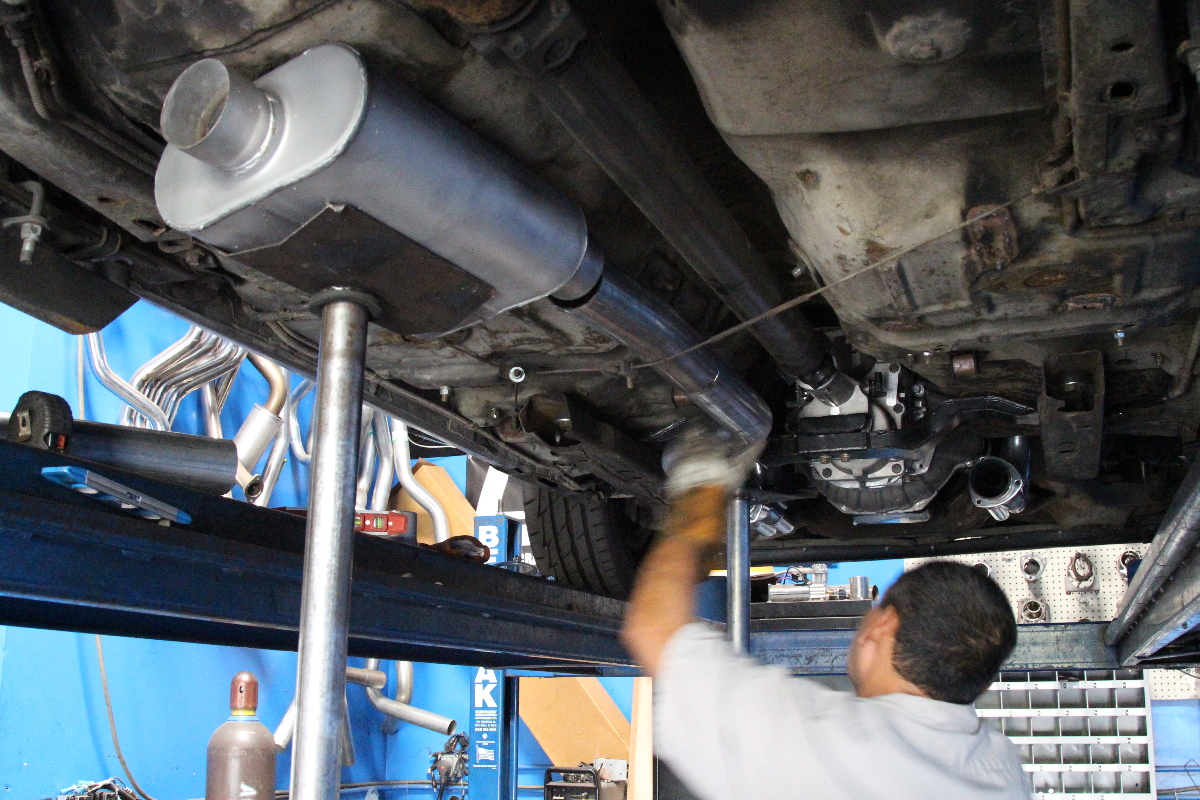
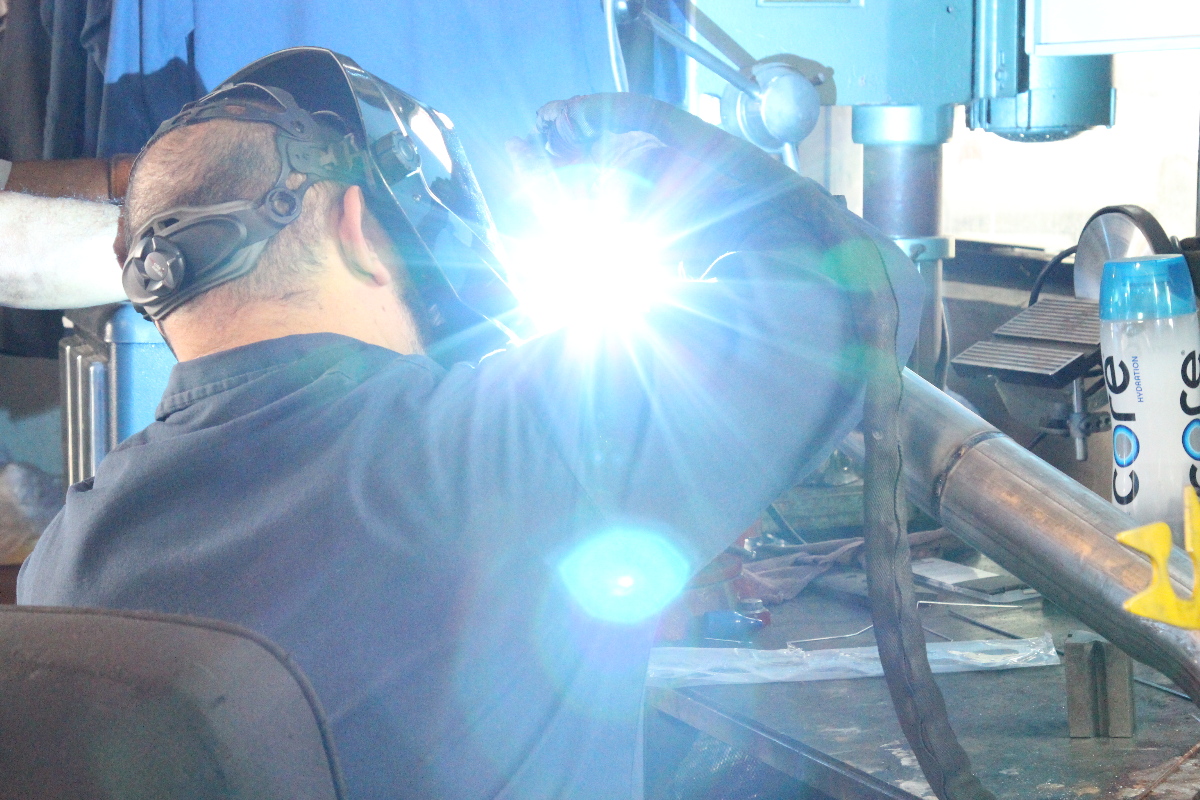
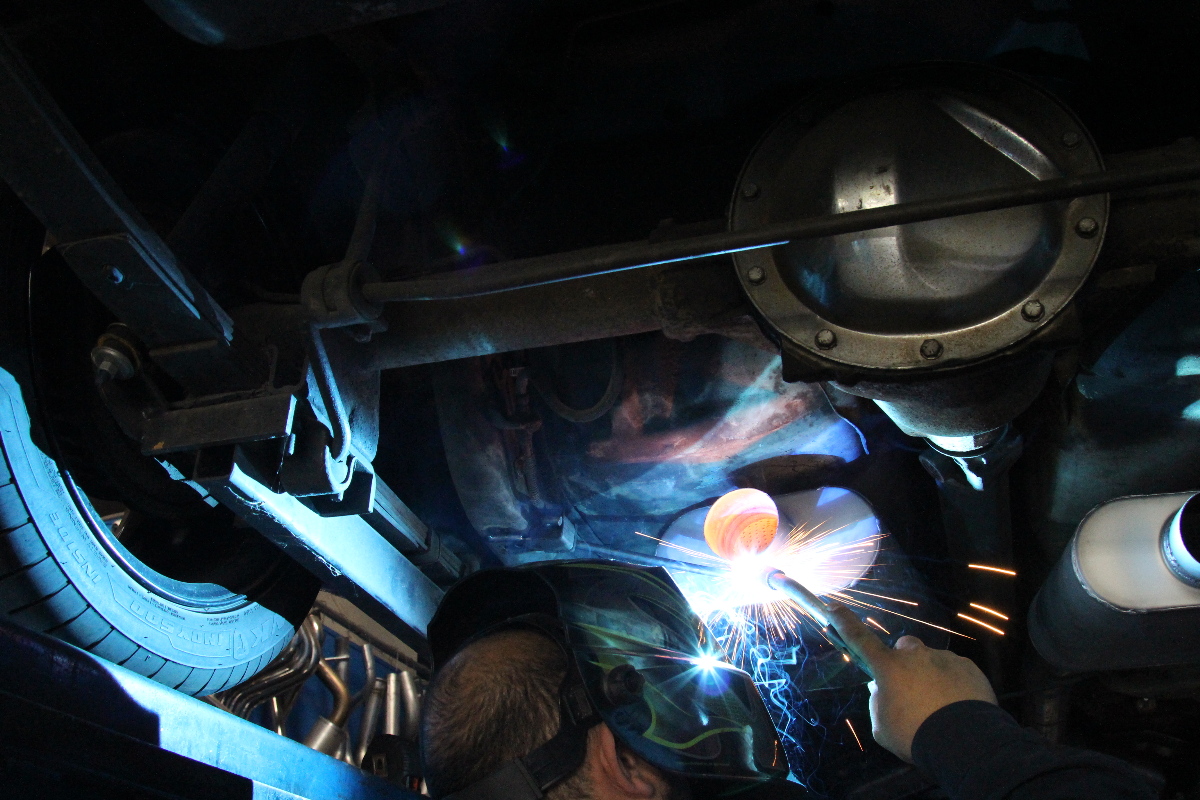
Although the Camaro did have headers before, the exhaust was not the right sound for Rick’s tastes, and we decided that it needed a new exhaust – and it needed to be done right. We didn’t have to go far, because right down the street here in Lake Elsinore we found Best Muffler.
We worked with the owner, Eddie Guillen, and told him what we were looking for. Always the hard core enthusiast, Rick wanted a crossover pipe, and for the exhaust to be dumped downward right after the mufflers – before the rear axle. He had a specific sound he was aiming for with the Camaro.

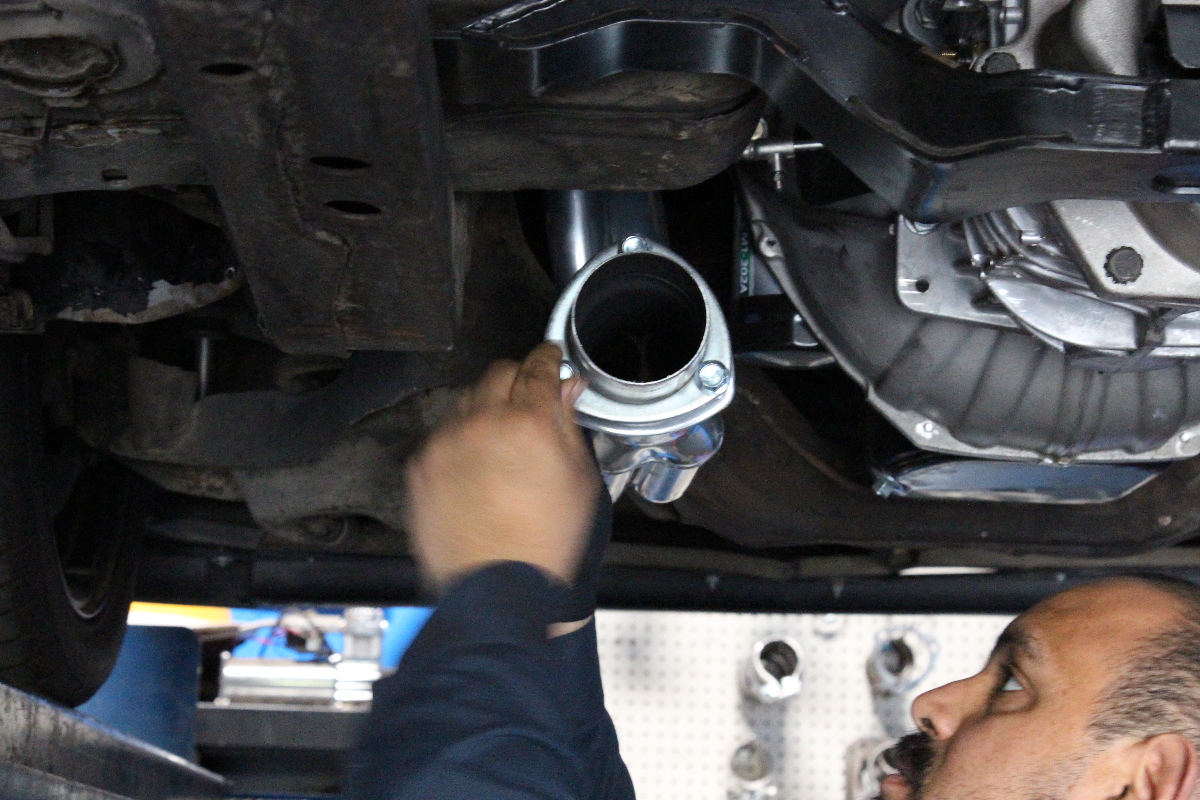
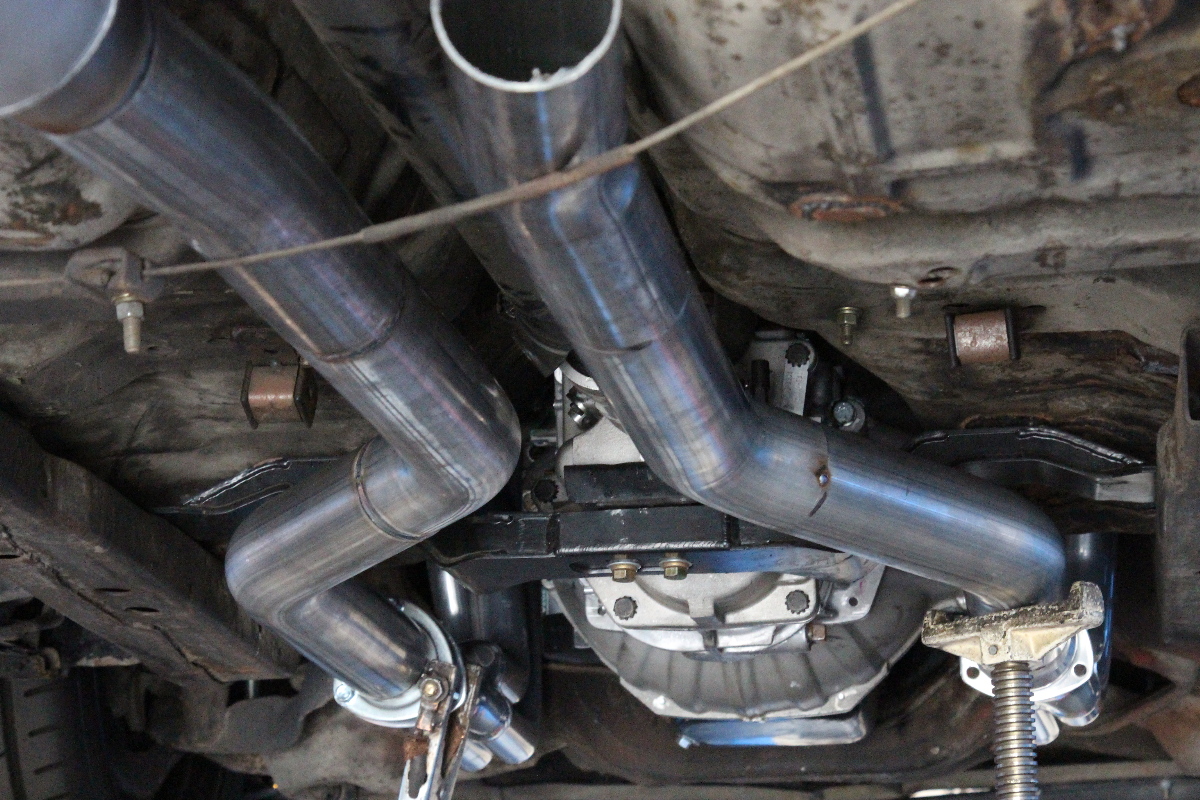
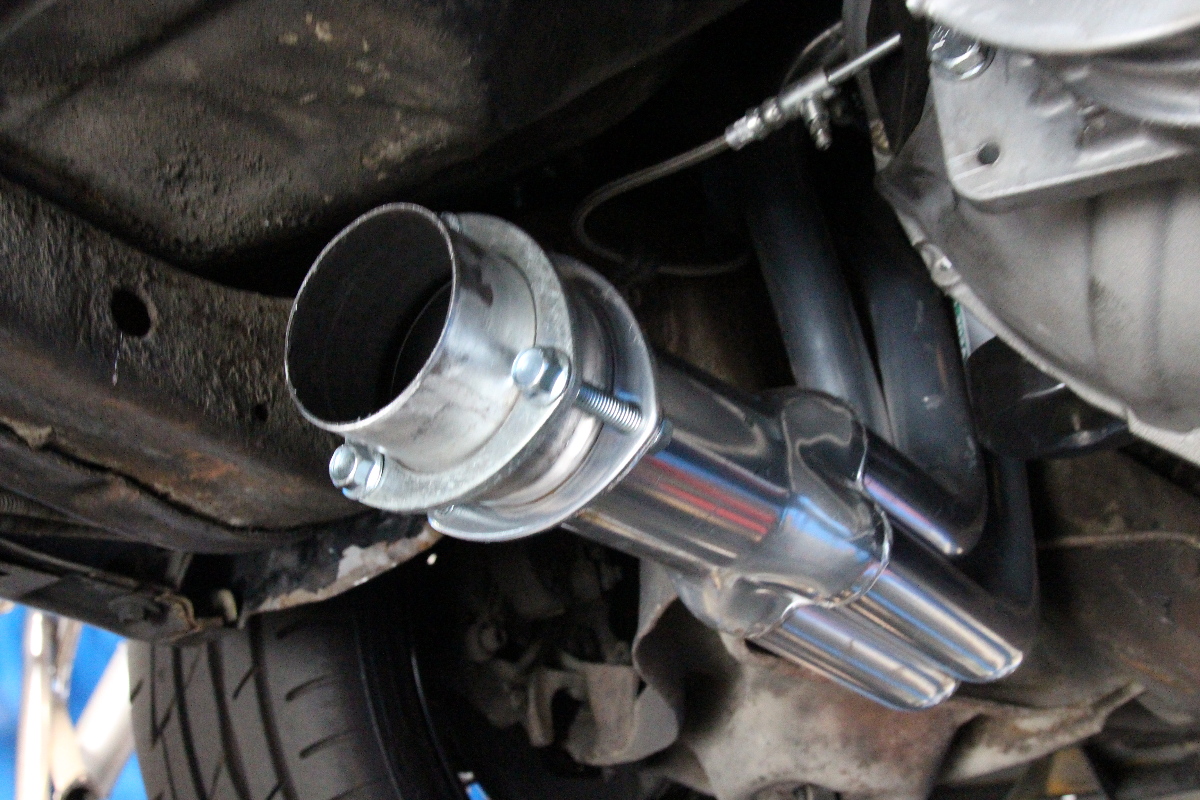 The headers have a 3-inch collector with a reducer to 2.5 inches, but Rick wanted a 3-inch system. That was no problem, just expand the adapter to 3 inches and install.
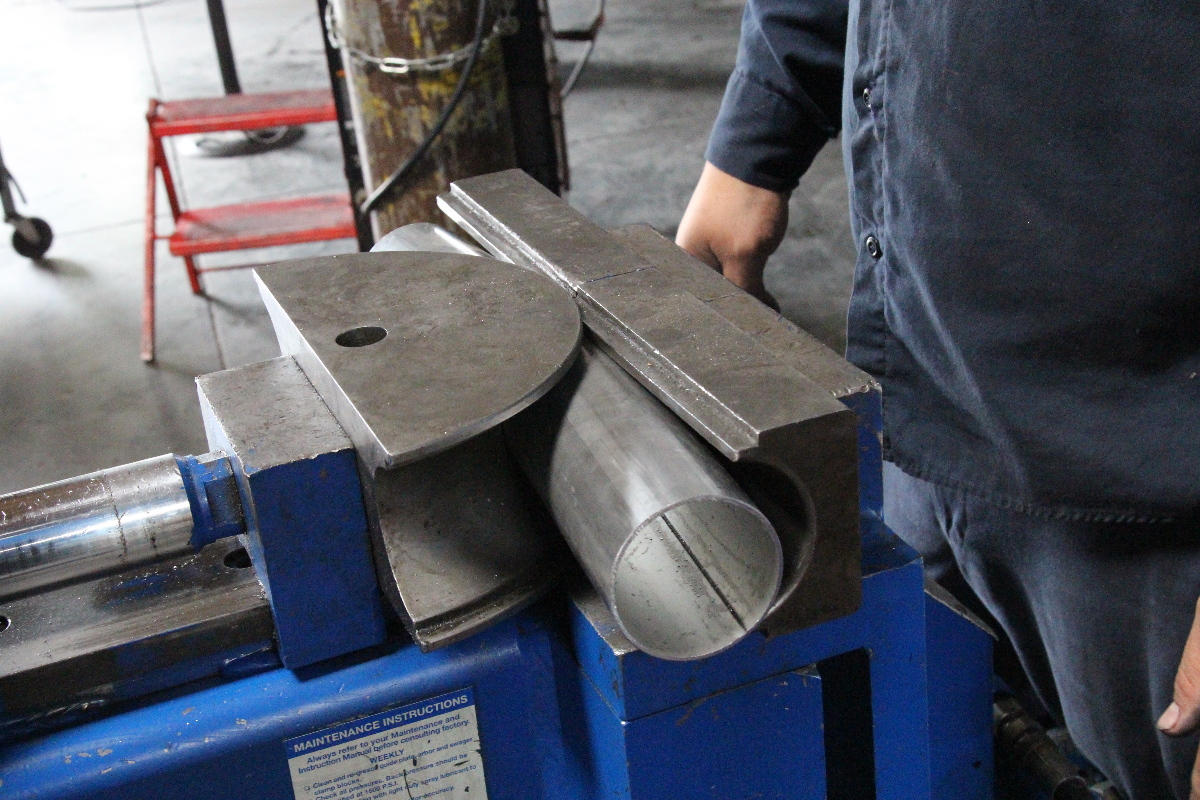
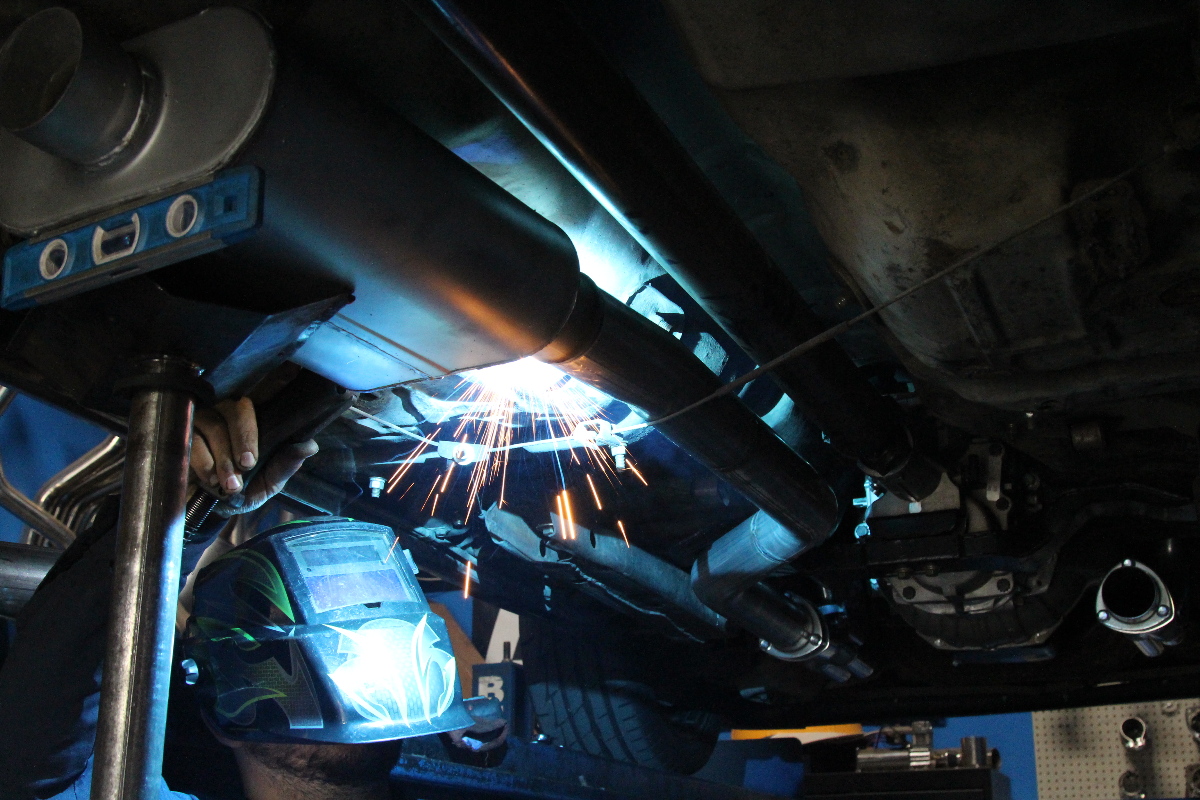
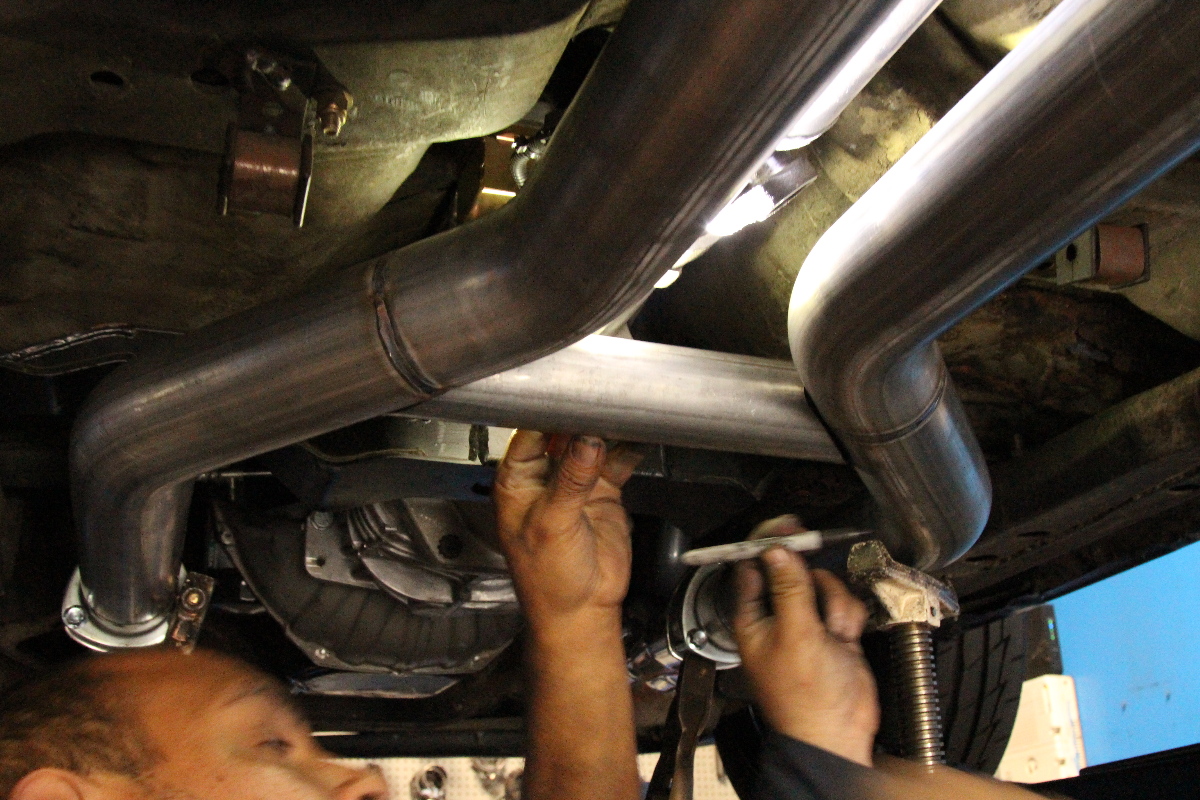
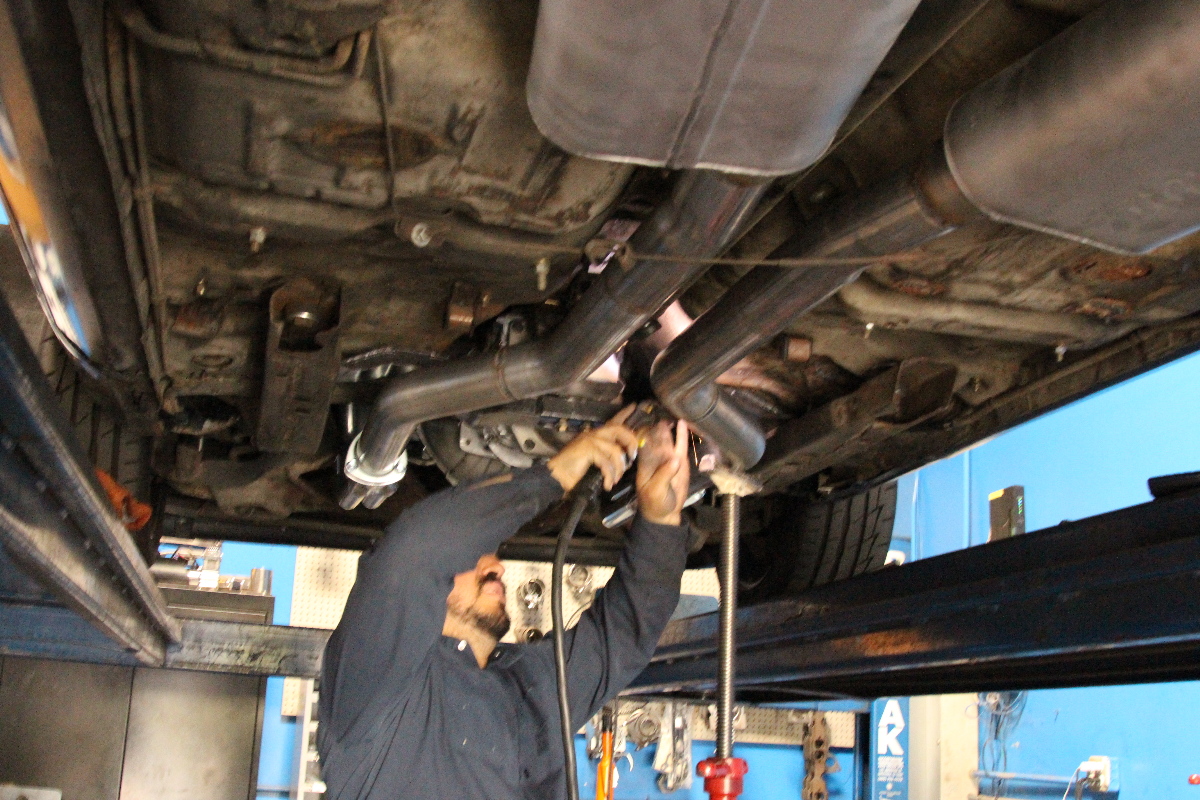
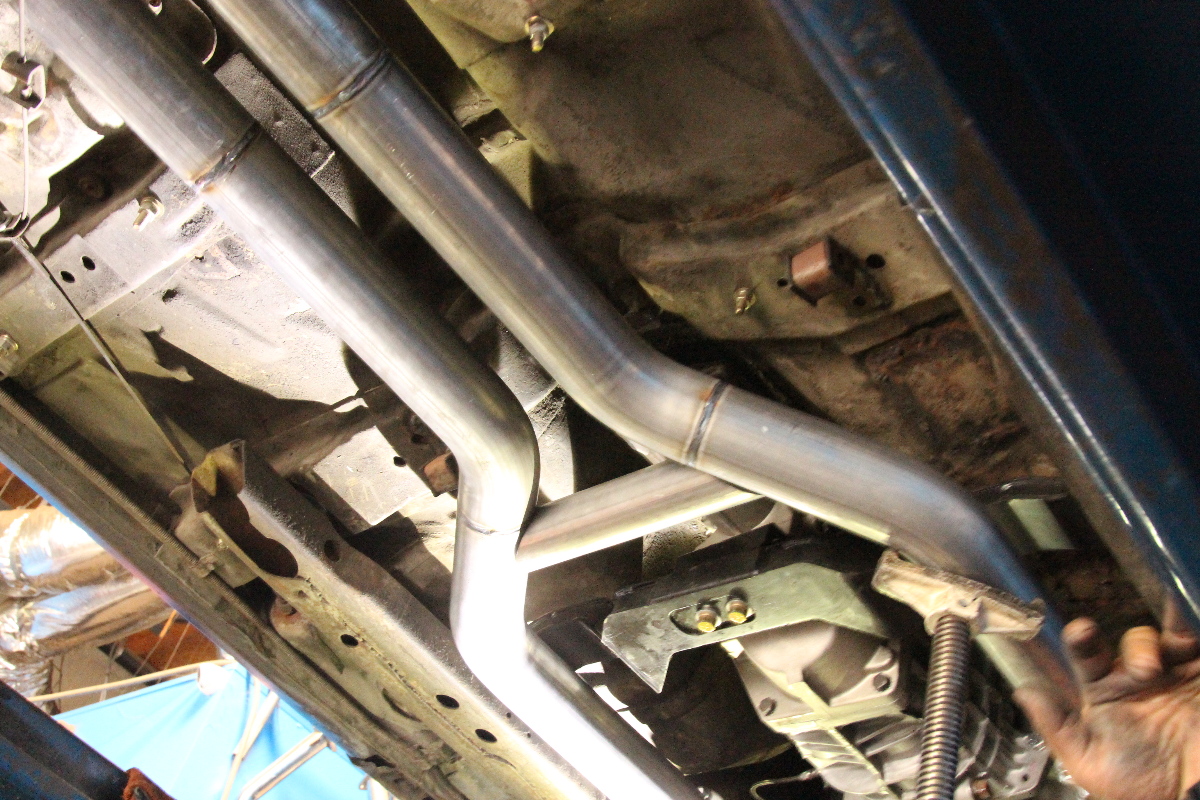
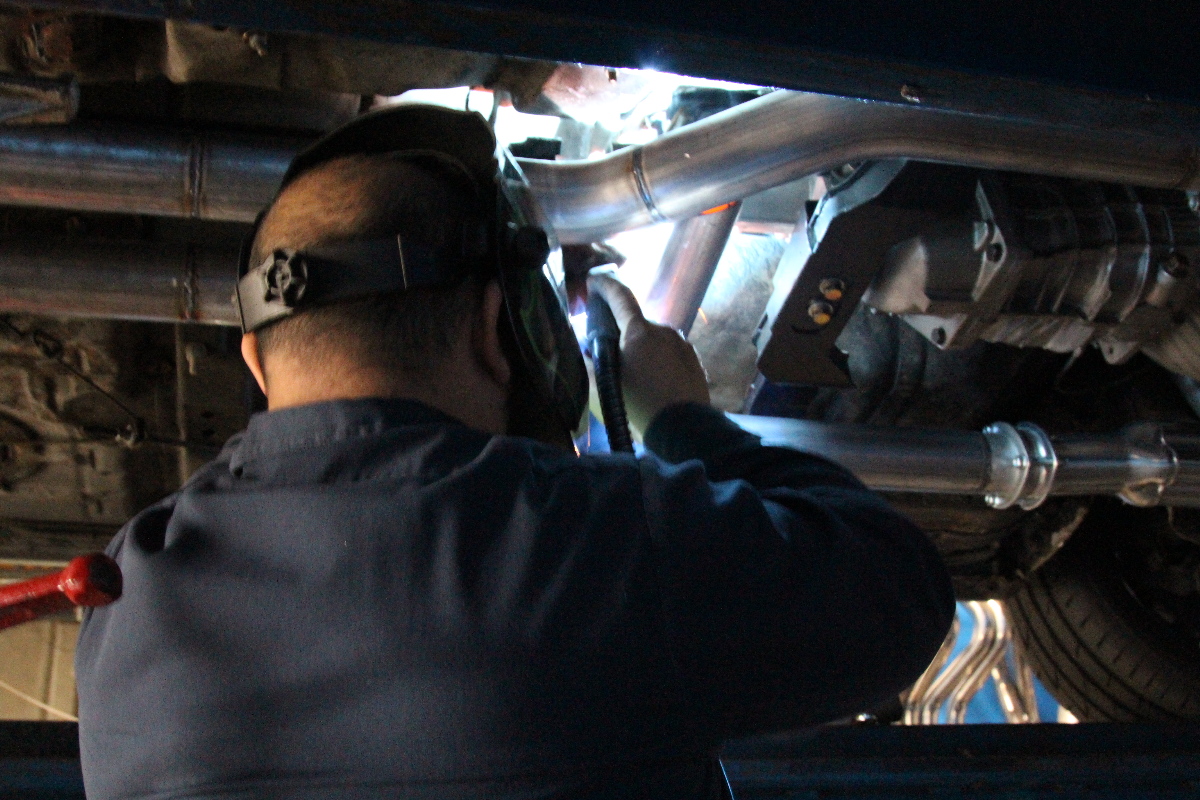
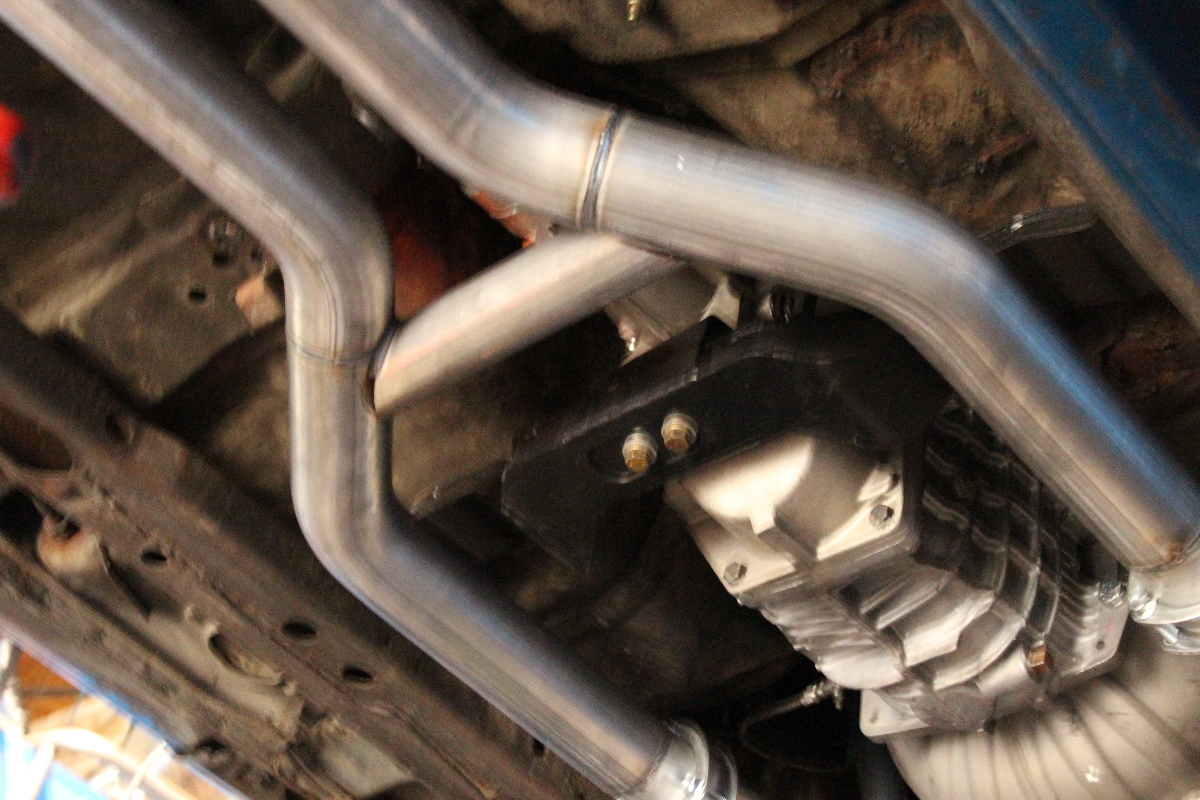
After a visit with Eddie, we scheduled the install and brought the car in for the day. Although it’s a simple job for Best Muffler to accomplish, the underside of a 1979 Camaro is not the best fit for a three-inch exhaust system, and Eddie had to get creative.
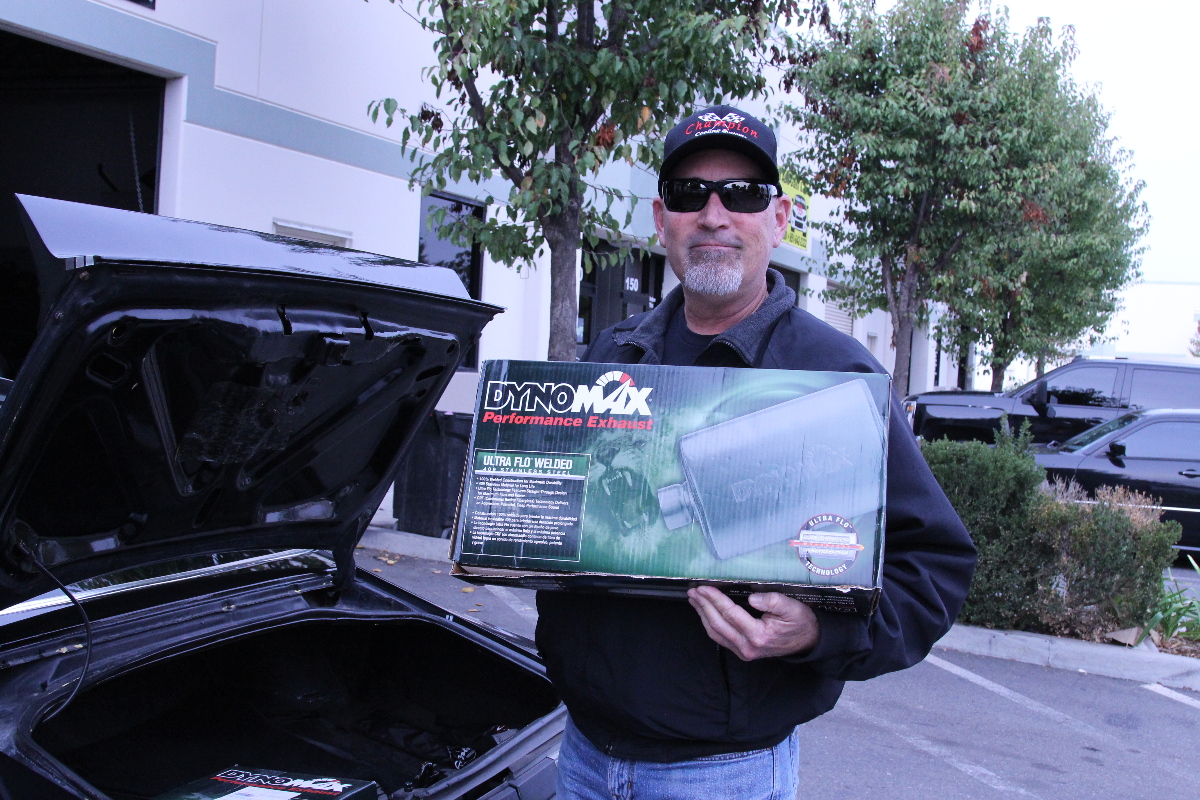
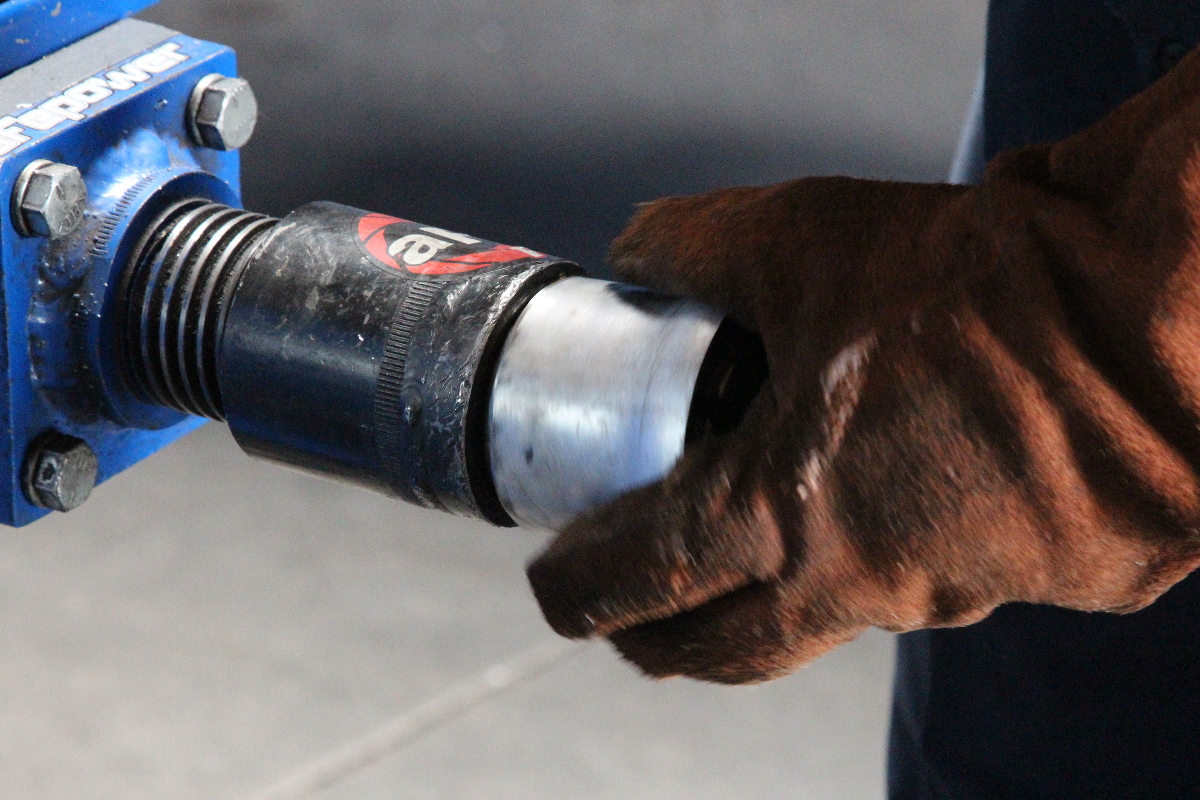
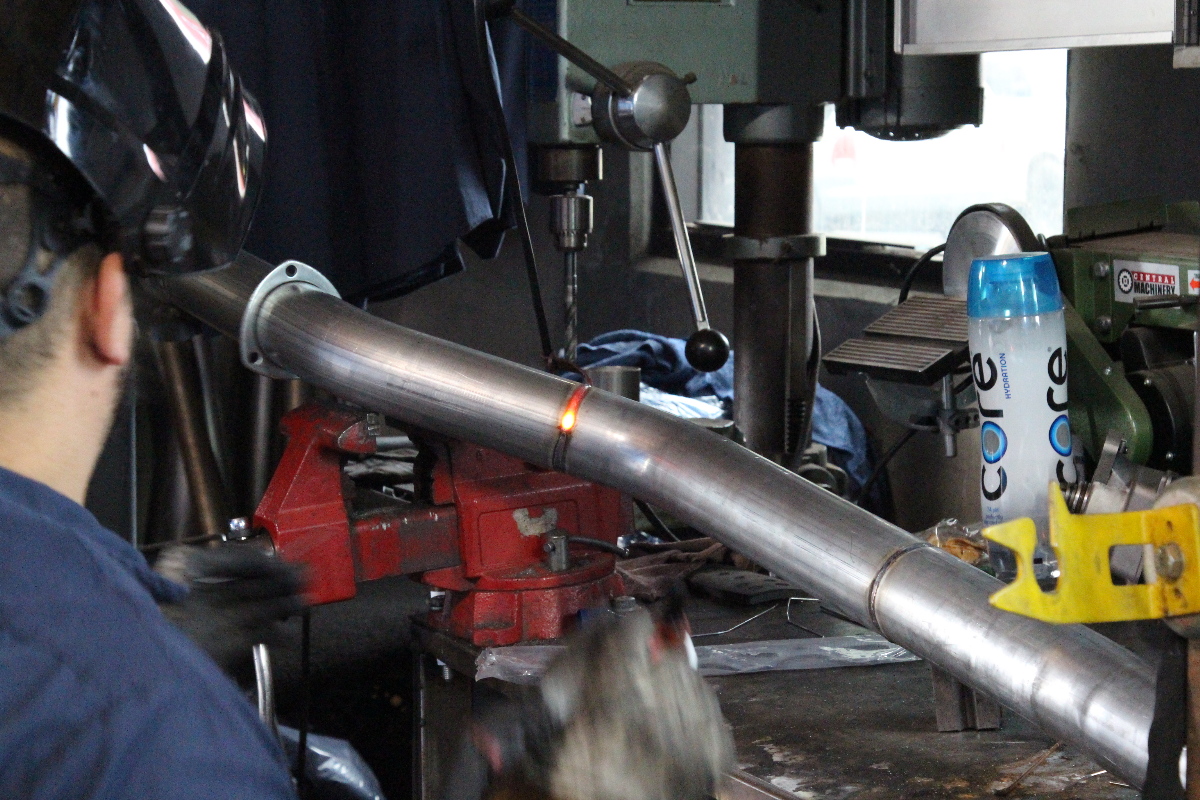
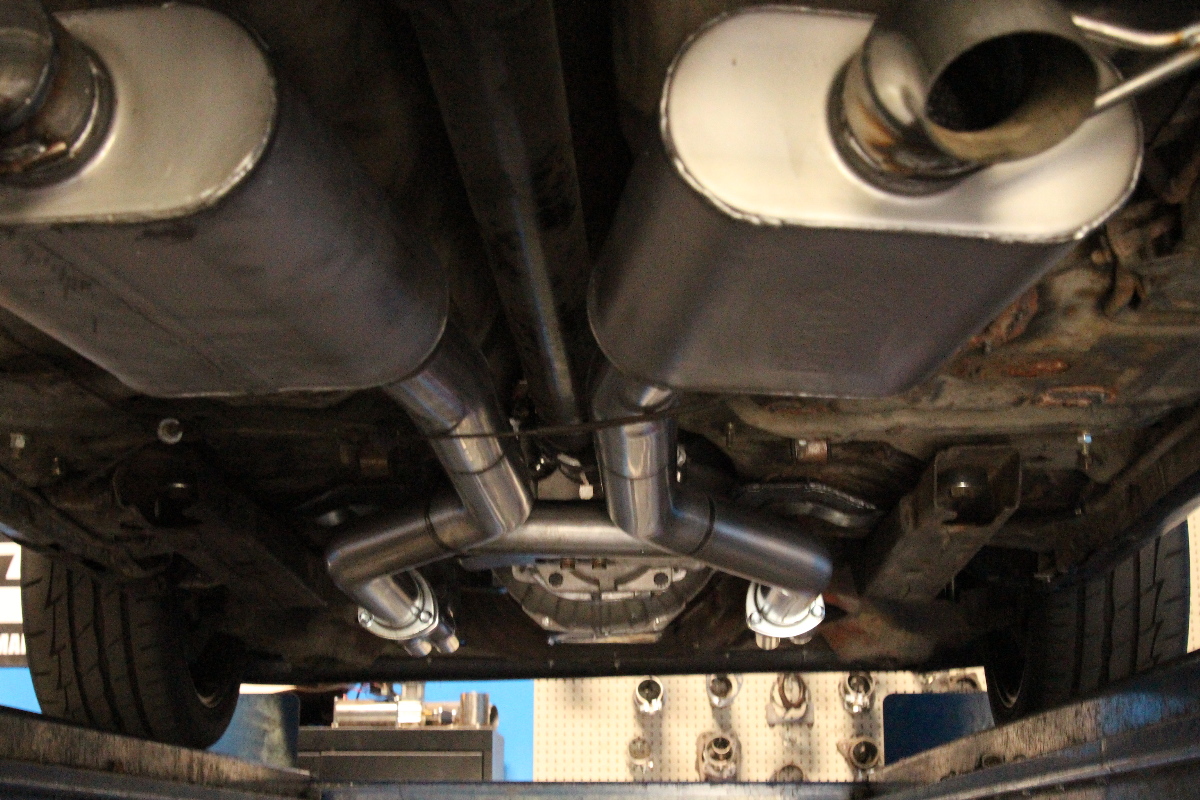
He ordered some mandrel bent stainless steel tubes and went to work laying out the system with the pair of DynoMax Ultraflow mufflers Rick purchased. The idea was to run an H-pipe, of sorts, just behind the transmission, angle the pipes towards the center tunnel where there was some room, and then run them straight back towards the mufflers, and dump the tail pipes straight down.
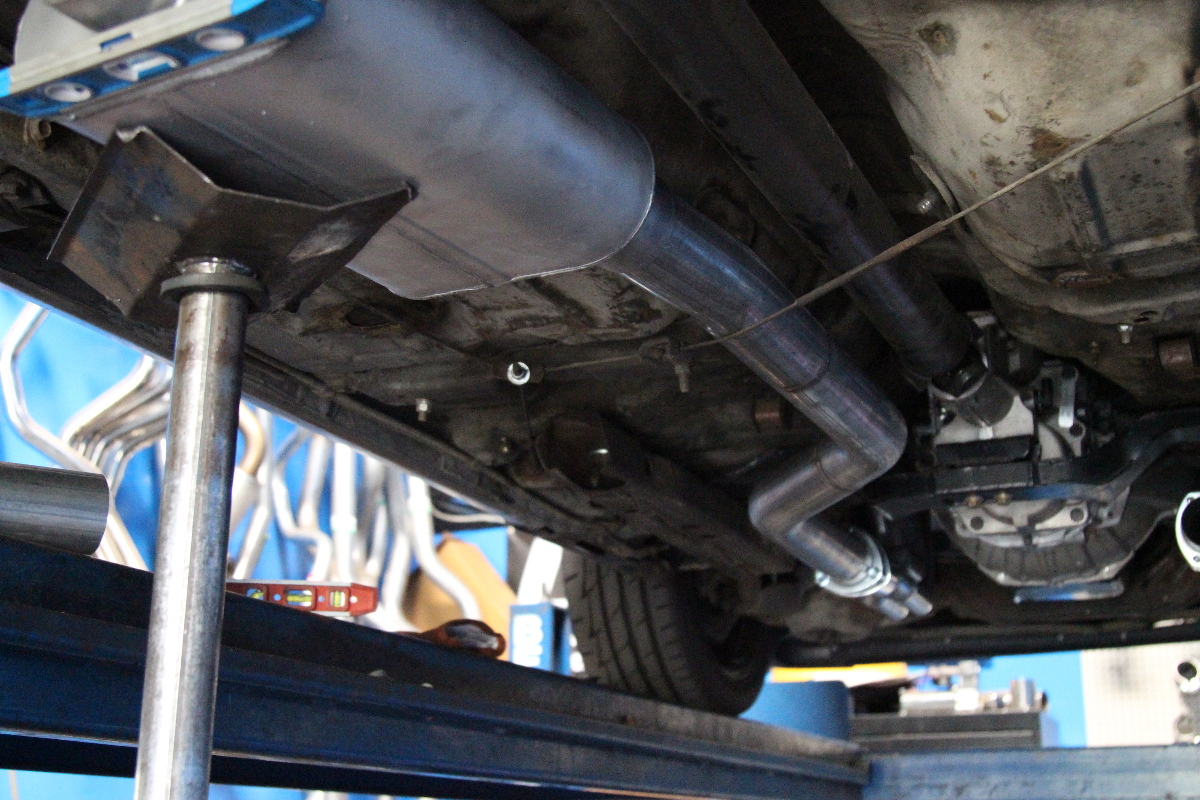
 Bending pipes and measuring twice before cutting is the general rule at Best Muffler. It was obvious that the time and dedication Eddie put into this exhaust wasn’t part of the previous install (done elsewhere). To most enthusiasts, that view from behind has to look as good as the rest of the car. Nailed it.
Typically – with the setup the Camaro has – a 2.5-inch exhaust system would suffice, but when you know what you like, you know what you like, and Rick was channeling his inner youth and wanted the sound he had on his Chevelle so many moons ago. While an X-pipe might produce a louder exhaust tone and more top end power, the H-pipe has more of a muscle car sound to it, and helps boost torque at lower RPM ranges.
 Another job well done, the Camaro is really coming together and now it has the sound and the look Rick was aiming for. Remember: whenever you can, help out your local shops and strengthen the community! Check out Best Muffler in Lake Elsinore!