
When you’re completing a build, there are more factors to consider than just horsepower. I know, I know, how dare I put baby in the corner like that, right? Well, one of the problems I’ve seen over the past few decades is that as soon as someone acquires a muscle car, their first goal is horsepower. This means sometimes doubling – or even tripling – the power that the car came with.
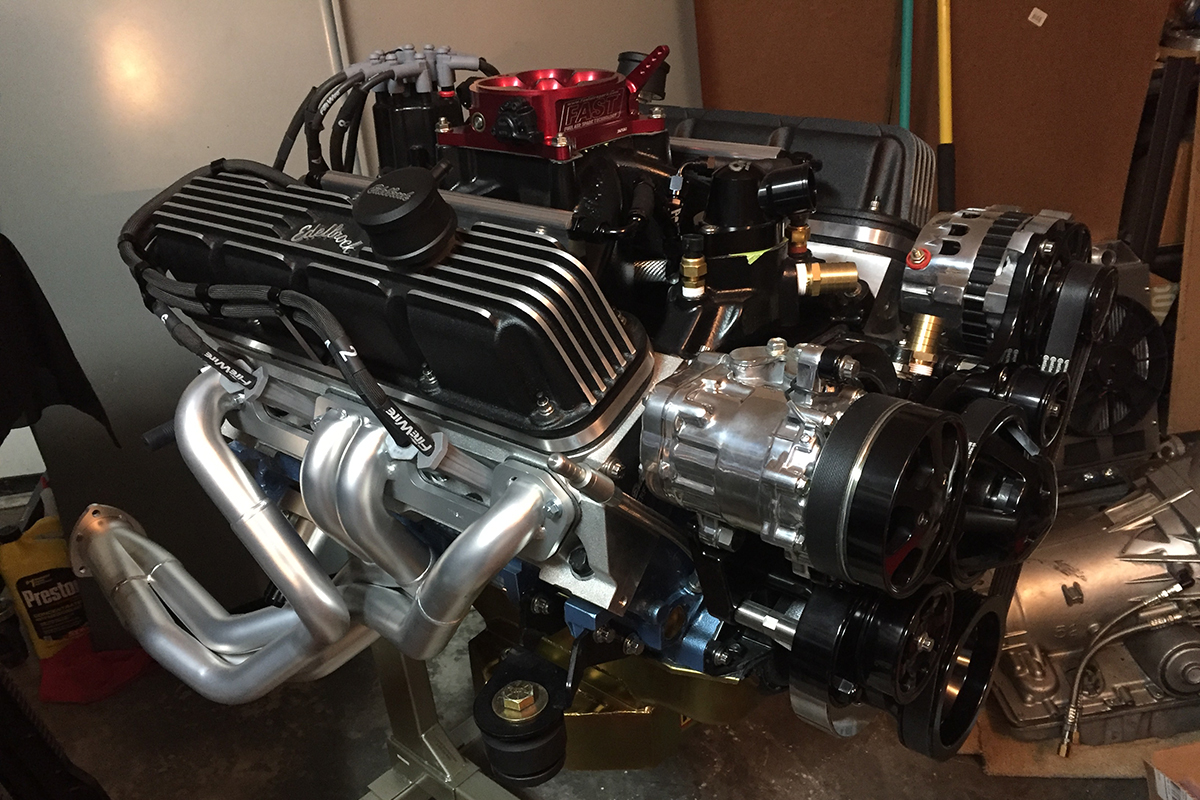
In thought, it’s a common goal and often achieved. On paper, however, there’s an important factor to consider: can the rest of the drivetrain handle it? For us, we already had a mild build on the Polyhead 318; even though it wasn’t the kind of power we wanted, it was more than stock – and the trans and diff can handle it.
So we went for beefing up the rest of the drivetrain first, because too many times have we seen someone build a new engine and then start breaking things because it was too much for the old and tired drivetrain. I’ve seen transmissions break, rearends break, and even watched people rip old motor mounts apart.
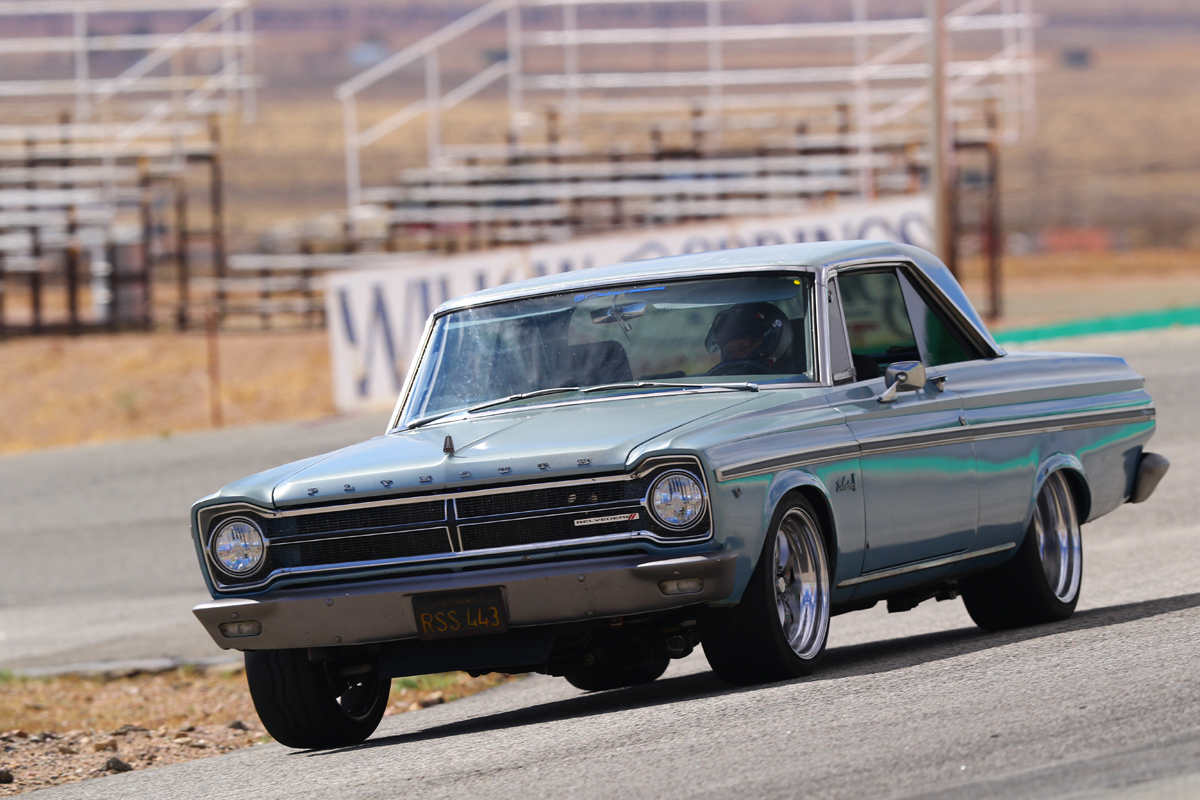
We didn’t want to be a control freak – so we went to one: Control Freak Suspensions out of DeBary, Florida. It was one of the few companies who had a solid suspension conversion kit for older Mopars like our Plymouth, so when it came time to ditch the torsion bars and leaf springs, there was no other path to take.
All New Suspension
While the Plymouth was quite impressive at the race track and stayed pretty level, thanks to our Hellwig Sway Bars and QA1 Control Arms, we knew that was not the limit – and we wanted to reach for it. After all, the goal was not to just compete, but to be a competitor and that meant going for the brass ring the next go ’round.
One of the coolest features for the Control Freak Suspension was that it didn’t matter which engine we have: small-block, big-block, Gen II Hemi, or Gen III Hemi, the new K-member is the same, and only the mounts and brackets change. So even with an engine swap, there’s no need to change K-members to accommodate a different engine.
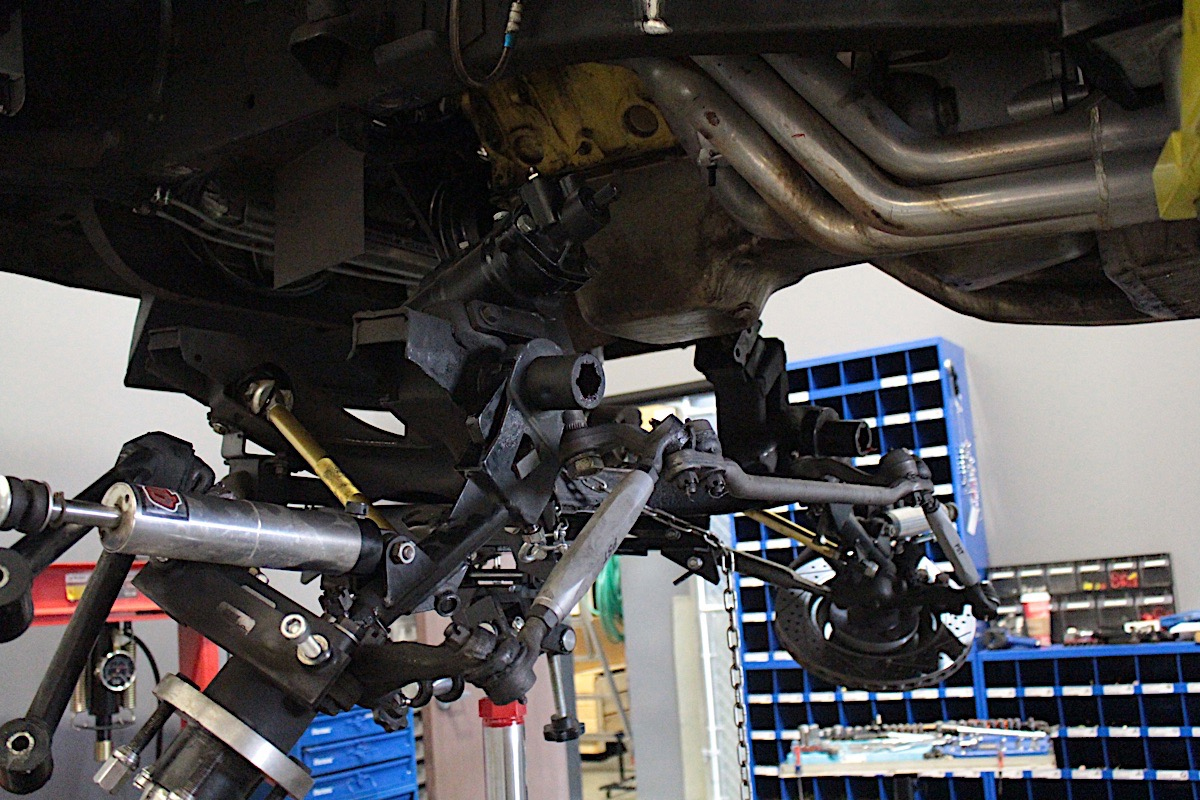
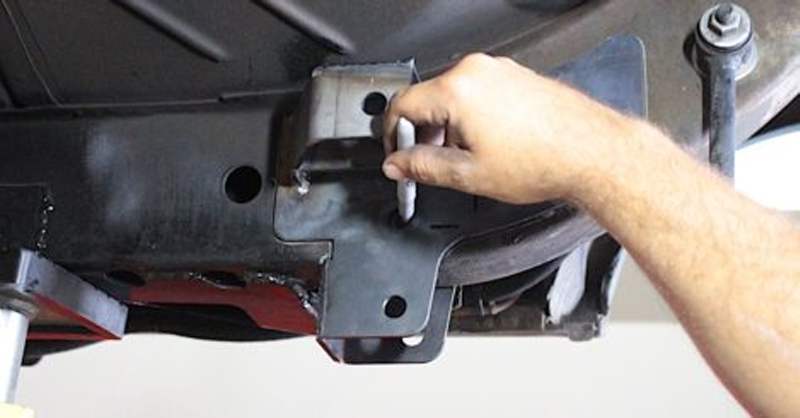
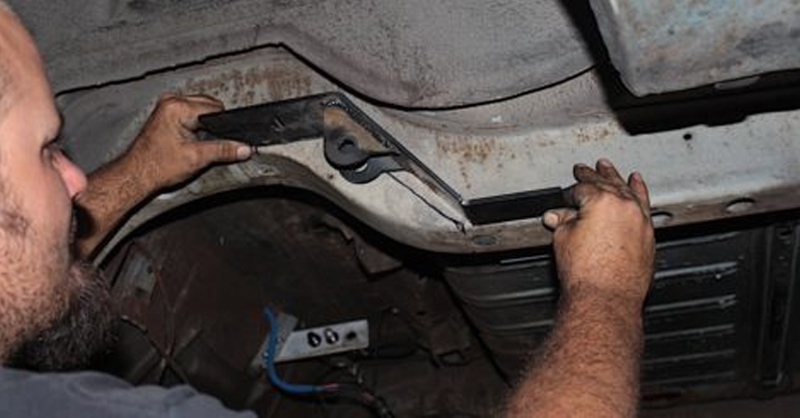
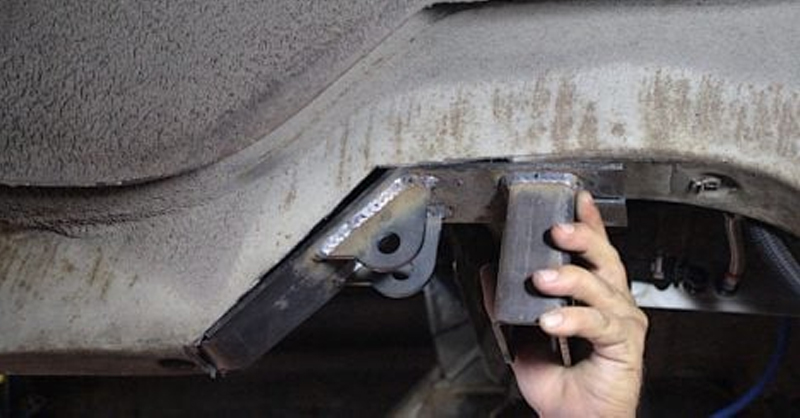
Heading out to the rear of the car, there’s another great idea that Control Freak thought of, and that was to mount the rear control arms inside of the rear subframe instead of outside, like the leaf springs. We had already tubbed the car for some fatties out back, and with the way the rear arms mount to the car we weren’t going to get any interference.
The new K-member up front is a bolt in unit that replaces the factory K-member; but in the rear there’s a little bit of cutting and welding that needs to be done. Keep in mind, at both ends of the car the weight of the vehicle is supported by the specific spring points, and not the shock mounting locations.
Front Suspension Upgrade
Up front, that shock tower is not designed to carry the full weight of the vehicle without some major reinforcement. If you had thought about simply replacing the upper and lower control arms and running a coilover shock, you’re just going to create potential problems down the road. Removing the torsion bars from the equation means that all of the structural componentry (torsion bar pivot points) becomes unused.
The apron is merely a support component, but not a structural component and with the weight resting at the shock mounts you could find your aprons begin to distort with the weight of the car. For mild street use you might not see it right away, but it’s not going to be a good idea. For any spirited driving at all, then it’s a completely bad idea and should be avoided.
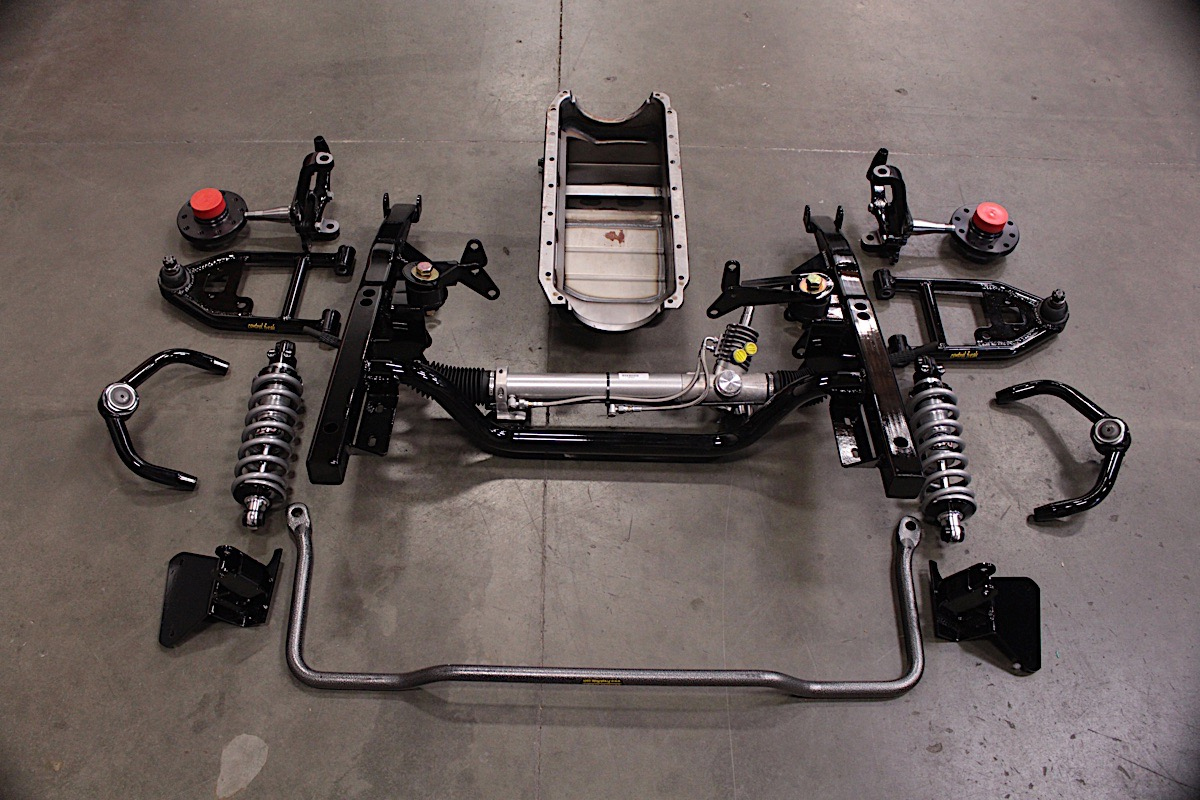
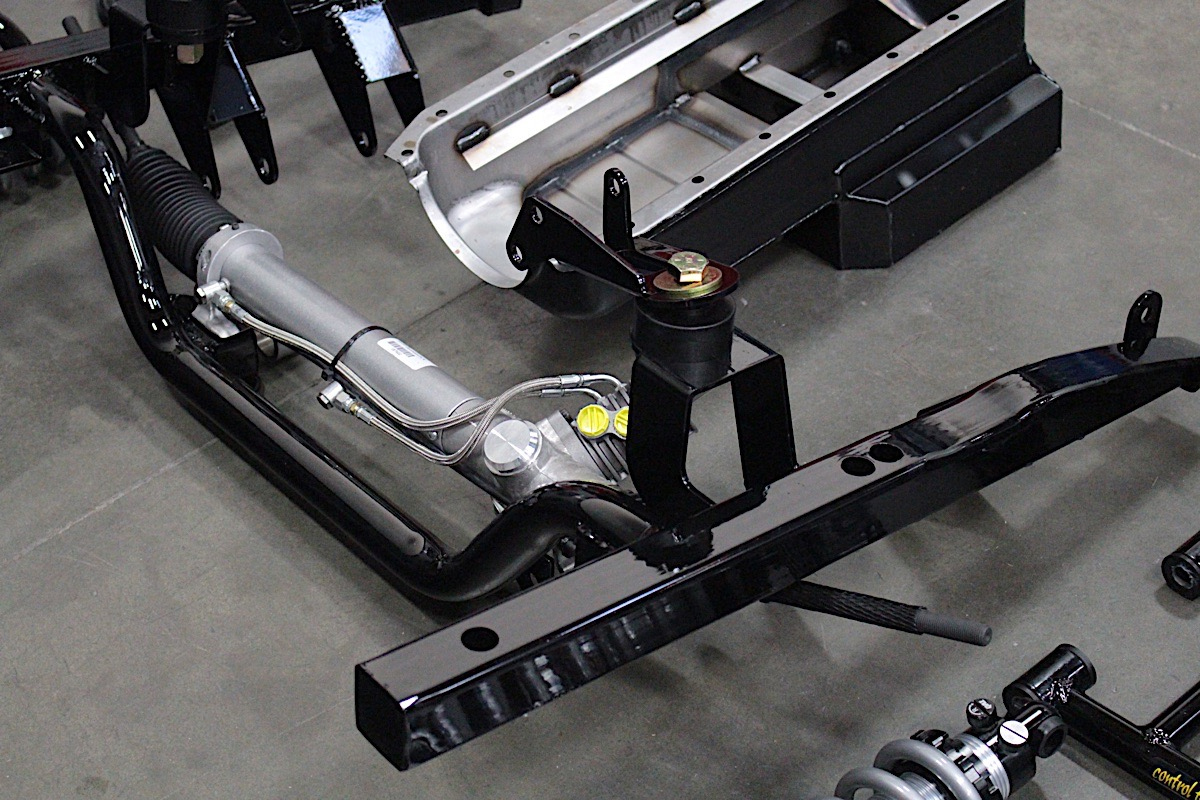
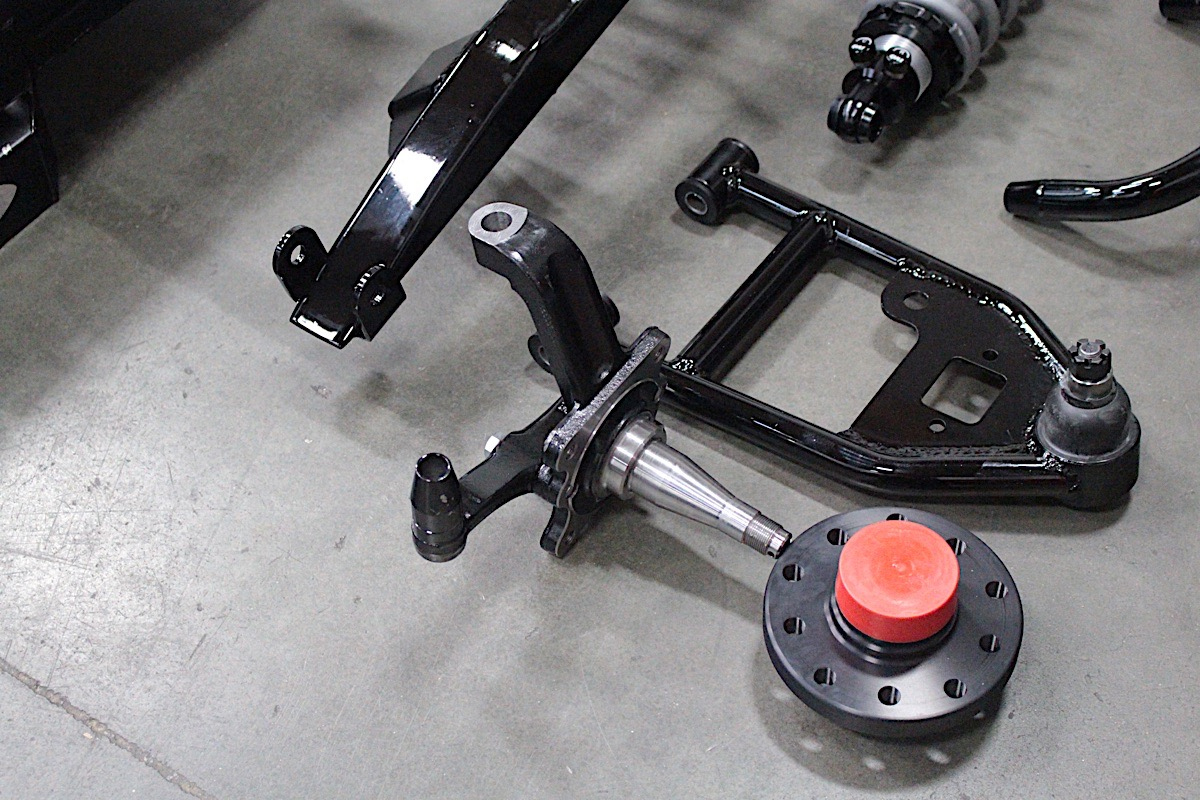
The only way to upgrade the front suspension for coilovers is a complete conversion kit such as the one we acquired from Control Freak. It takes advantage of the strengths of the front subframes and ties both sides together, incorporating its own upper shock mounts specifically for the coilovers. The shock support is also reinforced at the lower apron, where it’s less likely to flex, and ties the apron and subframe together through brackets and support components.
This also means a complete new set of spindles, too, because the steering will change from the steering box to a rack and pinion unit, and goes from rear-steer to front-steer, changing everything about the entire steering system from the firewall forward. But that’s part of the kit, so there’s no chasing down parts and components to complete the swap.
Rear Suspension Upgrade
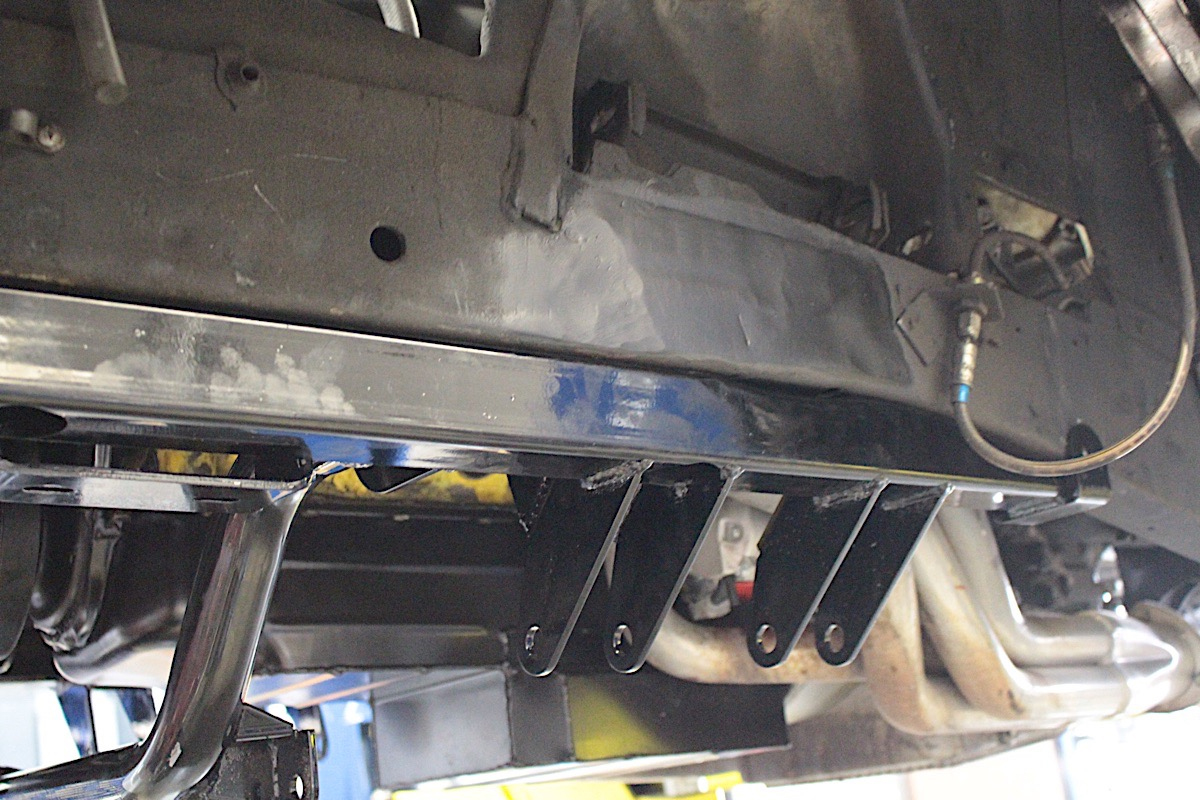
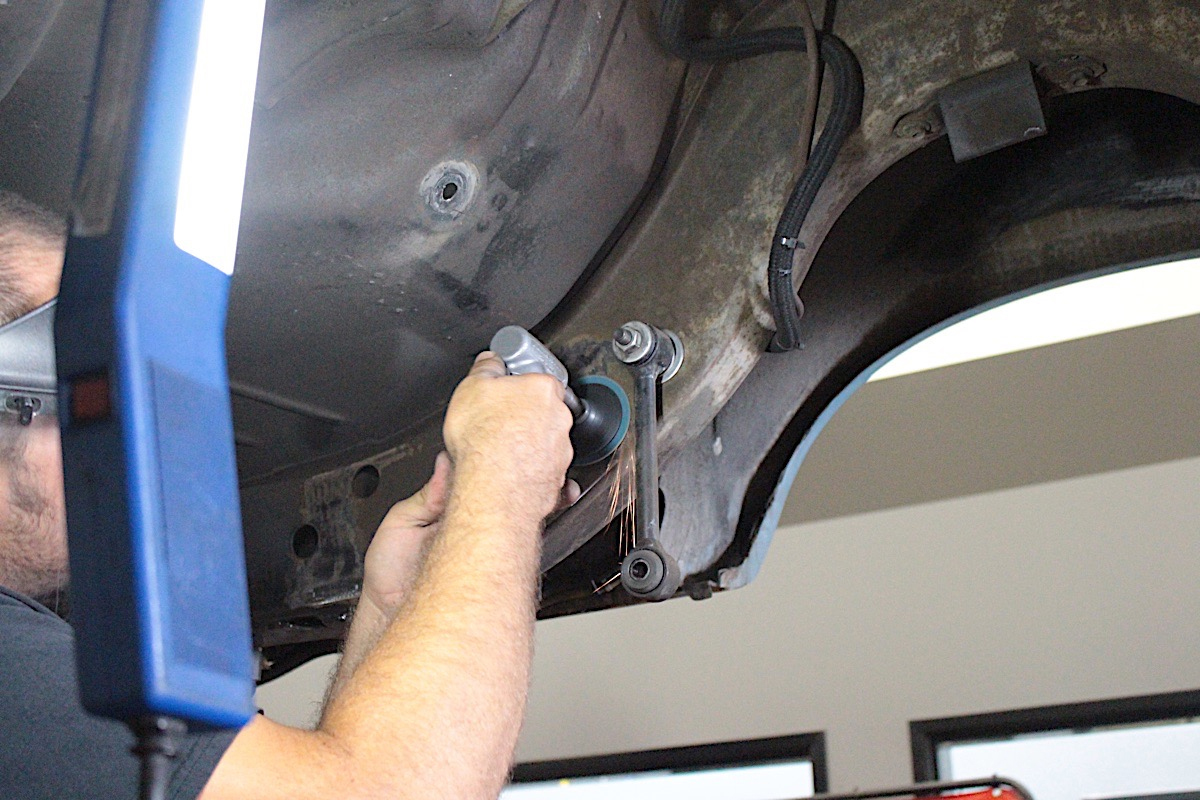
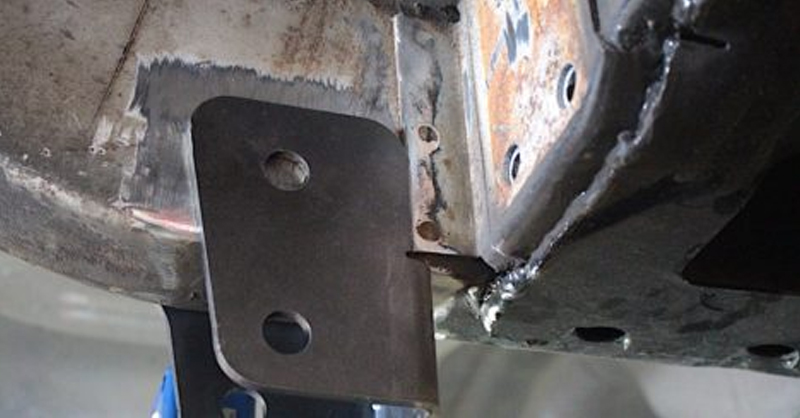
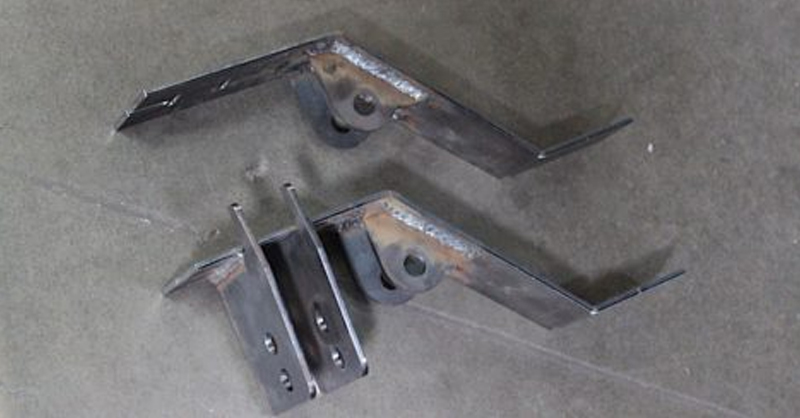
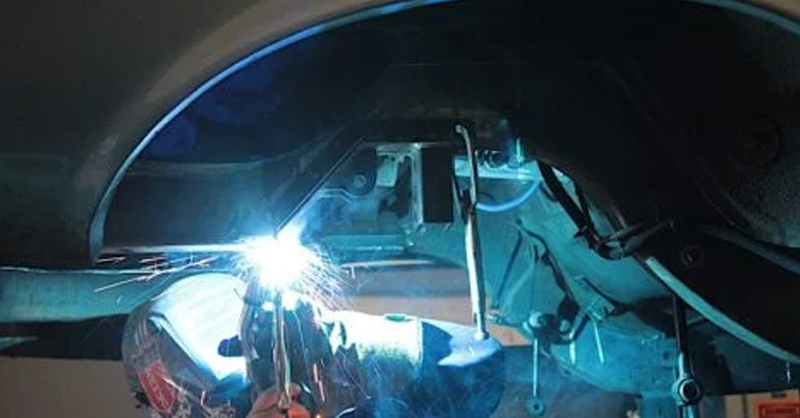
The rear suspension gets a complete makeover, as well, and those bulky leaf springs and spring perches are removed from the car entirely. Some cutting and welding will be required to strengthen the rear subframe and to reinforce the upper shock mounting points.
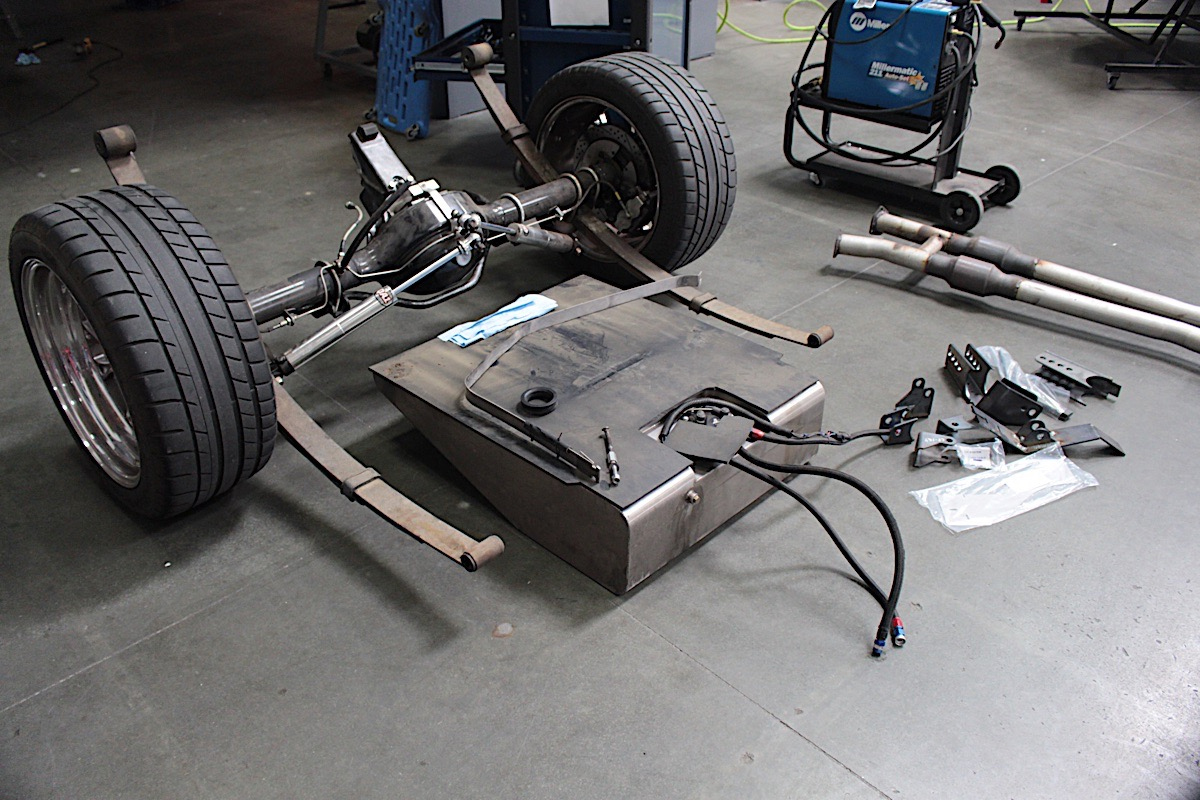
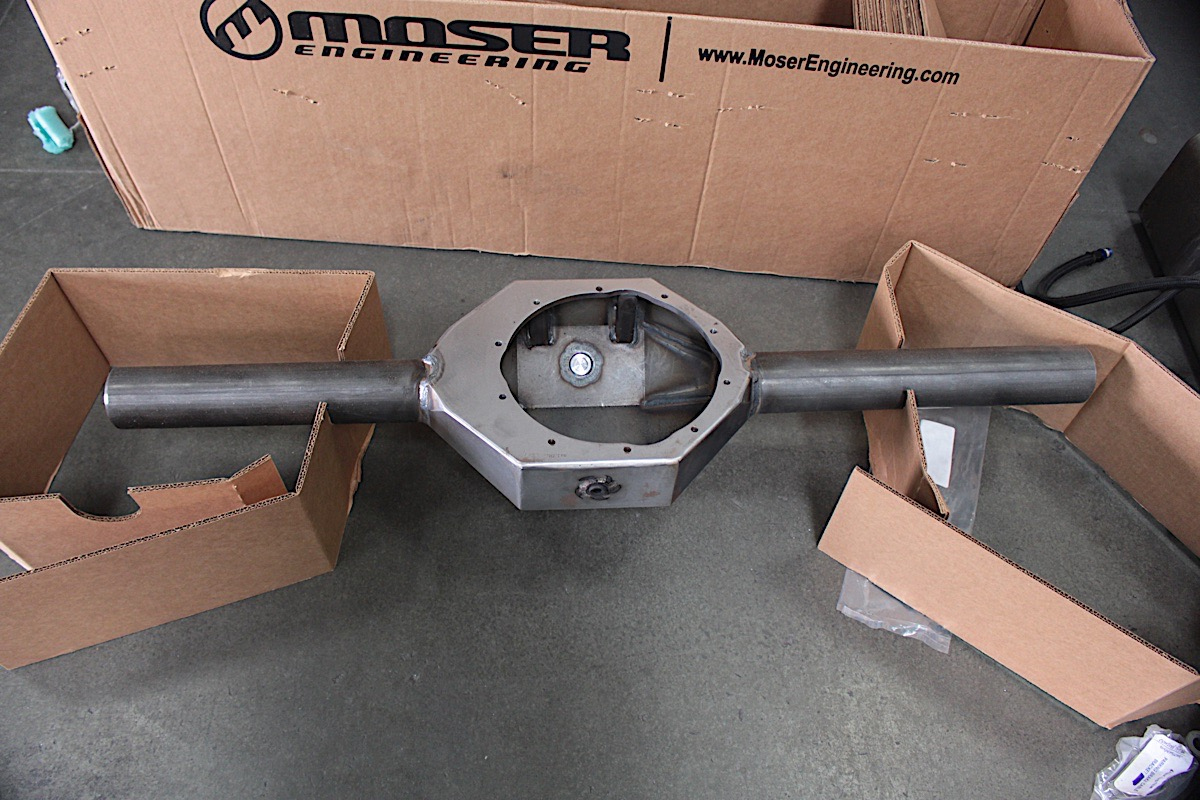
The original rearend was a Moser Mopar replacement unit, but since we’re done with the leaf springs, it has to go. The new unit, a Moser M9, was sent as just a bare housing for mocking up the suspension.
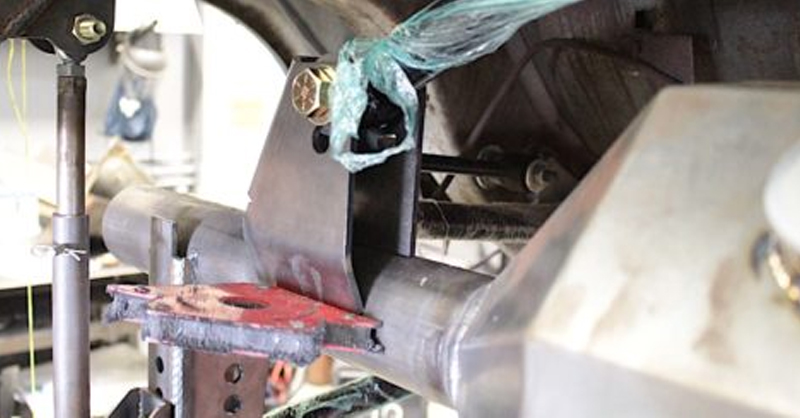
This is also a perfect time to upgrade the rearend, because support brackets will need to be welded to the axle housing, too. For us, it was the perfect time to upgrade to our Moser Engineering M9, and Moser proved to be a very easy company to work with.
We started with a bare housing that Moser sent to us, and we tacked the necessary brackets from the Control Freak rear suspension kit to the housing. A lot of measuring and fab work is required, so this is not something a novice can complete at home – it does require welding and fabrication skills, and is best done by an experienced builder.

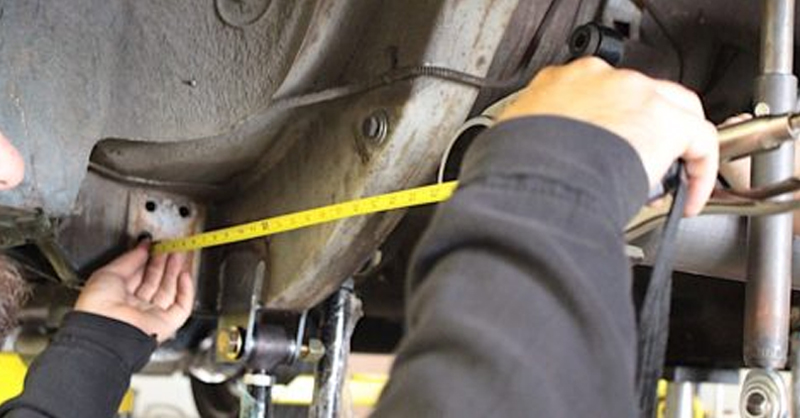
This is where attention to detail and measuring twice-not once comes into effect. One wrong measurement and you could find your car sand crabbing down the road.
Once we had our brackets tacked into place, we shipped the housing back to Moser for the finish welding and the completion of the entire fabricated rearend. A standard rearend would work just fine, including your original 8.75-inch unit; we opted for the M9 because we were upgrading at that time anyway.
The Ford 9-inch offers more choices for gearing, and it also allowed us to put bigger axle bearing pockets on the housing, which is better for road racing. This is a complete, custom fabricated rearend, so whichever center section you choose and whichever axle/bearing combination you decide on, Moser Engineering can set it all up for you.

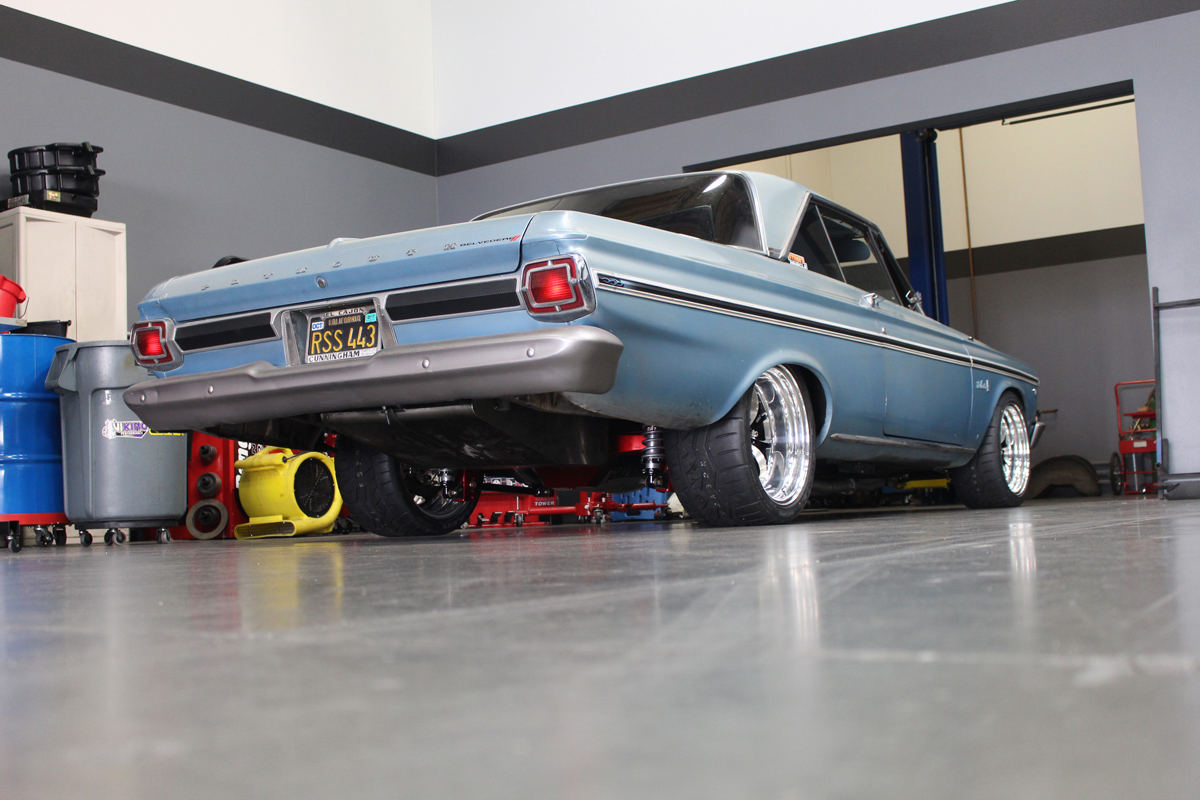
Performance Results
We had road raced the Belvedere a few times over the course of about 3 years, each improvement netted about a second faster around the track. Each improvement was typically just that upgrade – such as better shocks, better brakes, or even the time we added Procar bucket seats and 5-point harnesses from Impact Racing. That particular trip we saw a complete one-second reduction in lap times simply by removing the bench seat and lap belt for a better, more appropriate seating layout.
With the Control Freak upgrade, however, we didn’t see an improvement of a second or two. What we saw was a four-second improvement – and that was without paying around with the QA1 shock settings or dropping the suspension down a little on the coilovers. We also had our street alignment setting, instead of our road race setting, so we knew there would be more room for improvement, and that’s for the next trip out to Willow Springs.
With any major upgrade such as this, there are going to be minor drawbacks, and that’s to be expected. For every improvement, something will be sacrificed, even if it’s in smaller proportions. For the Belvedere, we drive it pretty hard to begin with so it wasn’t really much of a detriment, however, the suspension is a little bit noisier now, and road noise will carry through the chassis to the body. Again, that’s to be expected when you replace rubber bushings with Heim-jointed control arms and links.
So, would we do this upgrade all over again if we bought another car we wanted to road race? All sorts of smart-aleck anecdotes come to mind on this one, but you can rest assured that this upgrade is the best one we’ve done so far – and would definitely be worth doing again.