
Champion Cooling’s Inline Coolant Filter is not only a great way to inspect the condition of your coolant at all times, but it’s also a bit of eye candy that draws people to your engine when you pop the hood. When your coolant is free of rust and still has that fresh coolant hue, it makes a statement: you take care of your engine.
There’s nothing worse than seeing brown rusty coolant after it’s too late, and the damage is done. Our Inline Coolant Filter can alert you to the condition of your coolant right away, as well as provide a safe and effective way to observe coolant flow while the engine is running. Installation of your filter is pretty straight forward, but we do have some recommendations for a proper and efficient installation.
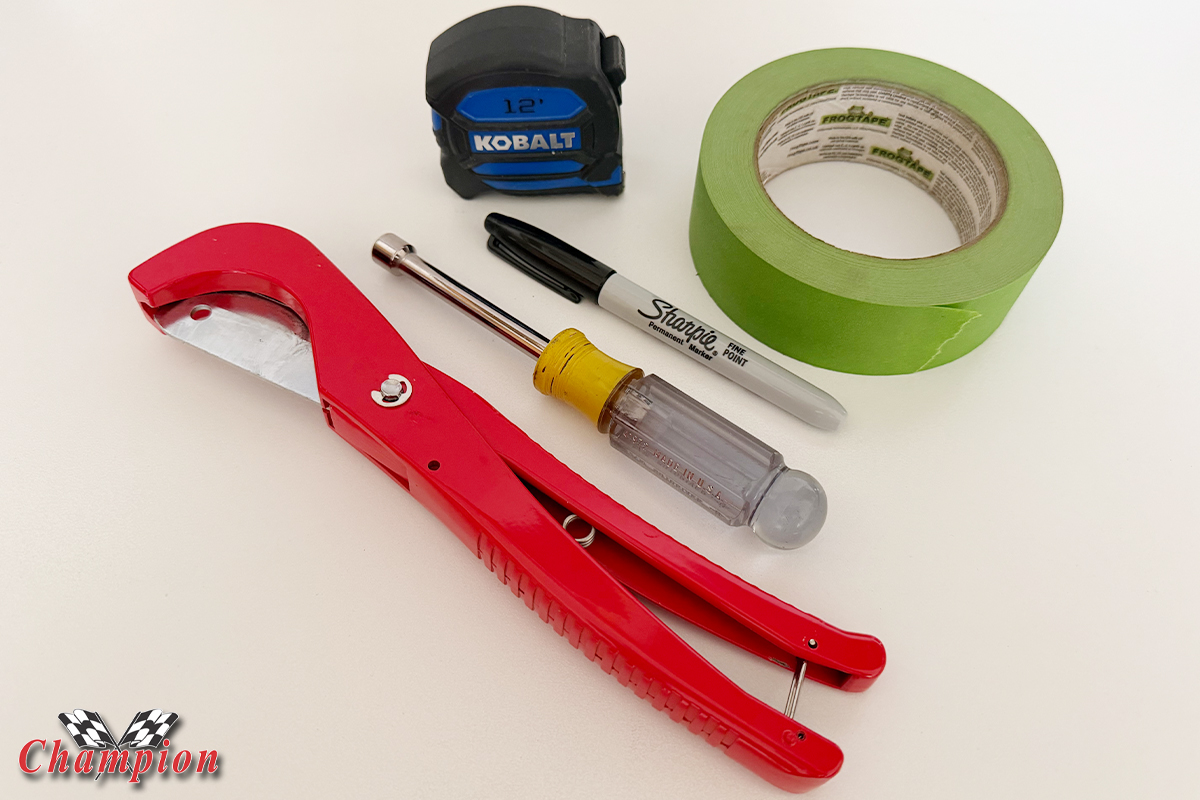
Basic hand tools are all that is needed for installation of your Inline Coolant Filter. If you don’t have a hose cutter, like the one in the photo on the left, a sharp utility knife will do. Always use caution when cutting a radiator hose: take your time with your cuts, and be sure to have a sharp blade.
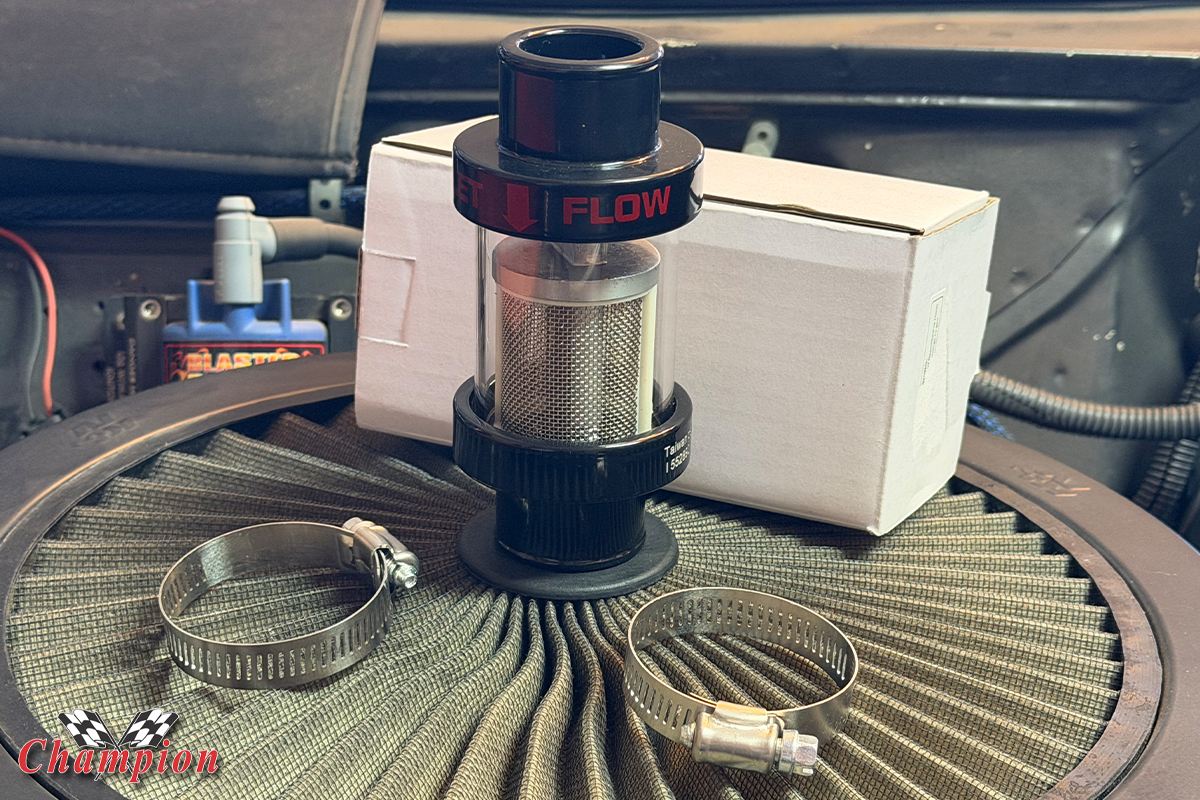
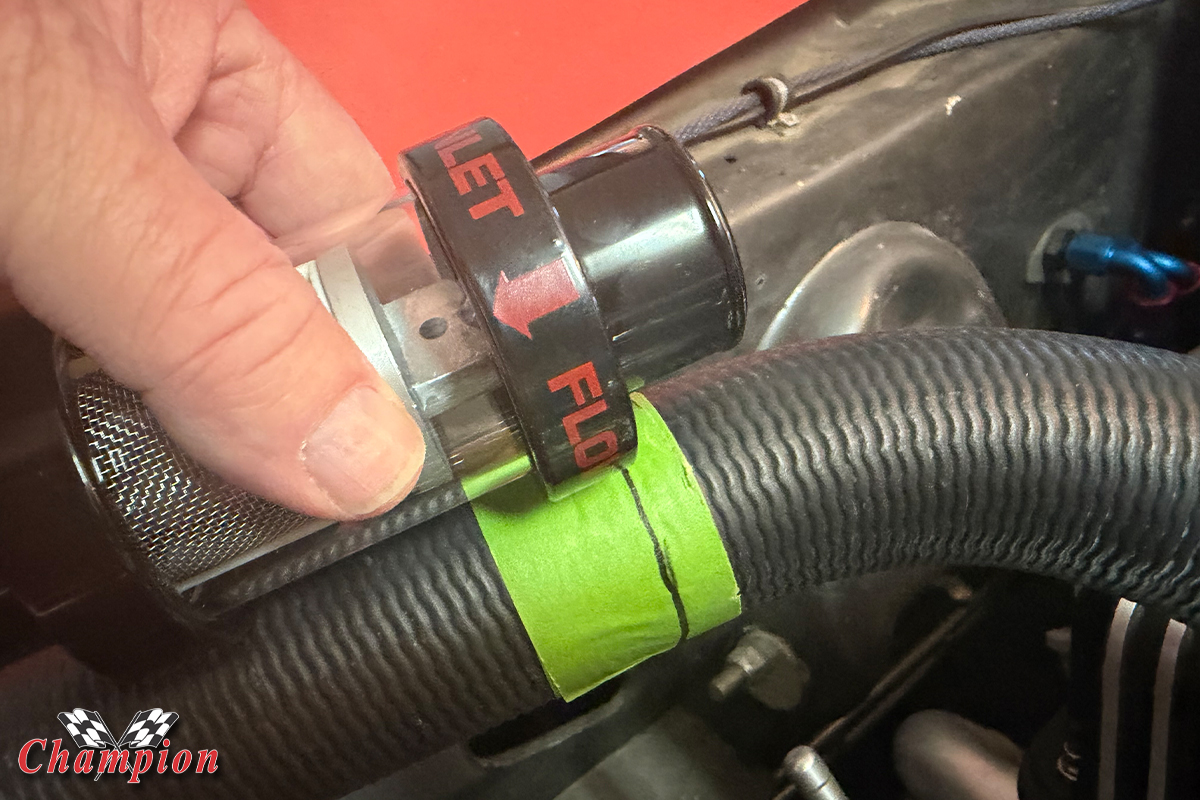
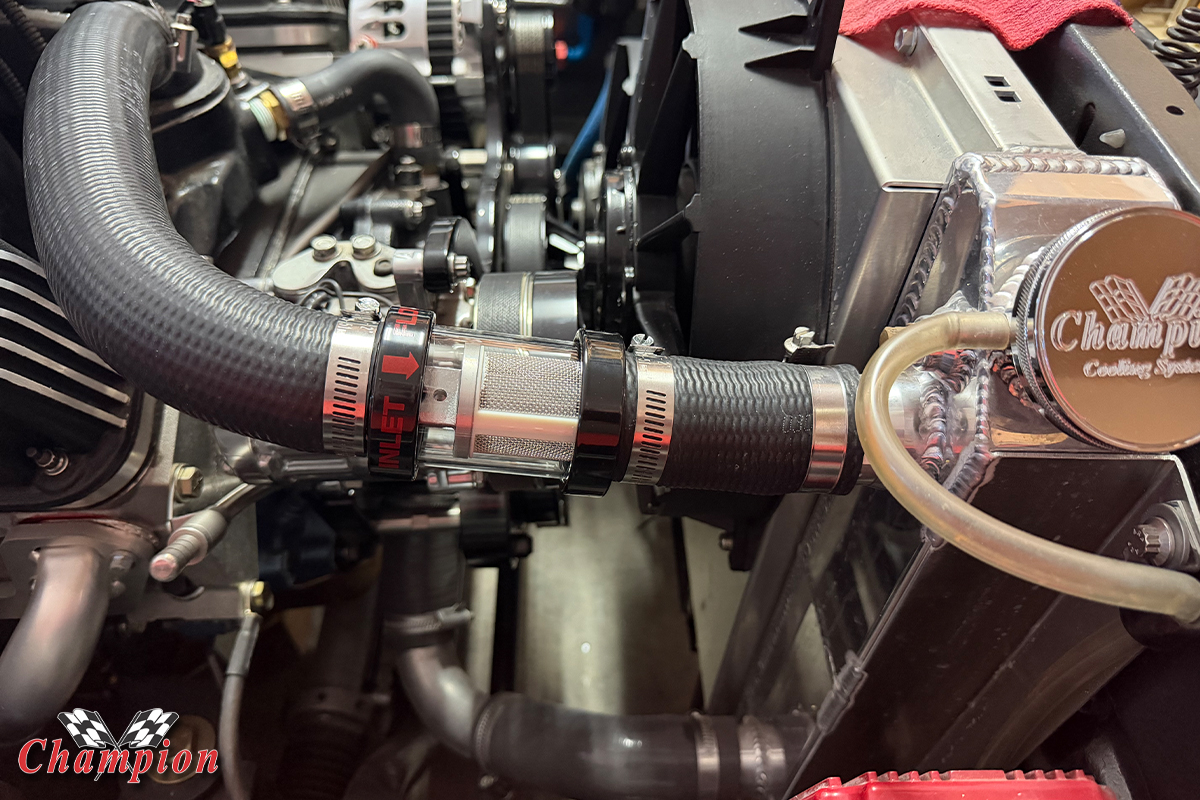
The Coolant Filter should only be installed on the upper radiator hose. It is available in three popular sizes: 1.25″, 1.5″, and 1.75″ diameters to fit most vehicles. We also offer the filter in three color choices: Black, Gray, and Chrome. Make note of how the filter is assembled in conjunction with the arrow showing flow direction.
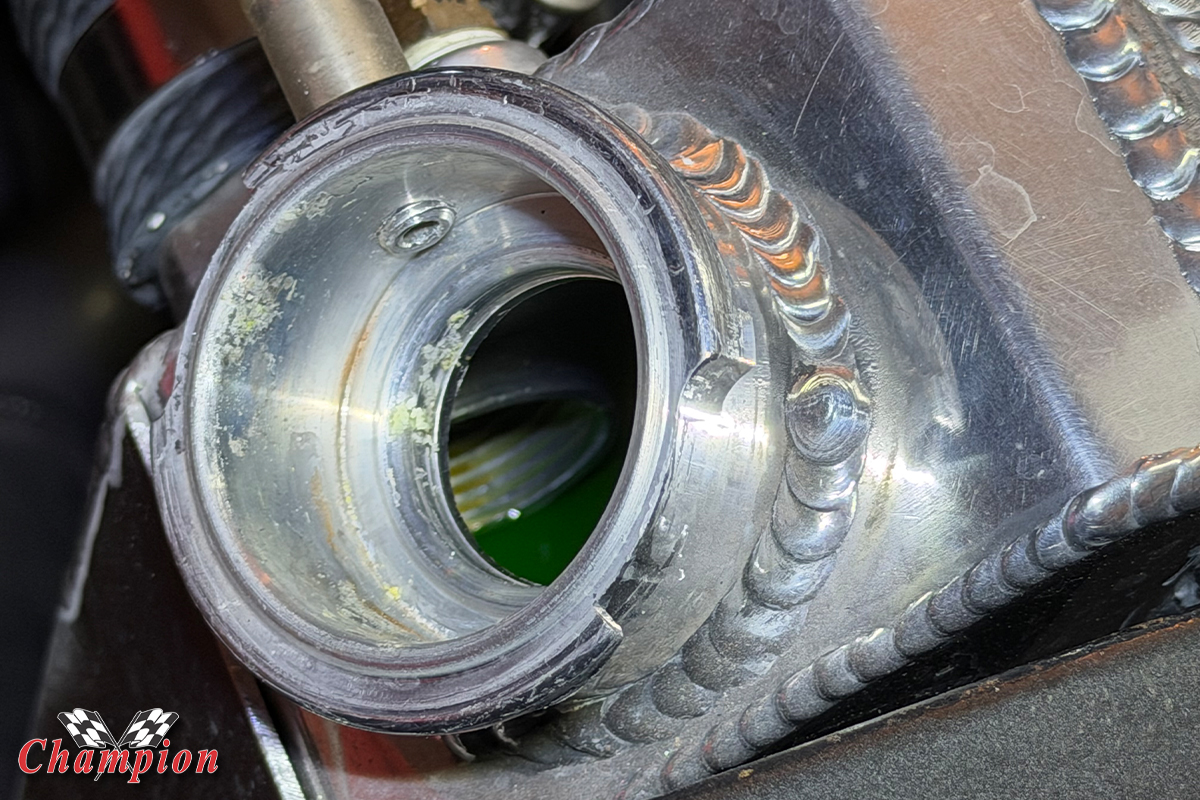
The coolant should flow from outside of the filter element to the inside, for maximum surface area and to avoid potential clogging of the element itself. When determining the mounting location, it’s best to mount the filter as close to a solid fixture, such as the radiator inlet or the thermostat housing, rather than in the middle of the hose, if possible.
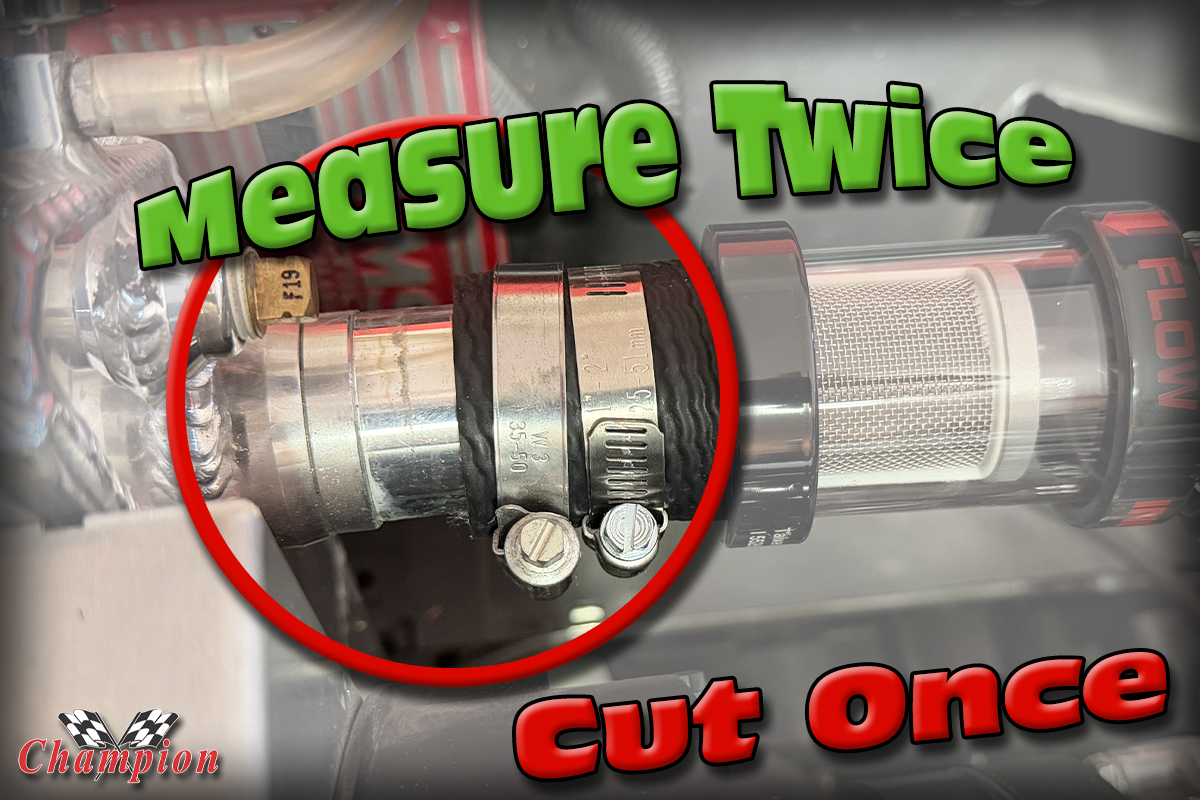
The first consideration should be to find a straight section on your upper hose that is close to 5″ in length. Once you determine the best place to install it, note the location at one end of the filter and wrap masking tape around the hose so you can mark your first cut line. In our example, we have a curve in the upper hose, so it’s imperative to make sure that the first cut isn’t made where the hose curves.
Be sure to allow a couple of inches of straight section for the end of the filter to attach to the engine side of the upper radiator hose. Start with a single cut and work from there, rather than making two cuts to remove a section of the upper hose. Mark the cut line on the tape with a Sharpie, and complete that first cut.
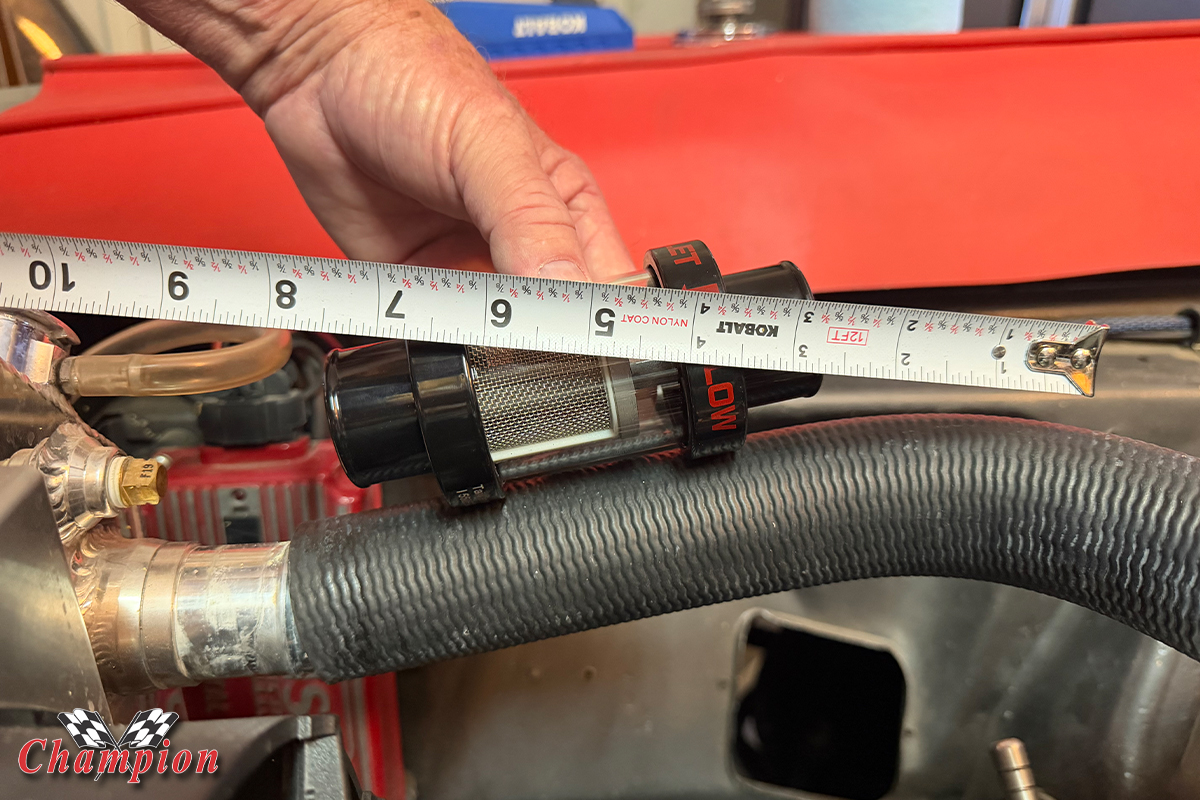
The body of the filter is about 3.25″, overall is roughly 5.25″. Making the first cut, then measuring again, will help prevent mistakes that require purchasing another upper radiator hose.
After making the first cut, install the filter into the engine-side hose, and install the cut piece onto the radiator inlet. Wrap masking tape around the end of the cut piece for marking the second cut. With the filter attached to the engine-side hose, hold the filter and hose loosely, without any force pushing or pulling against the natural curve of the hose.
Make a mark on the masking tape for the second cut. Allow room for the end of the filter to fit inside hose without contacting the inlet on the radiator. Cutting too much from the radiator-side hose will become a problem; installing the filter as is, without removing a small section of the shorter hose could put stress against the natural curve of the hose, forcing it to collapse slightly.

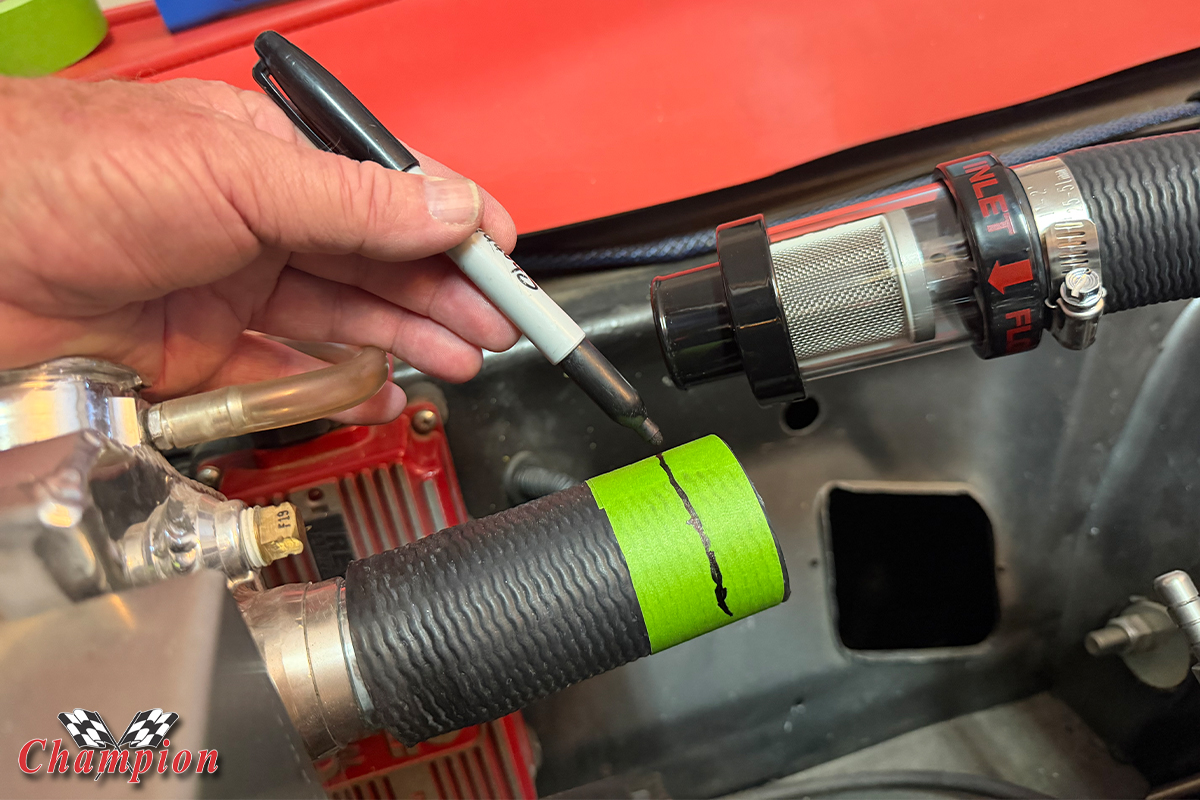
Even though the filter body is 3.25″ in length, we ended up cutting just under a 3″ section from the hose.
Make the second cut a little closer to the end and test fit the filter. If needed, cut a little more off of the shorter hose so that the filter fits between both upper hose ends without forcing the hoses apart or pulling them together . Making adjustments as necessary will allow for a perfect fit, and once installed the filter will be stable and easily accessible for future filter cleaning.
When securing the hose to the filter, a good practice is to tighten the clamps in this order: secure the thermostat housing end and the radiator inlet end. Then secure the clamp on the radiator side of the filter first, and make a final twist of the filter end cap to make sure it’s tight prior to securing the last hose clamp.
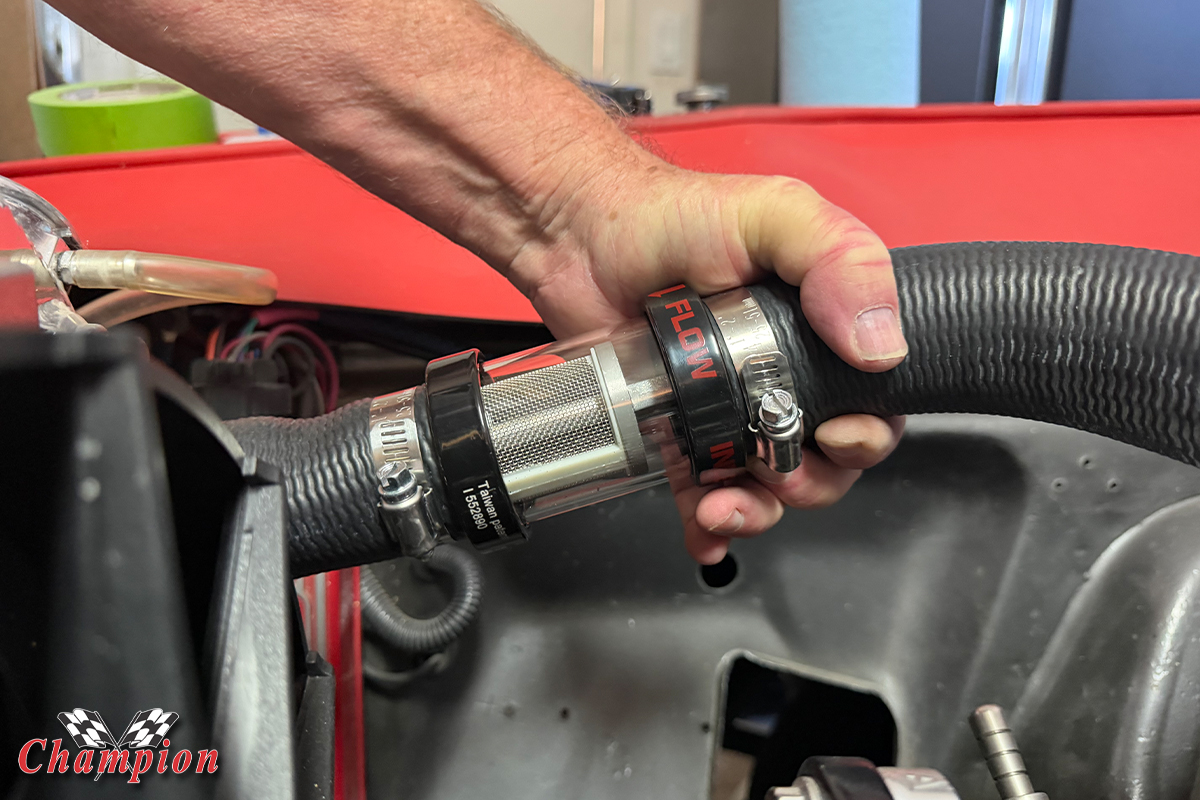
Two very key points of this installation is to be sure both ends of the filter are tightened prior to tightening the hose clamps.
Failing to secure the filter caps could lead to a coolant leak once the engine warms up and a little pressure builds. Loosening the clamp to tighten the filter cap once coolant passes through can create quite a mess, so be sure that everything is secure after installation is complete, and before starting the engine.
Be sure to inspect the filter for any coolant leaks after driving, and periodically check coolant condition. If it needs cleaning, please see the video below for some helpful hints regarding Inline Coolant Filter maintenance. Always be sure to use the proper coolant to maintain the Lifetime Conditional Warranty, and never use a chemical flush when changing your coolant.