
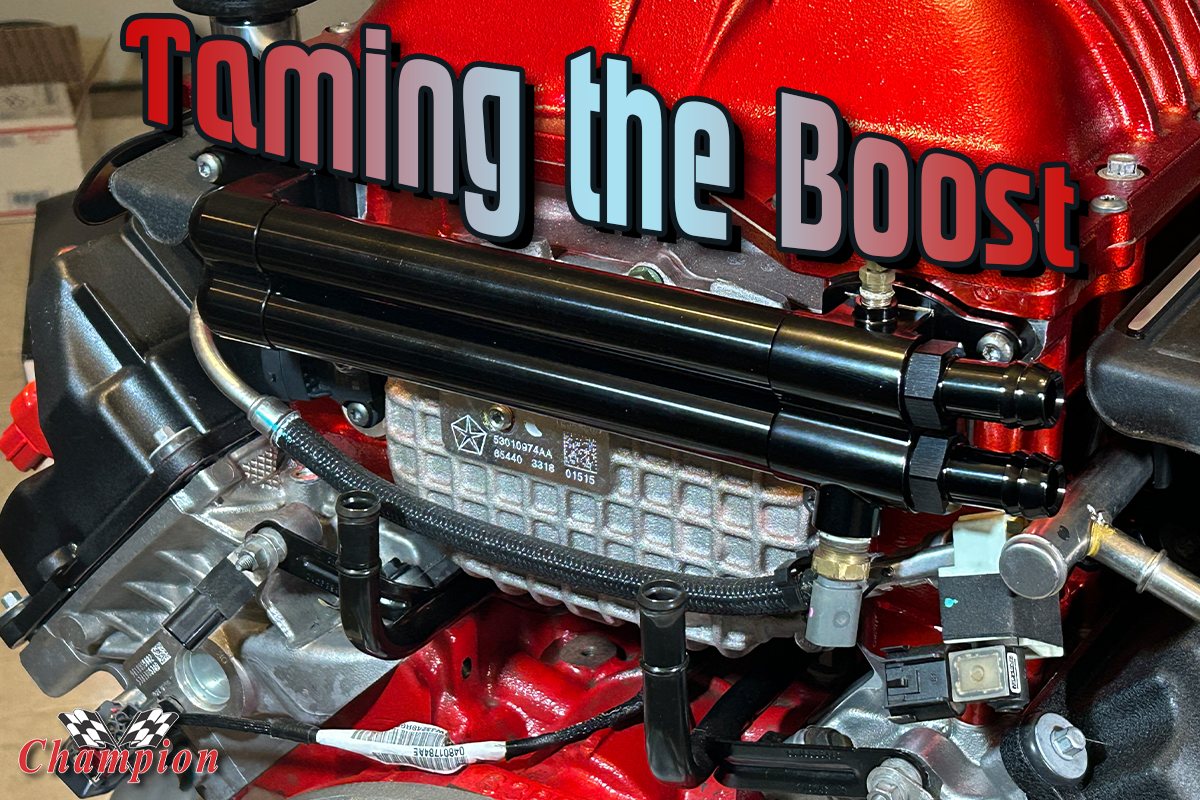
When swapping an engine from a modern vehicle into a classic car or truck, not everything is going to fit, and that’s where you have to find a solution. If this was taking place about a decade ago – when the Hellcat engines were fresh – one of the solutions we have today would’ve meant some creative ingenuity.
Thankfully, Earl’s Performance Plumbing has stepped into the game with a product that may have meant cutting into the firewall, or at least using some 5-lb persuasion to make some room. Swapping out the OE intercooler manifold with Earl’s version provides us with a couple extra inches of room for a very necessary part. While the OE version was intended for the vehicles the Hellcat was made for, a Hellcat swap is another ball of wax, and thus having the automotive aftermarket step up with products to facilitate the swap is a blessing.
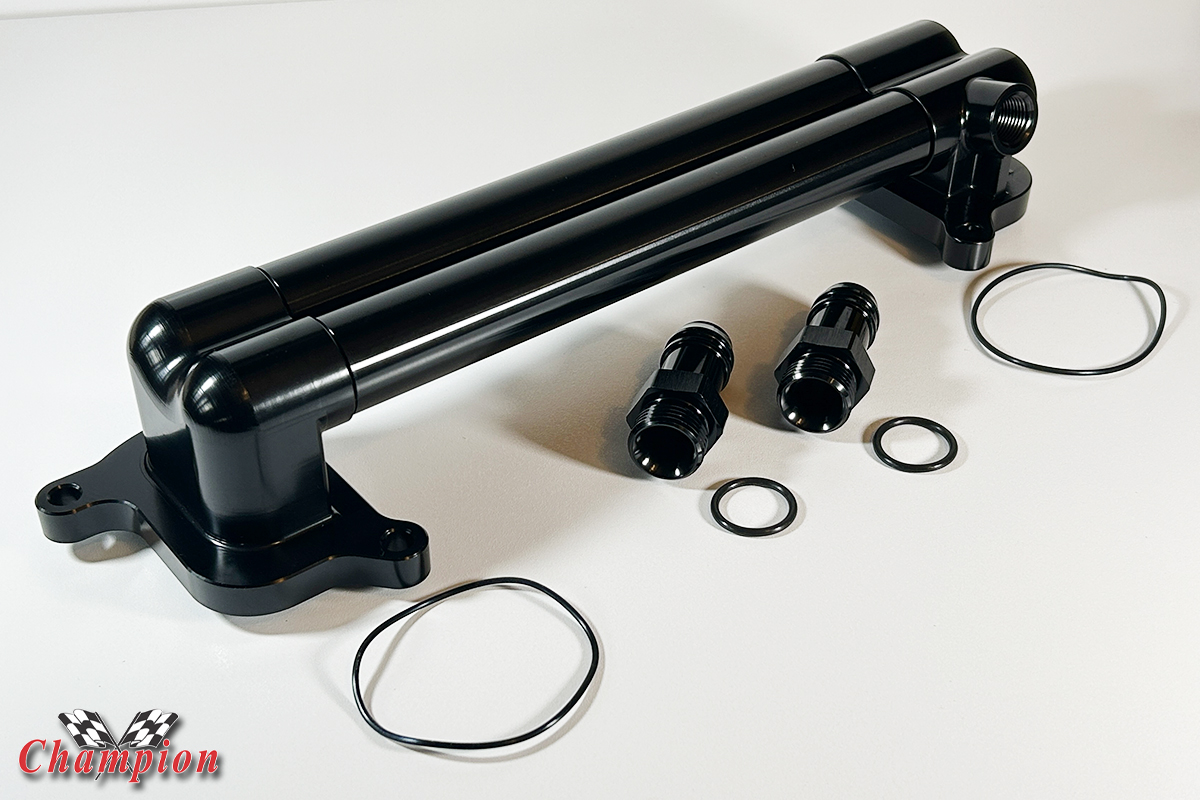
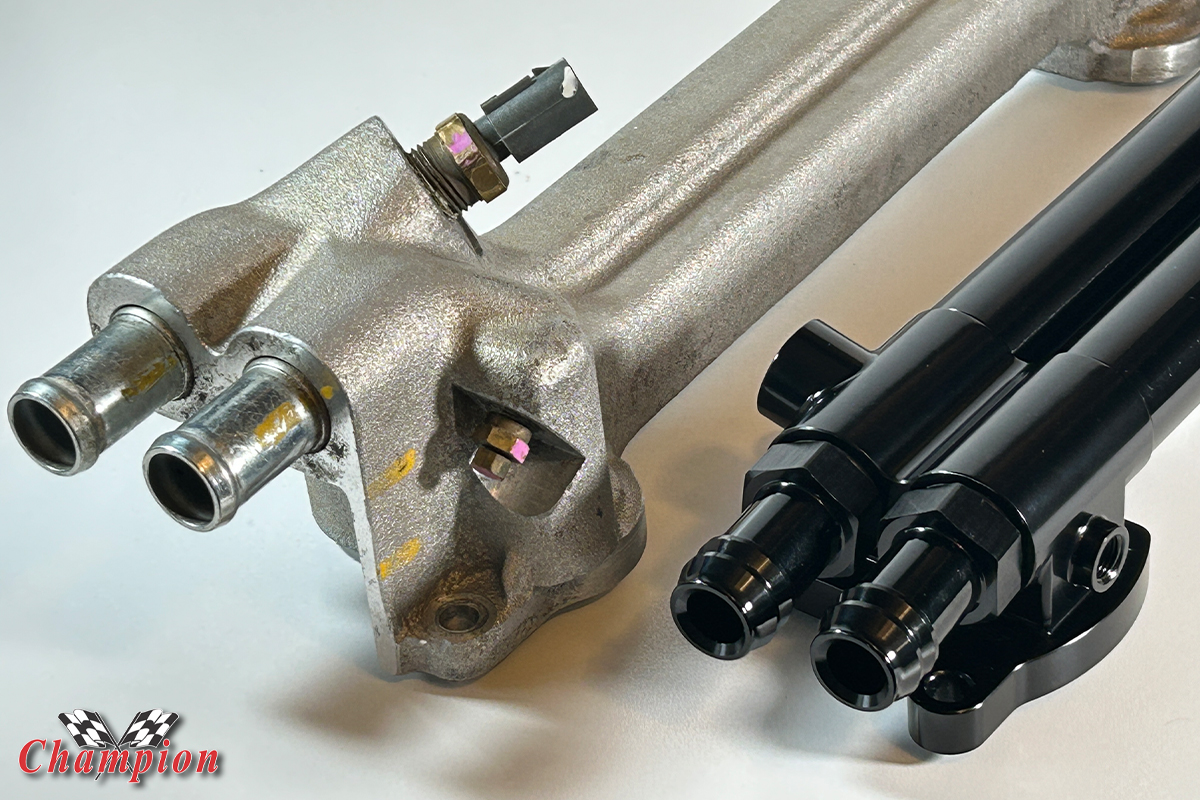
A nice feature of the Earl’s Intercooler Manifold (Part #HEMI0005ERL) is the separate -10 ORB-style fittings for the inlet and outlet ports. The kit includes barbed-style fittings in the same size as the factory hoses, but can easily be swapped out with AN fittings if you choose.
Though the factory intercooler manifold is virtually inaccessible on the Challenger and Charger Hellcats, it’s a one-piece unit that clears the firewall just fine. For our 1965 Belvedere, real estate at the back of the engine is at a minimum, and the OE unit would be a tight squeeze, even more so on some classic Mopars due to the placement of the factory wiper motor.
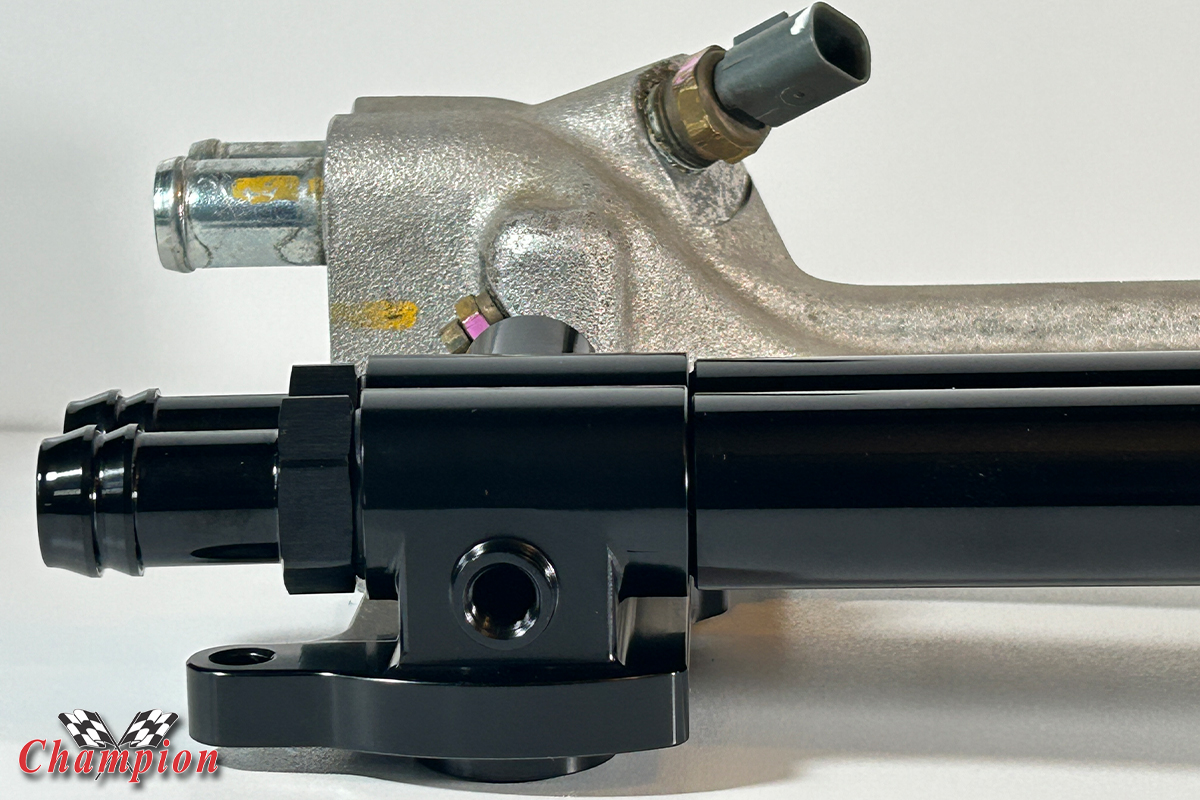
The billet aluminum end pieces are a nice touch, and adds a much better look, especially with a black anodized finish.
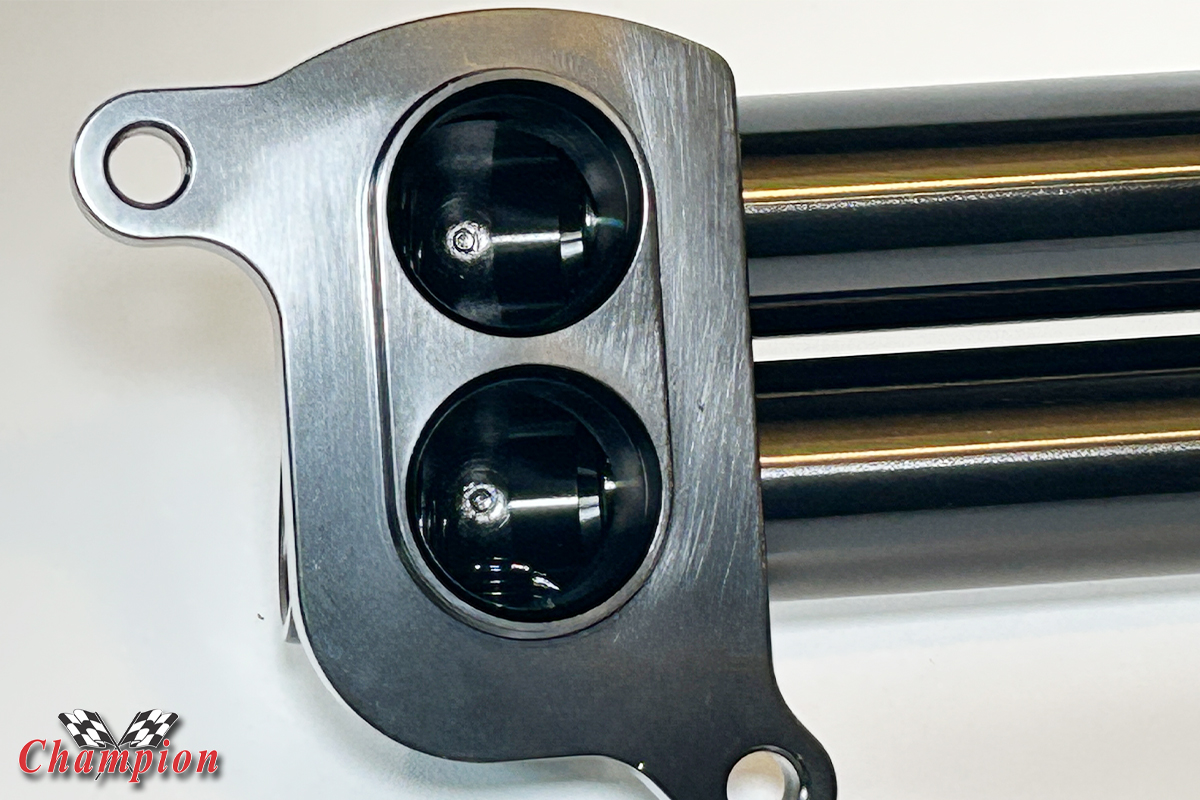
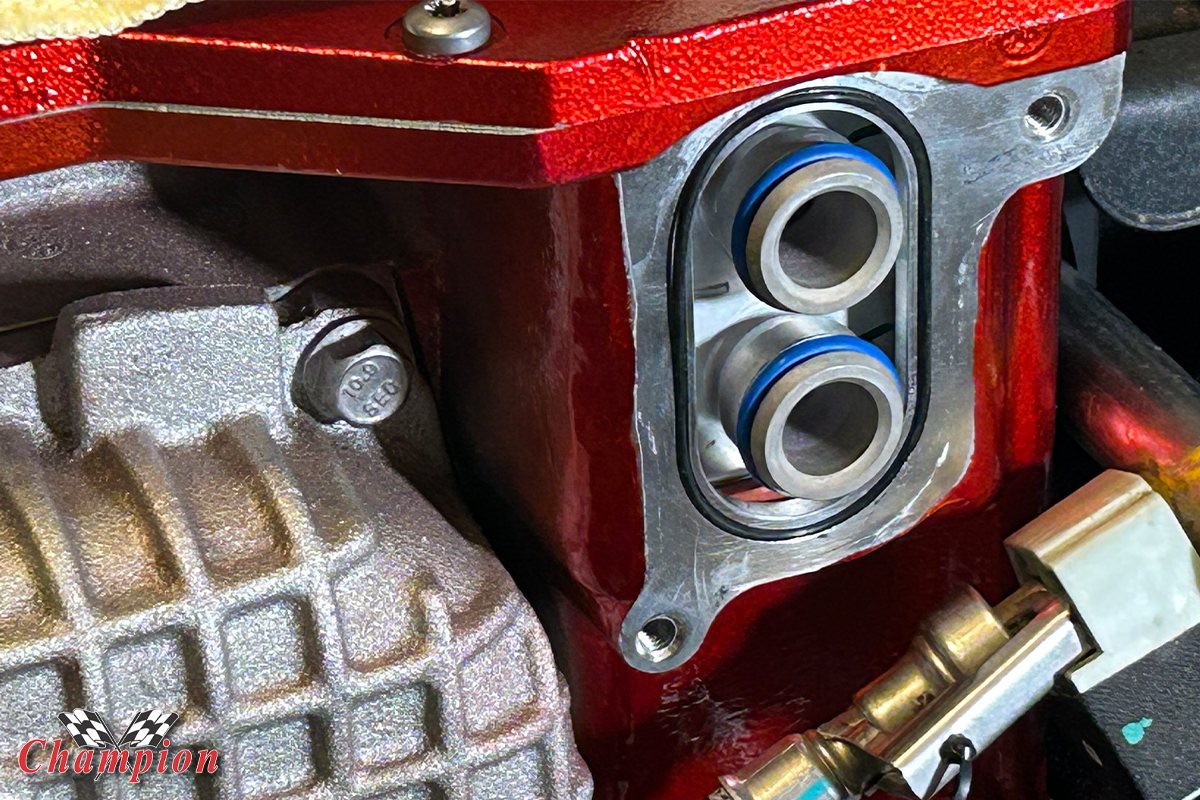
The black, anodized finish on this billet aluminum manifold creates a much better look than the cast aluminum OE manifold. Each side has it’s own O-ring seal, with individual O-rings for the intercooler tubes. The factory bolts can be reused, and secured to about 7-10 ft lbs. A silicone lubricant can be used to help keep the larger O-rings in place during assembly.
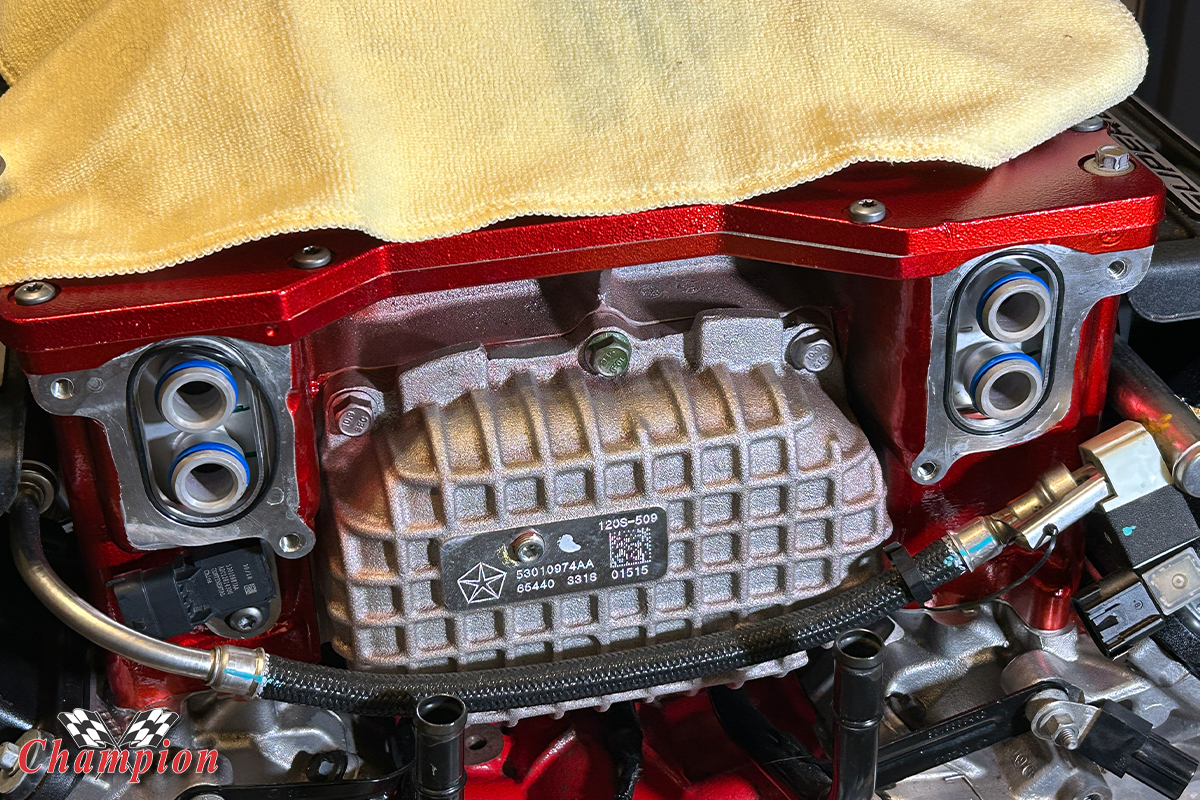
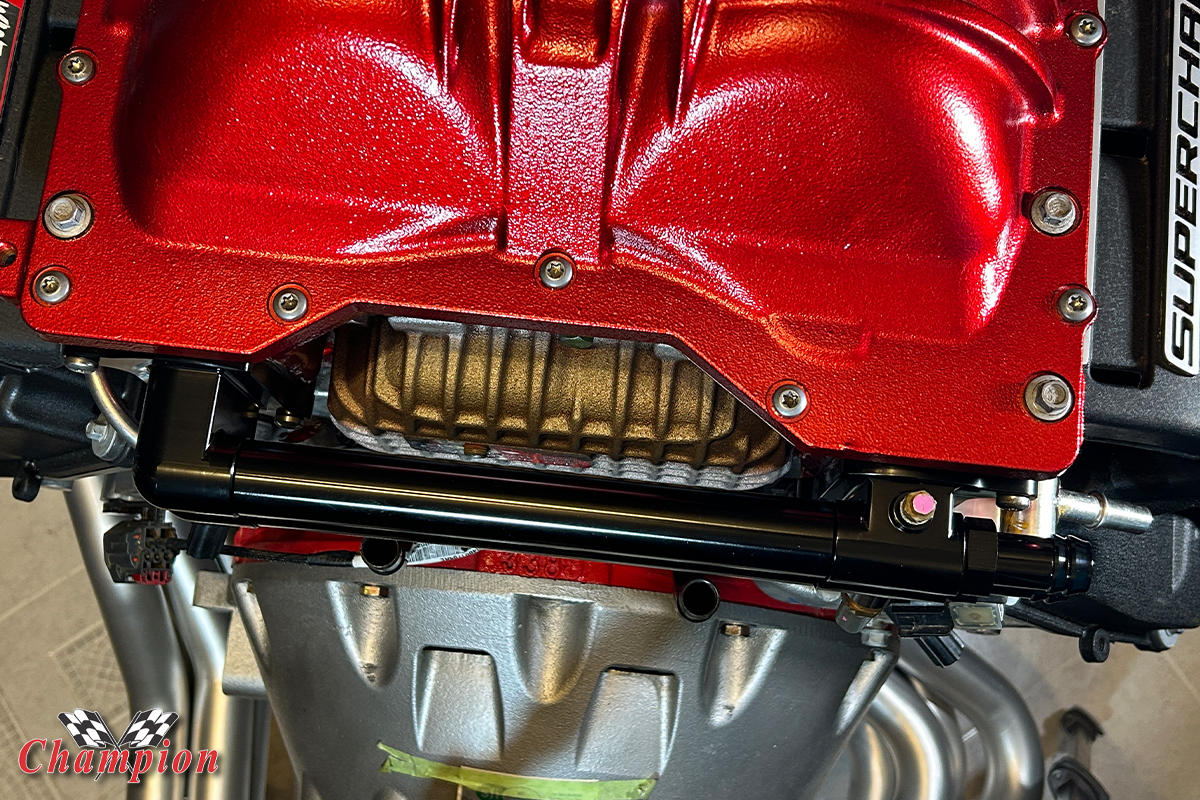
The Earl’s manifold sits nearly two inches lower to the supercharger, opening up room for ease of engine installation, and is far more accessible once installed. Earl’s also relocates the temperature switch so it faces down, and out of the way, somewhat hidden from view. On top is the bleeder screw to release any trapped air once the coolant is filled.
That’s nearly two inches lower, providing much needed room where things can be pretty tight in a Hellcat swap to a classic car.
As we get closer to completing our swap, we find that we need to continue calling on our friends in the aftermarket to help with potential problem areas. The Gen III Hemi swap isn’t new, and is gaining lots of momentum, but still isn’t near as popular as LS swaps. But thanks to the growing need to accommodate these swaps, the aftermarket is stepping up huge with the parts we need.
Earl’s falls under the Holley umbrella, where you’ll find a plethora of components to help facilitate the Gen III Hemi swap, including fuel systems and swap components such as engine mounts and headers for classic Mopars. The supercharger adds a lot of bulk to this swap, but it’s not the only area that we’ve had to source aftermarket parts.
It’s all starting to come together, and while we’re much closer than we were last year, we still have a long way to go, so stay tuned!
We noticed a couple of our coils were damaged by chains that were used to pull the Redeye mill from the wrecked Challenger, so we’ll share some info about the red MSD Blaster Coils that we added recently in an upcoming article, as well as the Holley oil pan, with some installation notes for you.