

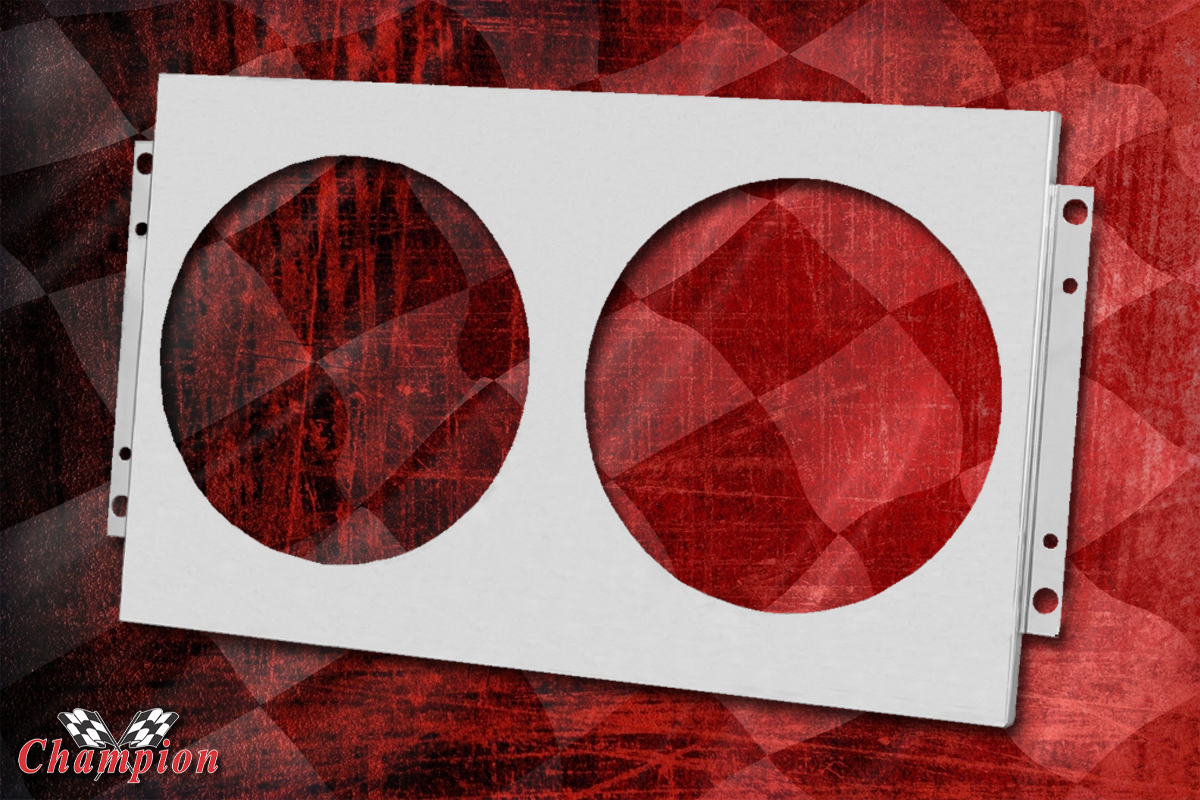
Many of our aluminum radiators will accommodate the factory fan shroud, should you choose to run a mechanical fan. Another option, if you so desire, is to add a single or dual electric cooling fan to replace the mechanical fan. Though we don’t have an aluminum fan shroud for every radiator we manufacture, we do offer them for a vast majority of our applications.
Some applications will accommodate either a 16-inch single fan, or dual fans from 11-inch diameters up to dual 16-inch fans, depending on the application, and size of the radiator itself. Our aluminum fan shrouds replace the factory shroud and mount directly to the radiator of the same application, with some shrouds fitting more than one application. Always test fit your shroud to your radiator and perform a mock install to make sure everything fits properly, and to plan out the installation.
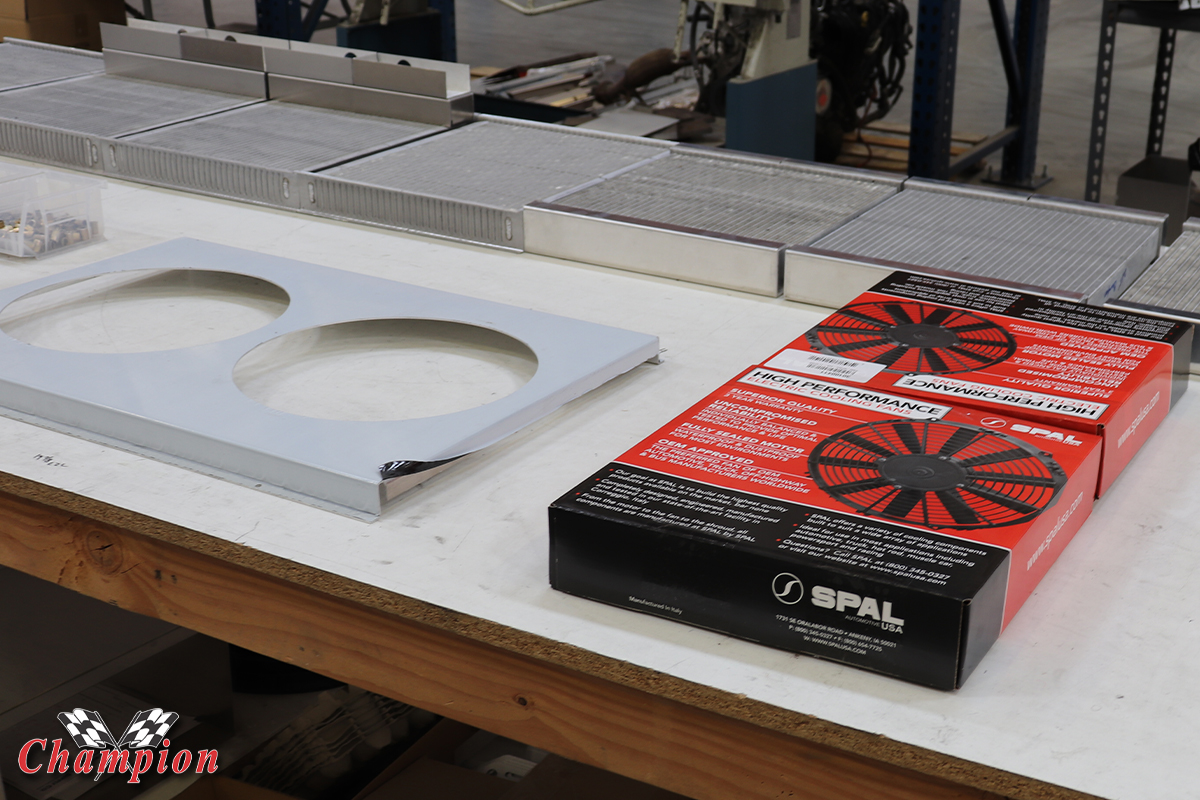
Champion sales staff will make sure that the fans you order will fit your shroud, which is why we highly recommend that you purchase your electric fans at the time you purchase your shroud. There are often a few choices to be made, based on how much space you have between the radiator and the engine pulleys, as well as the amount of air that needs to be moved based on engine performance.
Basically put, the more horsepower your engine produces, the more cfm (cubic feet per minute) you need for your fan to produce. More horsepower means more heat, and our staff can help you decide on which fan would be the best for your application and your needs. Single fans might interfere more with the water pump pulley, where dual fans would allow you to offset them to avoid that contact.
Your shroud will arrive with a plastic sheet adhered to it for protection during shipping. It’s simple to remove, but we recommend leaving it on until after all holes are drilled. The first decision that should be made involves the hardware used to mount the fans, as well as whether you prefer to install nutserts (threaded inserts, rivnuts). It’s a good idea to start with something you have around the garage and for gauging size and bolt length for the final assembly.
If the bolts are too long, they could impact the tubes and fins of your radiator; if the bolts are too short, they may not secure the fan to the shroud properly, and could vibrate loose. We recommend stainless hardware and nylon locking nuts to attach the fan(s), with the bolts being long enough to extend partially past the nylon area of the nut, making full contact.
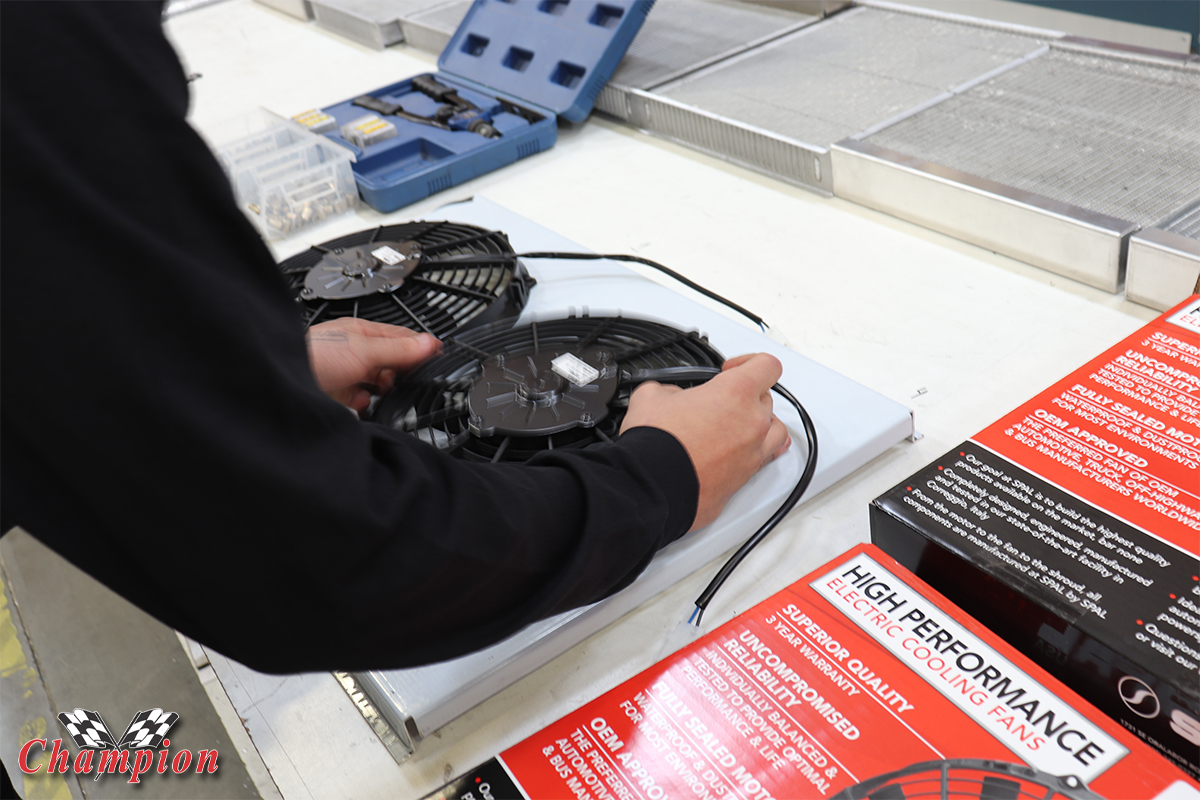
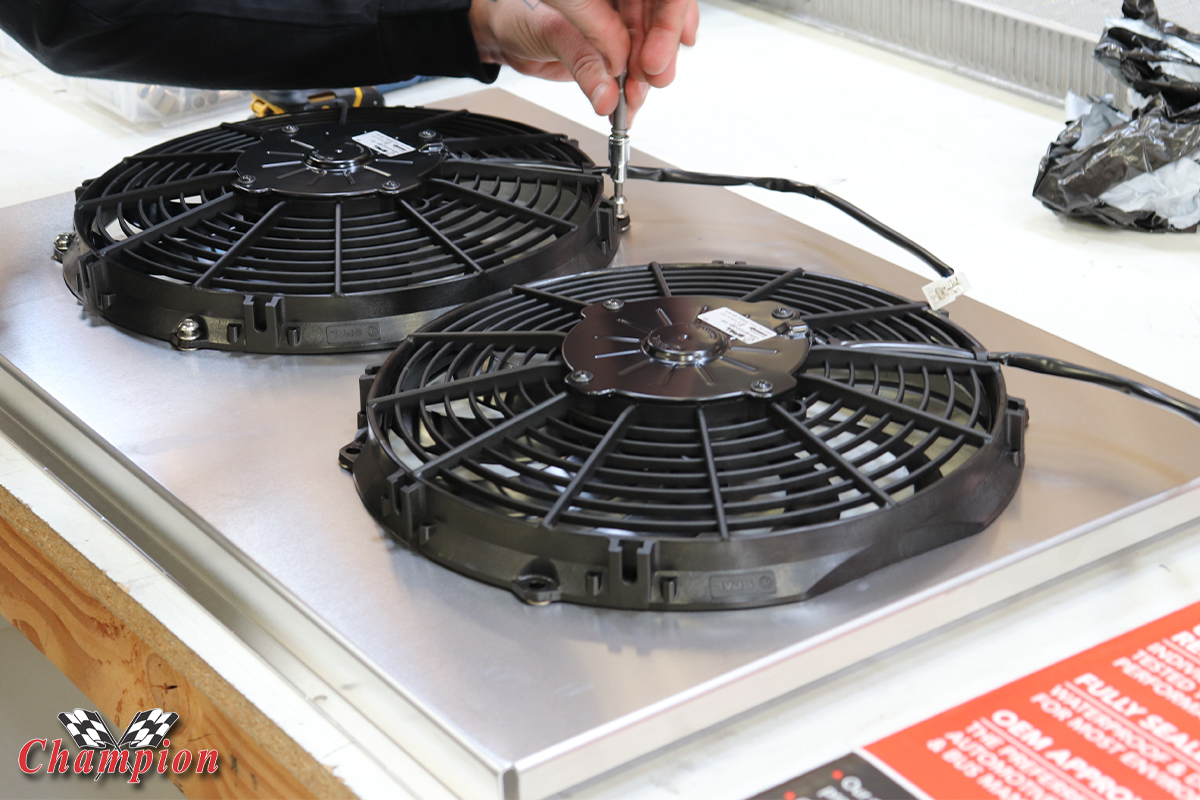
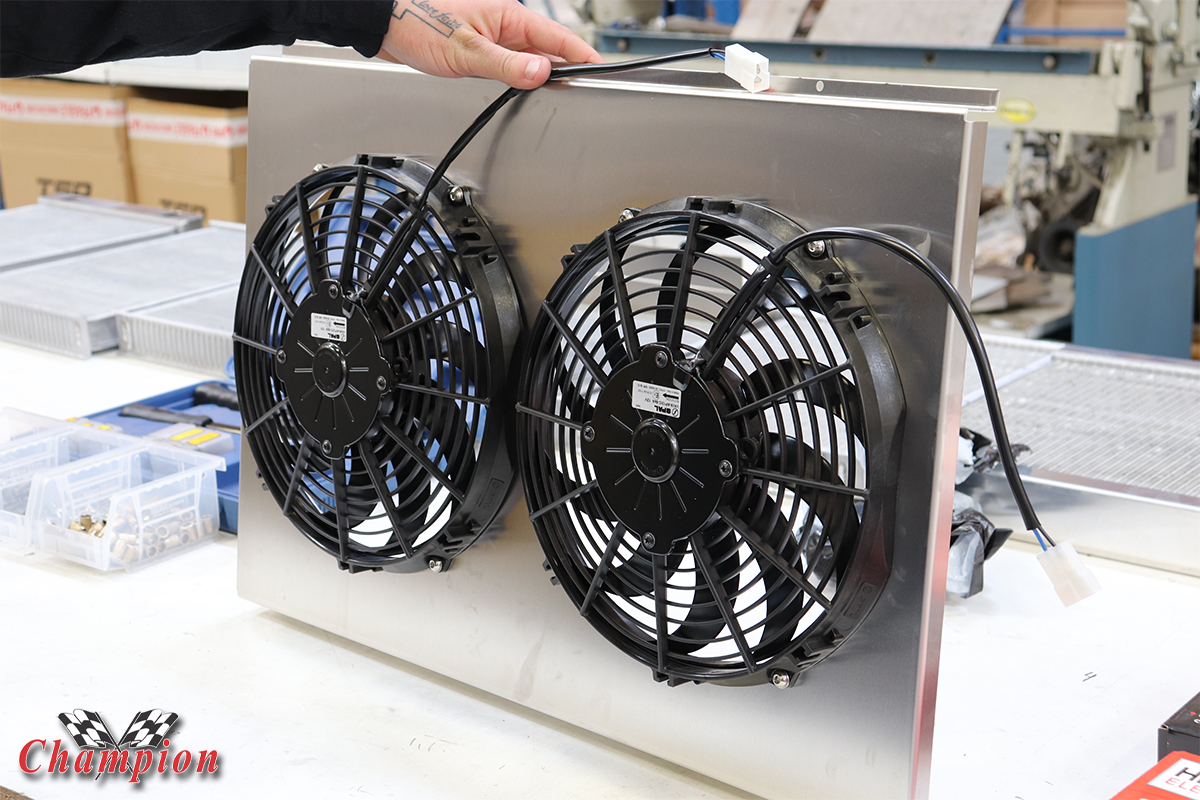
For dual fans, there is typically a flat spot on the sides of the fan housings so that you can run the fans closer together if needed, but be sure each fan is centered to the fan opening.
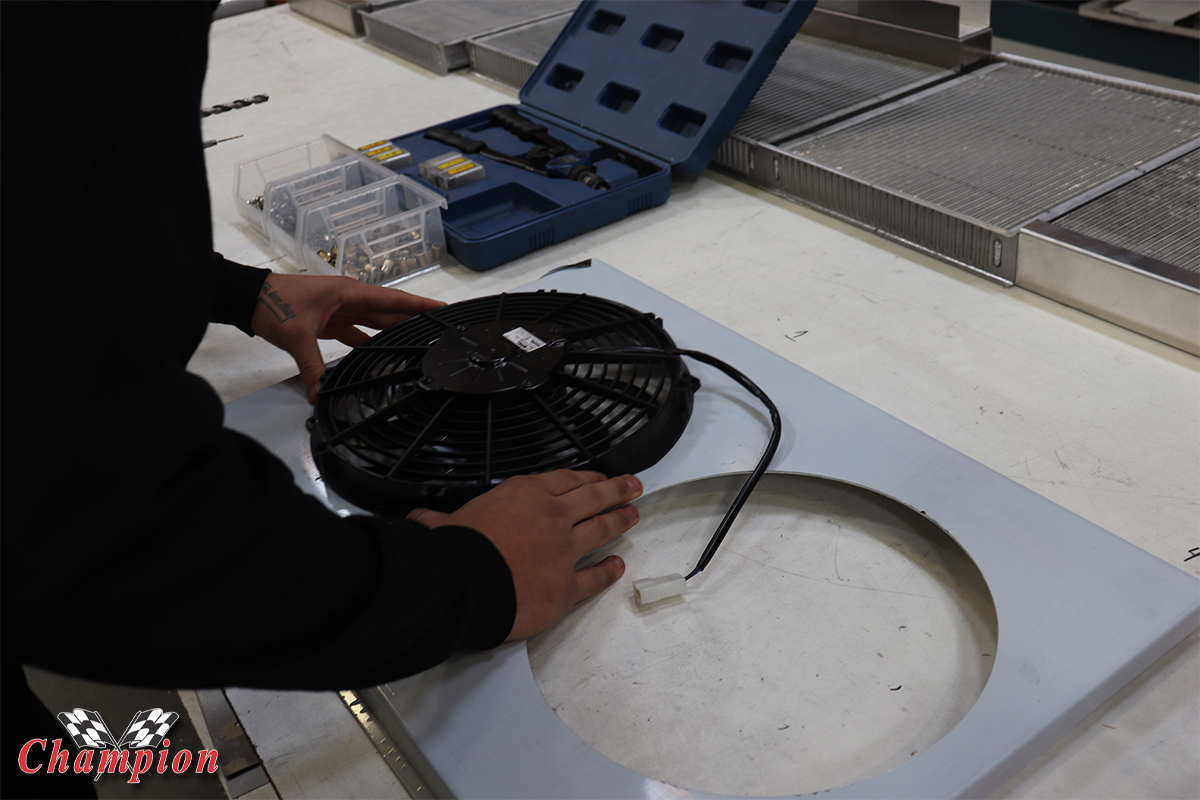
Lay out your cooling fan(s) on the shroud, aligning them to each other as well as centering the fan to the opening. You won’t need to concern yourself with the opening on the shroud matching the inner fan housing, there should be a little wiggle room. It also allows the mounting bolt a little more material so the hole isn’t too close to the opening.
Be sure to keep the routing of the fan wiring on the same side so that you can zip tie the wires together when connecting the fan relay to the fans. As always, it’s best to plan out your installation, keeping in mind that all wiring should be kept away from heat sources and moving parts, as well as keeping them from hanging below the chassis when everything is connected.
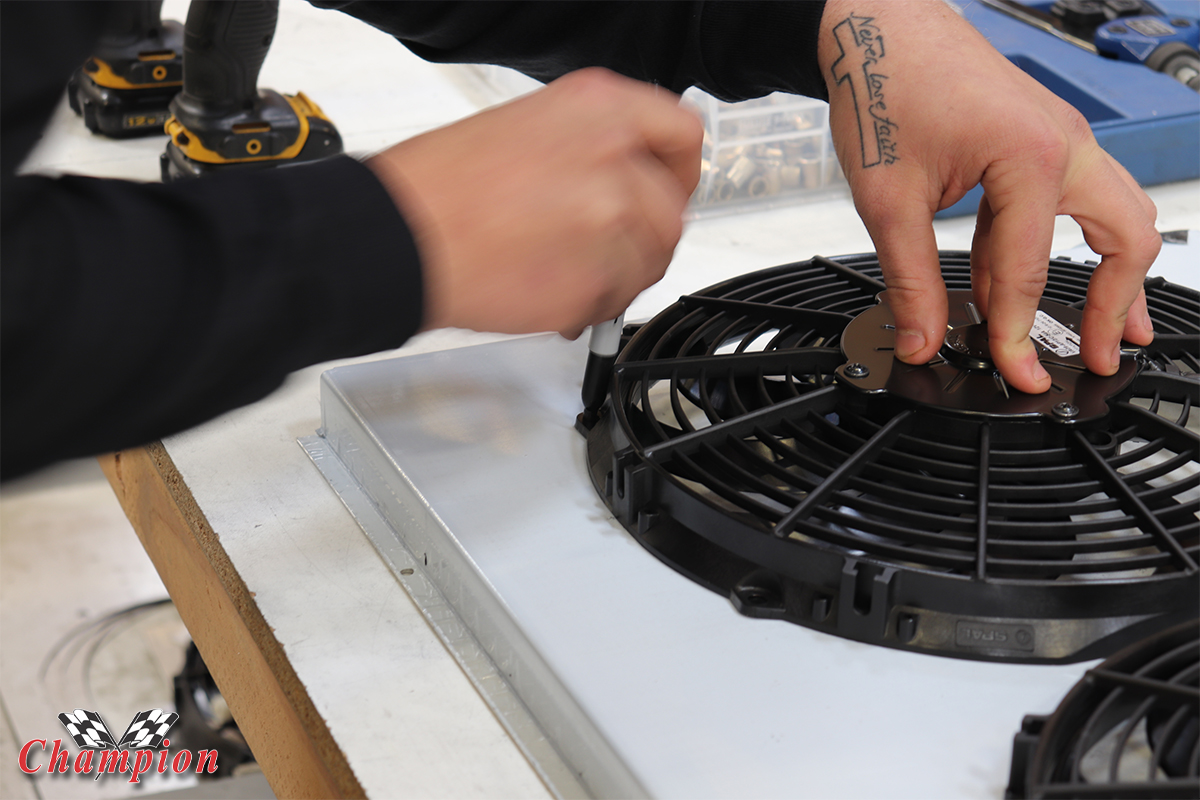
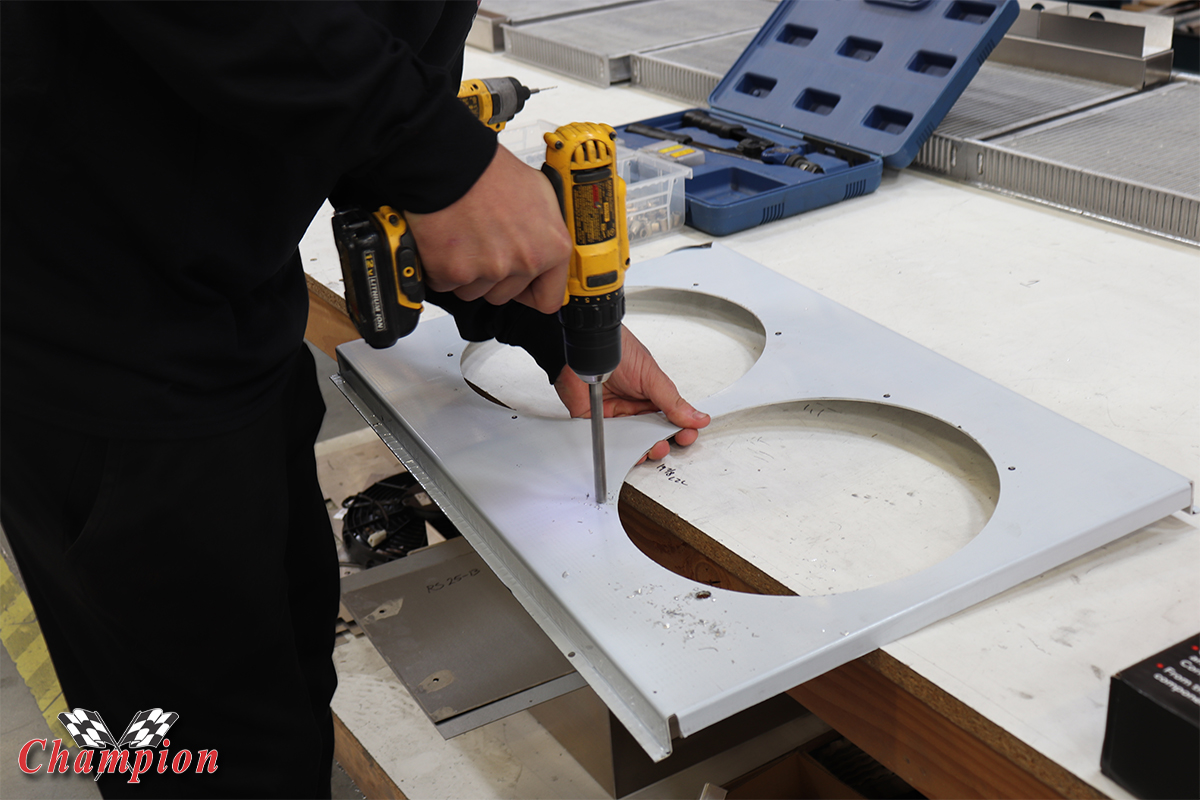
Mark the drill points with a sharpie first rather than using a center punch to mark the holes, then support the shroud over a block of wood when using the center punch, to keep the shroud from flexing.
Begin with marking the first hole, being sure not to nudge the fan when marking it. You can mark all four holes for each fan at the same time, and then mount that fan and mark the holes for the second fan separately, it’s entirely up to you and your confidence level. If you want to make sure that nothing moves, you can complete the installation of the first fan prior to marking the second fan.
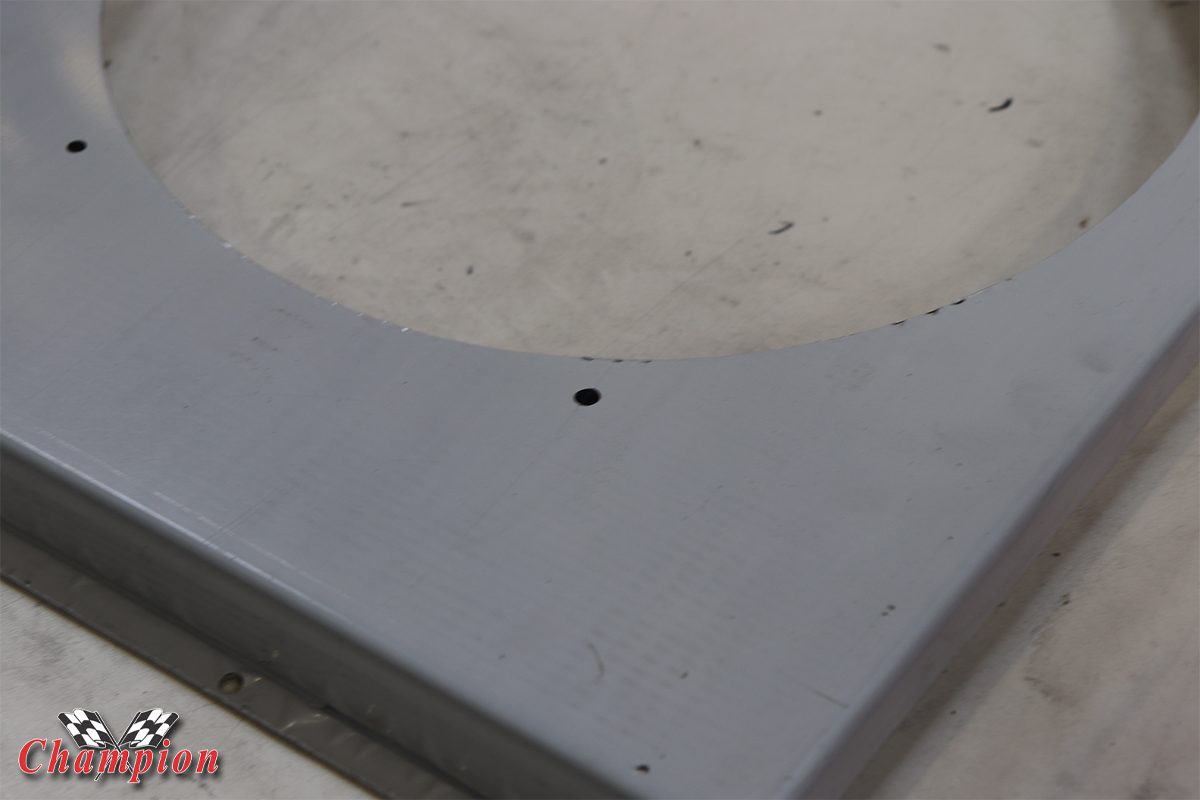
After the four holes are marked, support the shroud with a block of wood under each mark, then place your center punch in the center of the dot to mark the drill points. A spring-loaded center punch works well if you haven’t used one, it allows you to hold the shroud with one hand to make sure nothing moves. Some people like to mark and drill the first hole, and install one mounting bolt before marking the other three holes – this helps keep the fan in place while marking the other three holes. Again, comfort level will dictate how you go about this process.
Continuing with your comfort level – and depending on how sharp your drill bits are – sometimes drilling a smaller pilot hole prevents the drill bit from walking. Starting with a larger drill bit can be a problem if it’s not sharp enough, a smaller pilot hole helps to keep the bit in place.
If you’re installing nutserts to mount the fans, you’ll need to make sure the bit is the proper size for that nutsert. If the bit is too large, there’s no going back. A larger nutsert may mean that the bolt needed won’t fit through the hole in the fan housing.
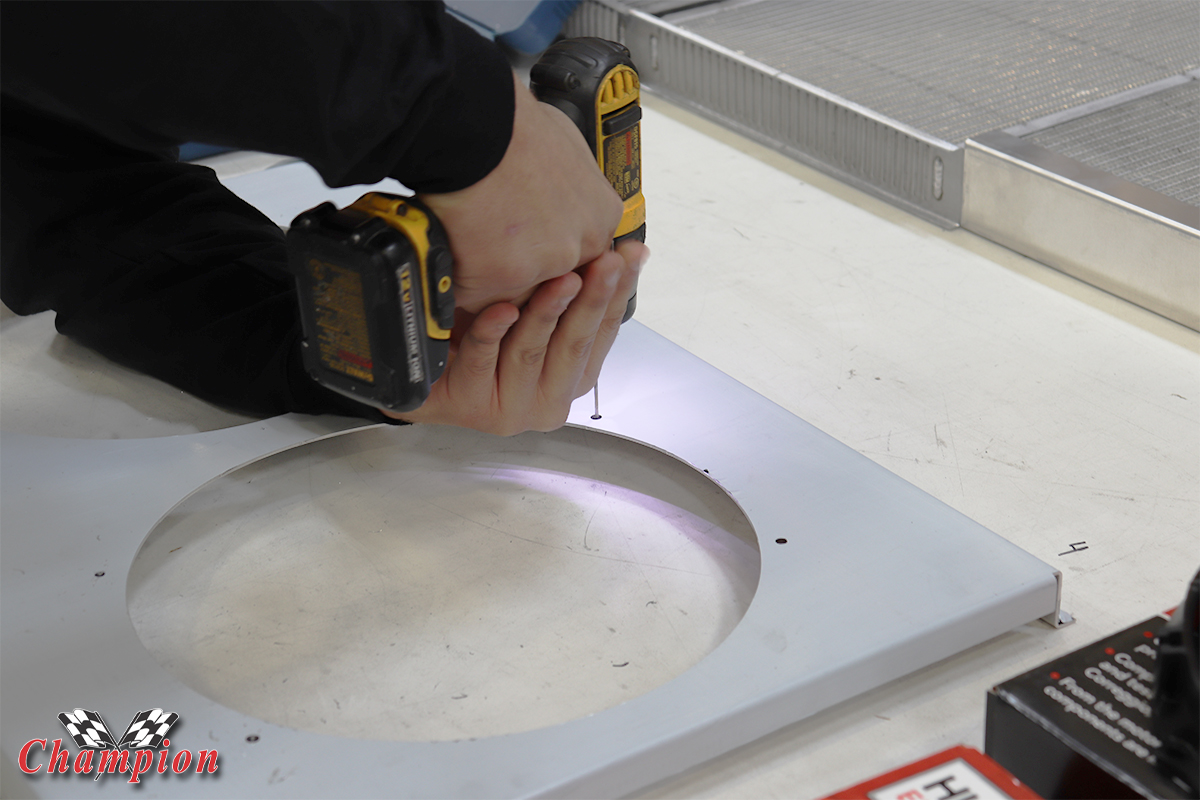
Always be aware of what’s beneath your shroud when drilling through it, if you’re not careful, you’ll add a few holes to the workbench that you didn’t want.
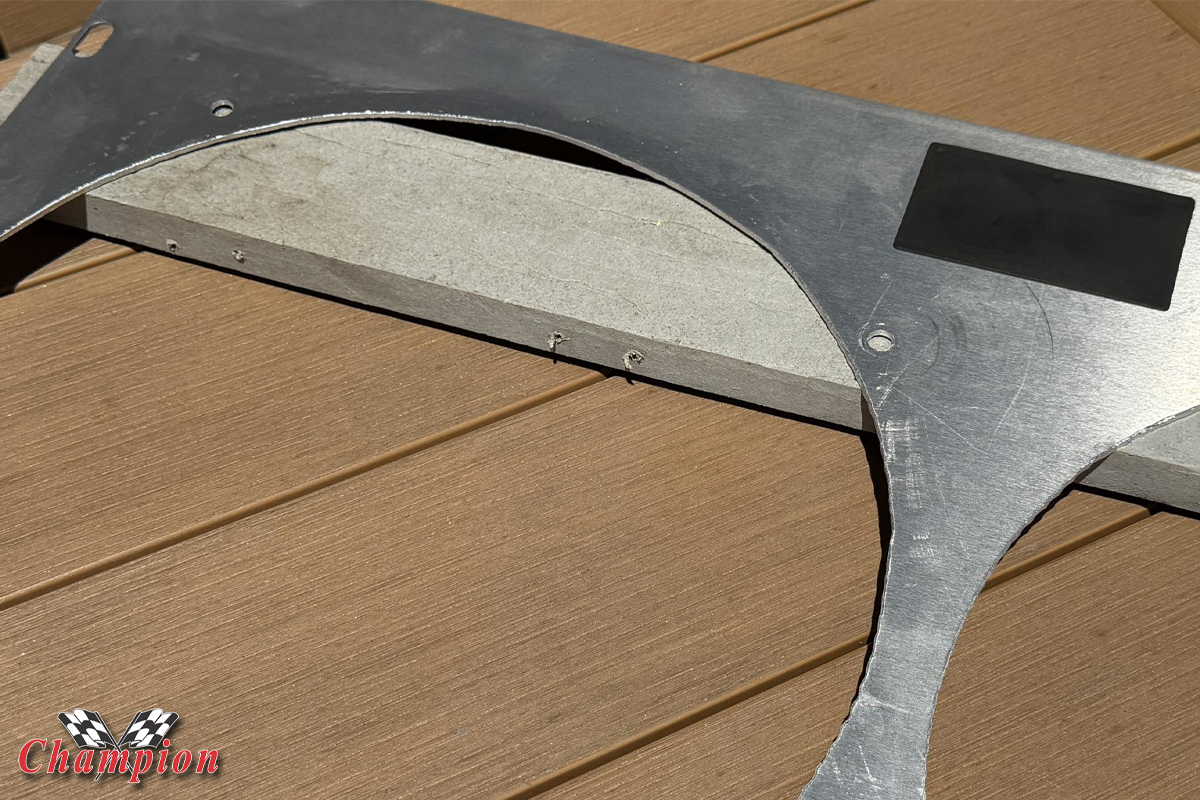
If you’re not installing nutserts, you’ll want to mount your fans to the shroud before installing the shroud to your radiator, because access to the nylon lock nuts will be next to impossible. Depending on the application, your shroud will either mount to the side baffles of the radiator, or the horizontal channels above and below the core, if your radiator is a cross flow design.
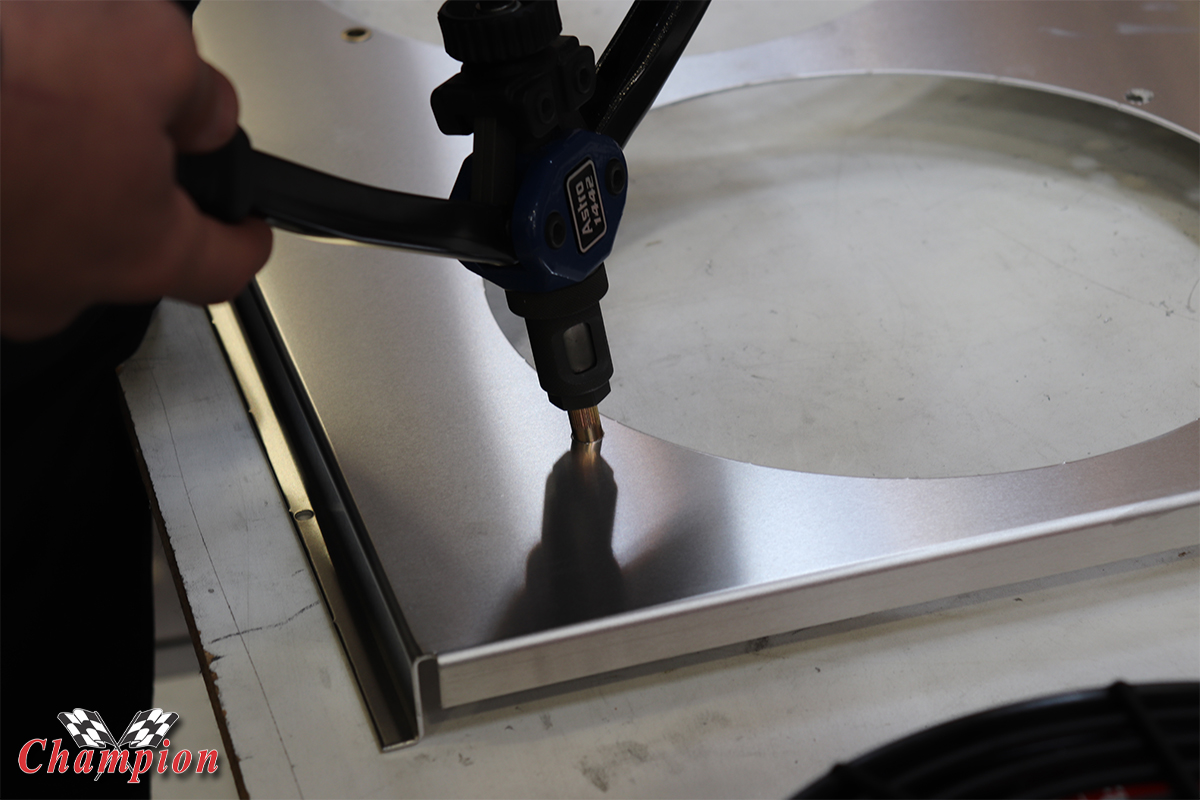
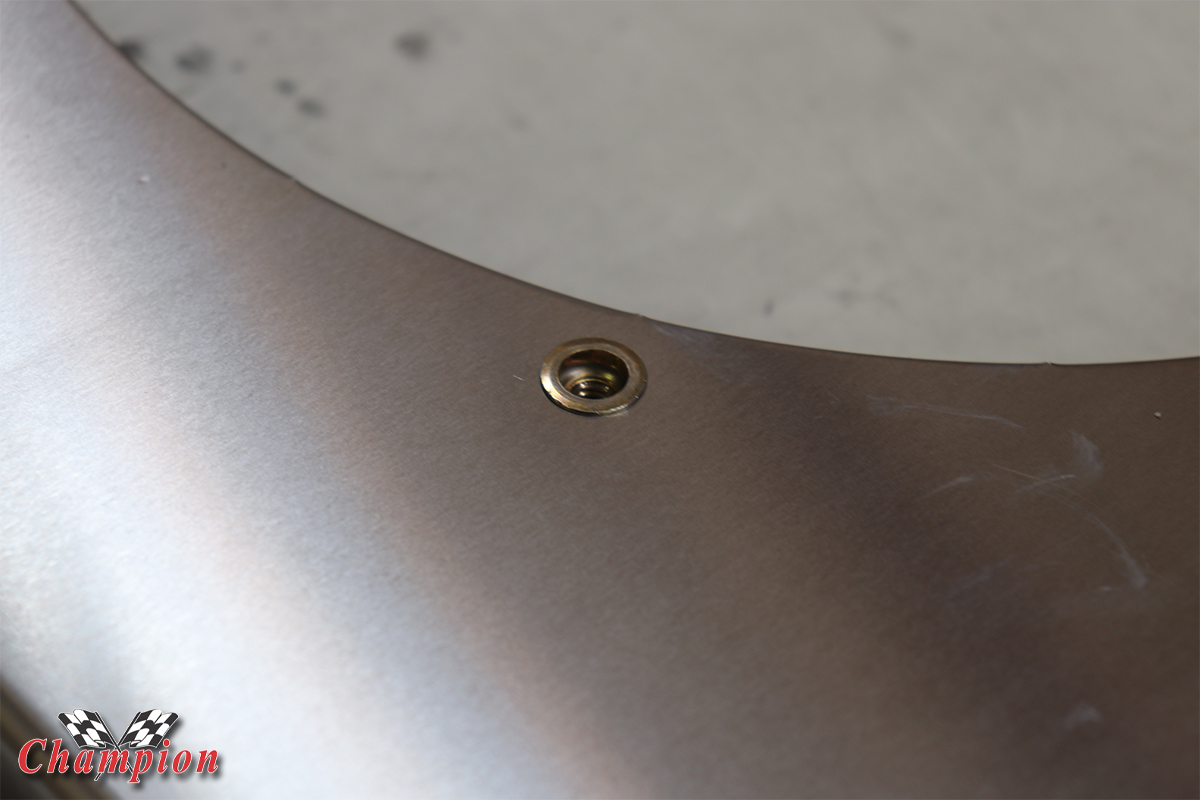
Using nutserts to mount the fans will make for an easier installation, but does require a bit more in tools that a standard box end wrench. Nutsert tools are easily found on Amazon or eBay, as well as your local parts stores.
Although it’s easy to install the fans on the shroud after installing the shroud to the radiator, it can be awkward depending on space and whether you can reach the lower mounting hardware. Installing the fans to the shroud first will make the entire install a little easier.