When you hear someone talking about doing things “old school,” especially when working on a classic car or truck, they’re typically telling you that back in the day we had to make our own parts. And in case you didn’t know, “back in the day” was when we walked uphill both ways, knee-deep in the snow. IYKYK
Many of us from the classic car era and beyond had no other choice than to fabricate what we wanted in order to customize our vehicles. Sometimes it was a part for another car that could be modified to fit ours, because nobody made one for our specific application.
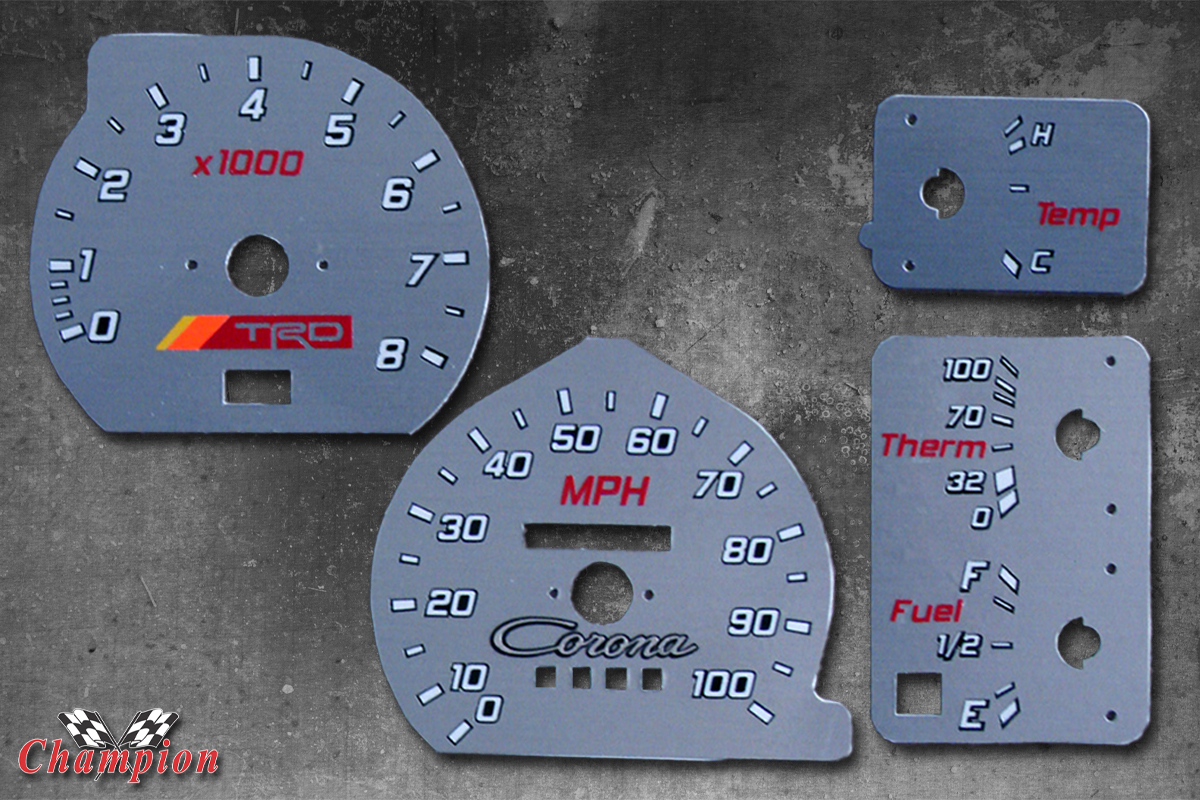
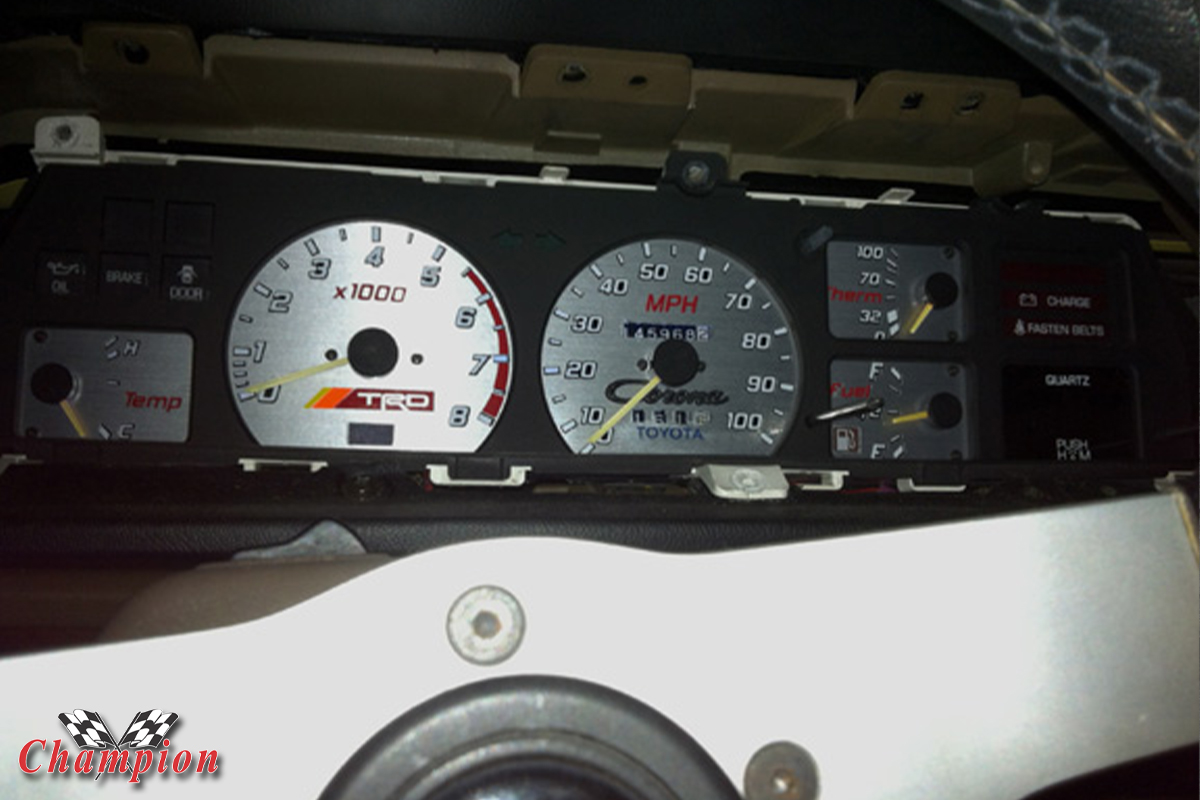
They weren’t as cool as some of the aftermarket gauges available, but when the factory instruments are wired to the hilt, you can’t just eliminate the cluster. So we improvised.
This brings us to one of our project cars: Project ‘Rona. The car has been modified considerably, including an affordable big brake upgrade and improving the aesthetics of the car. One area that was modified a long time ago had to do with the instrumentation. The dated and boring OE gauges needed an upgrade, so new custom gauge faces were fabricated to replace them.
The shapes were carefully traced and then cut in vinyl, with a black layer, then the silver layer with a machined look to it. The plastic for the gauge faces was a translucent white, allowing some light to shine through when the bulbs were lit. They looked pretty good for a custom set completely fabricated at home. that was then, this is now, and we wanted to take it a step further.
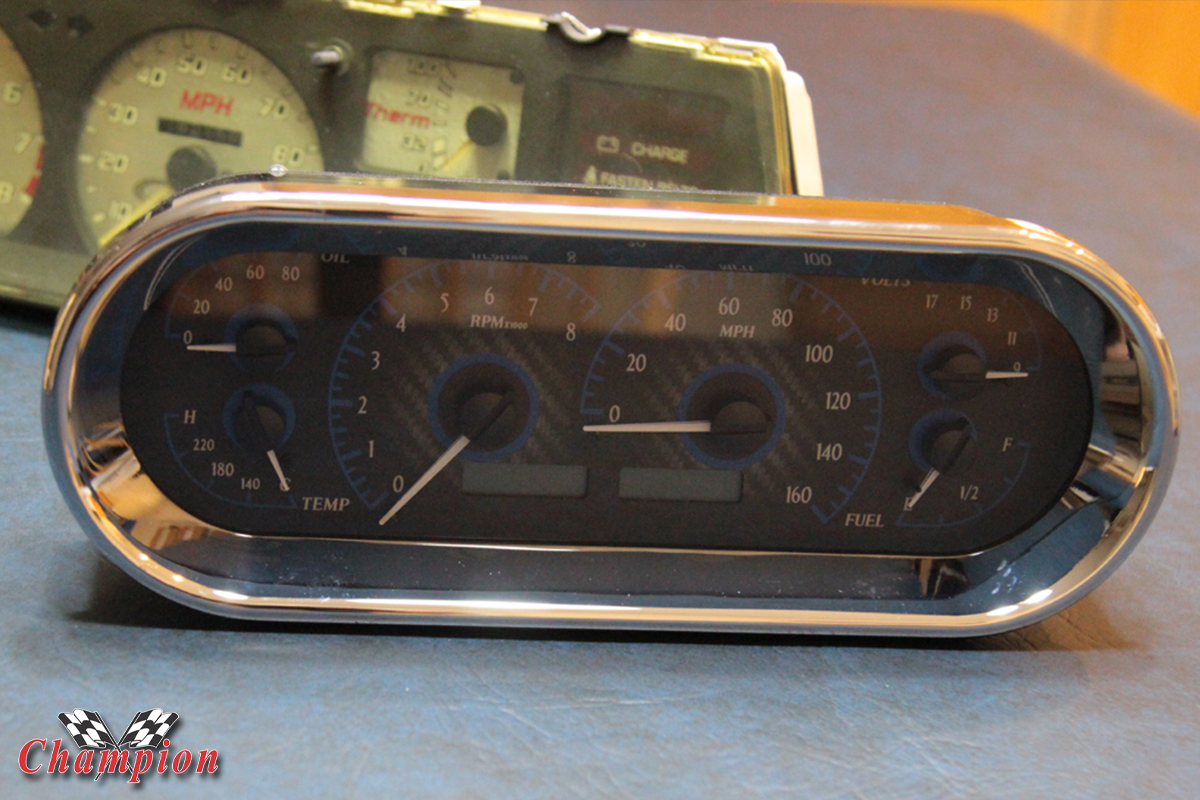
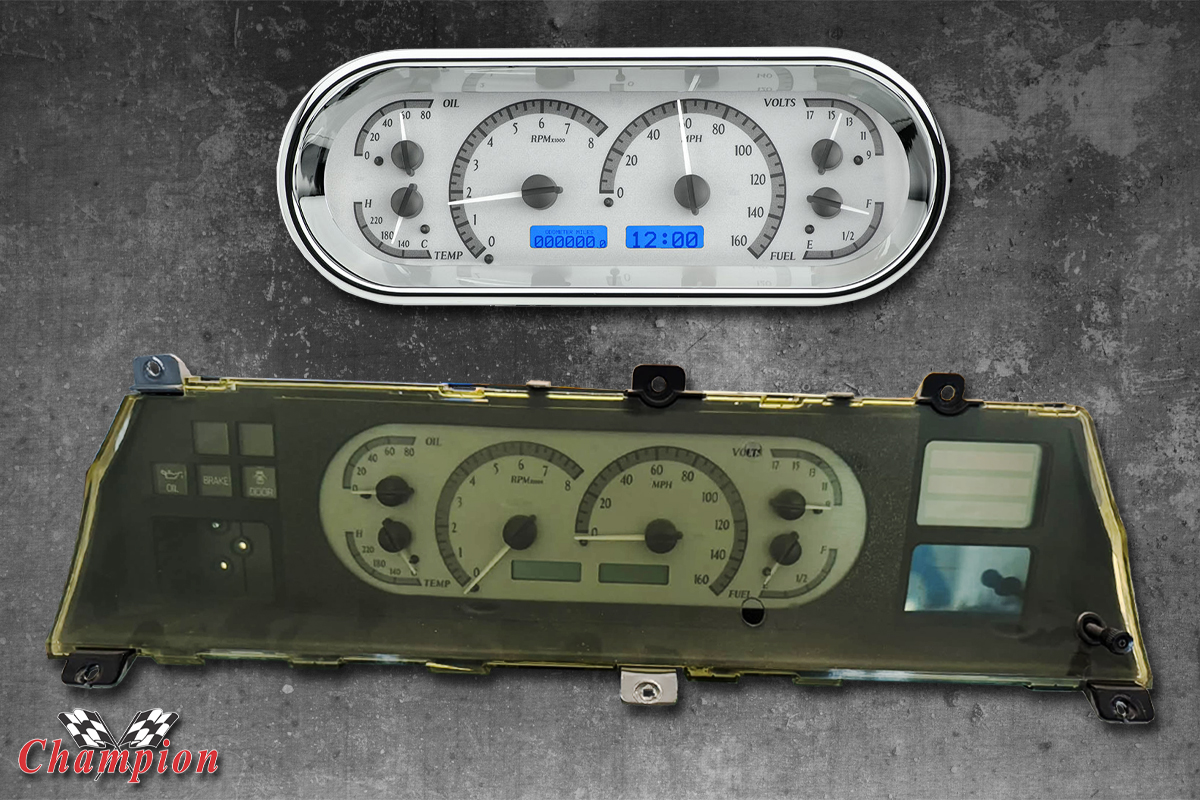
Dakota Digital VHX-1018 Swap
Inside of the OE cluster, we had some indicators that we wanted to keep, mostly for nostalgic reasons: door ajar, parking brake, seat belt warning, oil pressure, even the dreaded check engine light. Some of these indicators exist on the Dakota Digital VHX-1018 that gave up it’s life to this project, but since they were hard-wired into the cluster already, it just seemed like it was a reason for retaining some of the original look and function.
It should be noted that taking on a project like this is best done with an extra cluster, if you can find one. These days it’s difficult finding an older Toyota in a salvage yard, but we were lucky enough to find one a couple of decades ago when the first cluster project began. It was simply a matter of figuring out which housing was the best one to use, and then going at it with a Dremel tool.
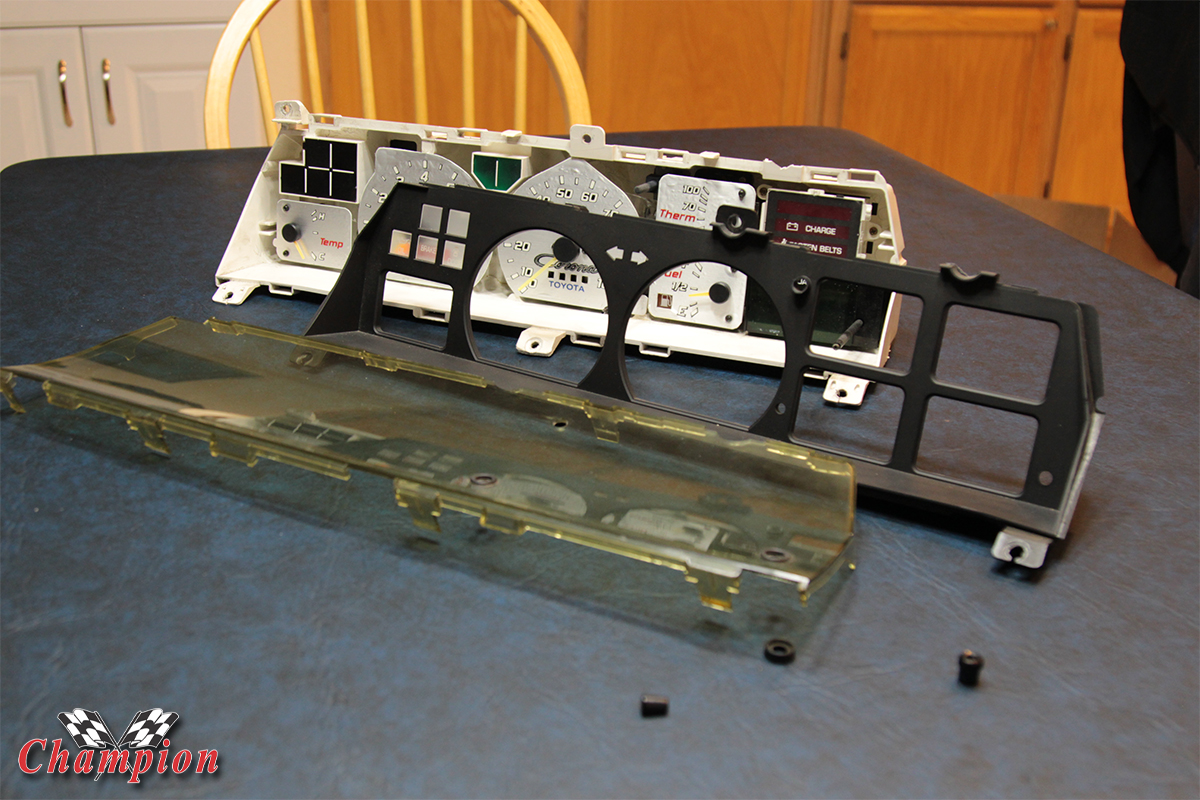
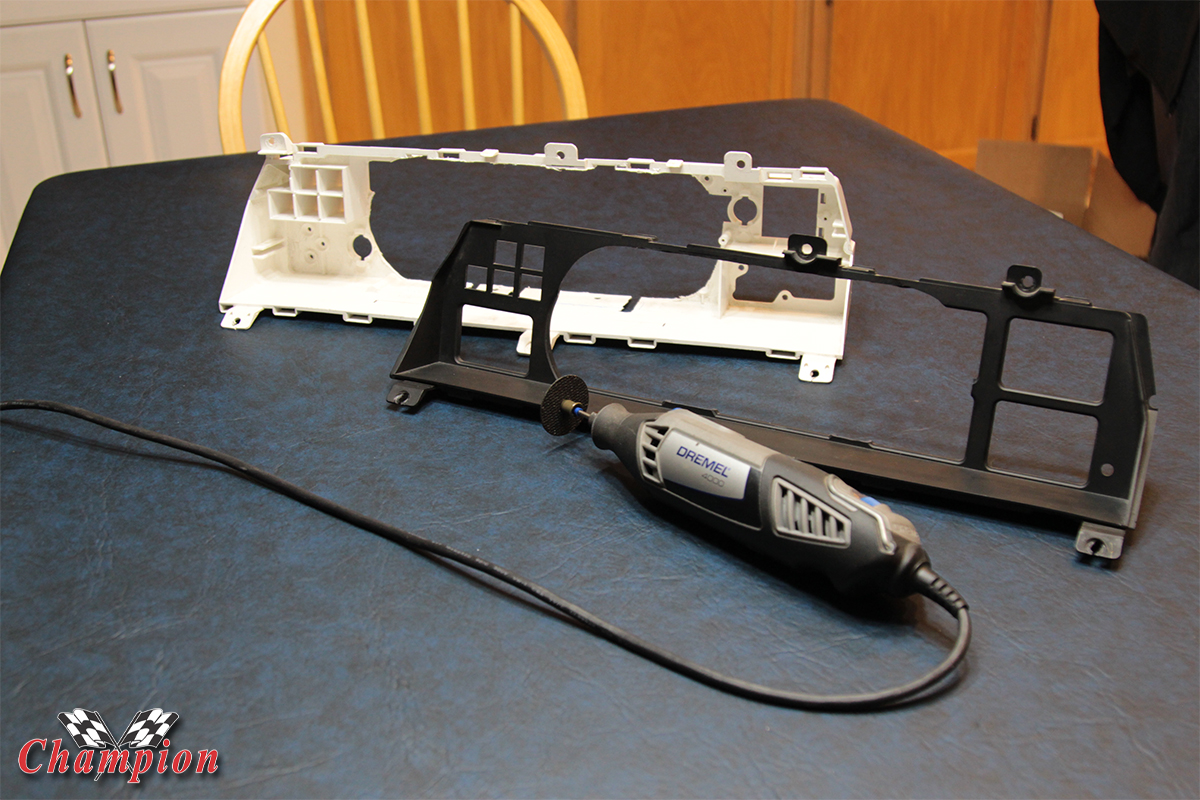
Taking apart the OE cluster was a piece of cake; figuring out where and what to cut was going to take some ingenuity. Care needed to be taken to not cut too much away, there’s no going back once that happens.
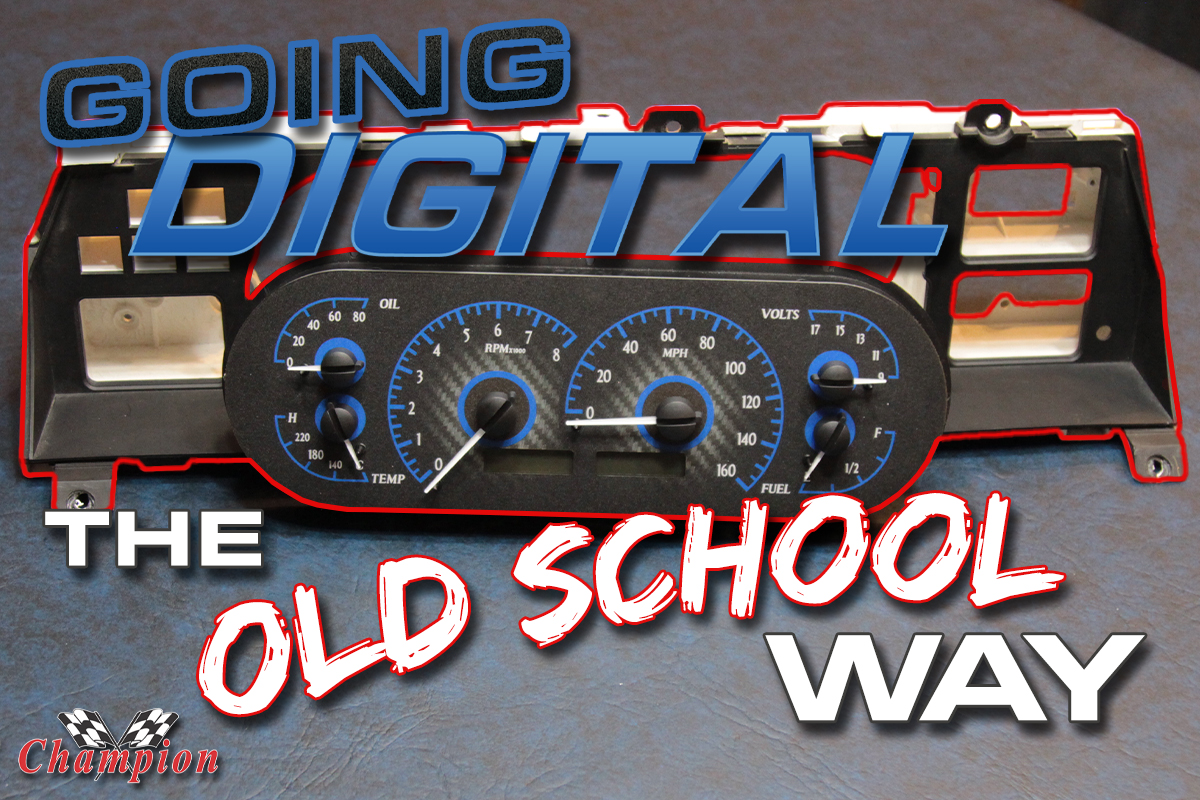
The next step was to void the warranty on the VHX-1018 by taking it apart. Fortunately, there was no need to cut anything apart or to disassemble the entire cluster. This was simply a matter of removing the housing and then figuring out a way to insert the guts into the OE Toyota cluster housing.
Fortunately – and this was determined ahead of time – the VHX-1018 was going to fit within the confines of the Corona’s cluster housing, but it didn’t mean we were out of the dark. It’s a tight fit, and we needed to cut away a bit of the plastic housing, and to fabricate a way to mount the digital cluster inside.
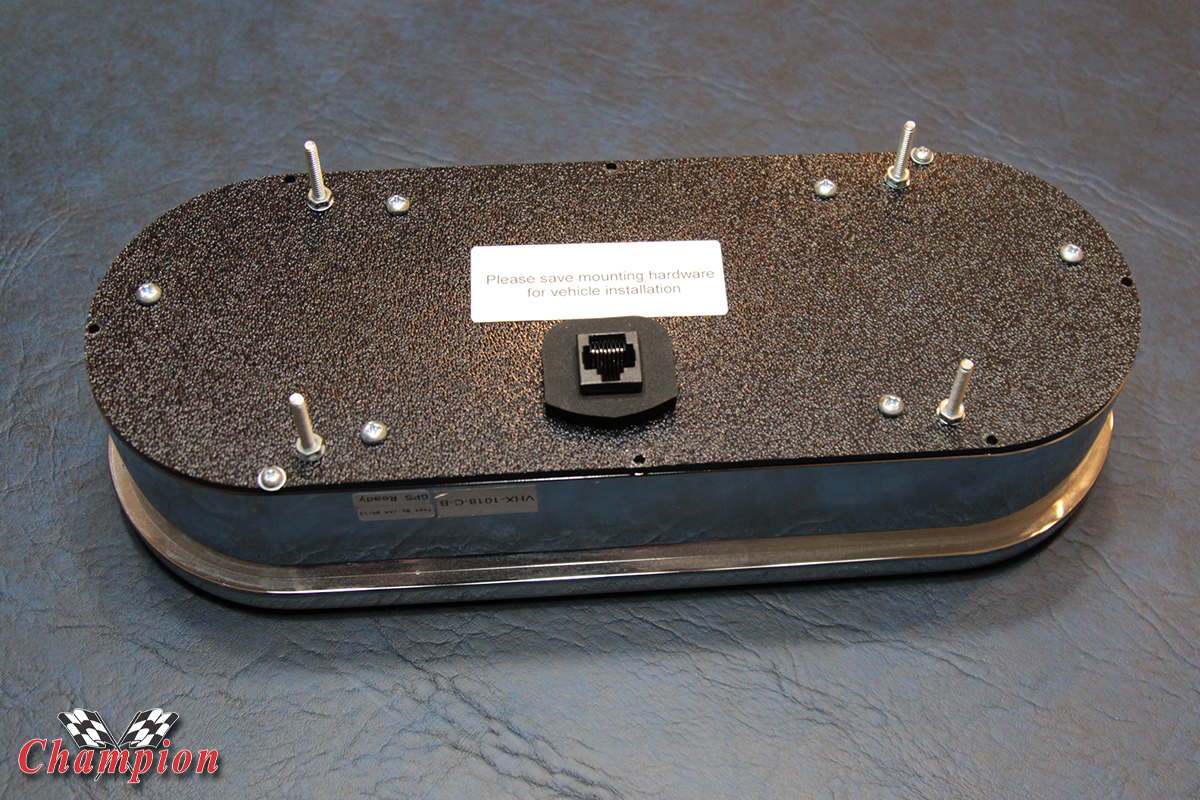
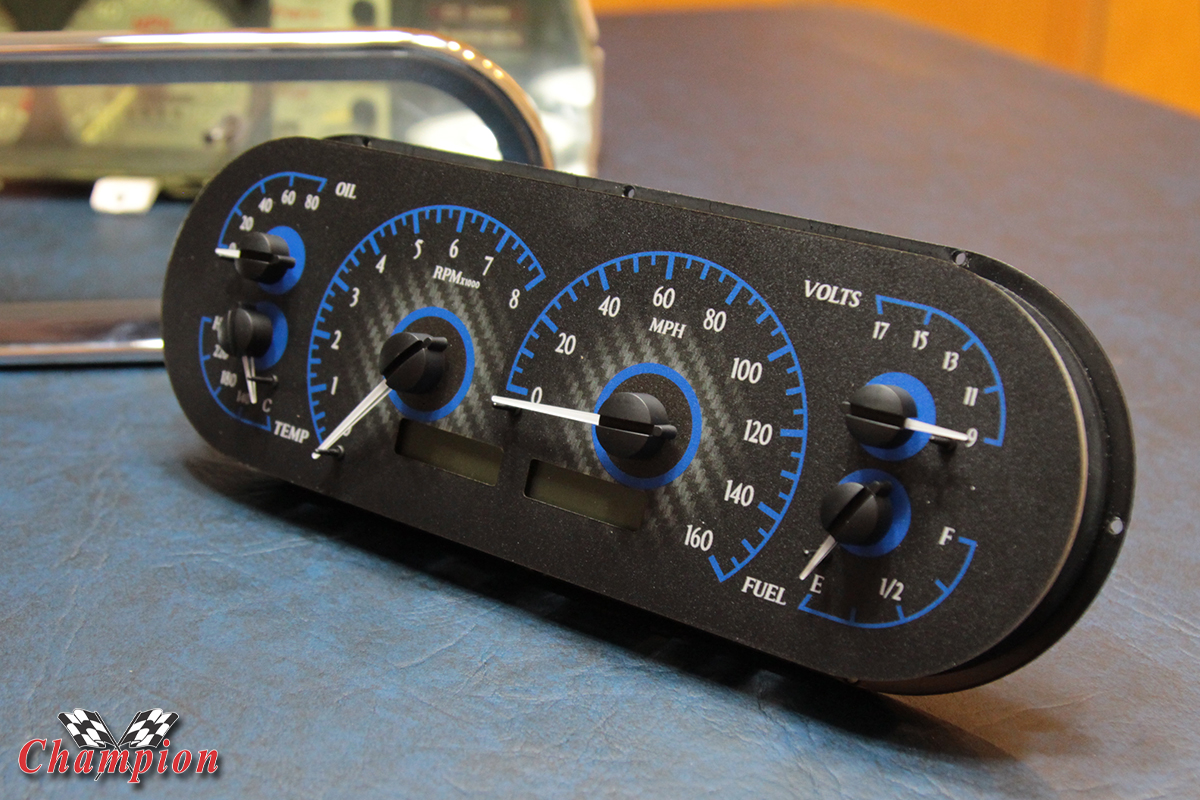
It didn’t take much to remove the VHX housing, and we were able to retain the rear cover and the plug for the control box.
A little more cutting on the housing, and it was beginning to look a little weak and was getting somewhat flimsy. Not to worry, we had a plan for mounting the VHX inside the Toyota housing using quarter-inch aluminum bar stock from our local home improvement store.
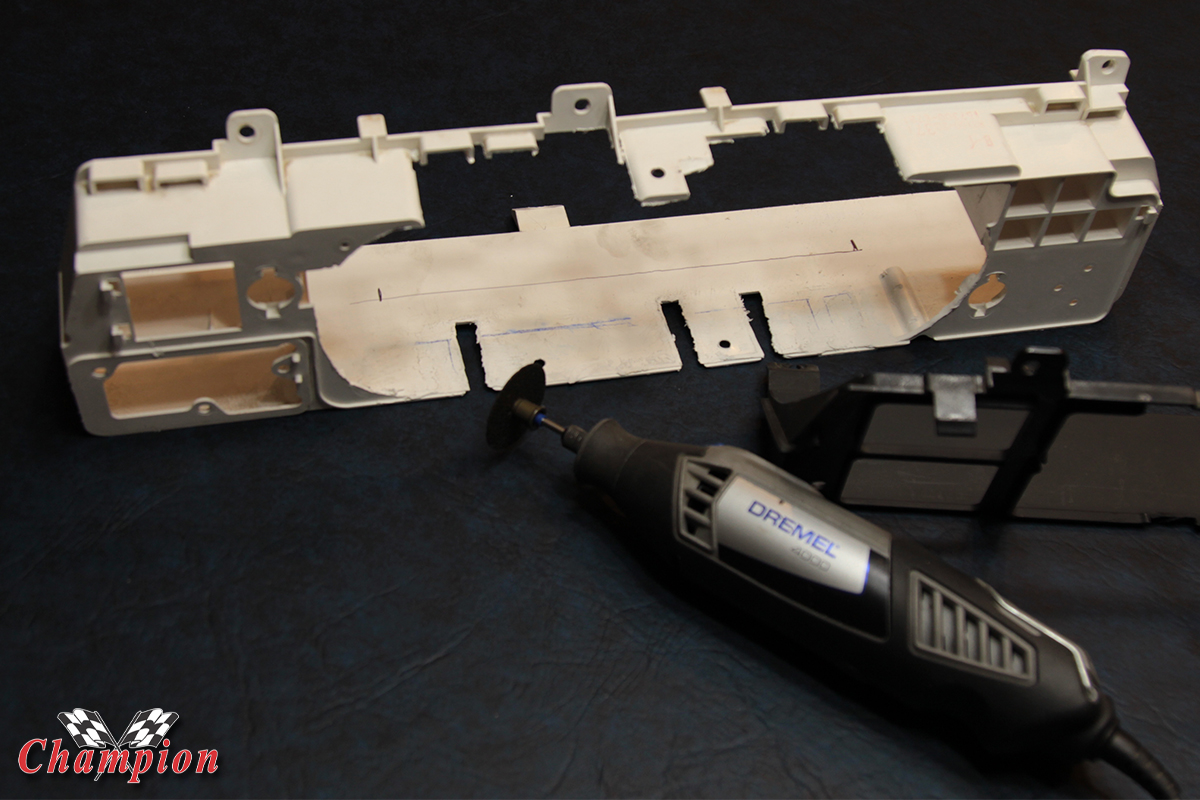
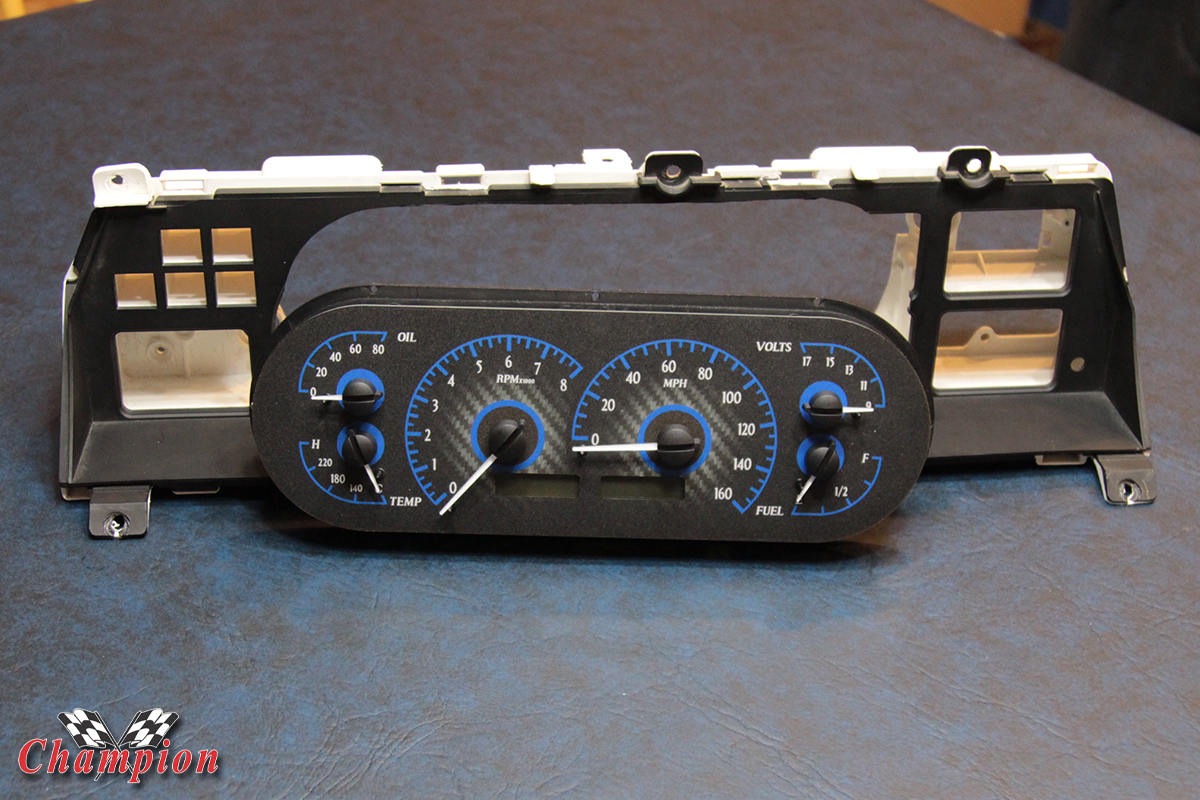
After making all of the cuts, and trimming everything that needed to be removed, we finally had some progress and it was time for a test fit. Using aluminum bar stock, and tapping holes in it, allowed us to mount the cluster into the housing, and it restored the integrity of the housing that was diminished with all of the cutting.
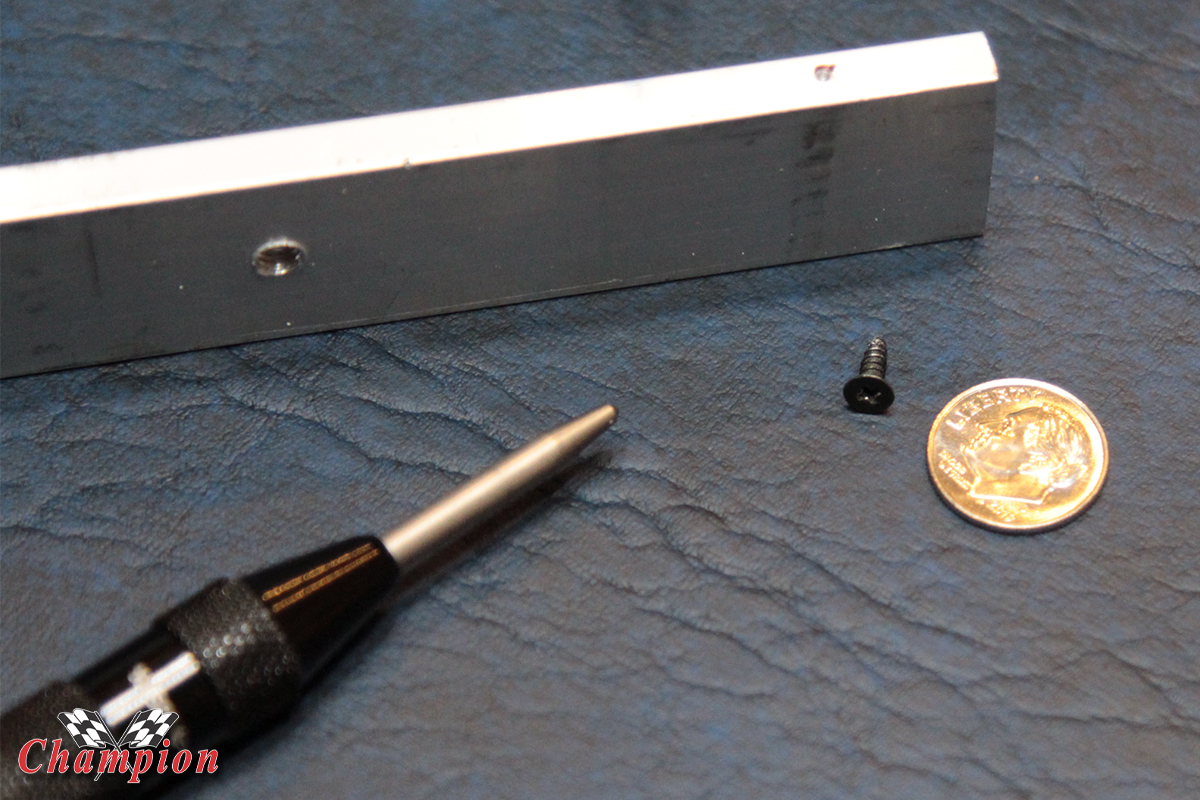
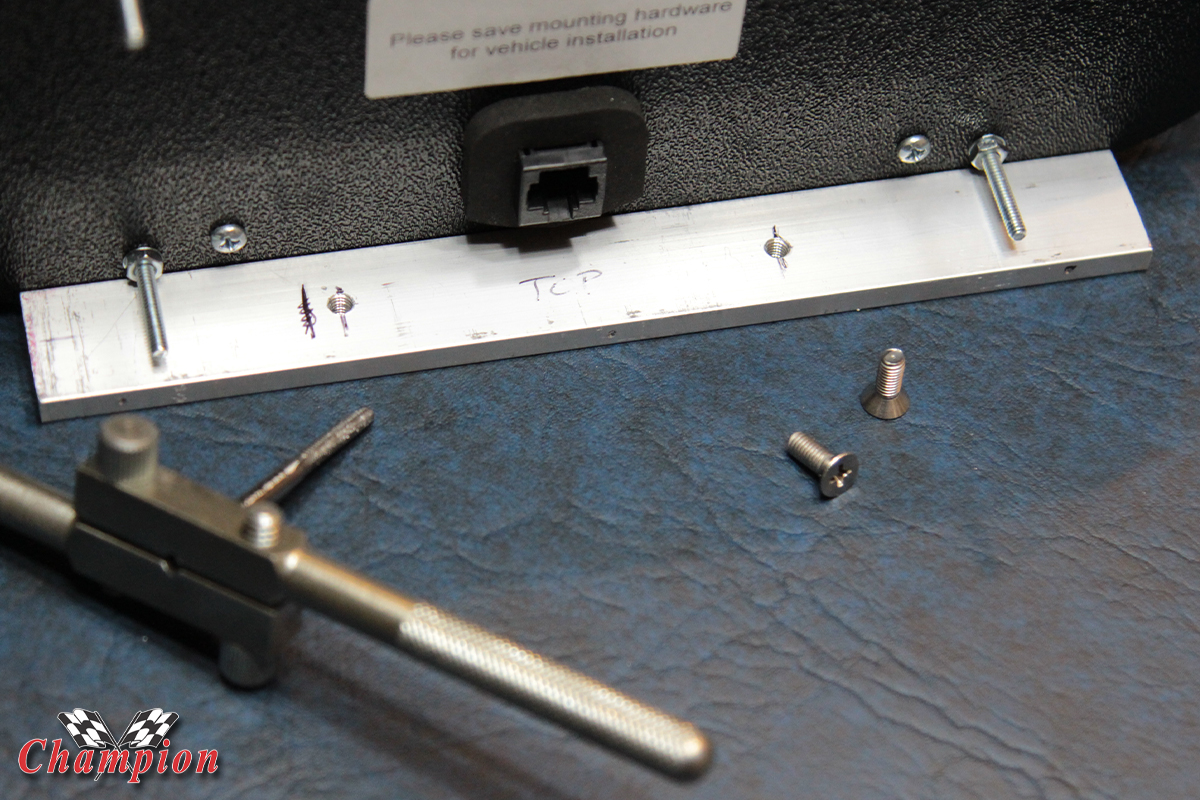
Drilling some small holes in the side of the bar stock, and tapping it, we were able to mount the bar to the VHX guts, and then attach it to the housing. With a project like this, and the limited tools available, you have to get creative. There are other ways to do this, but it requires tools and equipment beyond our capabilities. In the end, if it works, it works, and that’s the end goal.
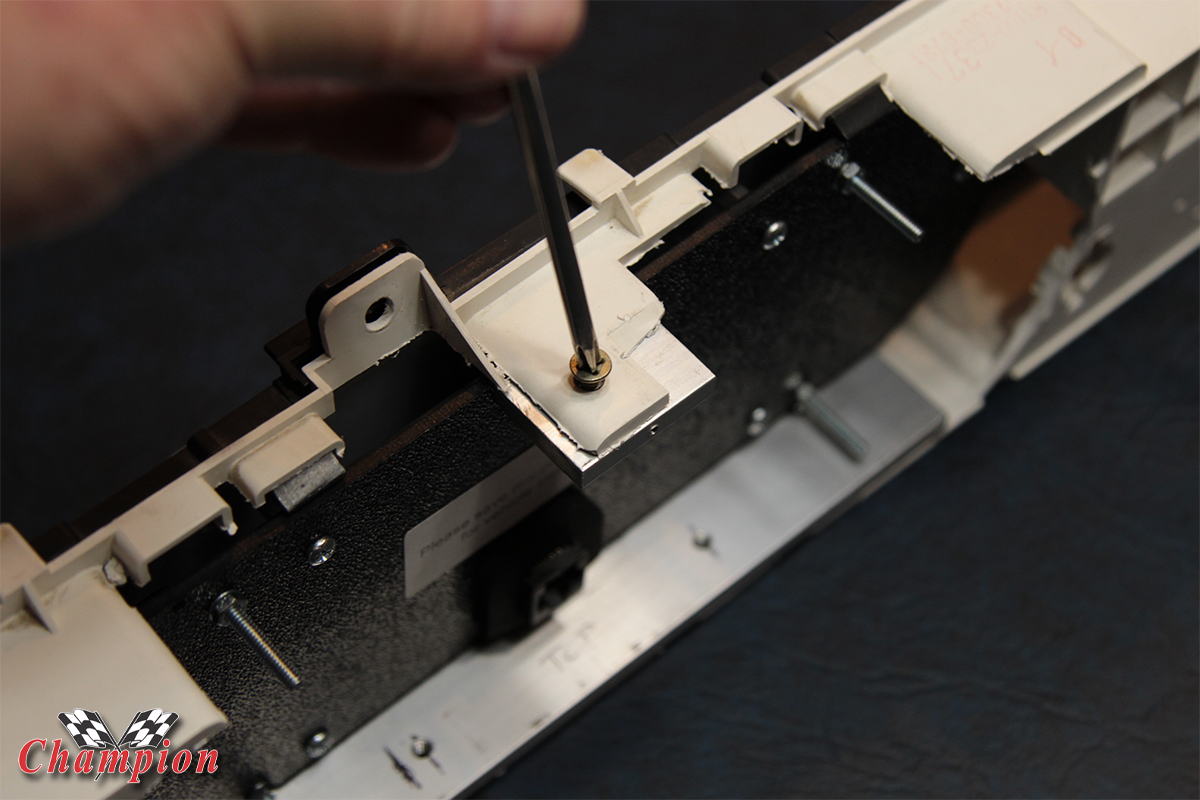
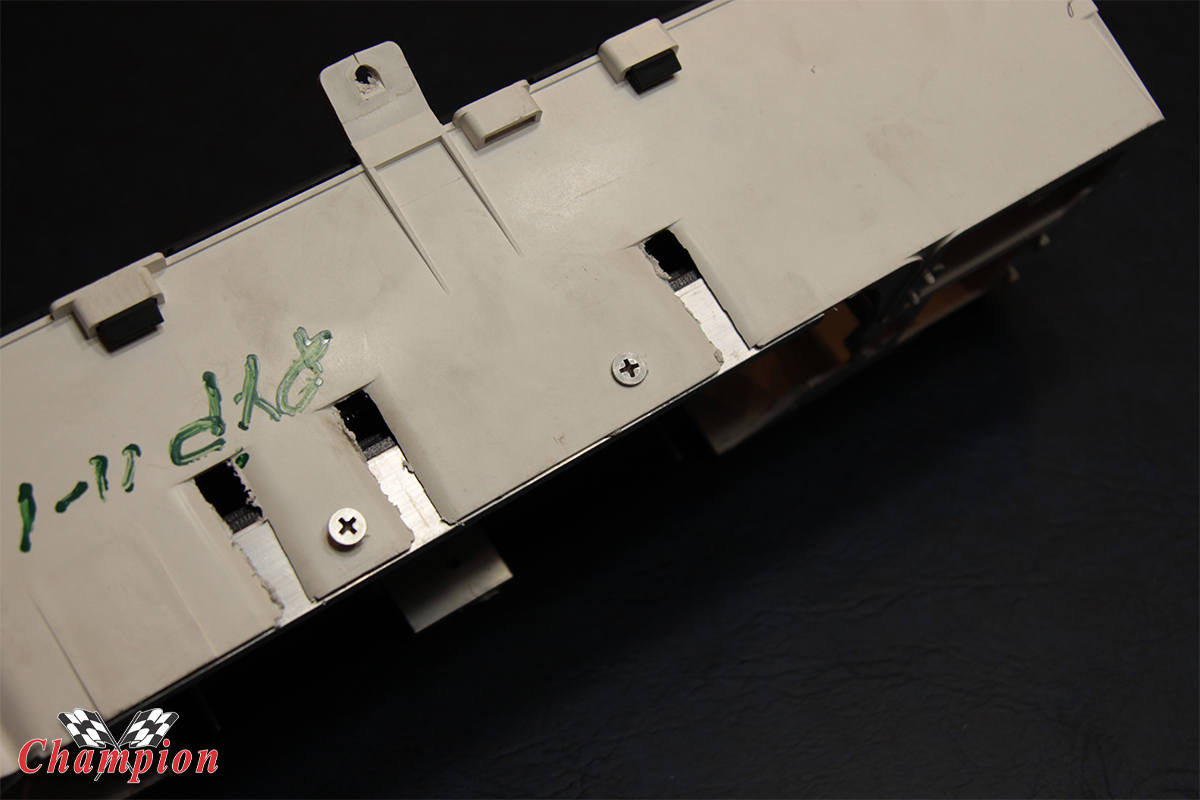
This was a good fit, and using thicker bar stock added firmness to the housing as well as a solid foundation for mounting screws. This also left us plenty of space to mount the OE circuit board back onto the housing, because we still needed some of the original wiring for the indicator lighting that we chose to retain in the housing.
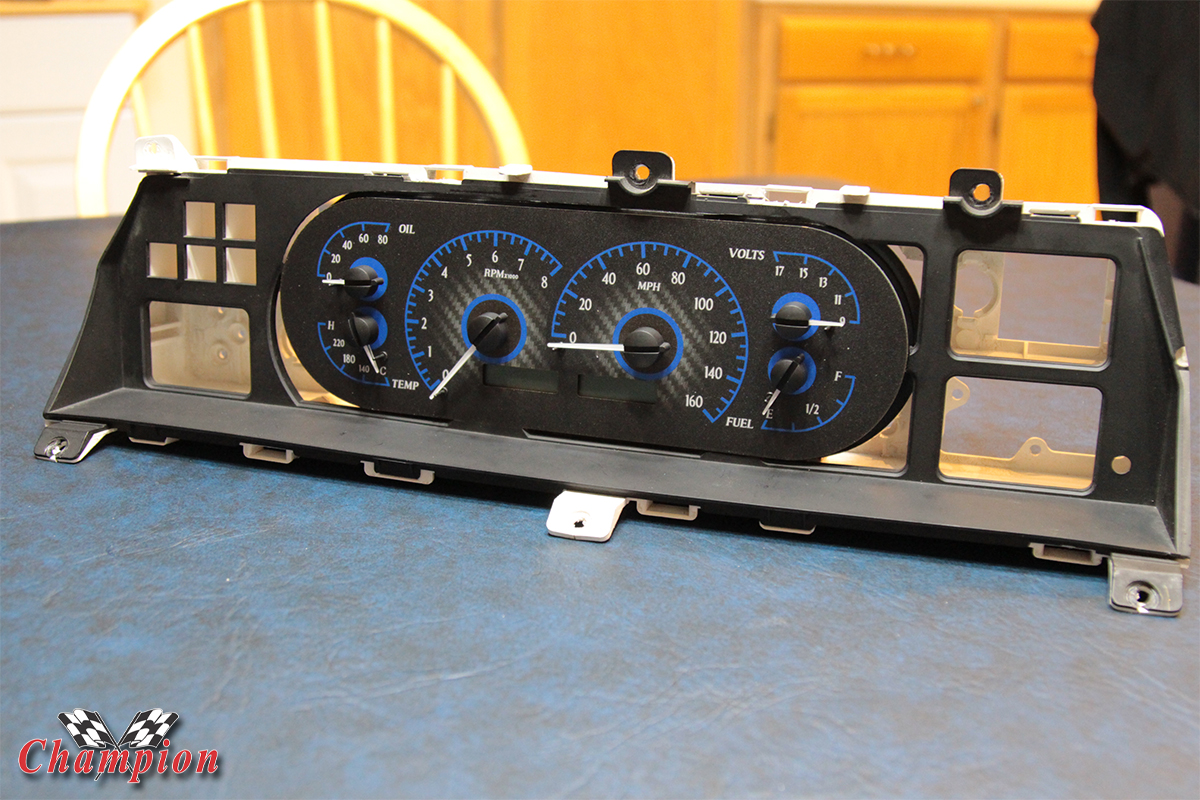
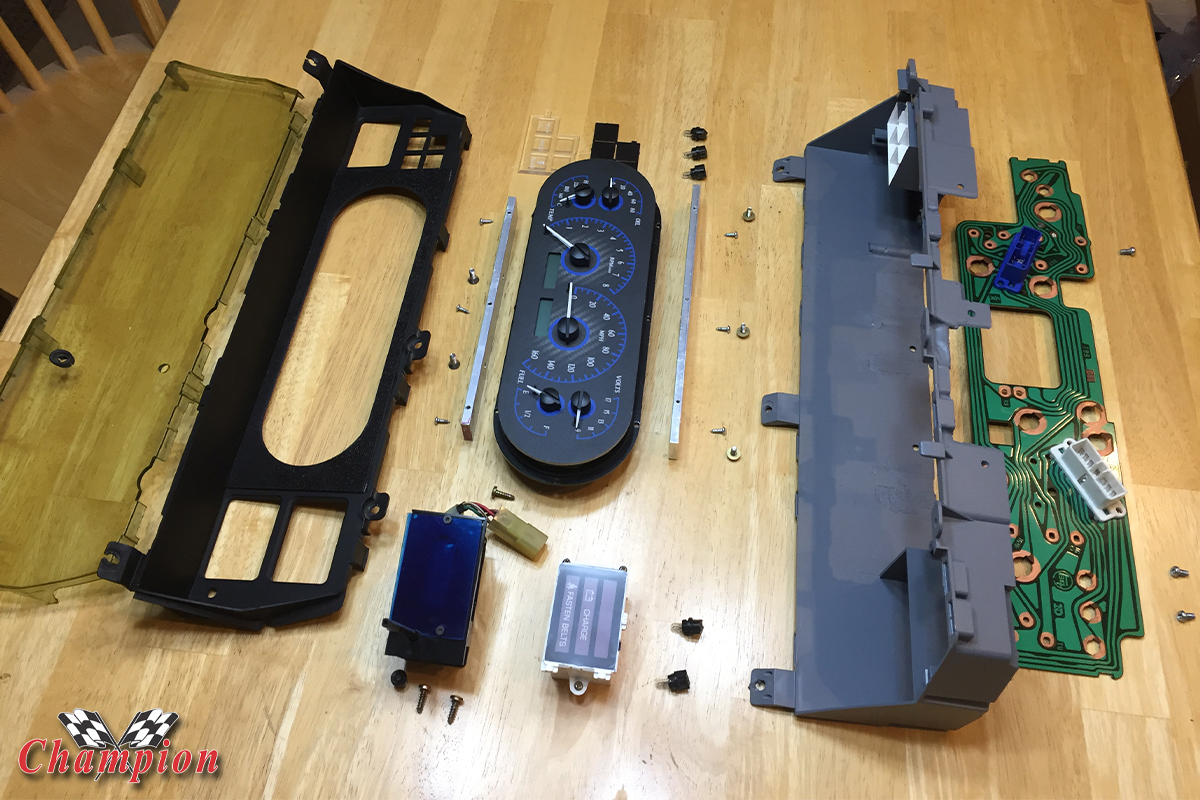
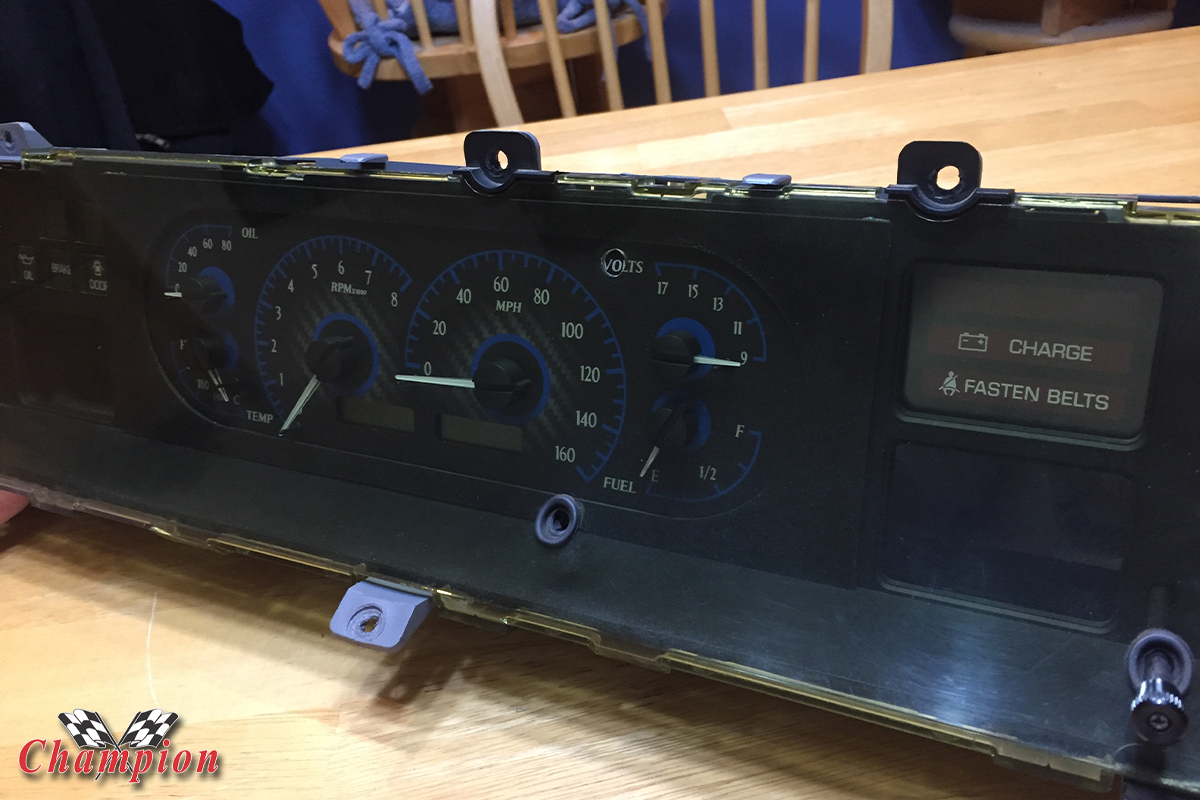
The first test fit was perfect, and the VHX cluster was mounted flush with the facing on the OE cluster. We added some paint to the housing, and laid out all of the pieces to complete this melding of new to old components for a custom look that also provides more flexibility and data than the original cluster.
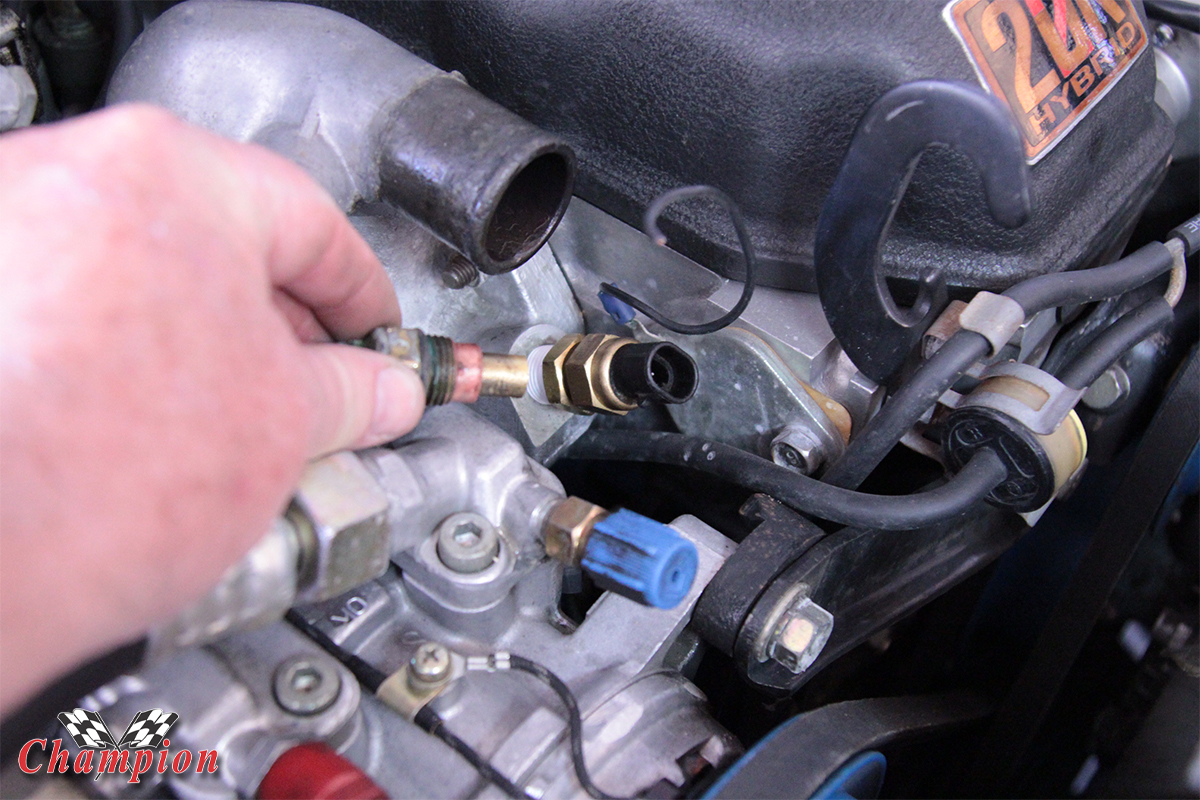
All Dakota Digital gauge sets include extra adapters that fit both SAE and Metric applications, which allowed us to use the factory ports for the coolant temperature and oil pressure senders. It was simply a matter of running the VHX harnesses into the engine compartment and mounting the control box inside the car.
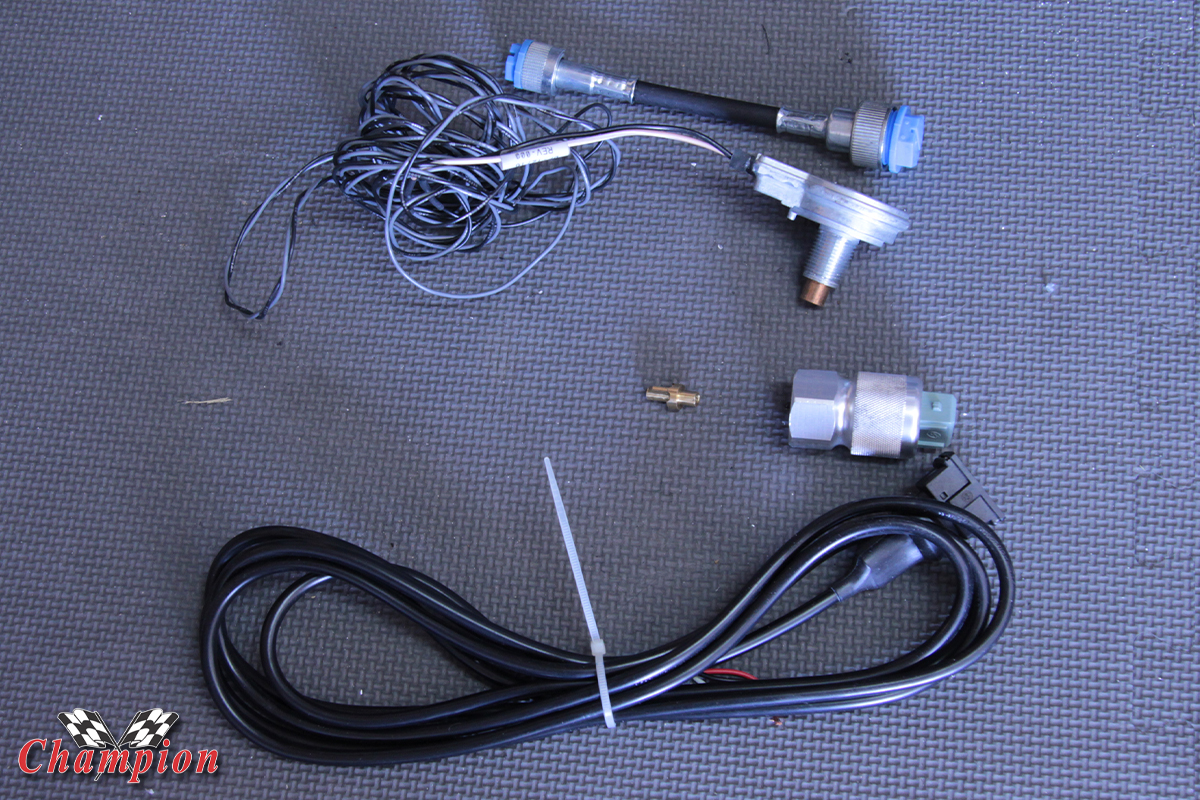
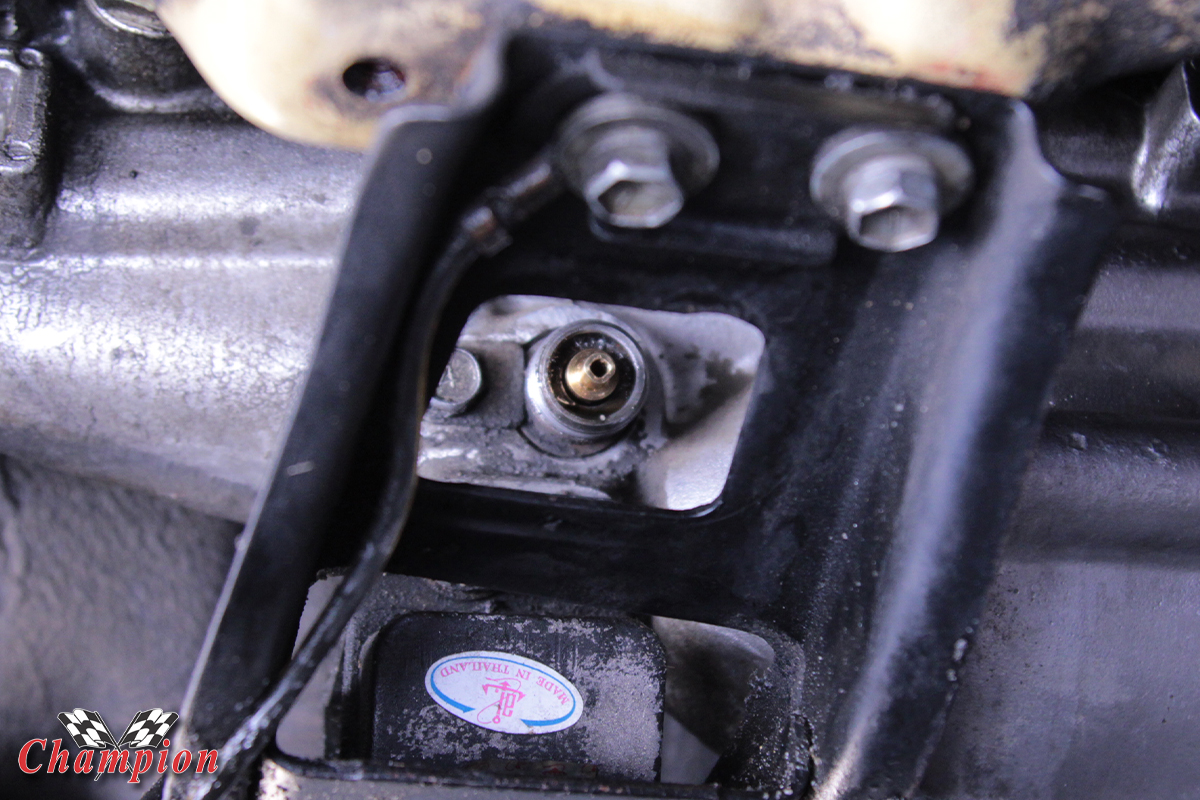
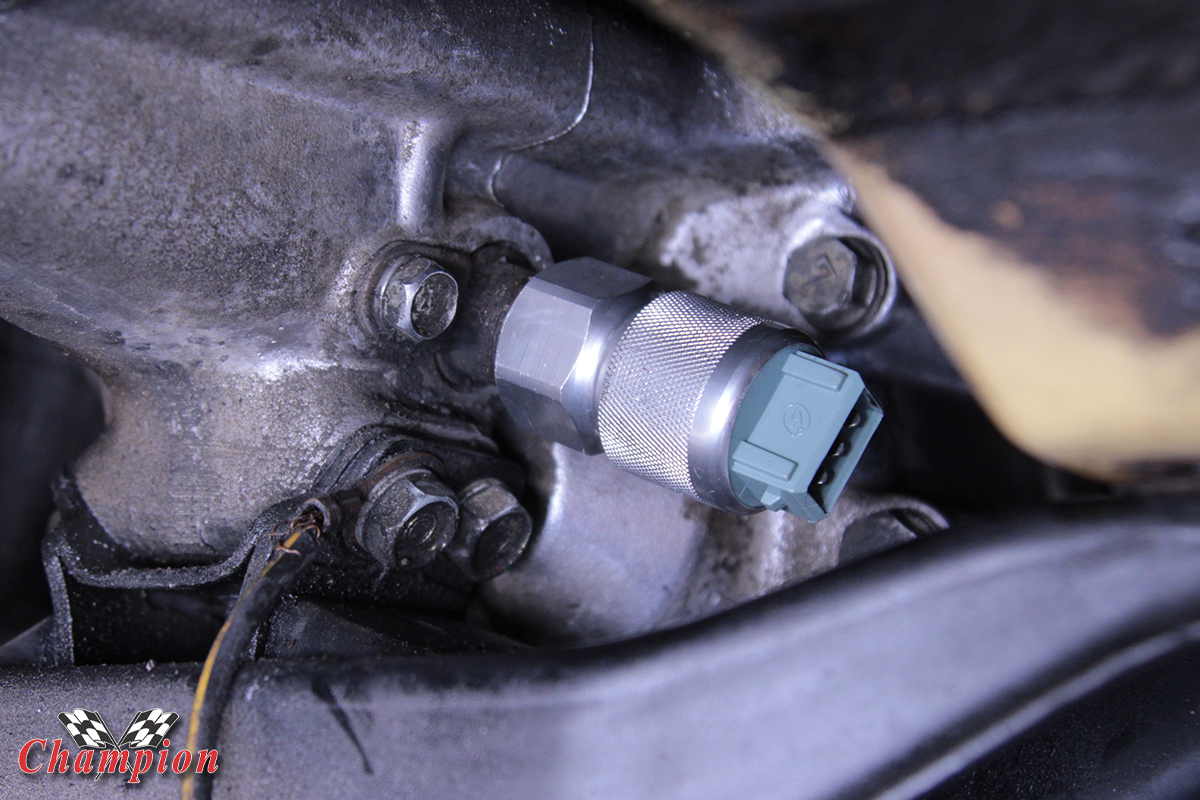
Then there’s the fact that we were going from a cable-driven speedometer to a pulse-generator style sender. Not to worry, we made a call to Dakota Digital and found that they already had an adapter for its FJ clusters. Toyota has never let us down when it comes to re-using parts for multiple vehicles, the FJ adapter worked with our 1979 Corona transmission, and we had a digital speedometer.
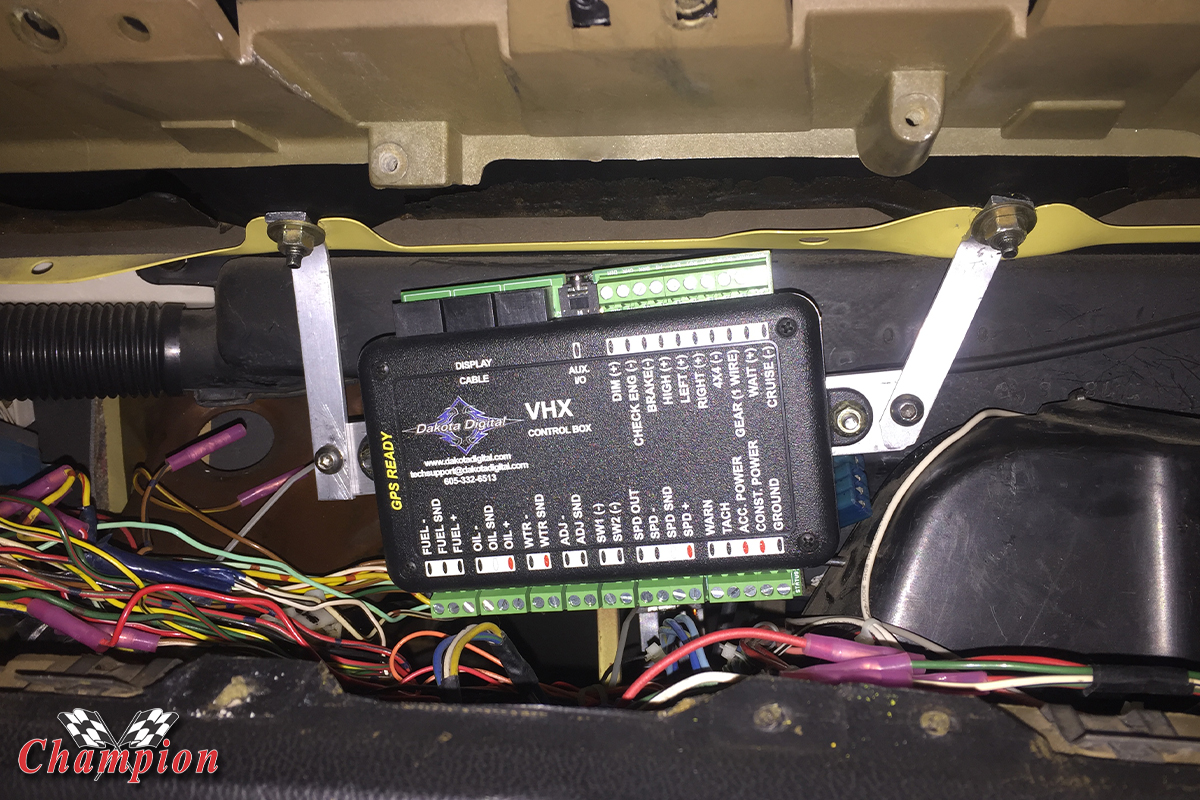
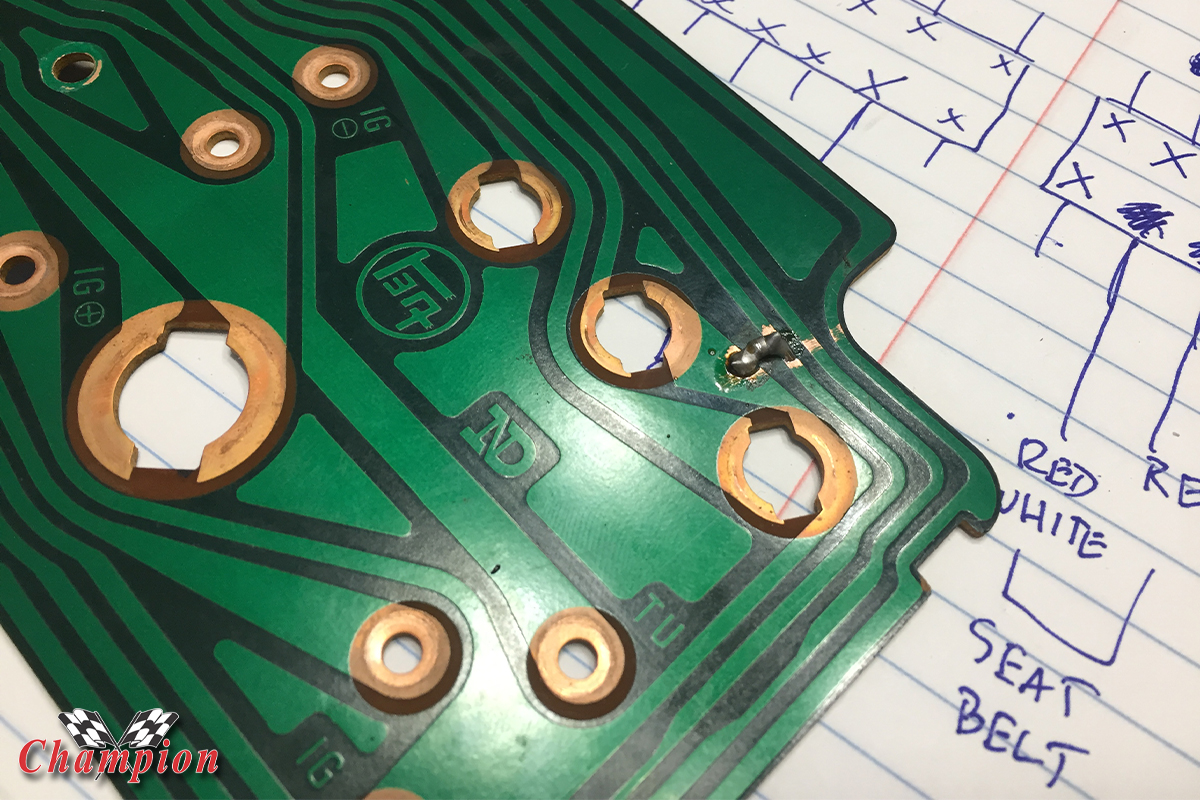
The control box for the VHX mounts neatly out of the way with full access. A neat trick is to use heavy duty Velcro to mount the box, it makes removal a breeze for those-tough-to-get-to connections. Since we reused some of the factory wiring and the circuit board plugs, we were able to repurpose the OE harness plugs, and only needed to make one minor adjustment on the circuit board.
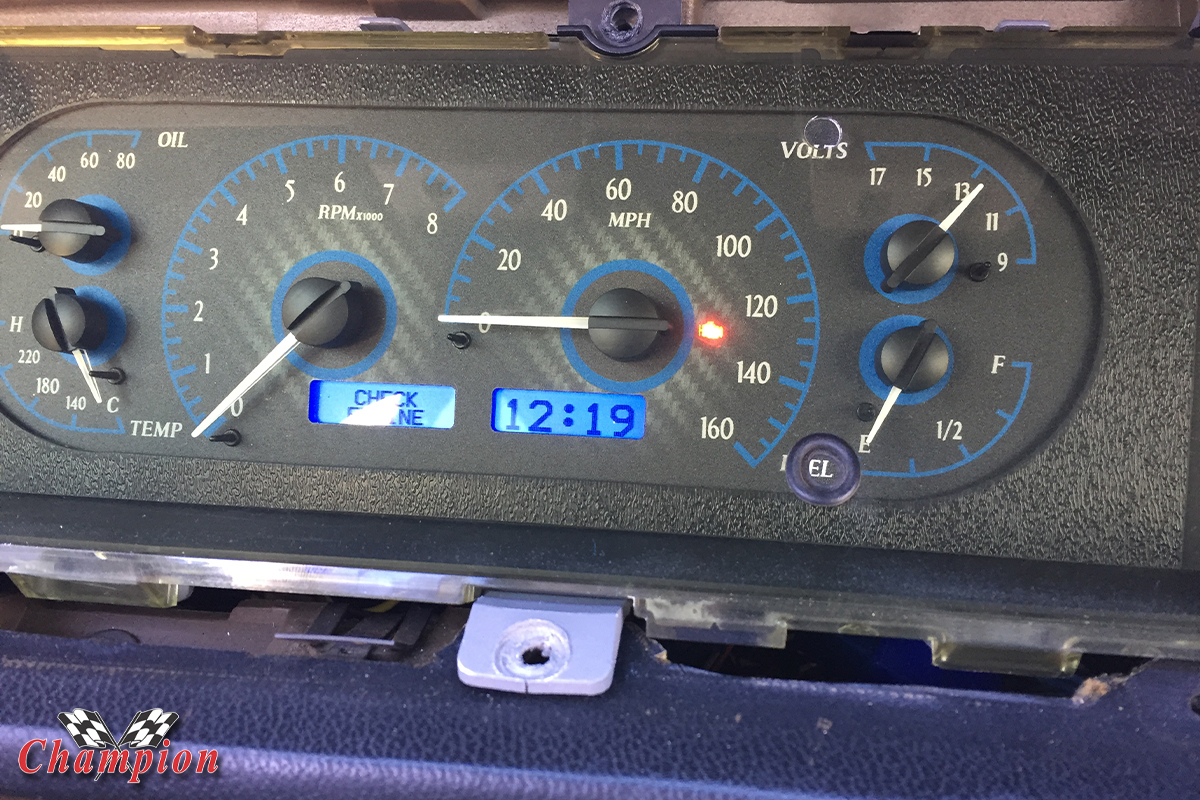
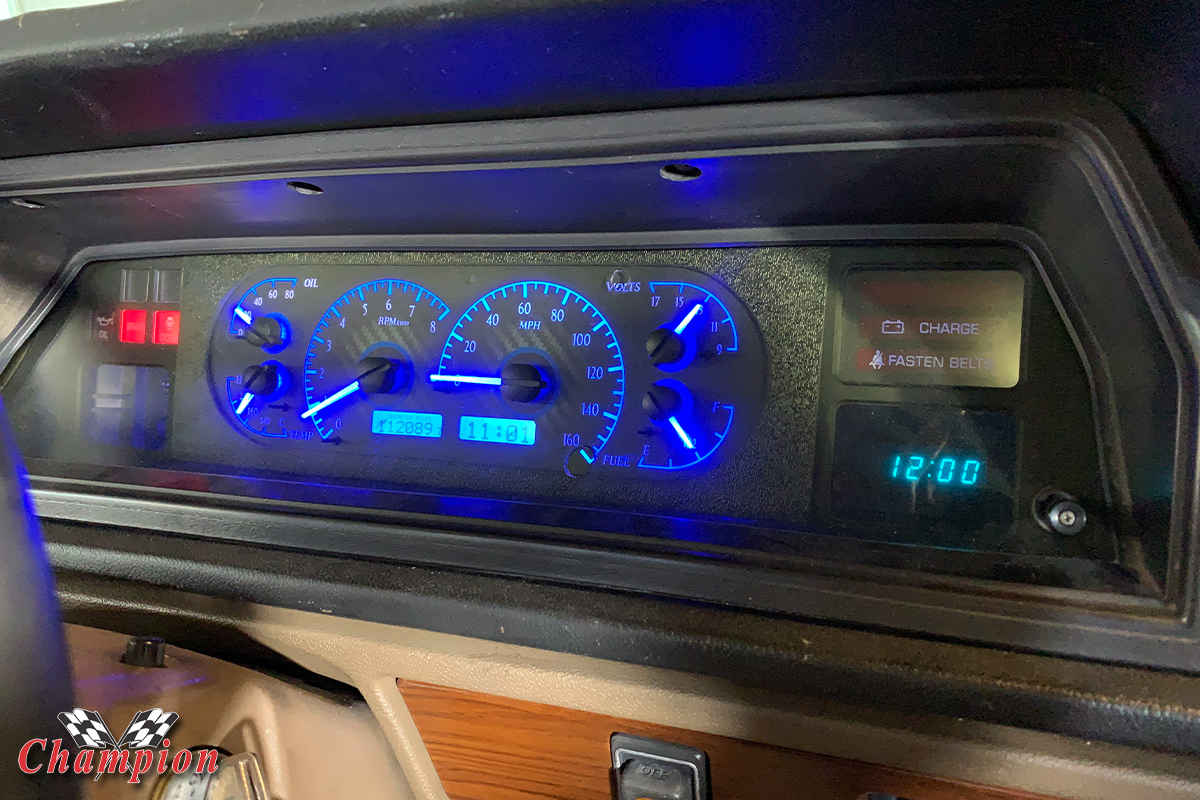
The completed cluster installed in the car. It looks great, functions better, and gave a custom look that you won’t find on any other early Toyota Corona. But we did have one slight issue with it: now we have one cavity that used to be a gauge, and it’s an open hole. We’ll figure it out, and put something in there behind the glass, eventually.