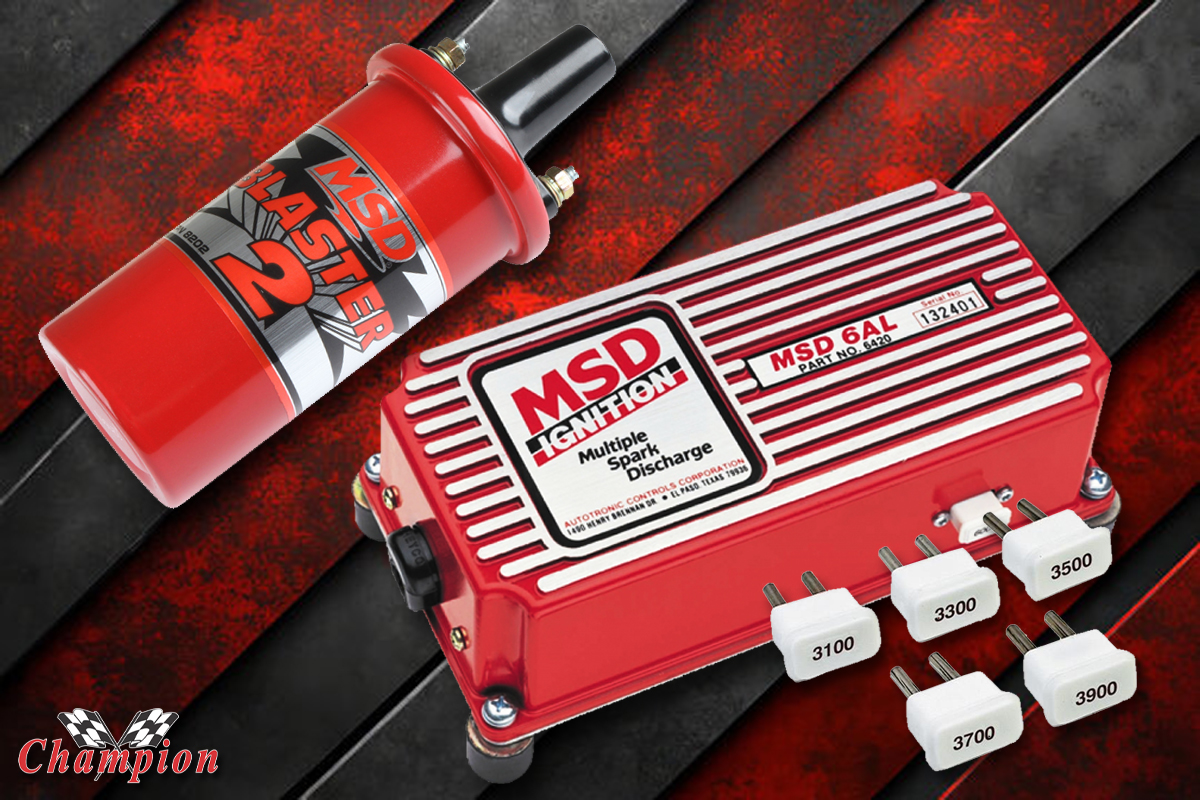
One major staple for performance ignitions back in during the musclecar era was that ever familiar red MSD box that was mounted to the firewall or the apron. When a gearhead wanted his ignition to keep up with the demands that horsepower and RPMs were throwing at all eight cylinders, that MSD 6AL ignition box was was one of the more prominent upgrades.
If you’ve been working on musclecars since the 1970s, you’ve seen a couple of variations, and upgrades – such as the plug-in RPM modules to keep the crank from spinning faster than you want it to. And the perfect accessory to your red wonderbox was the MSD Blaster 2 coil, it almost seemed a bit sacrilegious if you didn’t have that companion coil. You can still find this ignition combination today and classic cars and trucks.
Now that gearheads are swapping modern mills into their classics, the old combination of the 6AL and Blaster coil aren’t going to do the job. Modern engines require modern electronics, and MSD has continued its ignition product lineup to include modern COP (Coil On Plug) applications.
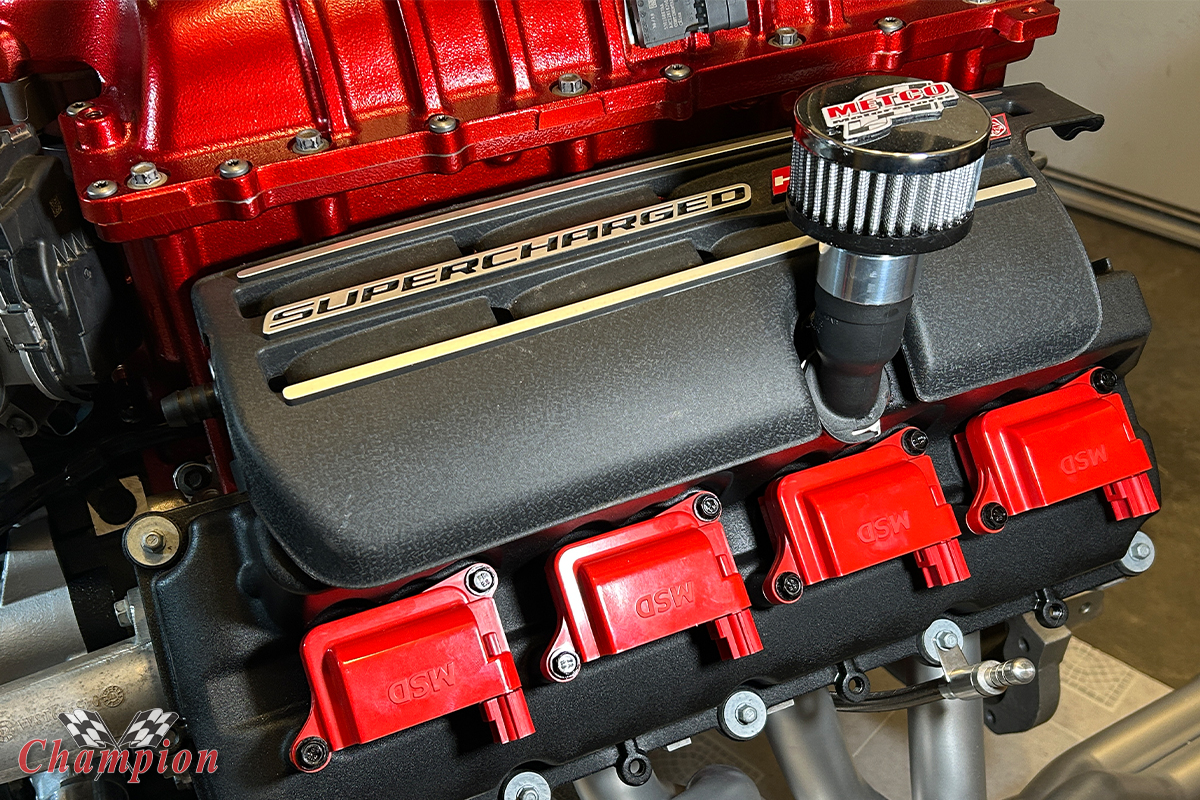
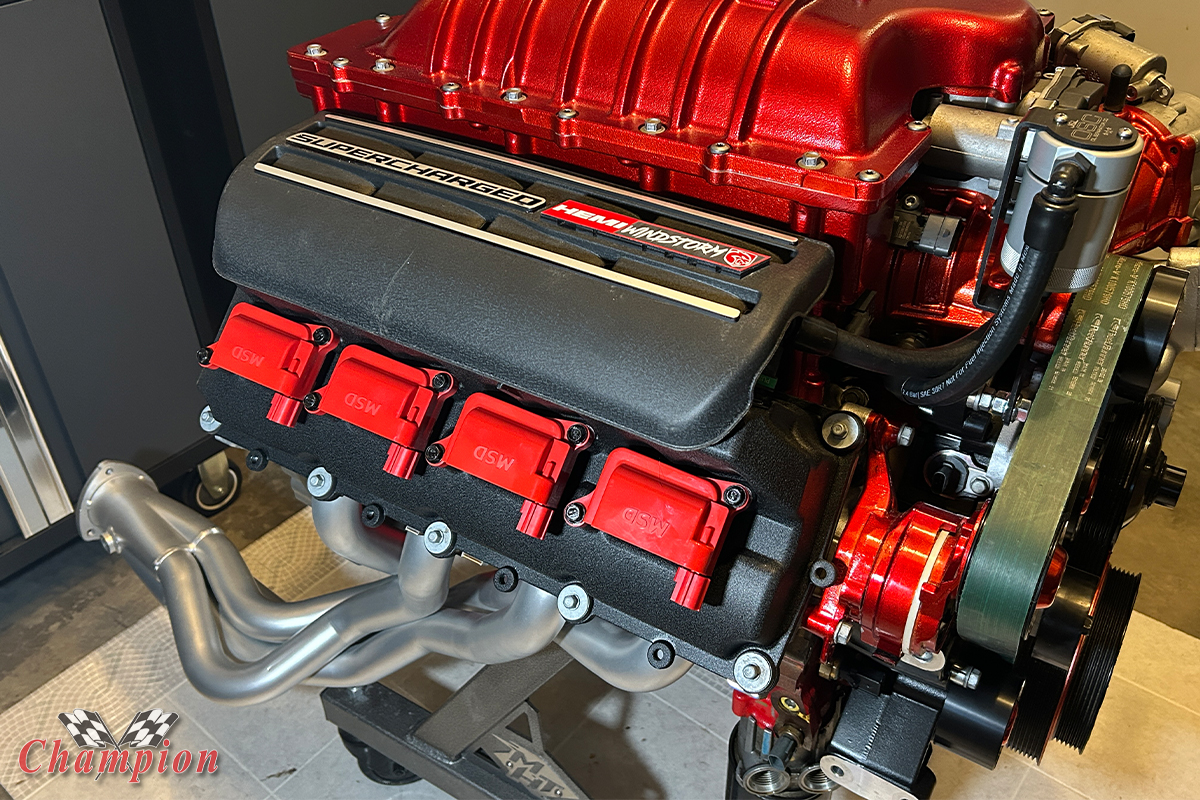
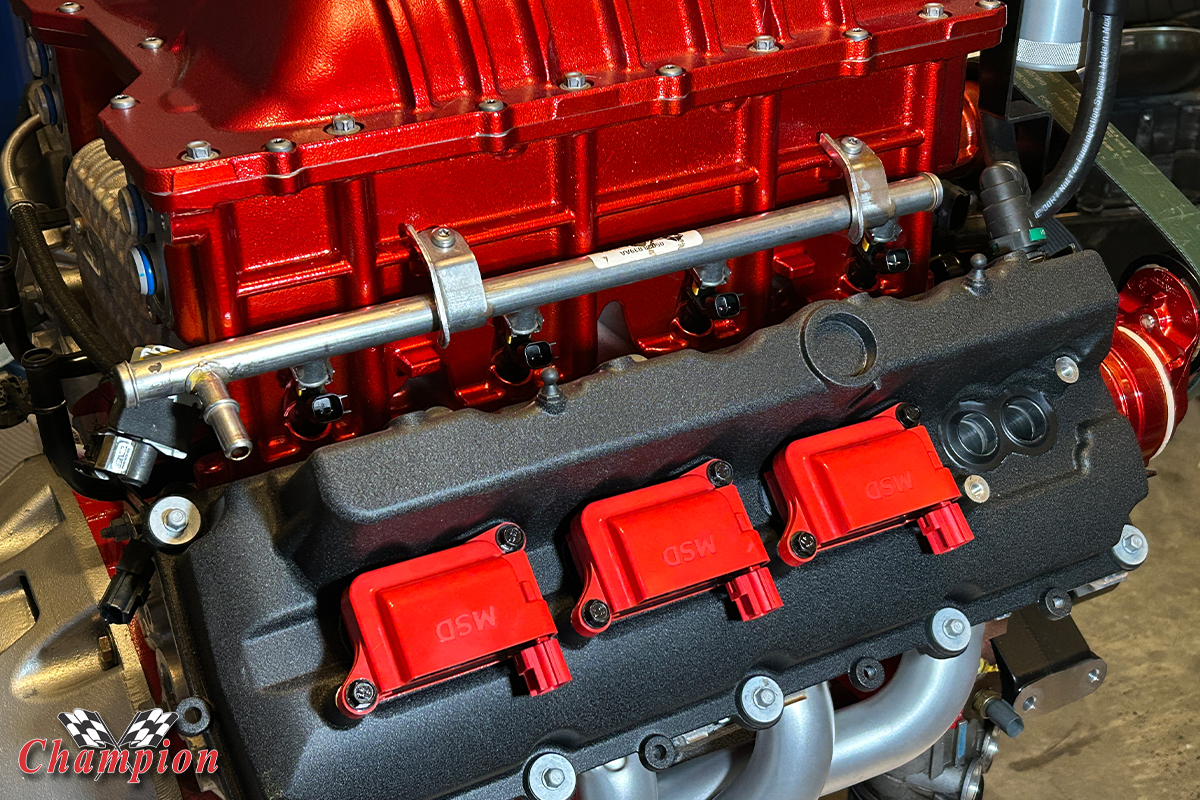
Since we had about four damaged OE coils on our Hellcat Redeye when we acquired it, that means either replacing four with brand new OE coils, or going with a new set to keep them all the same. And since these double-plug coils mount directly to the valve covers, right on top where everyone can see them, we continued the redeye theme and decided on MSD’s Blaster Coils for the 2005 -2024 Gen III Hemi, including the Hellcat.
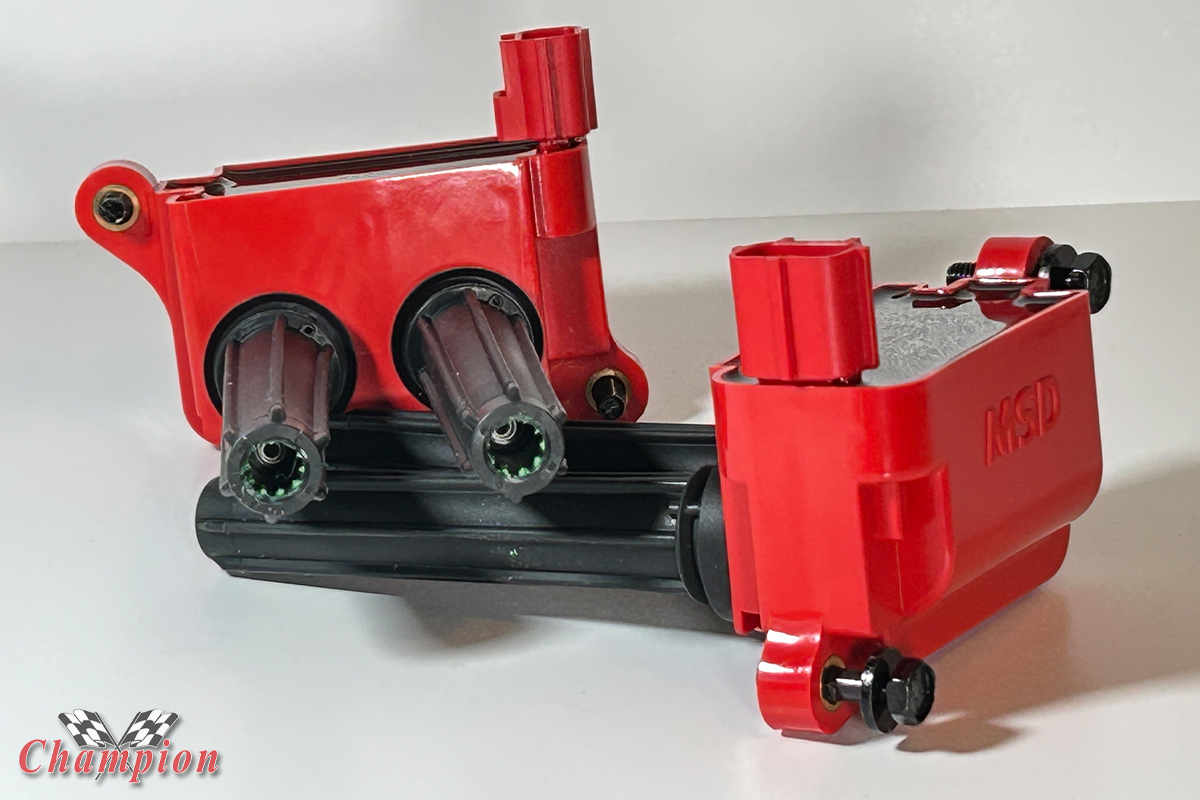
When it comes to the Blaster coils, an increased spark energy and improved high-RPM operation is key for our application, compared to factory-spec coils or knock-offs of the original. Our search for a few OE coils on eBay netted what looked like OE coils that arrived in an OE box with the correct part number, but once they arrived we found out that they weren’t OE at all, they were counterfeit. Even here at Champion, we’ve had to deal with counterfeiters a time or two.
What we had found was an aftermarket coil without the OE part number on the body, like the factory did. After a lengthy dispute with the powers at eBay and PayPal, citing counterfeiting and fraud, we got our money back and decided not to go that route for our Redeye. That’s when we began searching for viable options and to stick with a known performance brand, particularly since we’re counting on our ignition to perform under the boost of nearly 800 horsepower.
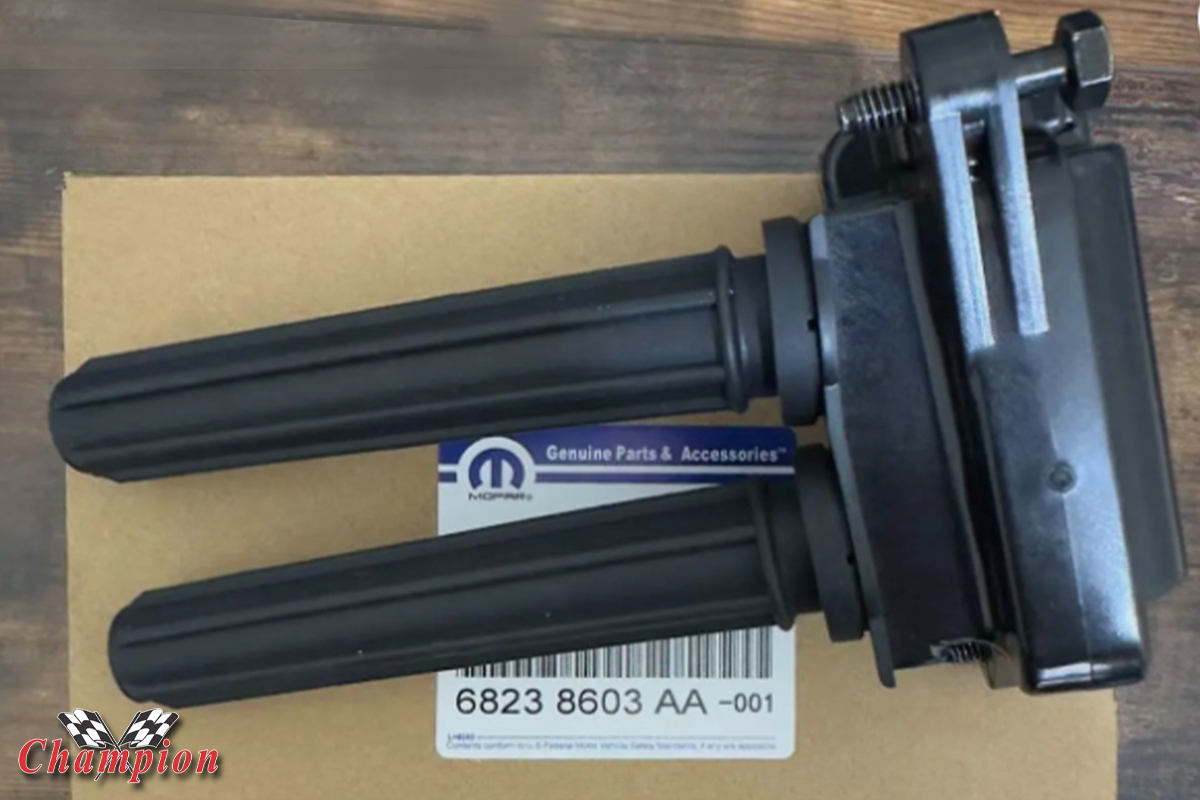
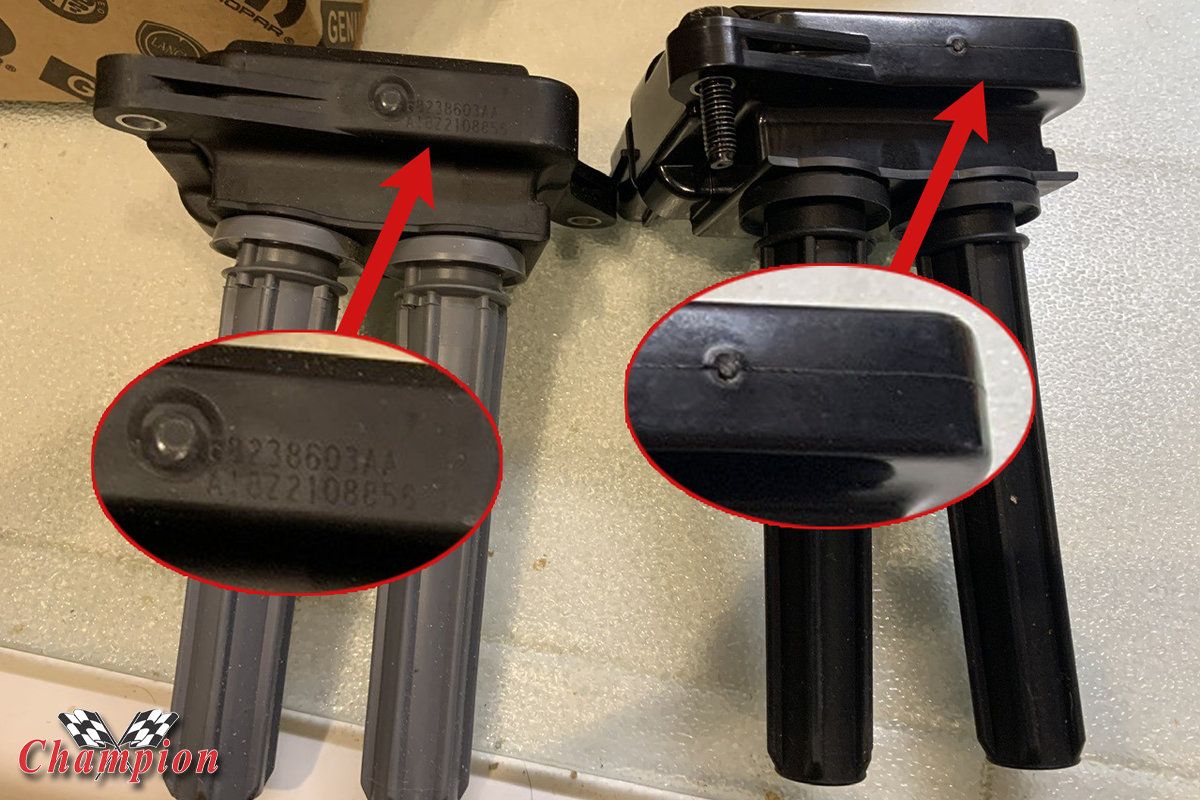
What is it they say? If it sounds too good to be true, it probably is? That’s what we found out when our “OEM Original” coils for a great price showed up.
With high horsepower and/or boosted applications, you need to rely on that spark to light the fires, without detonation, particularly at higher RPMs. The increased spark energy to each of the twin plus provides that confidence where you need it the most. Now, will we be summoning the full 797 horsepower once we get Project Windstorm back on the road? Probably not, especially since it’s a cruiser and part-time weekend warrior at the road course.
But you always want to make sure that you have something dependable for those times when you simply want to romp on the skinny stick and make some noise. MSD’s Blaster coils have a patented winding design and materials to instill that confidence when the Gen III Hemi really wants to come alive. Who knows what those cheap OE knockoffs will do for us, but who wants to find out when you’re making some boost from a Hellcat Redeye blower? Not us.

Installation is simple, and each boot is slightly greased to assist with installation. Start each bolt, but don’t tighten completely, last thing you want to do is strip the aluminum valve cover.
The Blaster coils mount similarly to the OE coils, and the plugs are in the proper location for the OE or Hellcrate Hemi harness. We learned a trick while installing these: just get the mounting bolts started, being sure not to strip the valve cover bosses. you have a little wiggle room with the long, flexible boots and the seal on the plugs is pretty tight.
Getting one bolt started, then using that wiggle room, get the second bolt started before tightening them down and securing the coils. Then it’s just wash, rinse, repeat seven more times to install the remaining coils. Once your coils are installed, install the coil covers and simply step back and proudly take in all that Hellcat Redness that’s going to be the first thing people see when you pop the hood.