
When our Belvedere was purchased, we relied on the vent windows to get a little bit of air flowing through the car. There was no factory A/C, and it had a leaky heater core. The weak dash controls were vacuum operated, and had two functions: “Off” and “Did I Stutter?” Growing up in the 1970s, with very humid summers, it’s a wonder any of us survived without A/C. These days, it’s not just a necessity – it’s a requirement.
Though it wasn’t on the radar initially, after a few years the goal was to add an aftermarket A/C. Over the years, we’ve become impressed with one company in particular: Vintage Air. Whether you have a partial system or none at all, like the Belvedere, Vintage Air can supply you with everything you need, from condenser to vent register. If you already have a compressor with your front drive kit but need the rest, they’ve got you covered. The bottom line is they’ve been doing this for 50 Years, and have probably come across just about any scenario you come up with, so don’t hesitate to reach out to them.
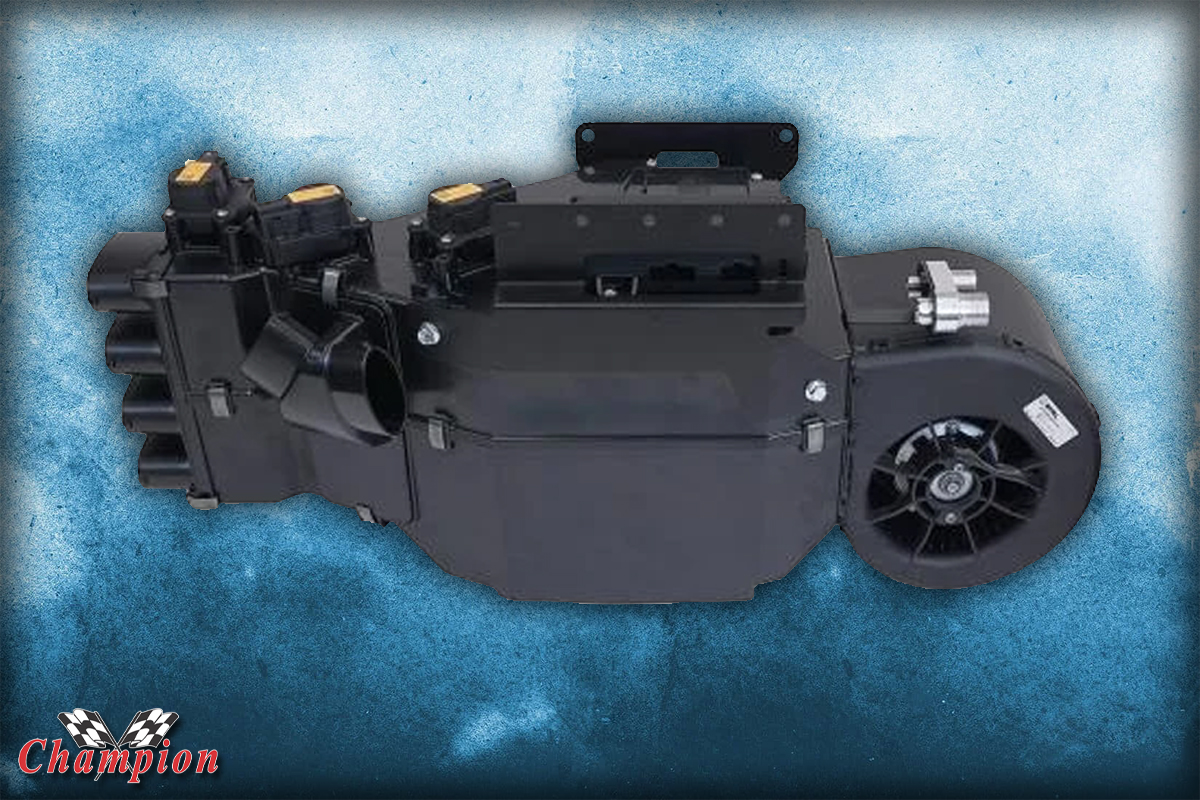
The Vintage Air Mock-Up Kit
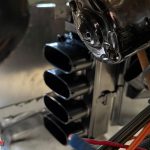
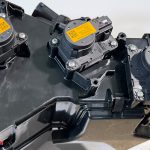
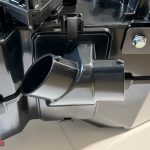
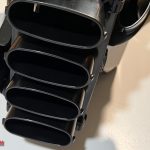
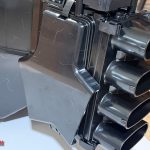
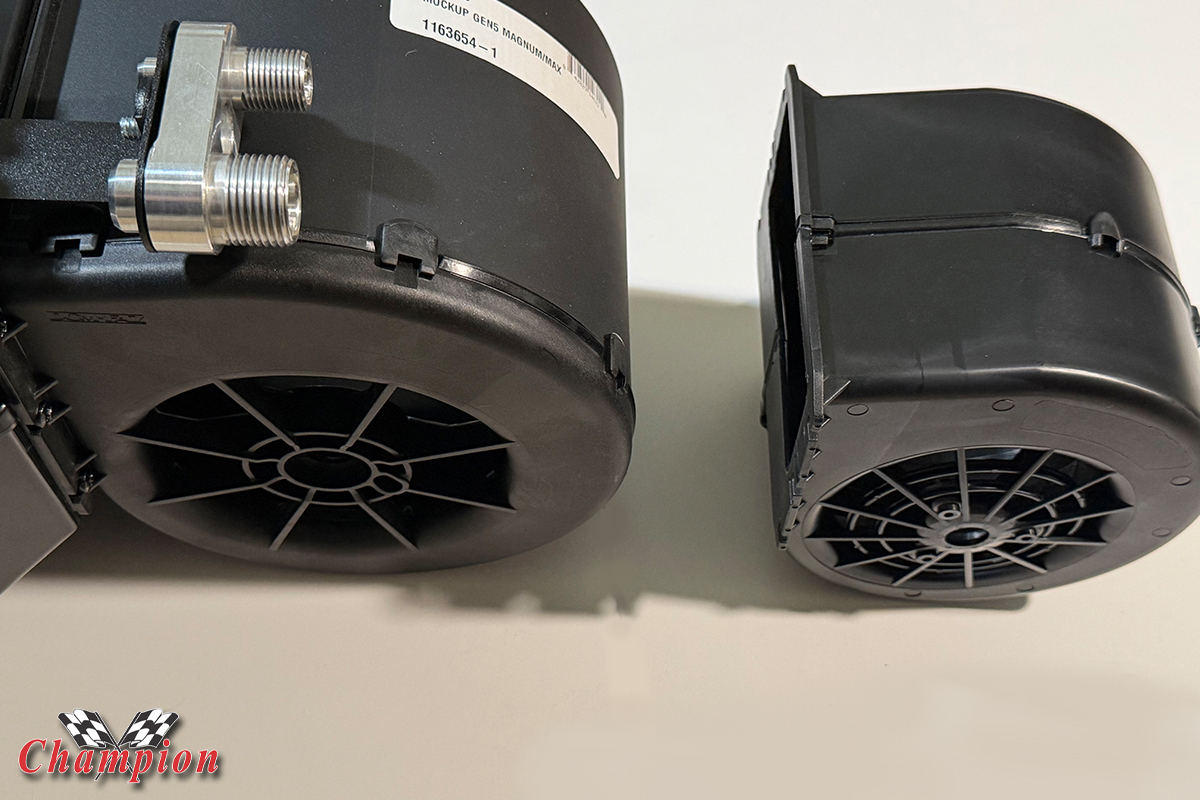
When you’re planning your installation, one of the brilliant ideas that Vintage Air has done is to create the Mock-Up Kit. This is a full-size, empty shell of the unit you plan to install, with mock attachments for locating A/C lines, heater hoses, the controller, and it even includes ‘blank’ servo motors. It’s very lightweight, which makes putting it in and taking it out while planning your installation a breeze.
While they do have many vehicle specific kits for popular classic cars and trucks, for some of us with that ‘other’ brand, the universal kit is the way to go, and can be found under “Builder Series” on the website. With regards to Project Windstorm, our friend Dane Thompson is fabricating a smooth firewall and addressing some rust concerns, and the Mock-Up Kit is a blessing, as it can be held in place with one hand, while marking mounting locations with the other.
With a new smooth firewall being fabricated, one dilemma was to determine how we were going to attach the mounting bracket to the firewall. The bare firewall will look nice without the Swiss-cheese effect from decades of modifications, so the idea of drilling mounting holes through the fresh firewall took some pondering.
After some discussion, we ended up drilling four 1/4″ holes in the firewall with button-head Allen bolts. To ease installation, we drilled and tapped two strips of 1/8″ thick aluminum stock to secure to the firewall with the 1″-long Allen bolts. on the inside, the Magnum and bracket simply slip onto the bolts that extend into the interior of the car, then we secured the unit with hex nuts.
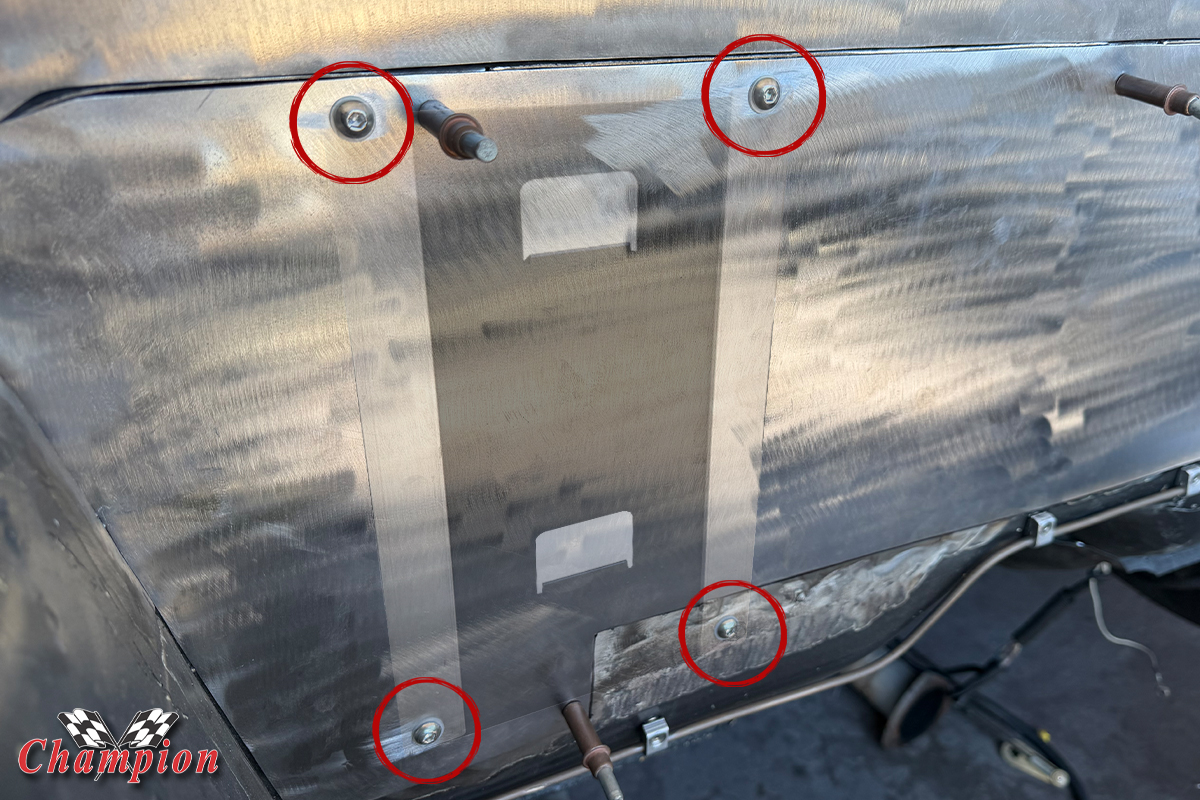
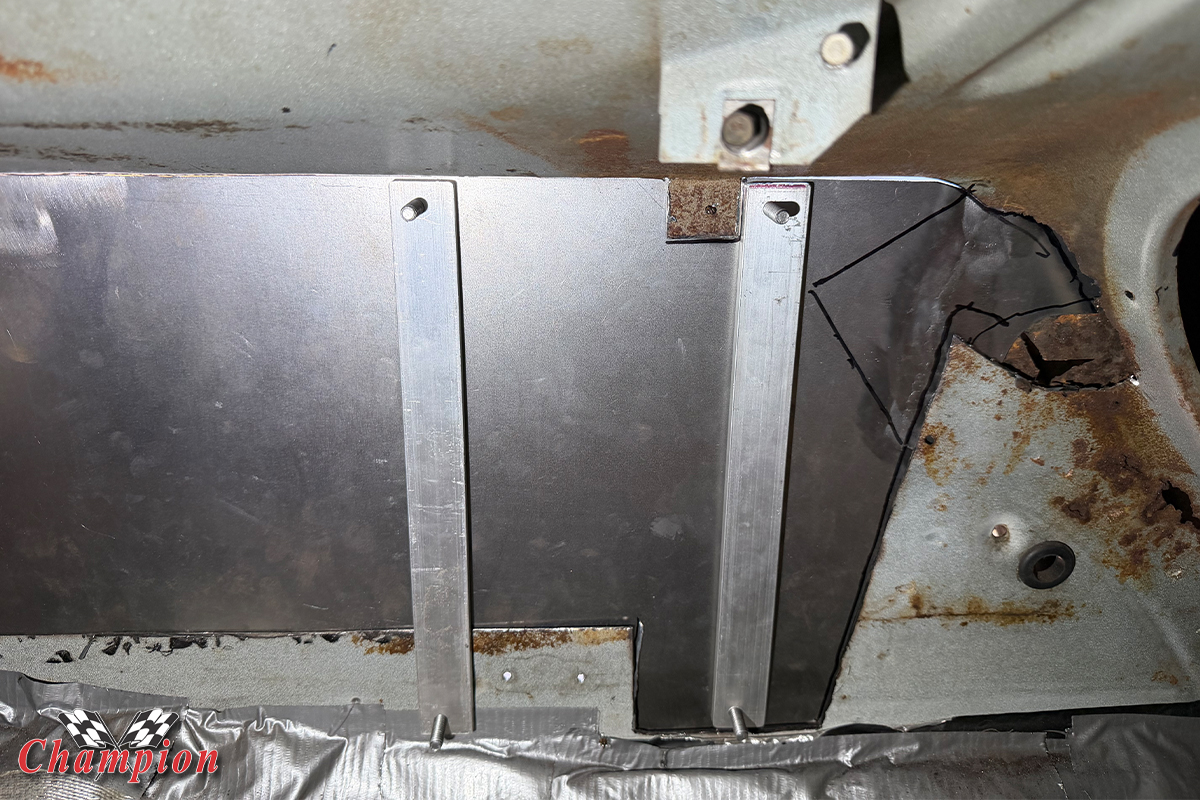
Two aluminum bars, tapped for the proper bolts, secure to the firewall on the inside. Then the A/C module is placed into position and secured with nuts and washers.
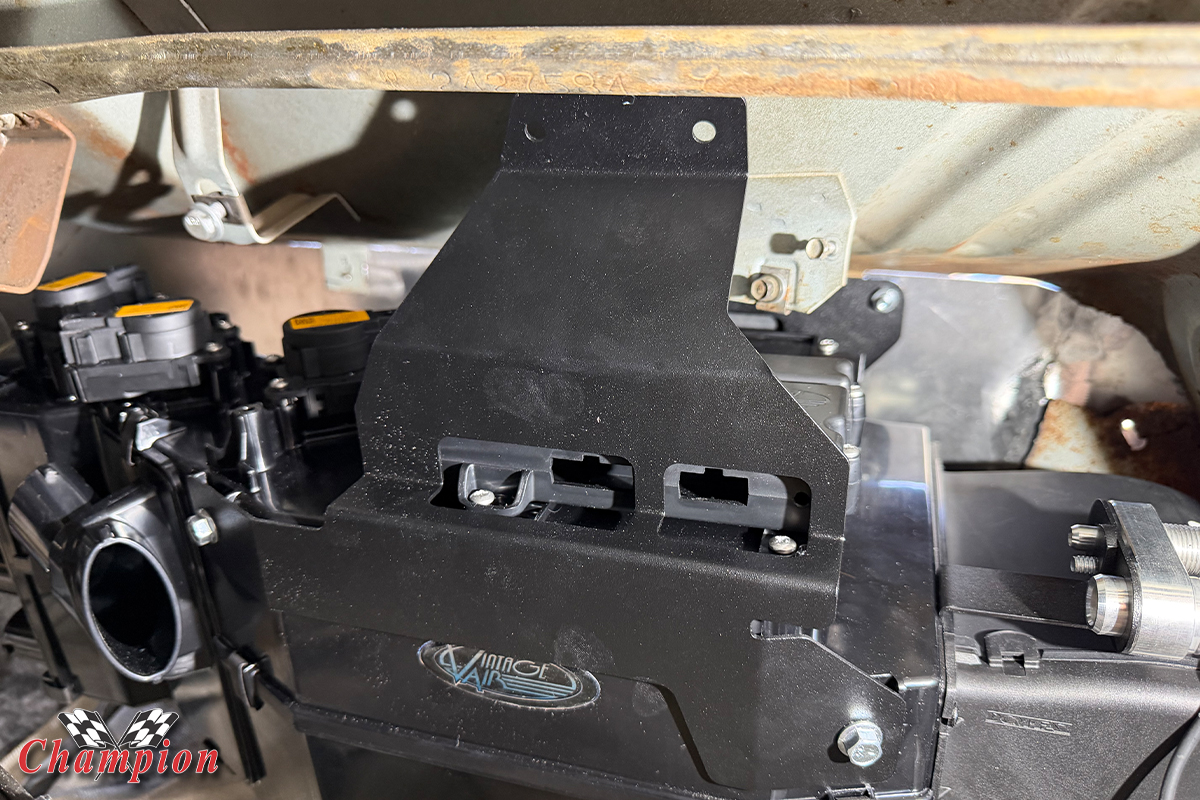
When mounting the actual unit, it’s imperative to be sure to provide a solid front support, as well, so this step shouldn’t be skipped during the Mock-Up installation. The support bracket for the front was much shorter, but we reached out to Vintage Air and they suggested a bracket that would provide a better fit, with some modificaton.
An angled support bracket that we found was perfect for clearing the windshield wiper linkage. We did have plenty of room using this bracket, although we did modify it a little. We could have used the one in the kit if we couldn’t find one that accommodated our needs. Dane made one cut on the bracket, then welded another piece of steel to it, and that became our front support. It attaches under the dash, to a pair of bolts welded to the sheet metal.
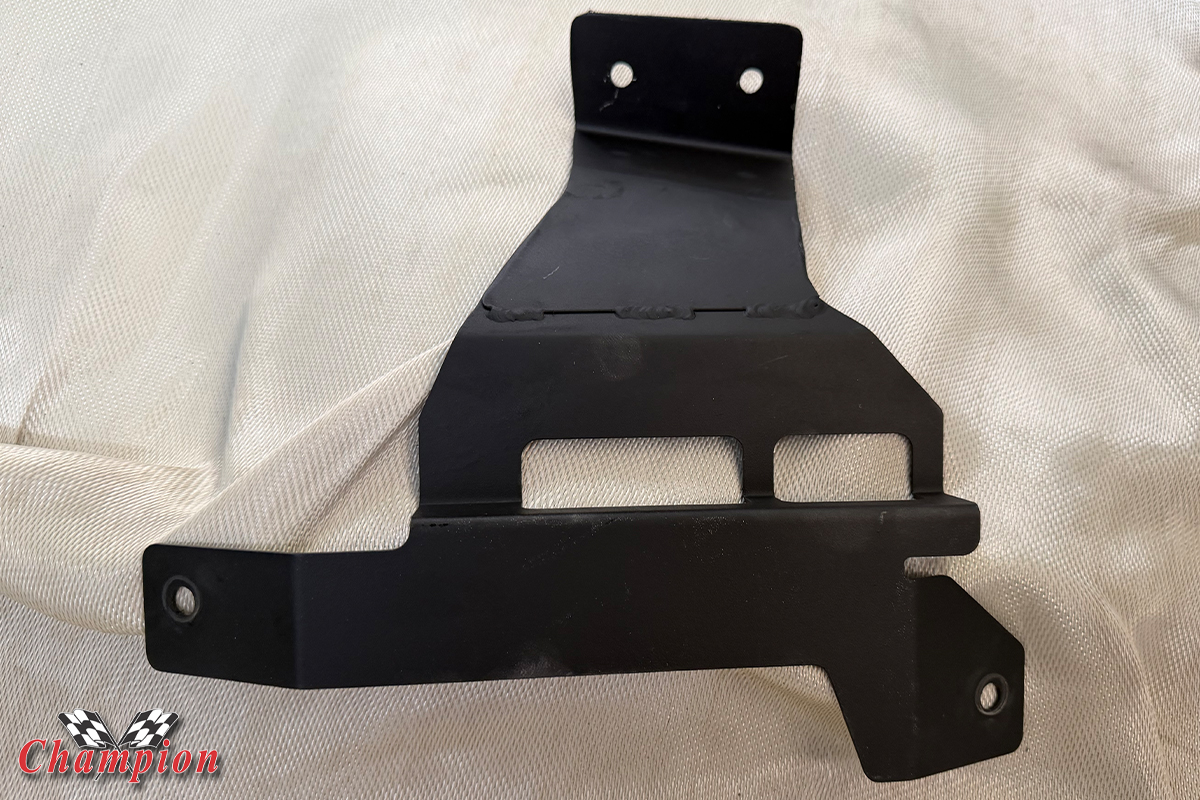
Though it’s nearly impossible to create ‘one size fits all’ mounting brackets, especially with our installation, there were plenty of other brackets for vehicle specific applications, and the staff can help steer you in the right direction. This is definitely a place for fabrication skills, but that should go without saying since we’ve already cut a huge hole in our firewall.
The bottom line, however, is that we’re not doing a SEMA build, nor are we seeking glory or trophies to display on the mantle. This car is a driver, and occasional weekend warrior; some sacrifices will need to be made in the essence of those creature comforts that encourage us to go drive it on even the hottest summer days.
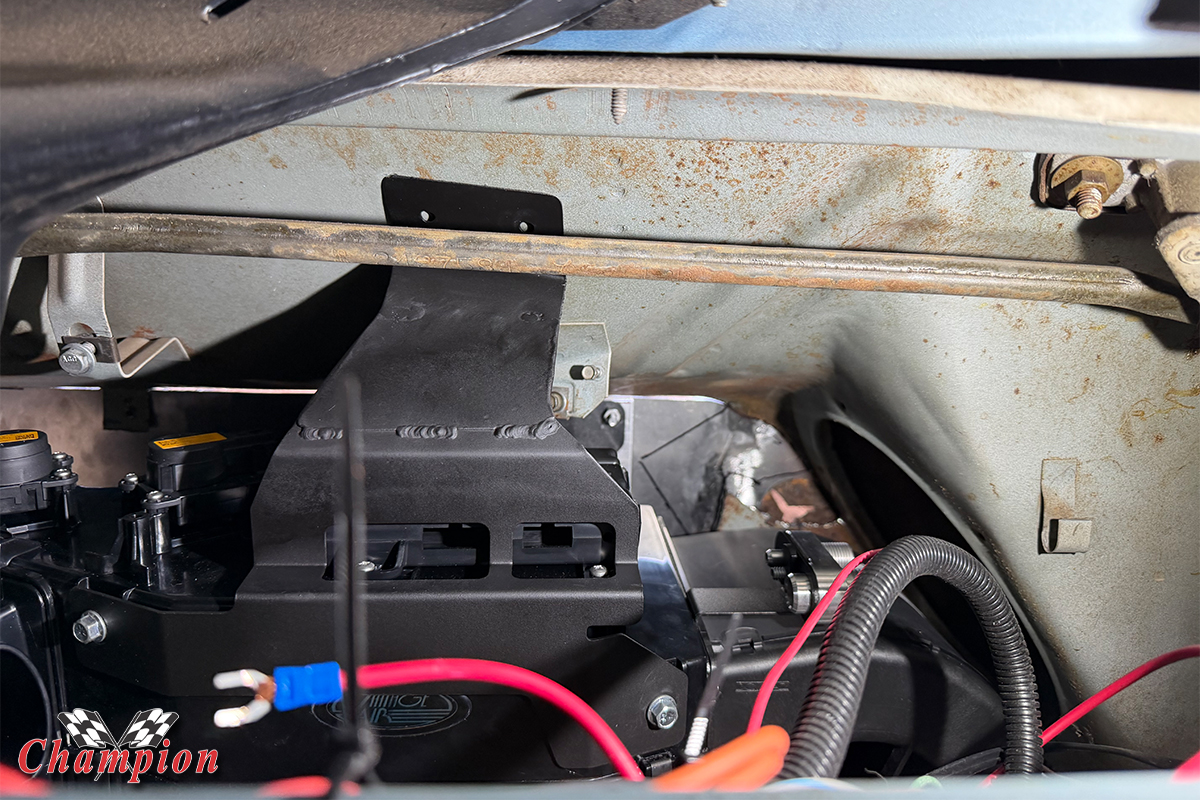
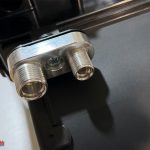
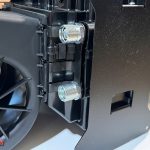
Another benefit of the Mock-Up is that it was easy to slide it back and forth during initial test fit to be sure that all of our hose connections and air outlets would be accessible and didn’t interfere with other components under the dash. And speaking of connections, we’ll be doing another modification to be revealed a little later when we do the full install.
This is what the Mock-Up Kit is all about: planning the installation to save you the hassle once the real unit is mounted into place. Any wiring that is laid across the firewall may need to be rerouted, so that the unit can sit flush and be fully supported. It’s one of the larger units from Vintage Air, so if you don’t have the room for it, smaller units are available.
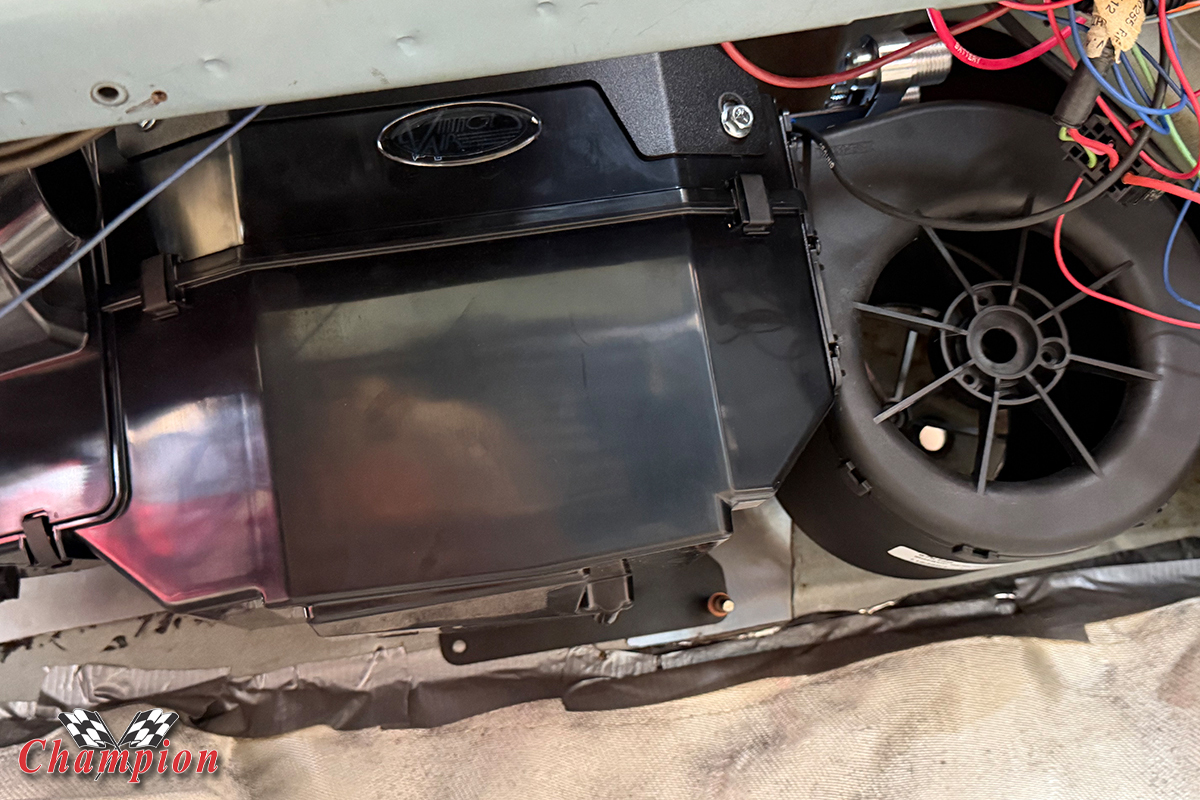
We also made sure that we’ll have access to the unit itself when mounting it. We wanted to make sure that we also had access to the bolts we’re using to mount it to the firewall. Though we stripped most everything out of the way to make to make room on the firewall, some things need to be put back in place before final install, such as the bracket for our new drive-by-wire accelerator pedal. The last thing you want is to mount the unit for the final time and then realize that you can’t access the servos, or attach ducting without it interfering with other components.
Overall, the Mock-Up truly simplified the installation, and it did go in and come out multiple times, as can be expected when doing custom work on a classic ride. If you’re purchasing a SureFit unit, it will include specific bracketry to ease installation, as long as your firewall or dash have not been modified extensively. But for the builder with a bit of custom fabrication, we would have had a much more difficult time trying to locate the Gen 5 Magnum without the benefit of the lightweight Mock-Up.
Project Windstorm: Follow the Cat
Control Freak Suspension – The suspension that makes it possible
Getting Catty – Purchasing a Hellcat engine from a wrecked car
Cleaning the Cat – Removing what we don’t need, and cleaning it up
Test Fit Parts – The search for a proper starter
Dakota Digital Part 1 – Installing custom-made gauges
Dakota Digital Part 2 – Mounting the TFT displays
Removing Blower Pulley – Using the right tool, the right way
Metco Motorsports – A pulley set that looks killer
Earl’s Intercooler Manifold – When real estate is at a premium
MSD Coils – Getting the best spark we can get
Holley Oil Pan – Getting the right oil pan
FEAD the Hellcrate – Things you’ll need for the Redeye
Prepping for the Hellcat – Pulling the LA 408 and cleaning up
Creature Comforts – This article
Connecting the Dots – The Engine Side Crate Harness