With modern engines, the addition of dozens of sensors and switches are vital to the engine’s operation, but it also means that you have more failure points; things that can go wrong with it. So why not leave well enough alone? You can easily build power with an old school engine; why swap a modern engine into a classic car and complicate things? The answer is simple: efficiency.
Whether you’re swapping an LS into your GM, a Coyote into your Ford, or a Gen 3 Hemi into your Mopar, making power is not necessarily at the expense of fuel economy and efficiency. Old school engines can definitely last for a hundred thousand miles, but when doubling – or even tripling – the horsepower of the original mill, dependability suffers, along with economy. Modern engine swaps can add a few smiles per gallon to your classic vehicle, when done right.

A modern engine can make power easily, as well as efficiently – which will reduce your trips to the gas station if you can manage to be a little conservative on the skinny stick under your right foot. We had no issue with a Hellcat smoking just about anything on the street, and at the same time turning in some respectable MPG results once we enacted the Ron Popeil philosophy to the cruise control: “set it and forget it.”
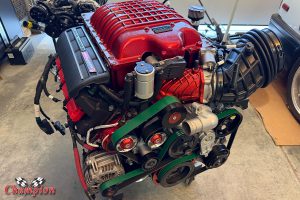
Borrowing a Hellcat from Chrysler for a week for a test drive is where the love affair with the boosted Gen 3 Hemi began, and it was only a matter of time until the decision came to drop one in the Belvedere. The car had already been completely rewired; most everything is in place to accommodate the Hemi, other than the multiple, bulky harnesses that control the Hellcat Redeye.
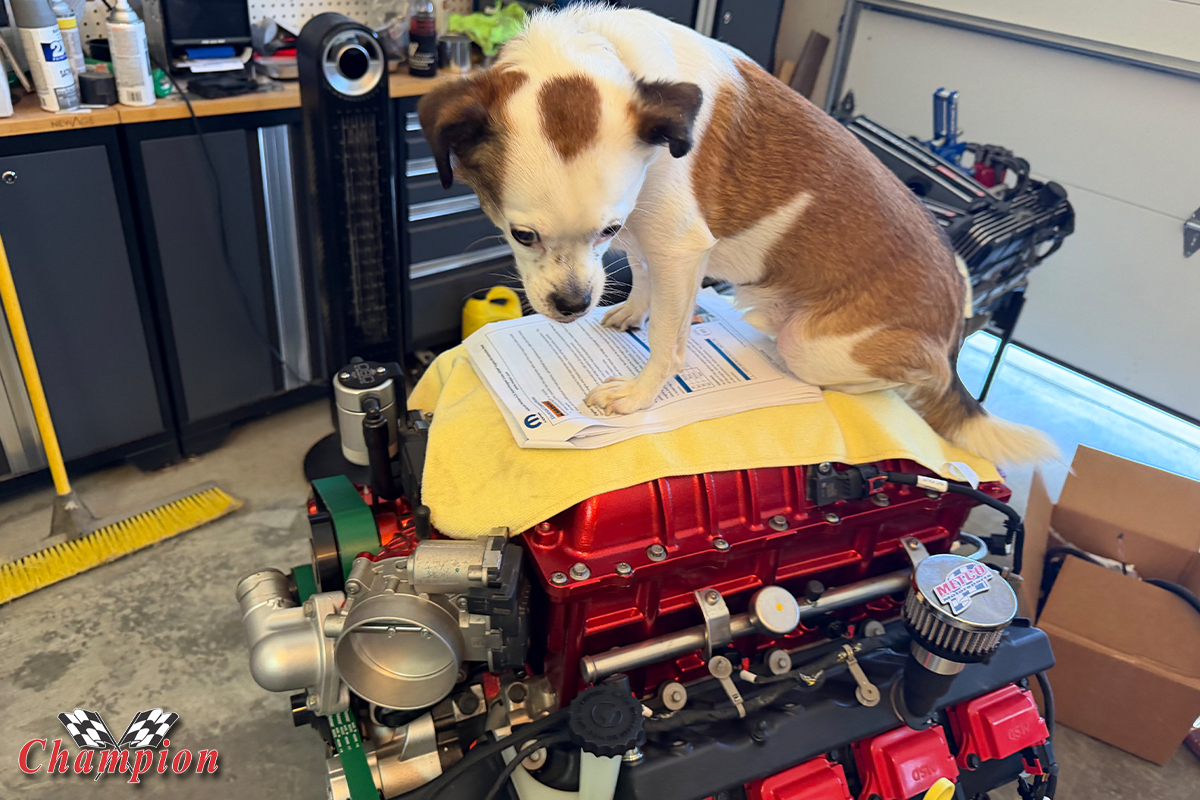
The instructions are thorough, and intense, so this is one of those times when reading the instructions in paramount – multiple times if you have to. Unless you’re completely familiar with the Hellcat and all its management, don’t skip the instructions or you’ll regret it, and likely have to call for a mulligan – or two.
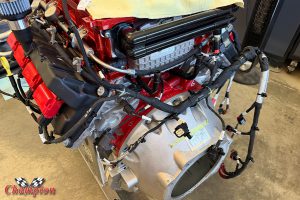
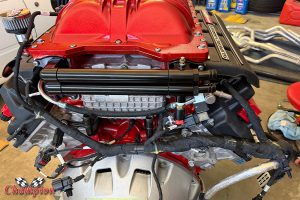
For this article, we’ll focus on the main engine harness, and hopefully provide some tips and tricks to make it a little easier. As gearheads who never really grew up, many of us might be inclined to play with our new toys as soon as we get them. The multitude of connectors all have moving parts that help lock the connector in place, and that might encourage you to try them out. If you’re not familiar with how they work, you can find videos on YouTube and Social Media to help.
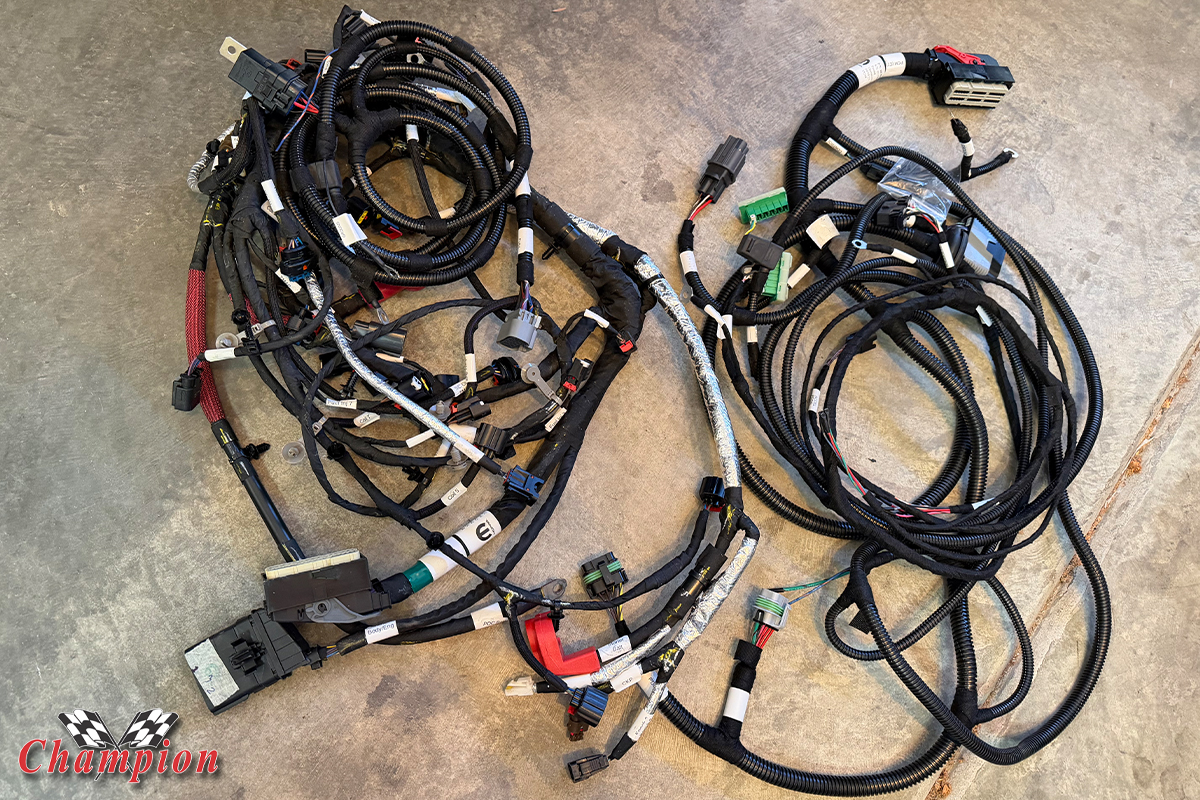
You’ll find some red or off-white clips that slide on the black or brown connectors, and they usually require more than just your thumb to disengage the clip. You’ll hear the plug snap into place, but that doesn’t necessarily mean it’s secure. sliding the retainer clip into place secures the harness onto the connector so that it cannot be ‘accidentally’ disconnected.
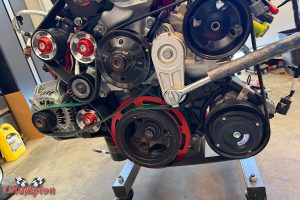
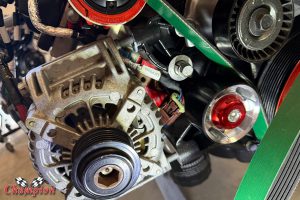
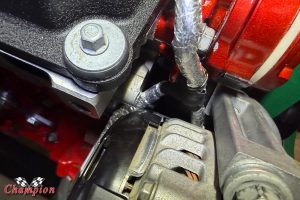
Many of those connectors are in tight places, and for part of our install we actually had to loosen the bolts on the alternator so that we could get the harness past the bracketry and into place on the appropriate sensor. There was no need to remove the alternator, simply sliding it out a little on the three bolts that mount it allowed enough room for the connector to be routed into place.
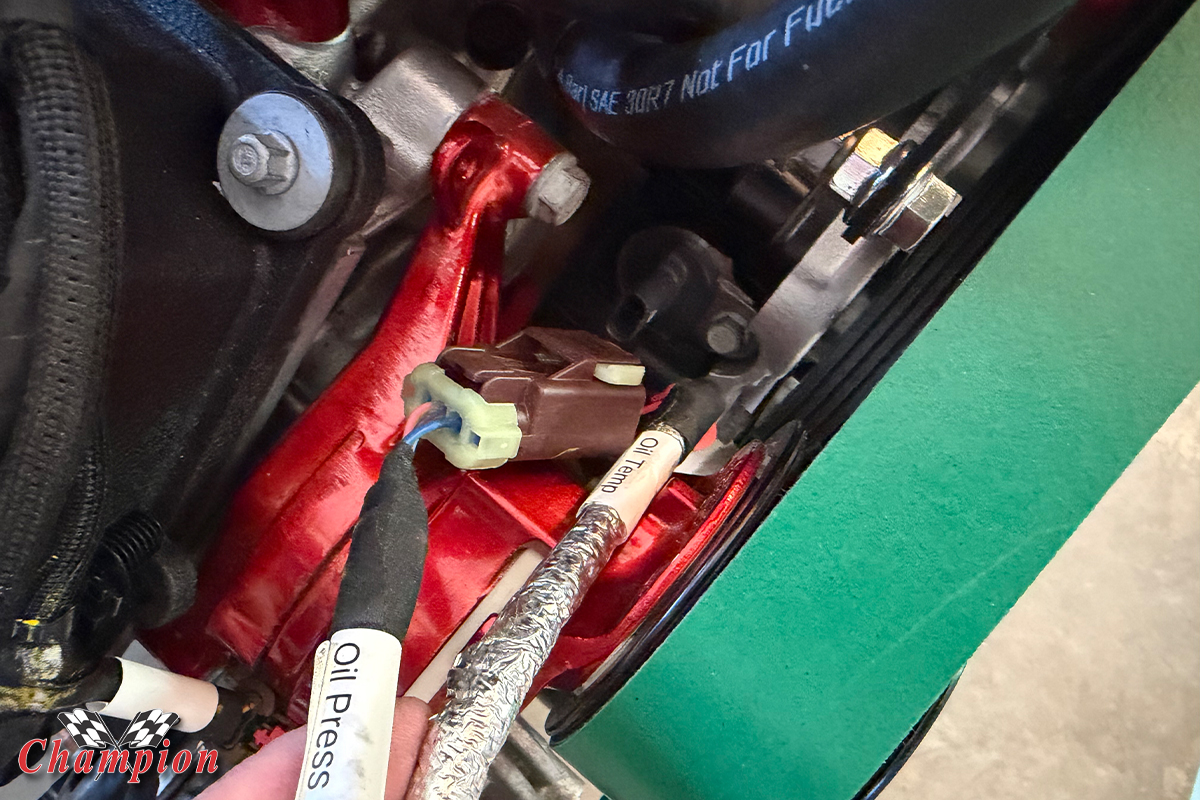
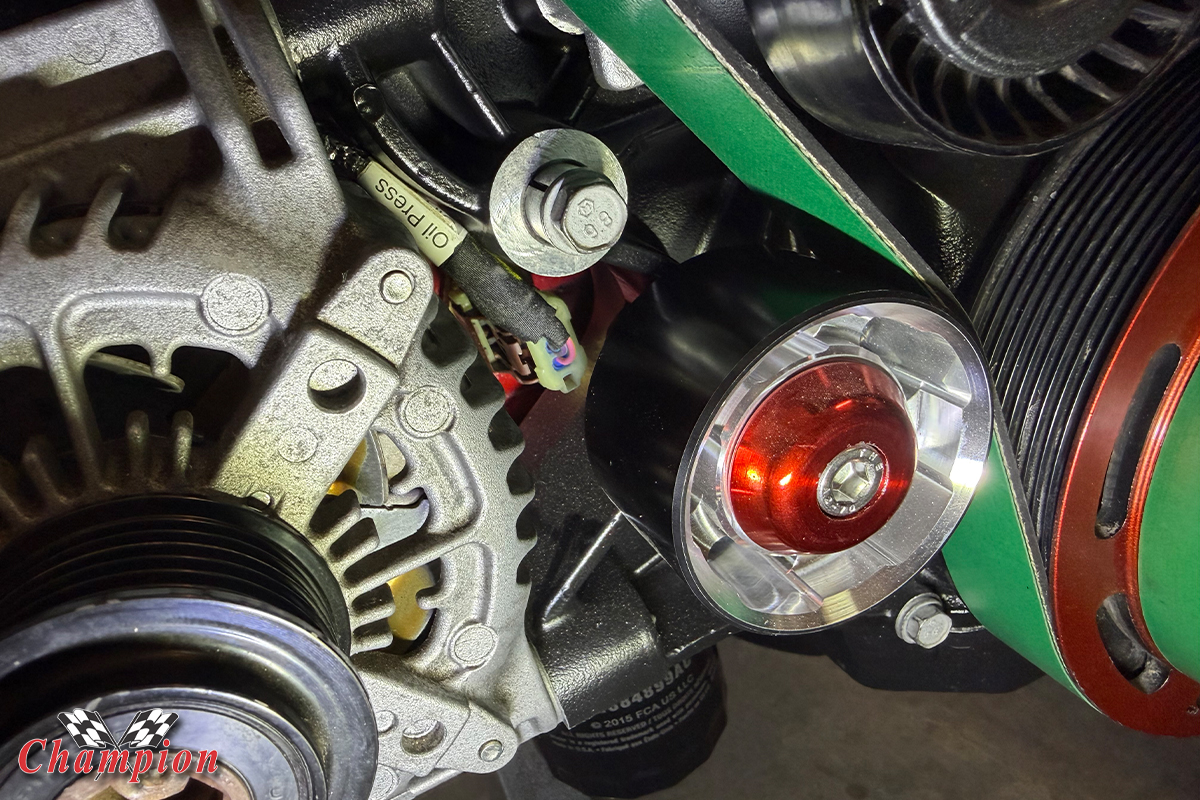
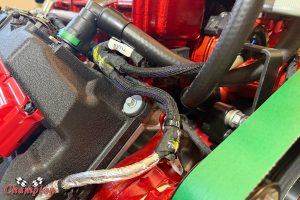
One indicator that the harness will be in very close proximity to a higher heat source is the presence of a silver shield wrapped around the harness. That tells you it will be tight quarters, and close to a component like a cylinder head.
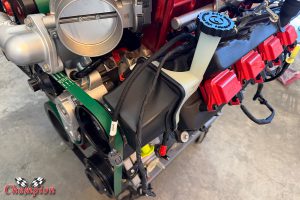
There are several places where a push-in retainer secures the harness in place, to help keep it away from hot or moving components. We can assure you this: do not push those retainers into place, not even a little, until you are certain you won’t be removing the harness from the engine.
Many of these locations run along the perimeter of the valve covers, as well as the supercharger lid. While it isn’t entirely impossible to remove them once pressed into place, the possibility of that particular clip snapping off exists, then you’ll have to buy a new clip and tape it into the harness.
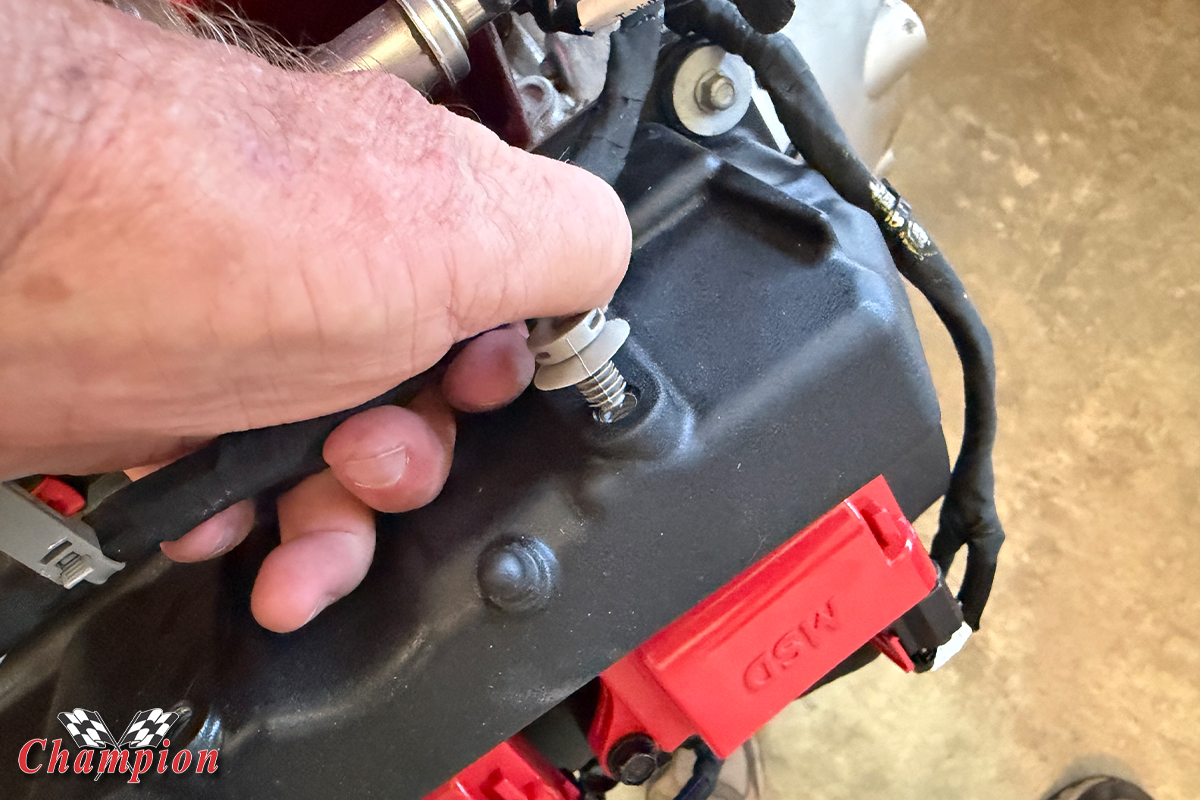
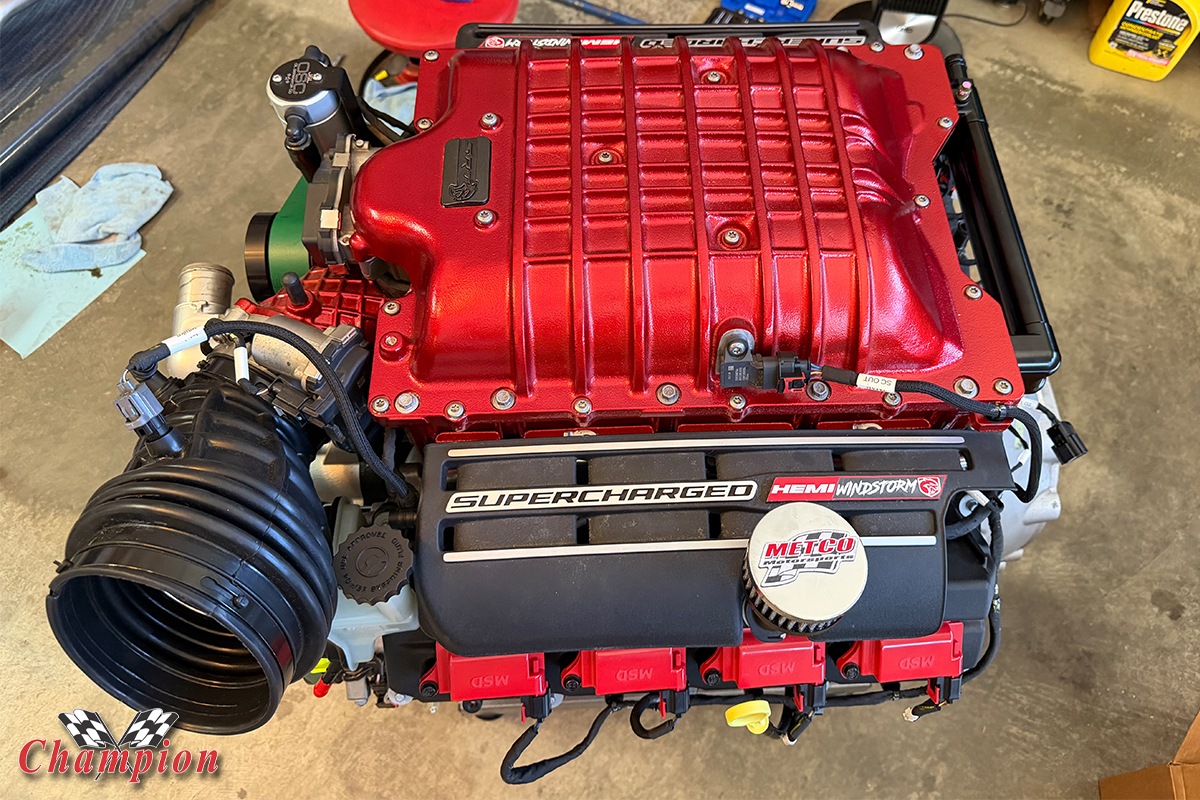
These push pins are buggers to remove, some will come out nicely, others will break off. It’s best to not tempt fate by seeing how it fits into the hole it goes in until you’re sure it will be the last time.
The Crate Harness Kit is taken from the original vehicle, with some parts of the harness terminated where connections won’t be made for this application, so you’ll likely find a few wires going into a clip that go nowhere, or the ends of the wire will be taped up.
Don’t be surprised if you find a 16-terminal plug that only has a few wires going to it: the entire management system on the Hellcat communicated with just about everything, from the proximity sensor in the A-pillar to the shock absorbers, and a multitude of components in between.
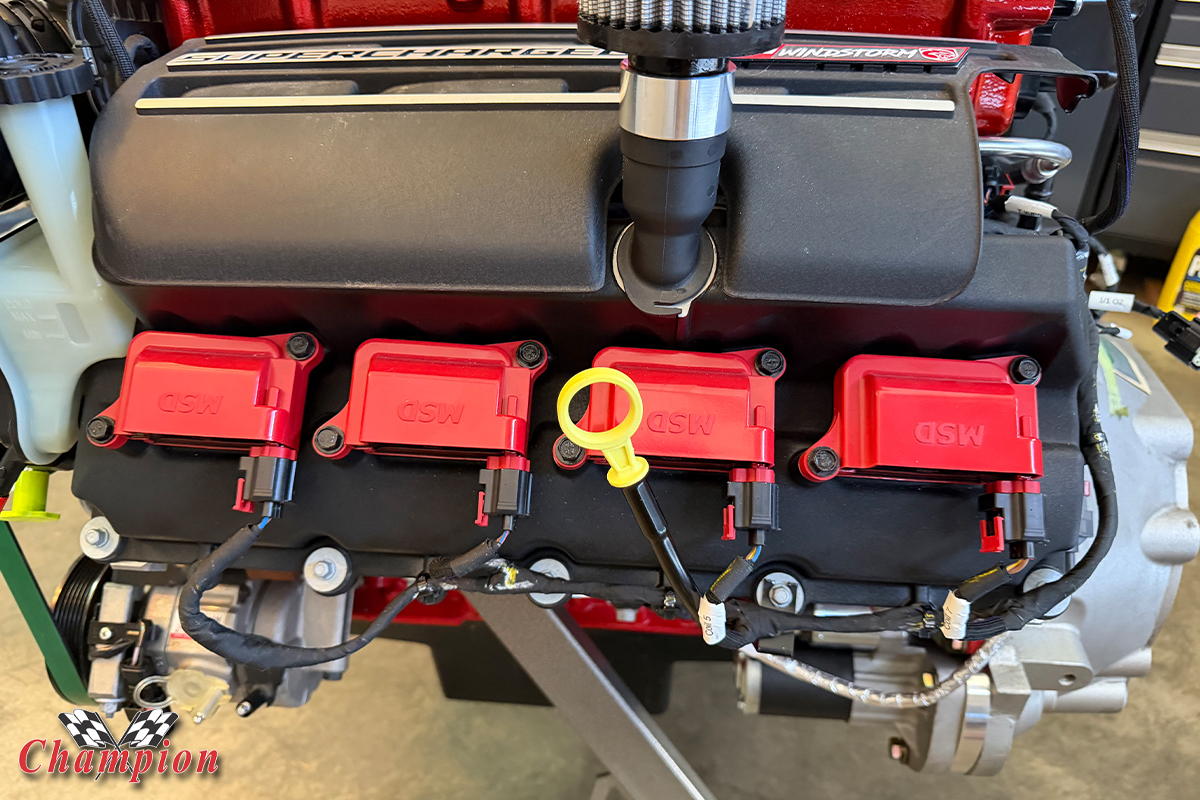
If you’re swapping an entire hellcat into a classic car – basically doing a rebody of a classic car onto a Hellcat, then the crate harness isn’t for you. It is configured for a manual transmission, so if you want to swap the 8-speed transmission into your car, you’ll need to find a stand-alone transmission controller.
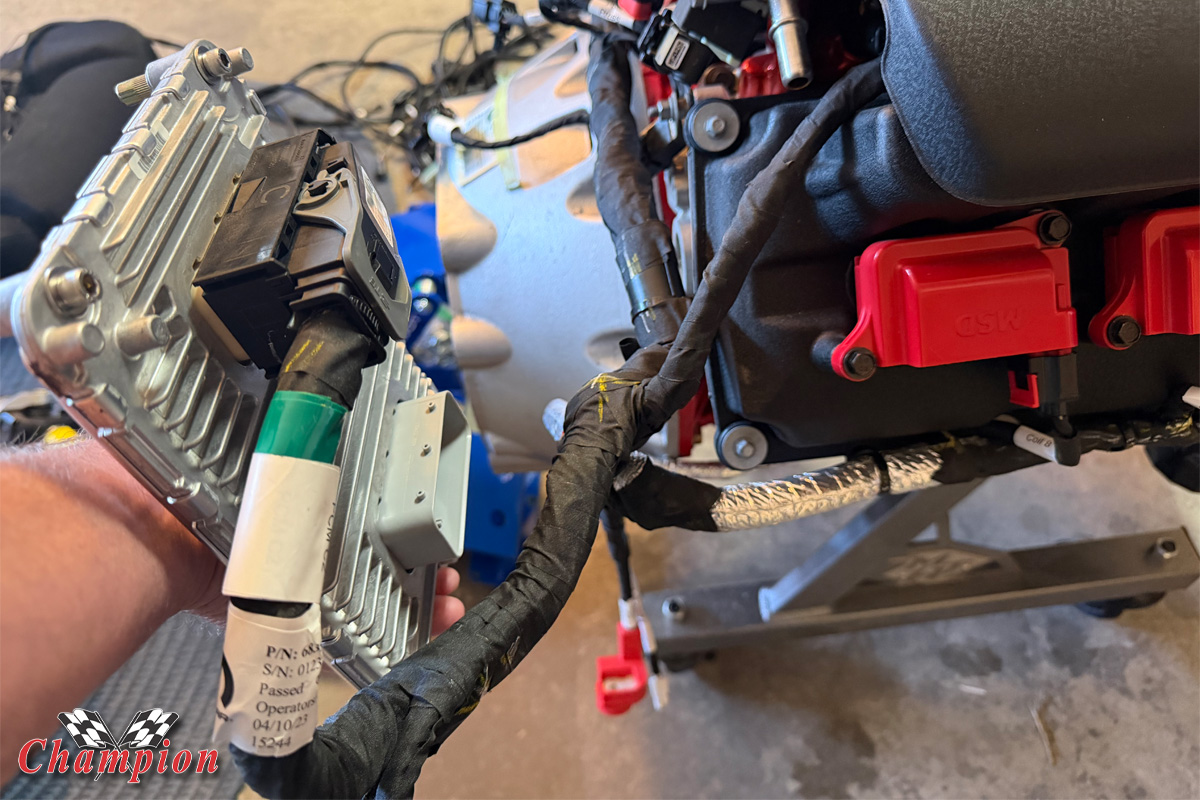
You’ll also have to keep in mind where certain plugs are on the engine harness. Unless you want to de-pin the PCM connections and extend a lot of wiring, the PCM will need to be mounted in the engine compartment, within a couple of feet from the right-rear of the engine. One of the main plugs to the PCM is in that general area, and without unraveling the tape and chasing wires, you’re limited.
Project Windstorm: Follow the Cat
Control Freak Suspension – The suspension that makes it possible
Getting Catty – Purchasing a Hellcat engine from a wrecked car
Cleaning the Cat – Removing what we don’t need, and cleaning it up
Test Fit Parts – The search for a proper starter
Dakota Digital Part 1 – Installing custom-made gauges
Dakota Digital Part 2 – Mounting the TFT displays
Removing Blower Pulley – Using the right tool, the right way
Metco Motorsports – A pulley set that looks killer
Earl’s Intercooler Manifold – When real estate is at a premium
MSD Coils – Getting the best spark we can get
Holley Oil Pan – Getting the right oil pan
FEAD the Hellcrate – Things you’ll need for the Redeye
Prepping for the Hellcat – Pulling the LA 408 and cleaning up
Creature Comforts – Mocking Up for A/C
Crate Harness 1 – This article