
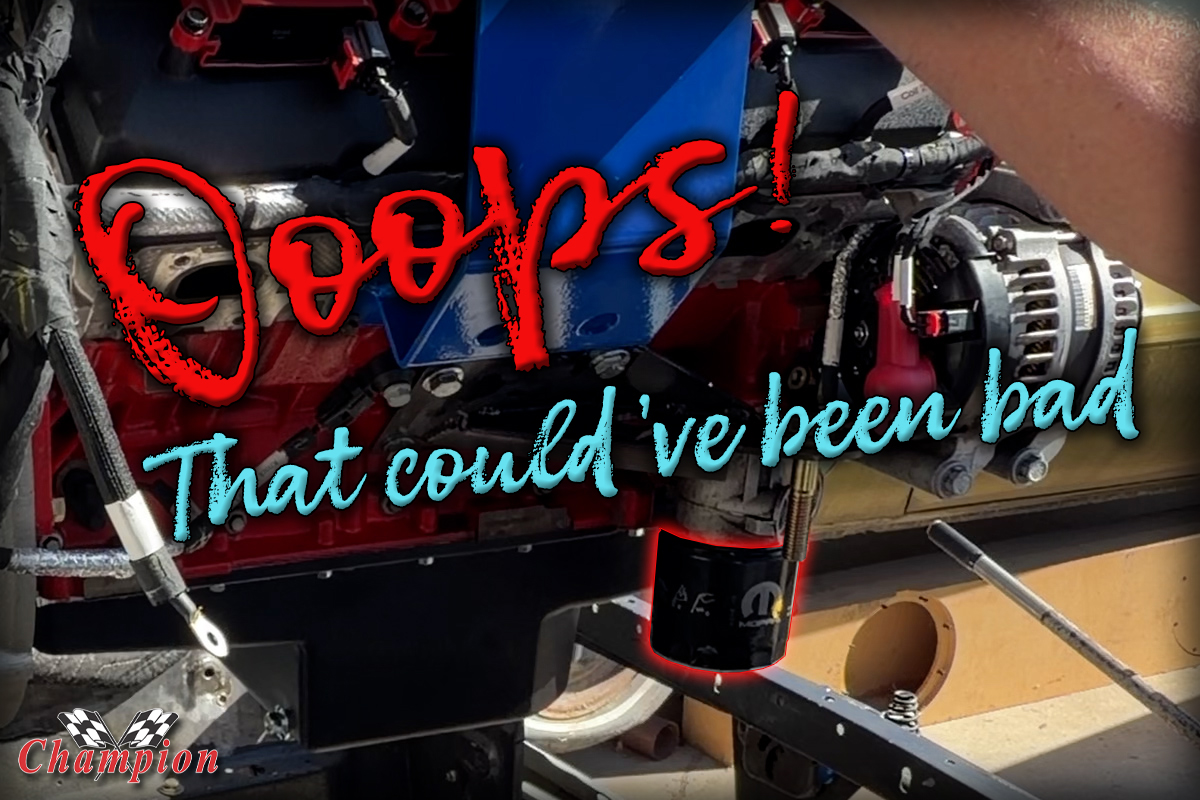
Last week it was official: the Belvedere became the long-awaited Hellvedere; we lowered the Hellcat Redeye down into the engine compartment for the first time. It was primarily an exercise to plan out the install with regards to wiring, hoses, the PCM, and what available space we have. But then we saw something we didn’t like: a puddle beneath the engine.
Though we haven’t added the 6 quarts of oil to the engine yet, the OE oil filter was still in place and had a smidgeon of oil in it. But where did the oil come from? How did we end up with a puddle of oil below the engine if the filter was still secured? Well, it was actually staring us right in the face as we lowered the engine. We were paying such close attention to the Holley oil pan clearing the Flaming River steering rack, that we completely missed that subtle thud when we dropped the engine down onto the mounts.
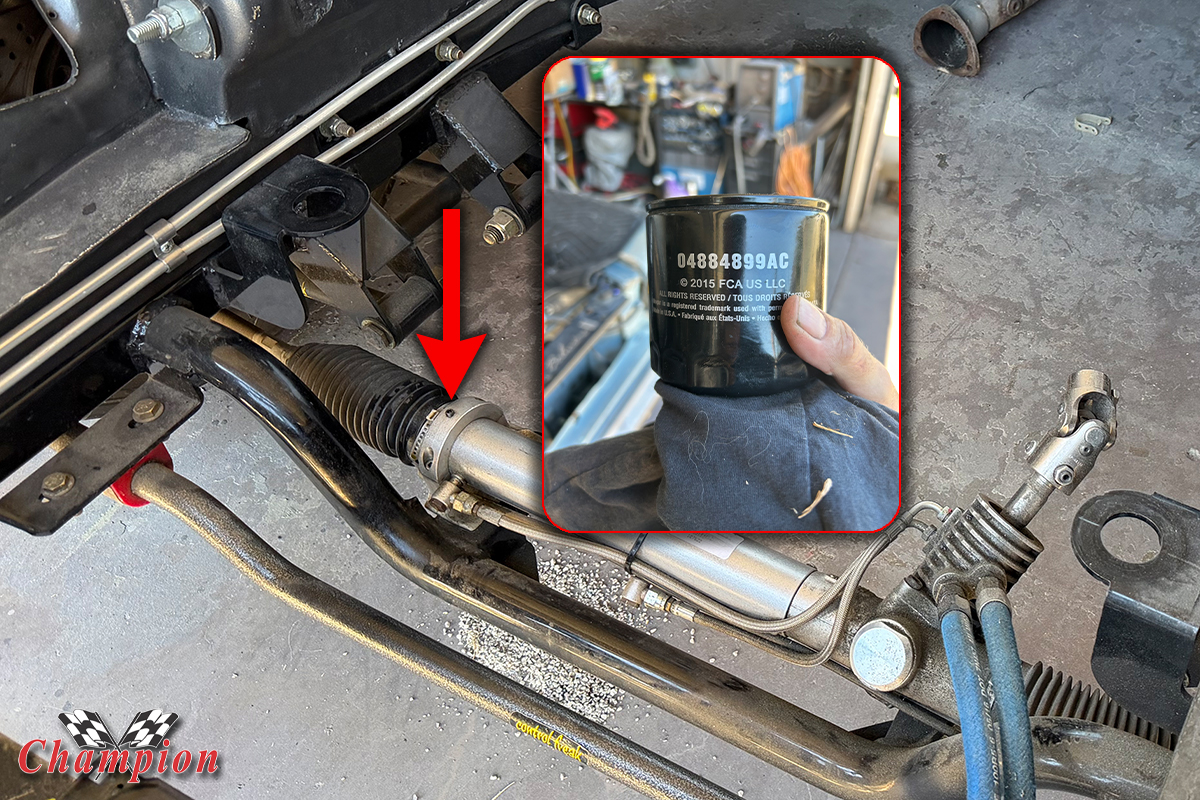
That thud was the oil filter hitting the rack. It certainly could have been worse; we were paying closer attention to the fluid lines on the steering pinion, but missed the oil filter resting on the steering rack. It was just a bit of a dent in the filter, and a puncture that allowed the remaining oil in the filter to drain out. Catastrophe averted, but it teaches us to pay closer attention next time.
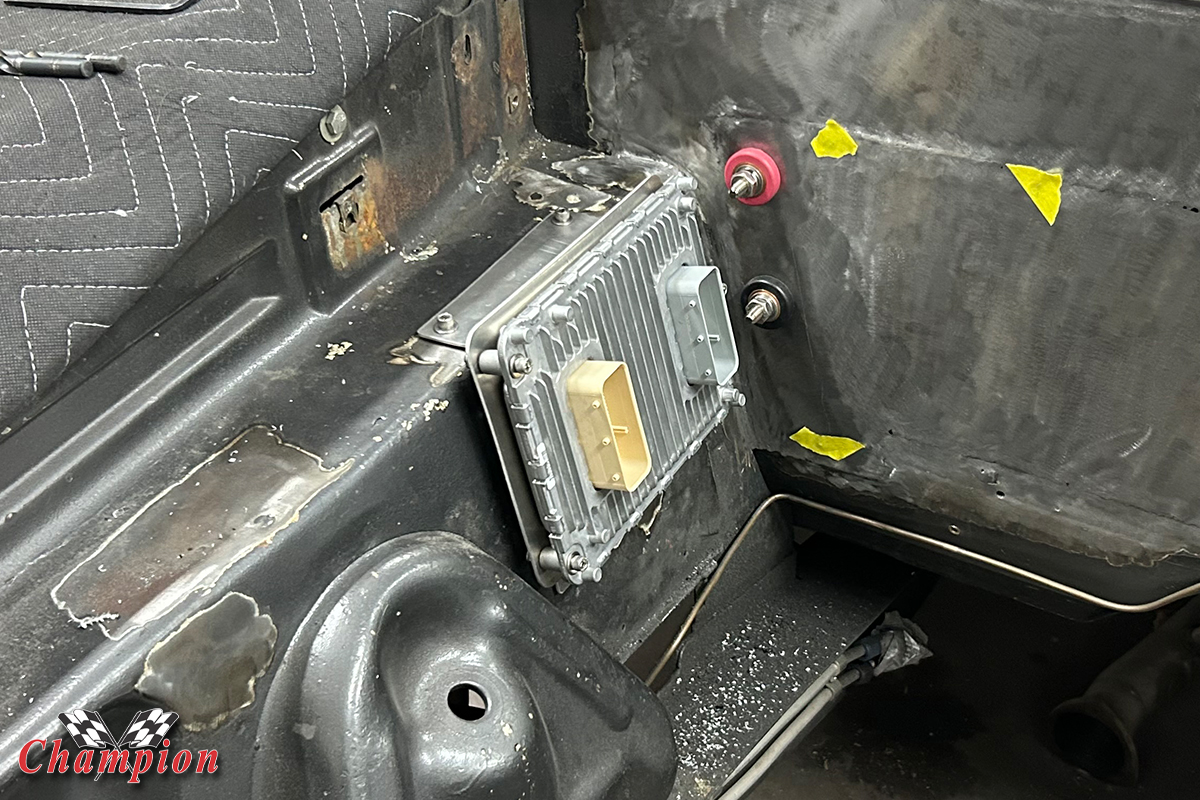
We did notice that once the engine was in place, the original plan to mount the PCM to the firewall needed revisiting. Back to the proverbial drawing board, and Dane fabricated a bracket to mount the PCM on the upper rear apron. This gives access for the plug on the back corner of the engine harness, and it’s up high enough that we can protect it from the heat coming off of the passenger side header.
How About That Oil Filter?
While a Gen 2 Hemi was actually available back in 1965 on track-only B-Body cars (the Street Hemi wasn’t available until 1966), there wasn’t any foresight on swapping a Gen 3 Hemi into said car. Or was there? Sometimes you just have to love it when a plan comes together, right? Our dilemma with the oil filter hitting the steering rack was easily solvable, and could be done a number of ways.
A remote oil filter adapter is common among enthusiasts seeking an easier way to change the filter, but we wanted to maintain having a remote oil cooler as well. It’s no different than using a remote filter kit, but adding a cooler inline with the oil flow means more potential leak points with additional hoses. The OE filter adapter has the oil cooler passage built into it, and just two lines from the adapter to the cooler and back is a simple system.
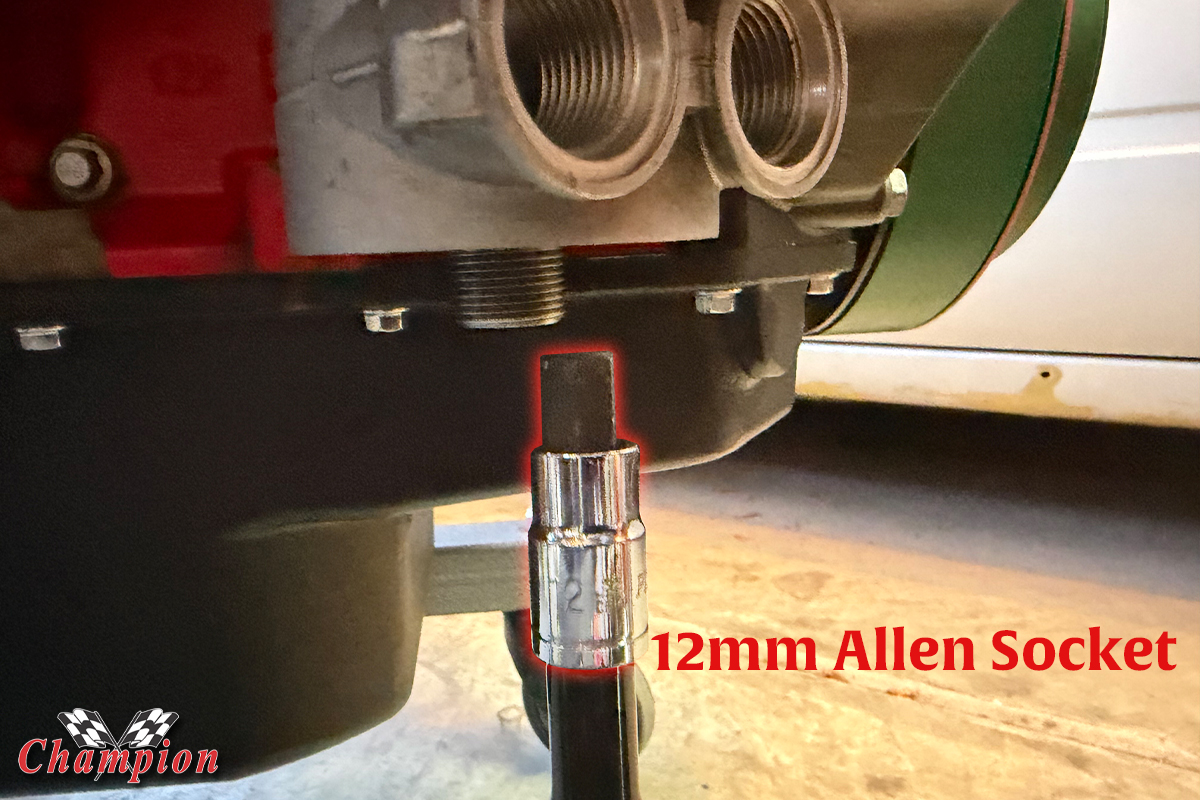
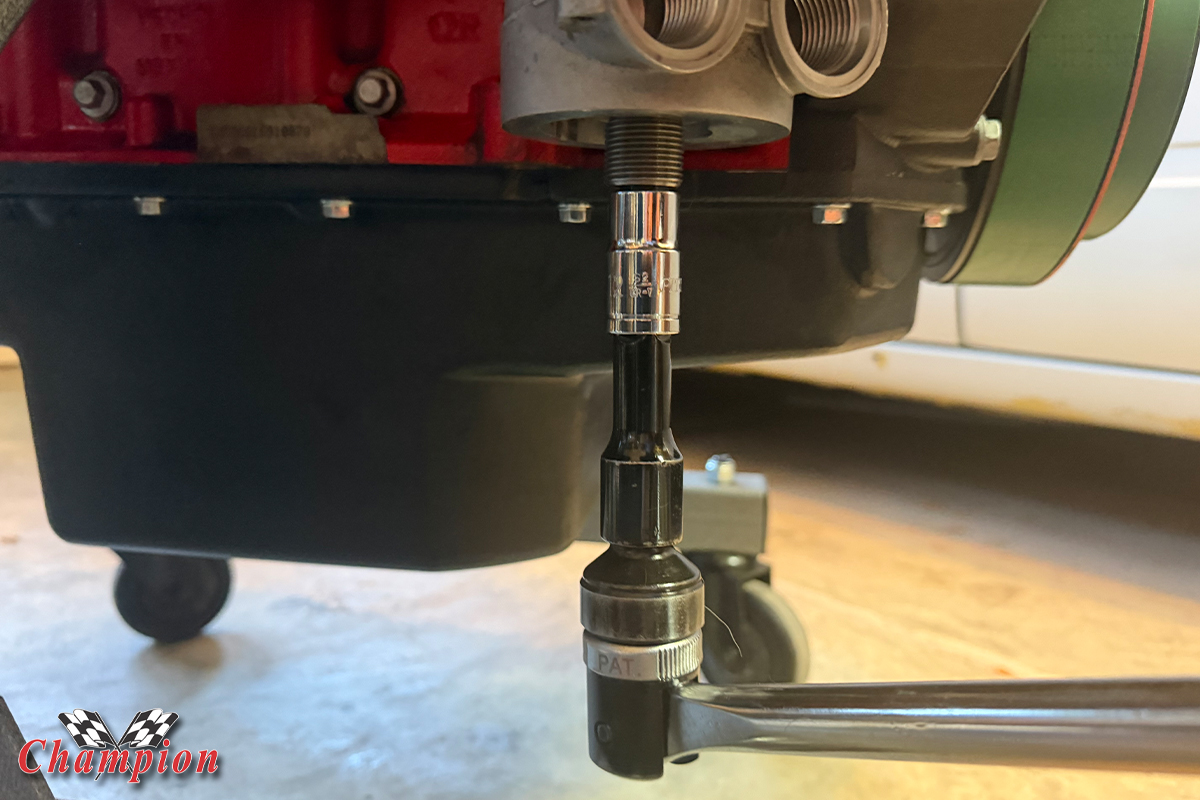
This filter adapter was put on by the factory, and it required a some brute strength to remove the 12mm Allen bolt holding it in place.
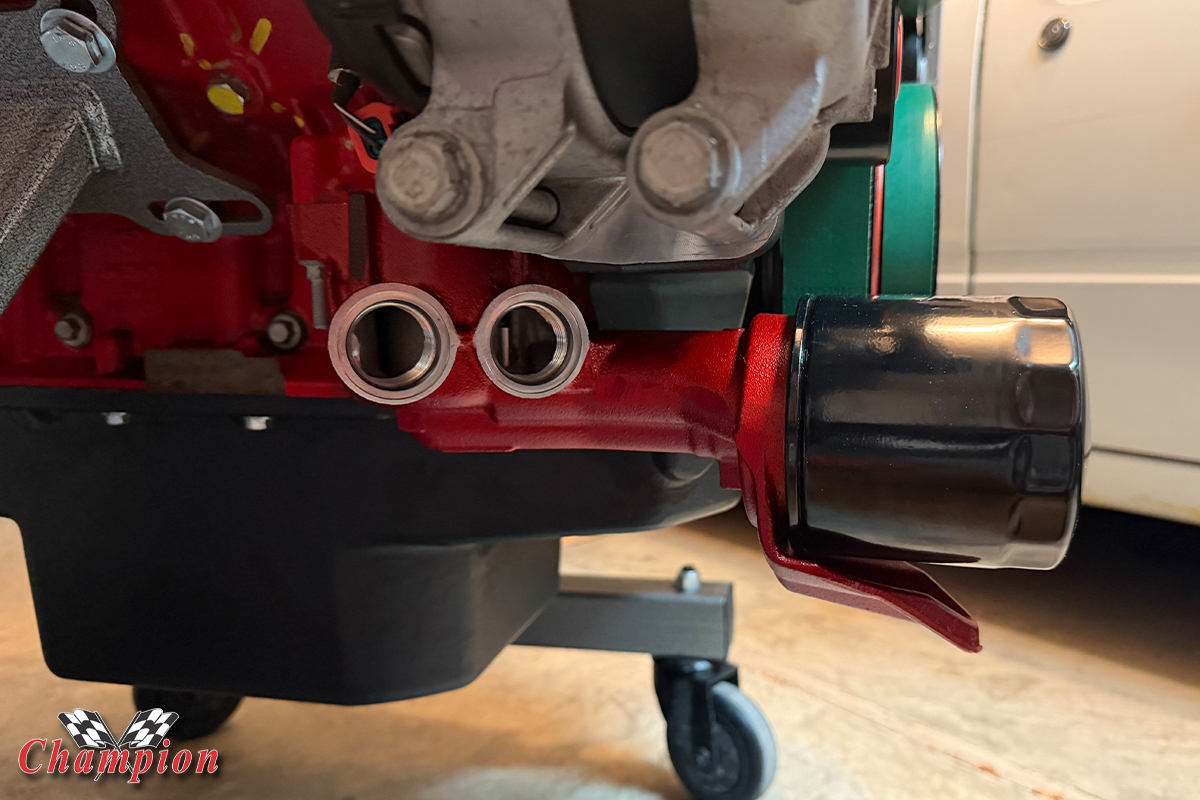
But we’ve already discovered that the filter needs to be mounted elsewhere to clear the rack, so we did some digging and found that Ma Mopar already had a right-angle oil filter adapter for the Gen 3 Hemi in her arsenal. Part # 53011252AD is just that part, and it was great to see that there were no modifications or alterations necessary for this part to be mounted in place.
Removal of the OE filter mount wasn’t a big deal, but it did require a trip to our local Harbor Freight to purchase one of those tools we’ll probably only use this one time. We needed a 12mm Allen socket to remove it, and though it’s available on Amazon for just a few bucks, it seemed more reasonable to buy a set from Harbor Freight during one of their parking lot sales for the price of two Allen sockets, and get 8 more. Now we have a few extra metric sizes in case we need them.
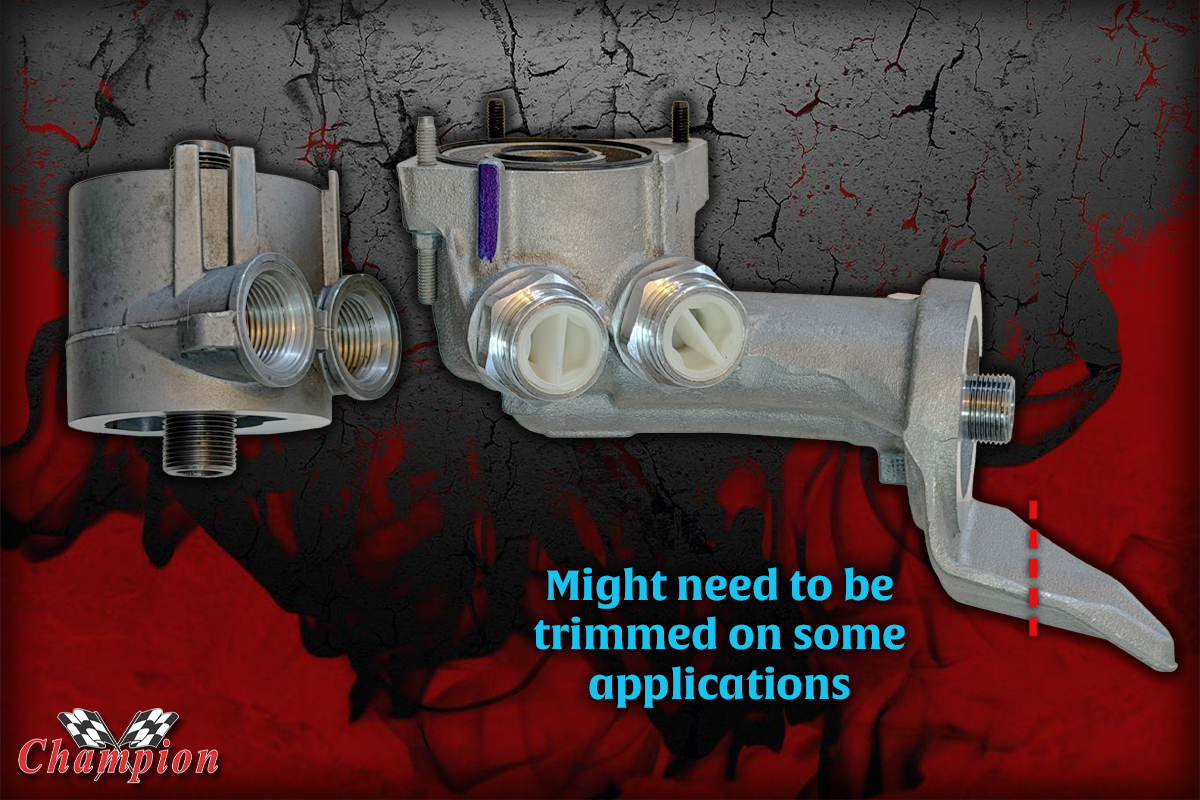
While searching for a right-angle filter adapter, we stumbled on a YouTube video where the car owner performing a Gen 3 Hemi swap stated that he had to trim part of the adapter for clearance. This started us down a path of thinking we might have the same issue with the Hellvedere. But another query to our Hellcat Swap group and we were rest assured that it isn’t a problem with every swap using this adapter.
Those who have maintained the OE suspension, or upgrading to tubular control arms on the factory K-member, said they didn’t have any issues with clearance. That led to burrowing deeper down the rabbit hole to see where the problem was with the one video we watched. It was then discovered that it wasn’t the classic Mopar that was the issue, rather, it was the suspension kit he had installed.
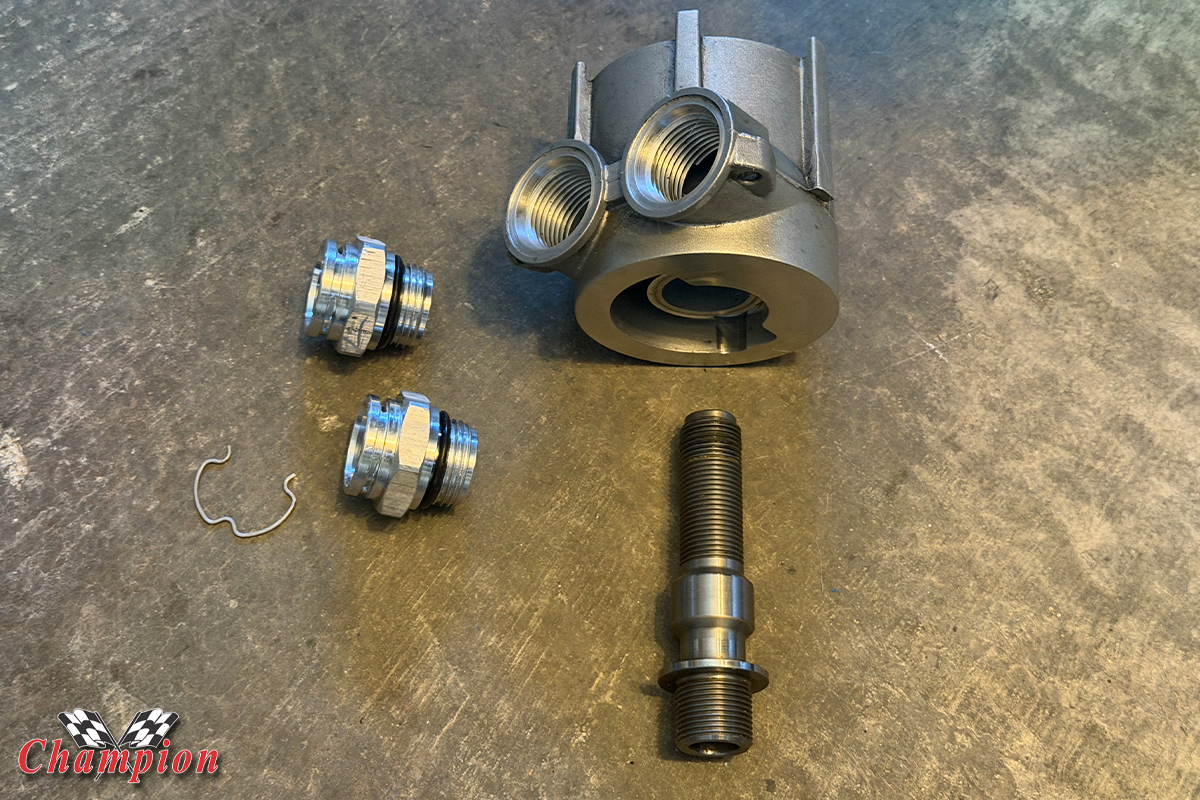
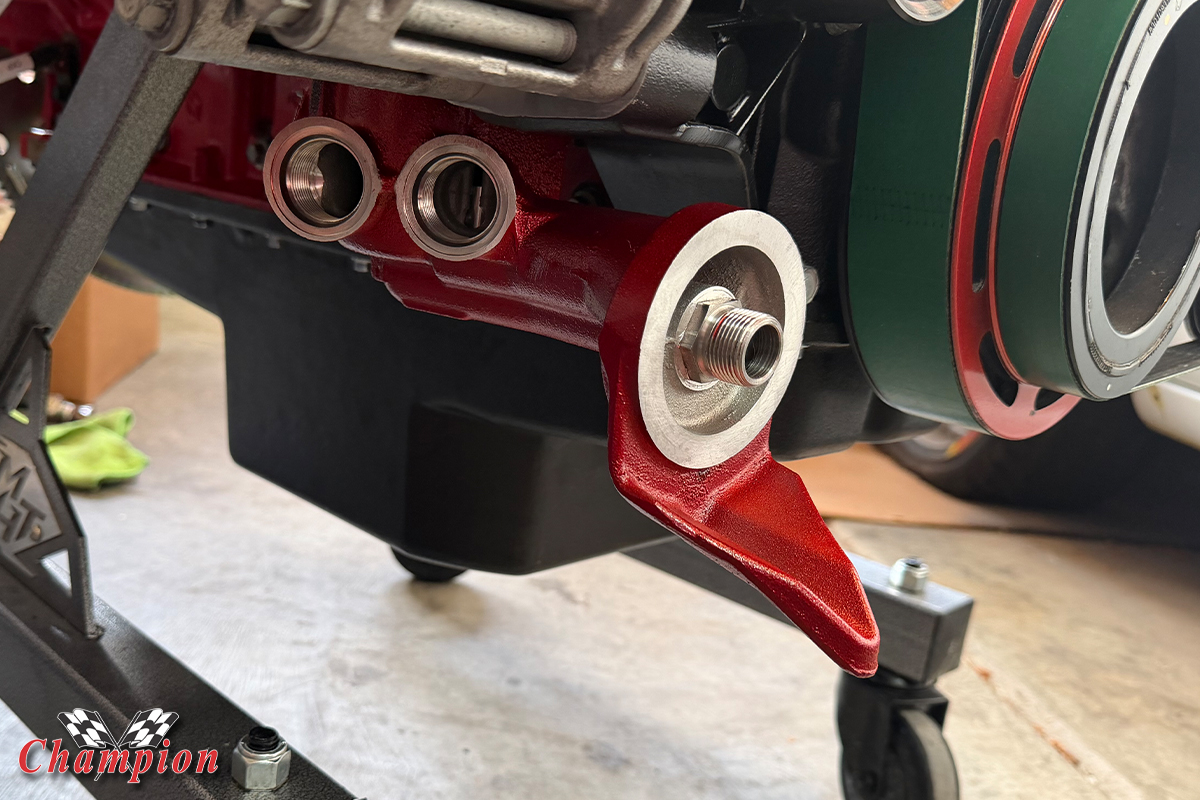
That bolt in the center was put in pretty tight; it was a huge contrast to the three 8mm bolts that are used to install the right-angle filter adapter. We decided to add a little paint to it while we were at it.
The new adapter has the two ports for the oil cooler, and mounts the filter in a position that will be easier to access for changing. We found out that in the aforementioned video, it was the lower lip on the adapter that was the issue. That lip is primarily for oil to drain away from components when the filter is removed, and it was hitting the sway bar in his suspension kit. Trimming that part of the adapter won’t cause any problems, but it might make a mess if you don’t use something to divert the flow of oil when removing the filter.
We collected a few photos of different suspension kits, and found that the Reilly Motorsports ‘AlterKtion’ kit – which the YouTube had installed – was the culprit. Again, it was solvable, but after looking at other kits we found that it shouldn’t be an issue. The AlterKtion kit mounts the sway bar a bit higher than the others, so if that’s the suspension kit you are using, be sure to do some test fitting before dropping the engine into place.
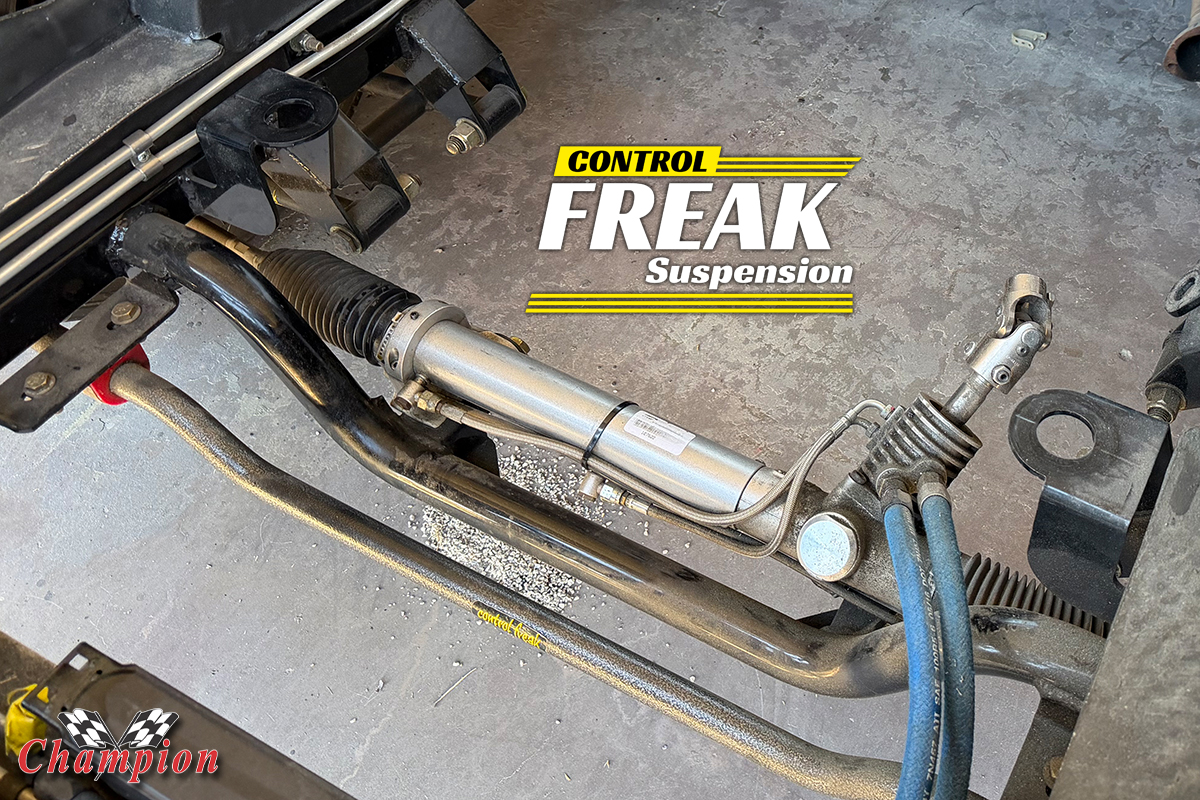
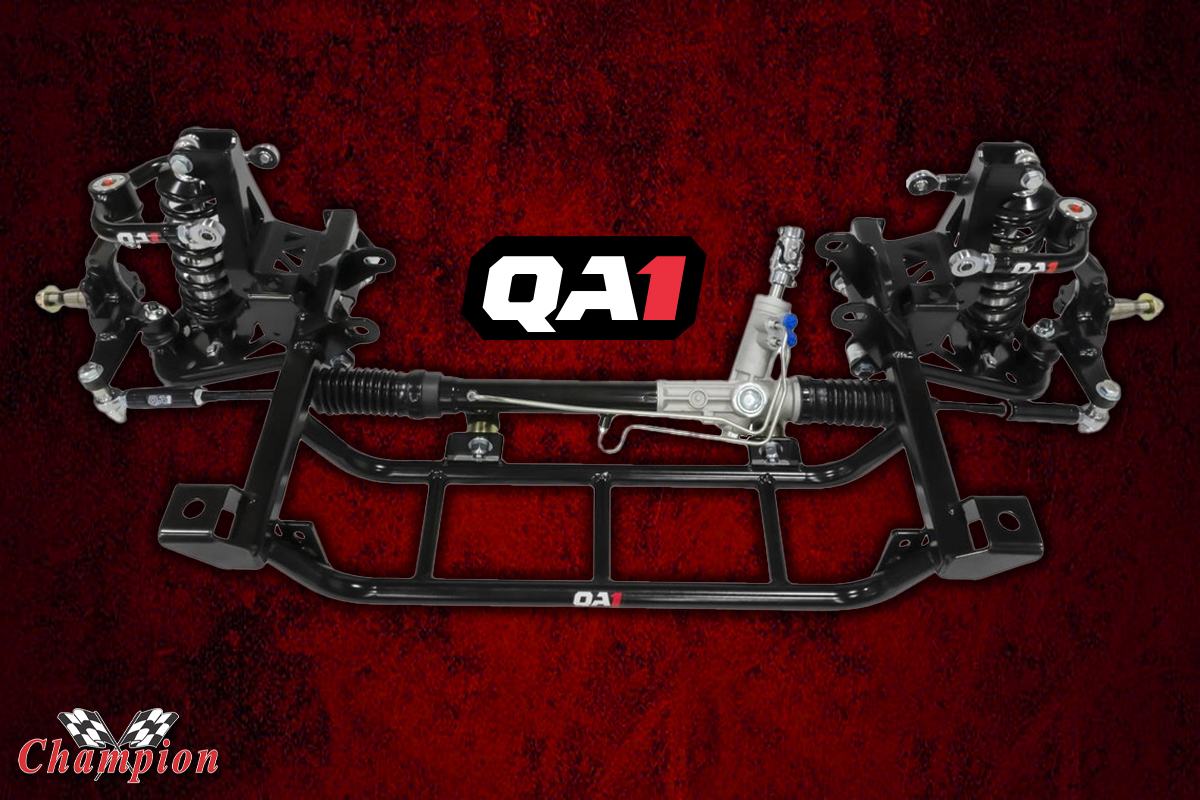
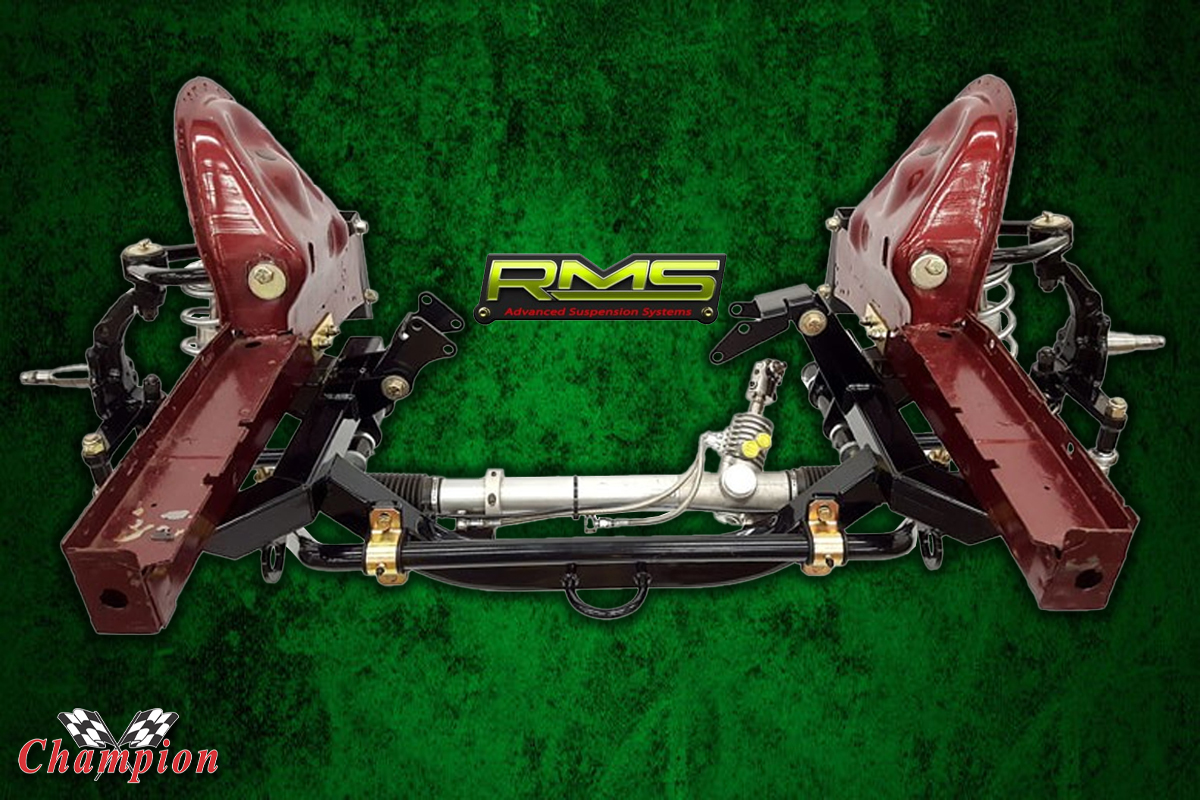
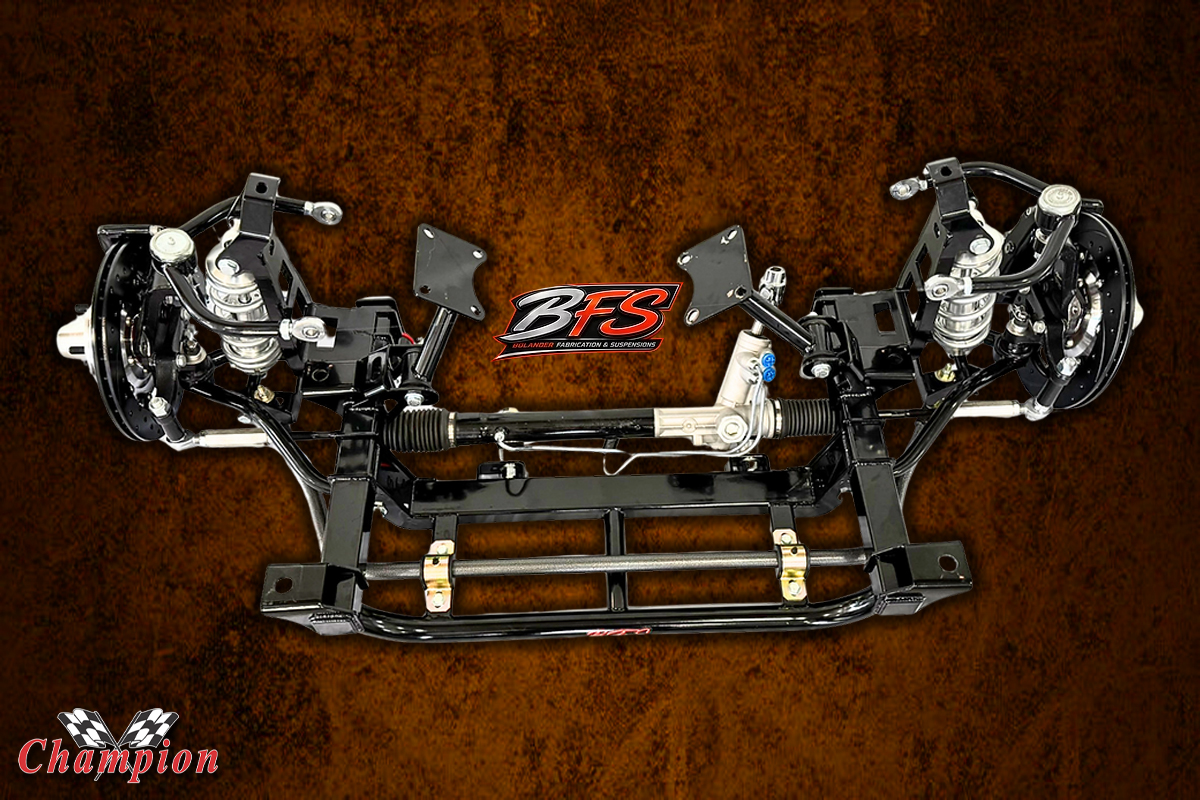
We installed our Control Freak Suspension years before the decision to do a Hellcat swap, and fortunately, trimming the adapter was one less thing to worry about. You can see three popular suspension kits here, and where you may or may not have an issue.
As mentioned, trimming the spout may not be required based on the kit that you have installed, or if you are running the original suspension in your car. The kits do vary, depending on the year and body style. So take a look at the kit you have, or plan to install, and note where you may have clearance issues. We were lucky that it was a simple fix and no damage was done; but it doesn’t hurt to have a couple of friends over when lowering the engine for the first time to make sure that the install goes smoothly.
Project Windstorm: Follow the Cat
Control Freak Suspension – The suspension that makes it possible
Getting Catty – Purchasing a Hellcat engine from a wrecked car
Cleaning the Cat – Removing what we don’t need, and cleaning it up
Test Fit Parts – The search for a proper starter
Dakota Digital Part 1 – Installing custom-made gauges
Dakota Digital Part 2 – Mounting the TFT displays
Removing Blower Pulley – Using the right tool, the right way
Metco Motorsports – A pulley set that looks killer
Earl’s Intercooler Manifold – When real estate is at a premium
MSD Coils – Getting the best spark we can get
Holley Oil Pan – Getting the right oil pan
FEAD the Hellcrate – Things you’ll need for the Redeye
Prepping for the Hellcat – Pulling the LA 408 and cleaning up
Creature Comforts – Mocking Up for A/C
Connecting the Dots – The Engine Side Crate Harness
Oil Filter Oops – This Article