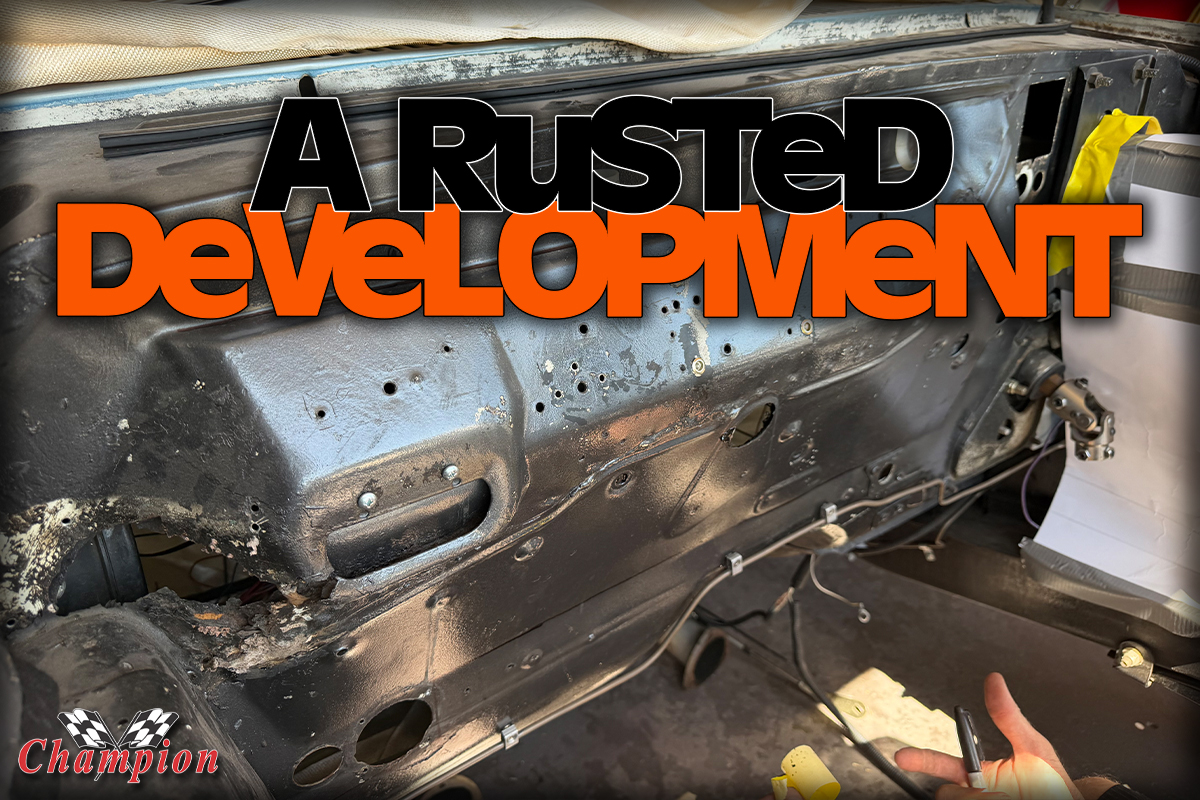
Like most of our projects, the combination of time and elements affects our project in a way that we loathe having to repair. Rust is the one problem with almost any project car that occurs in areas that we don’t often see: like a trunk floor, a front floorboard under the carpet, or for Project Windstorm it was the cowl drain path that went right past the firewall and down to the lower passenger side fender.
It’s been there since the car was purchased in 2001, initially covered up by a mix of tiger rag and Bondo, neither of which stopped the rust or hid it very well. A metal plate was later screwed into place to cover up the hole that led directly into the interior of the car; rainy days were not the best time to drive the car. Hand washing was the only method to clean the car, water hoses were off limits.
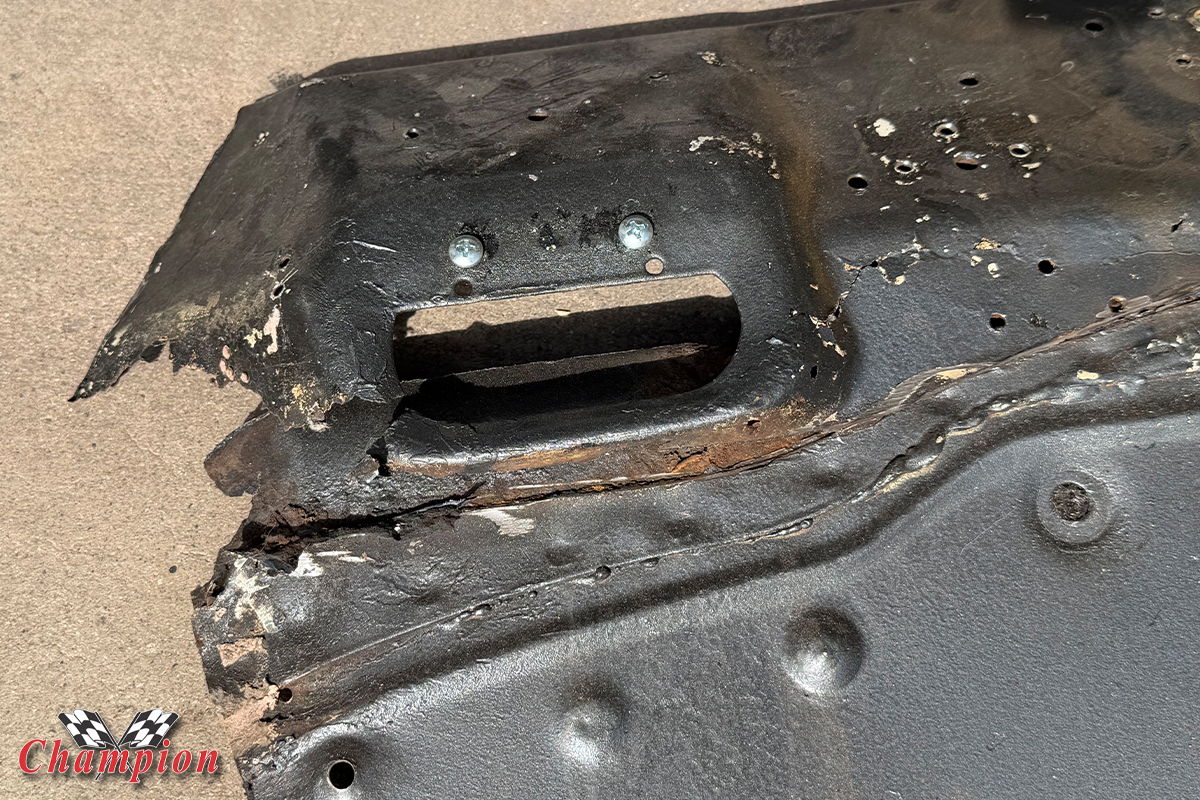
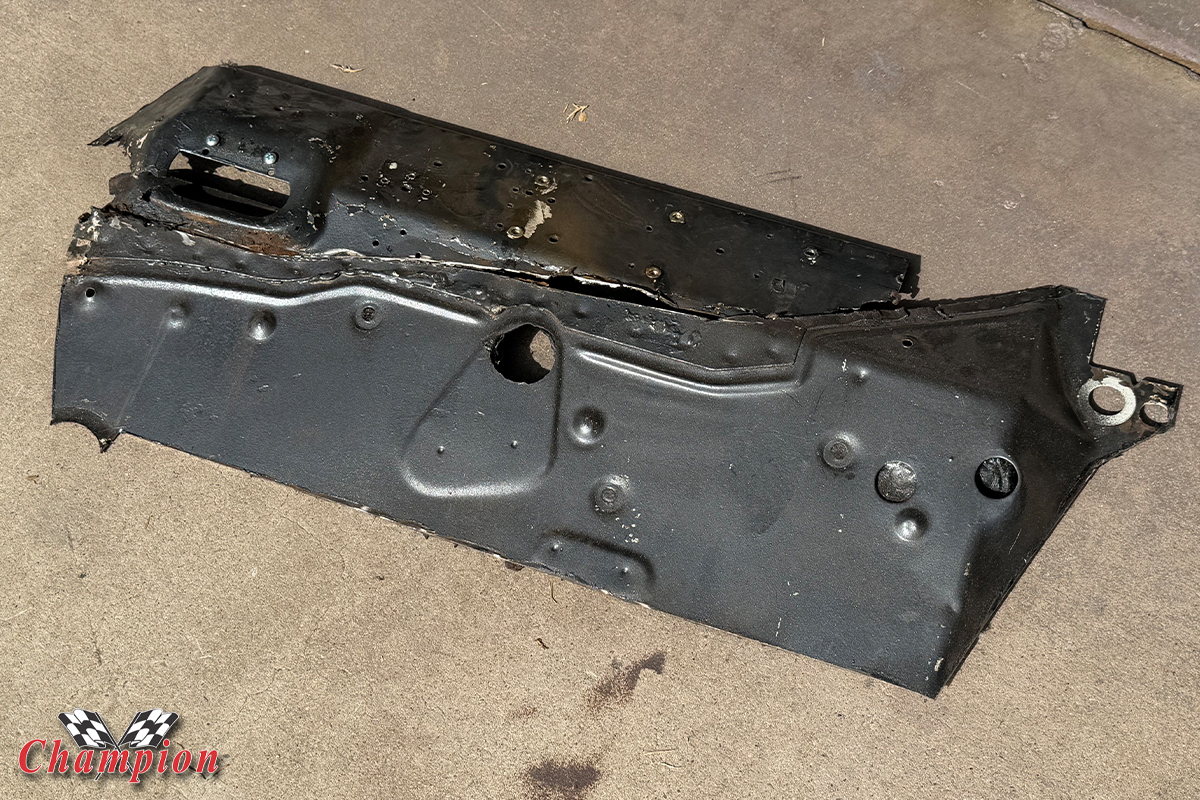
That’s not a happy face, that’s a half a century of neglect staring into the depths of my soul, telling me it’s time to do something about it.
With all of the modifications that have been made, and the desire to remove all of that rust and fix a neglected problem, we enlisted the help of our friend with the BurnDown YouTube channel, Dane Thompson. This area is one of his early specialties: Bodywork and rust repair. He’s a ‘stay at home dad’ of the best sort: he gets to work out of his own garage building cars, and fixing problems, like our rust issue. He says he graduated from the School of Hard Knocks, like many of us, and is mostly self-taught by digging in and getting his hands dirty for the past 15+ years.
It began with something simple: smooth out the firewall, ridding us of that nasty, unnecessary hump, and fixing the rust in the process. Removing that hump gained a couple of inches of real estate behind the engine. While it seemed to be a straightforward task, it wasn’t without its own bucket of surprises. However, Dane took his time and planned it out, as always, and found a great solution to a little dilemma that could have forced going in a different direction entirely.
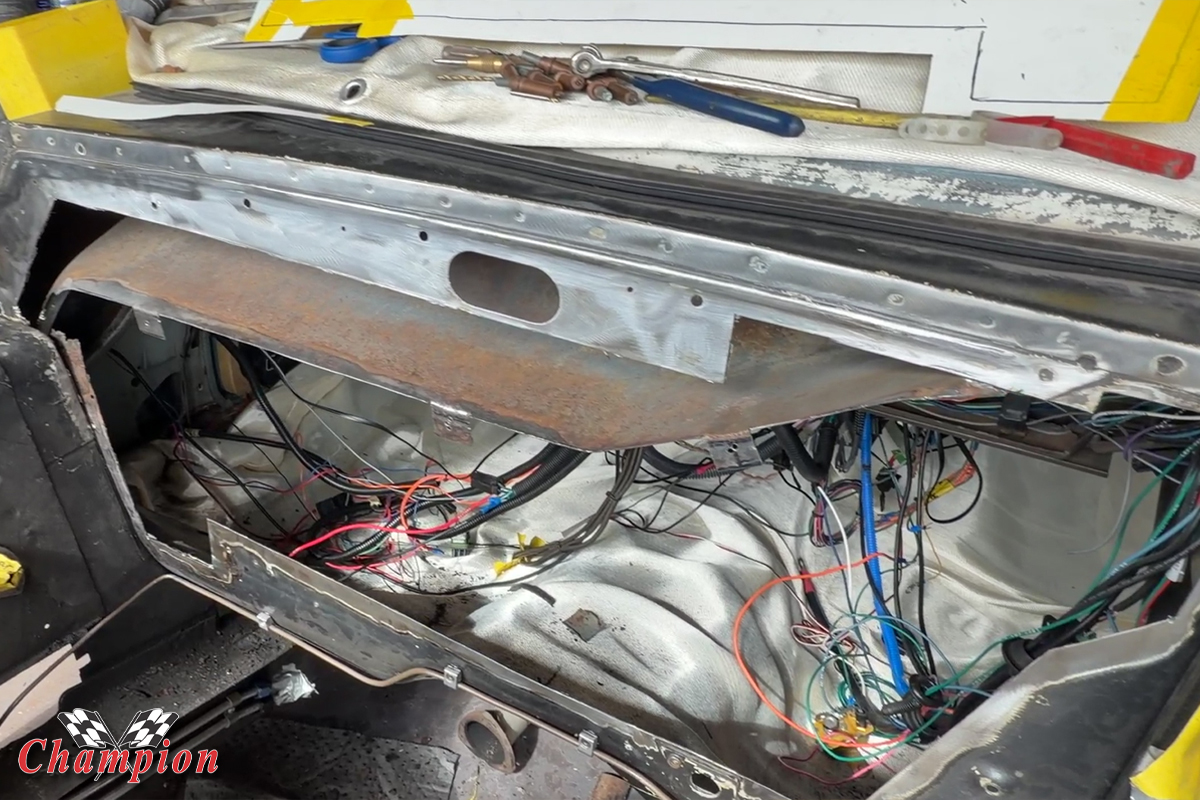
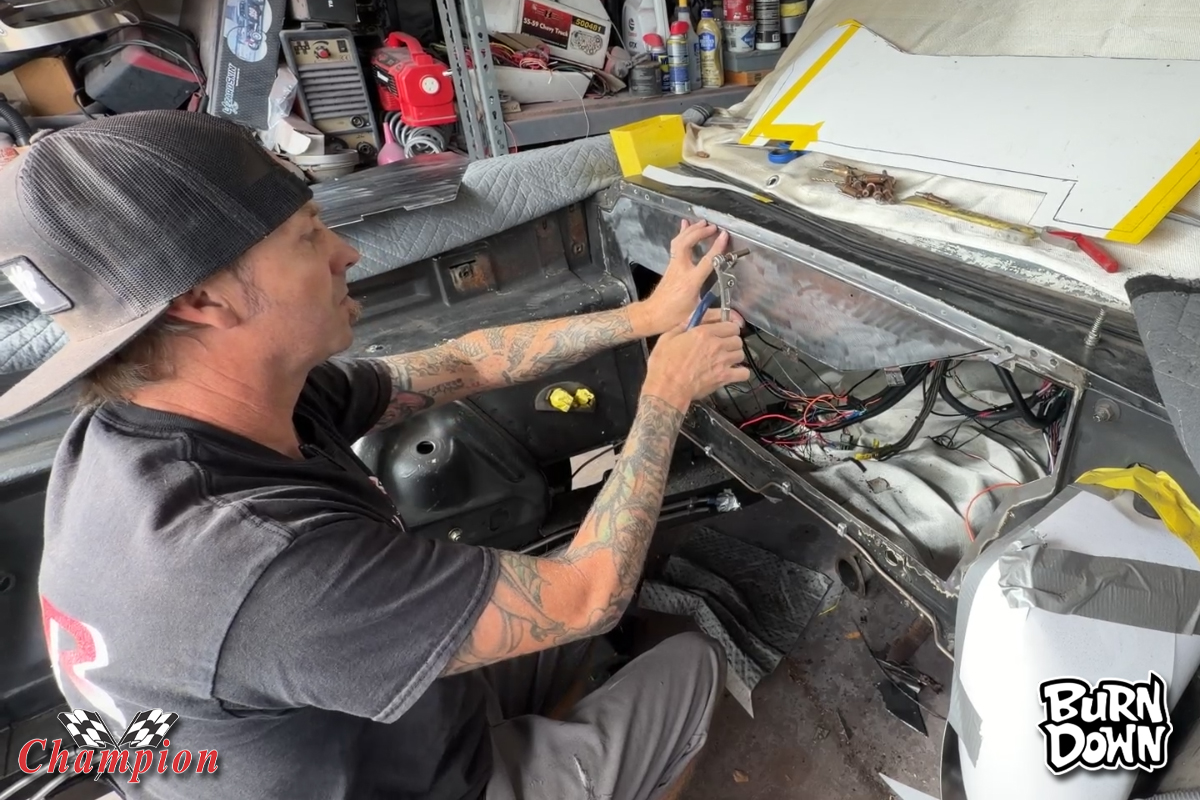
The bulge in the firewall made room for the OE heater, which was rather bulky. Dane utilized that division panel as a means for attaching the upper and lower firewall panels, and it worked out brilliantly.
As Dane began his cut, he noted that particularly odd separation across the firewall, and realized that it was the division panel that separated the elements above and the interior below. It was also the passage for rainwater to collect and drain off to the passenger side, and out through the lower cowl. And by default that became the reason for this entire project.
Since the divider panel extended beyond the plane that the new, flat firewall would reside, he made his cut adding three tabs, which he folded down. He also cut the divider panel slightly beyond the plane of the new firewall; he planned to use that extra sheetmetal as a support for the upper and lower panels that were cut. Those tabs provided him a perfect place for the Clecos he used to hold the panels in place.
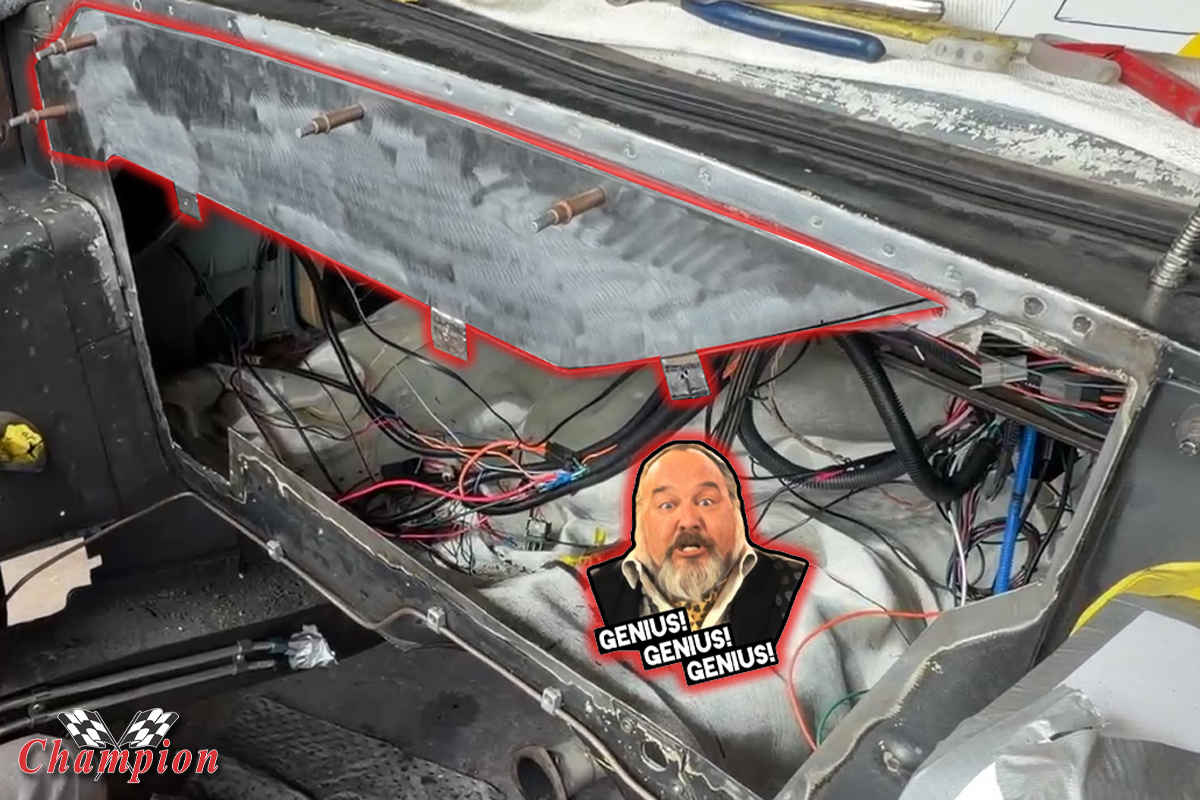
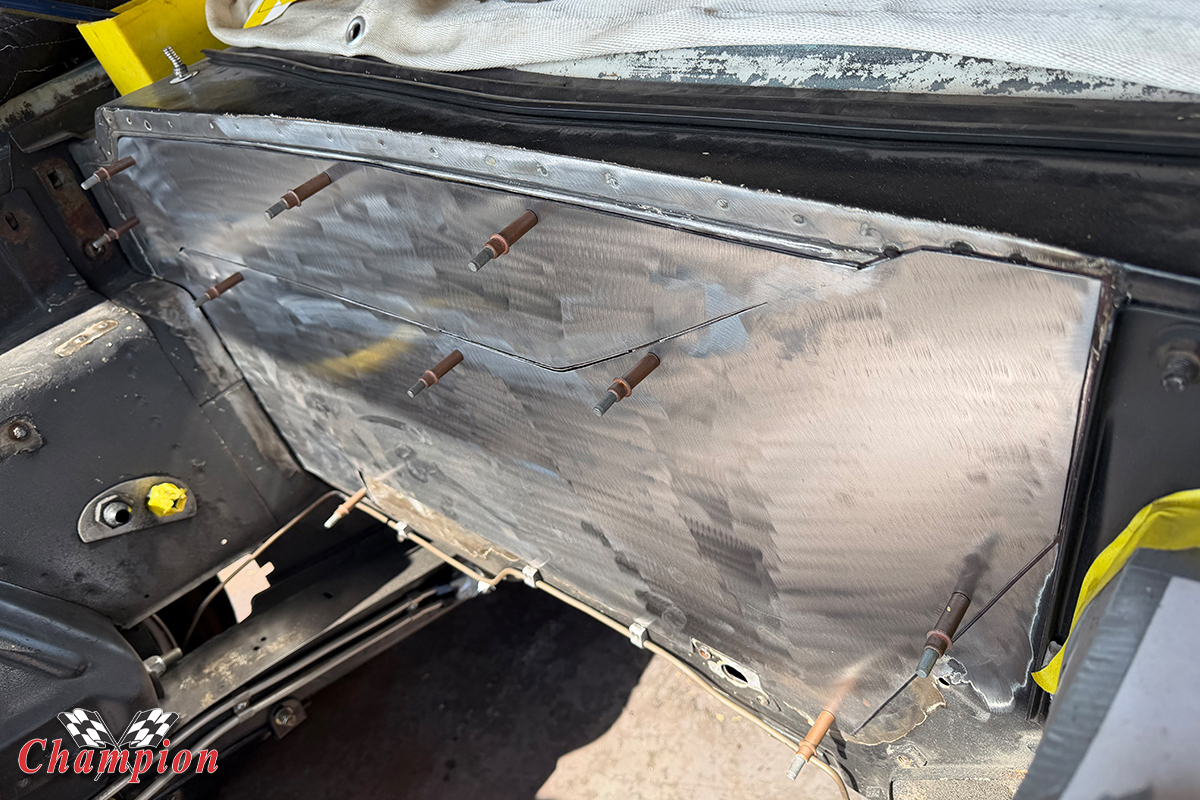
This is what planning ahead looks like, or as we often refer to it: measure twice, cut once. Had Dane gone all Willy-Nilly and started cutting without planning ahead, it would have resulted in one of those 20/20 hindsight moments.
Dane also cut the existing firewall being mindful of where he would be able to weld the new, flat firewall into place. The plan was simple: leave enough material to drill holes for the Cleco fasteners during the many times these new panels would be removed and reinstalled. You can see in the first image How those tabs are beneficial in supporting the larger lower panel in place.
Each of these two panels were cut slightly larger than the opening. Once all final adjustments were made, the panels were fastened to the firewall and a single cut was made with a thin cutting blade. This cut through both the new and the OE panels provided an easier means for butt-welding the panels into place. Of course, there were other reasons for using the Clecos as temporary fasteners, however.
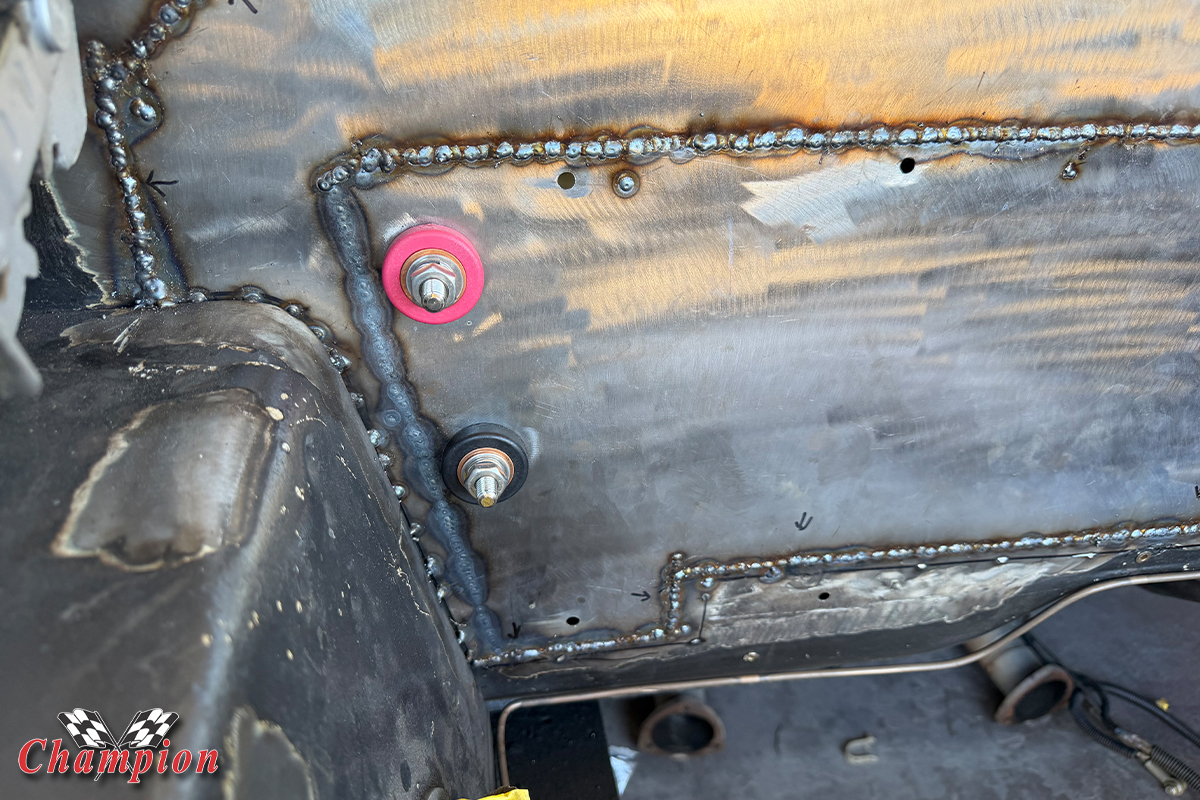
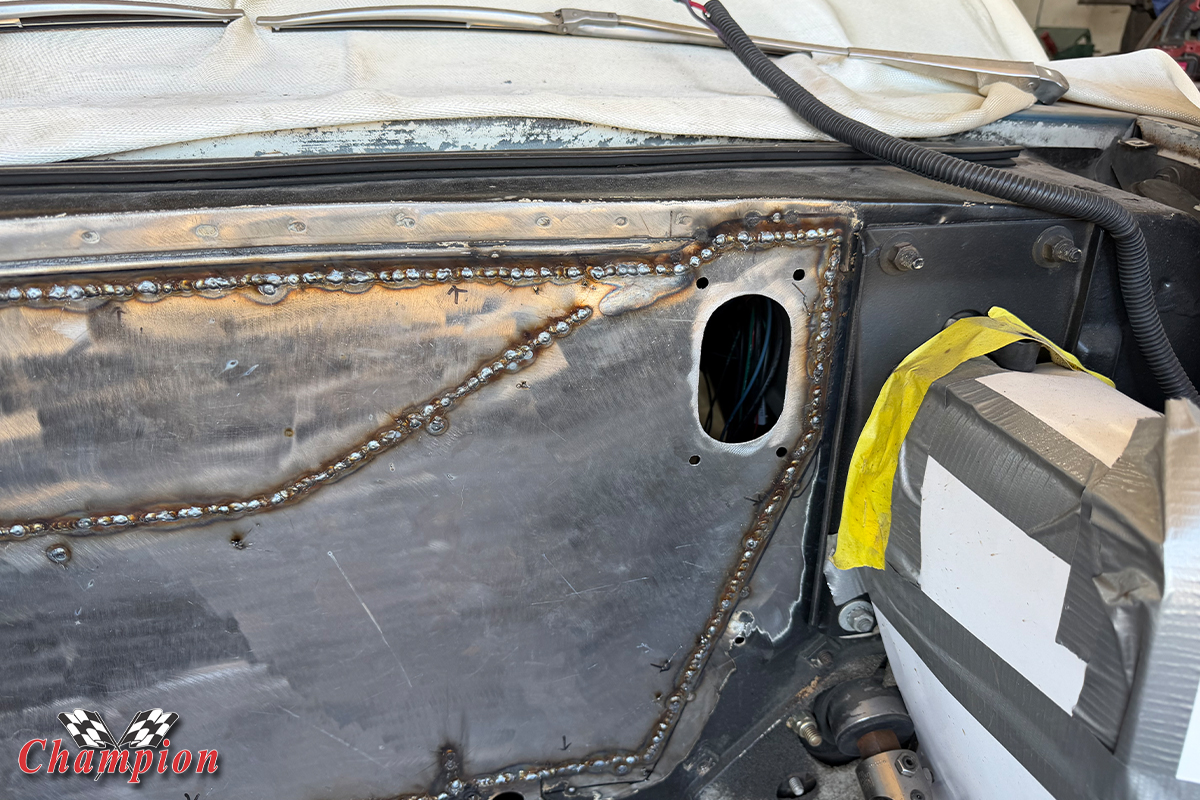
Since the battery is mounted in the trunk, we needed a couple of passthrough connections for the positive and negative terminals, as well as the mounting for the main harness passthrough.
One of the main benefits for mounting the firewall temporarily is to plan out components that will mount to the firewall or near it, like the Vintage Air Magnum and power and ground lugs. It allowed us to see inside and outside of the firewall at the same time to make sure that there is no interference with other components, or wiring. The same held true for the main passthrough for the engine and the transmission harnesses on the driver’s side above the steering column.
Once the panel was stitch welded into place, Dane hit it with a grinder to smooth everything out. You can see where the middle seam is stitched up, that divider shelf created a strong enough support for the firewall that there really wasn’t a need for rolling a few beads in the panels for rigidity. Since it also runs all the way across the firewall, it created a solid foundation to mount the A/C unit.
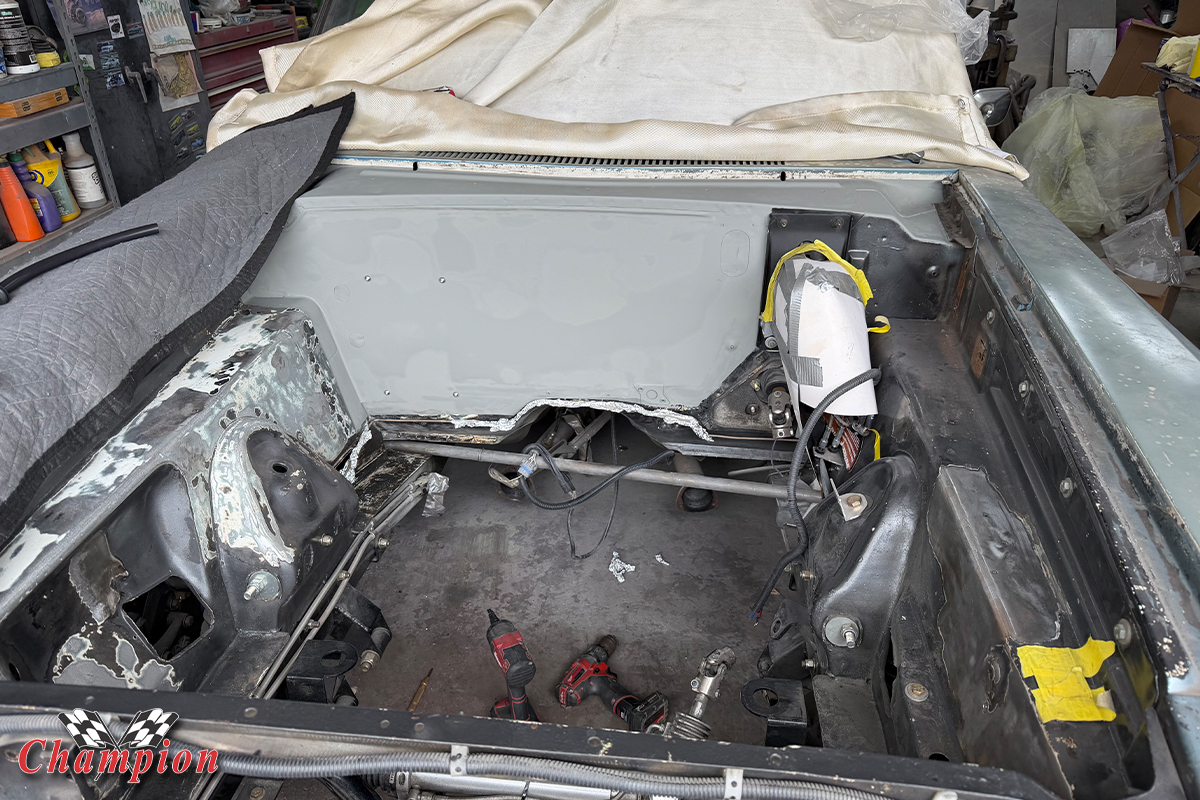
With the firewall completed and laid up in primer, the next plan of attack was the dreaded cleanup of the fender aprons. The prior owner had sprayed some sort of gunk throughout the engine compartment, and that was rattle-canned to hide the nastiness of it all. That left a mess behind, and added to that mess were the remnants of many years of upgrades and updates. This left the fender aprons looking more like a “No Trespassing” sign at the edge of the woods in a remote area: full of holes.
Dane did a great job with the cleanup, and though we’re not aiming for trophy status with this build, we did want to provide a proper place for the Hellcat Redeye to live. After all, how can you drop an engine that nice into a rusty, cruddy engine bay and still feel good about it when you pop the hood? We weren’t aiming for Prime rib, but we weren’t going to settle for beef jerky, either. Mission accomplished.
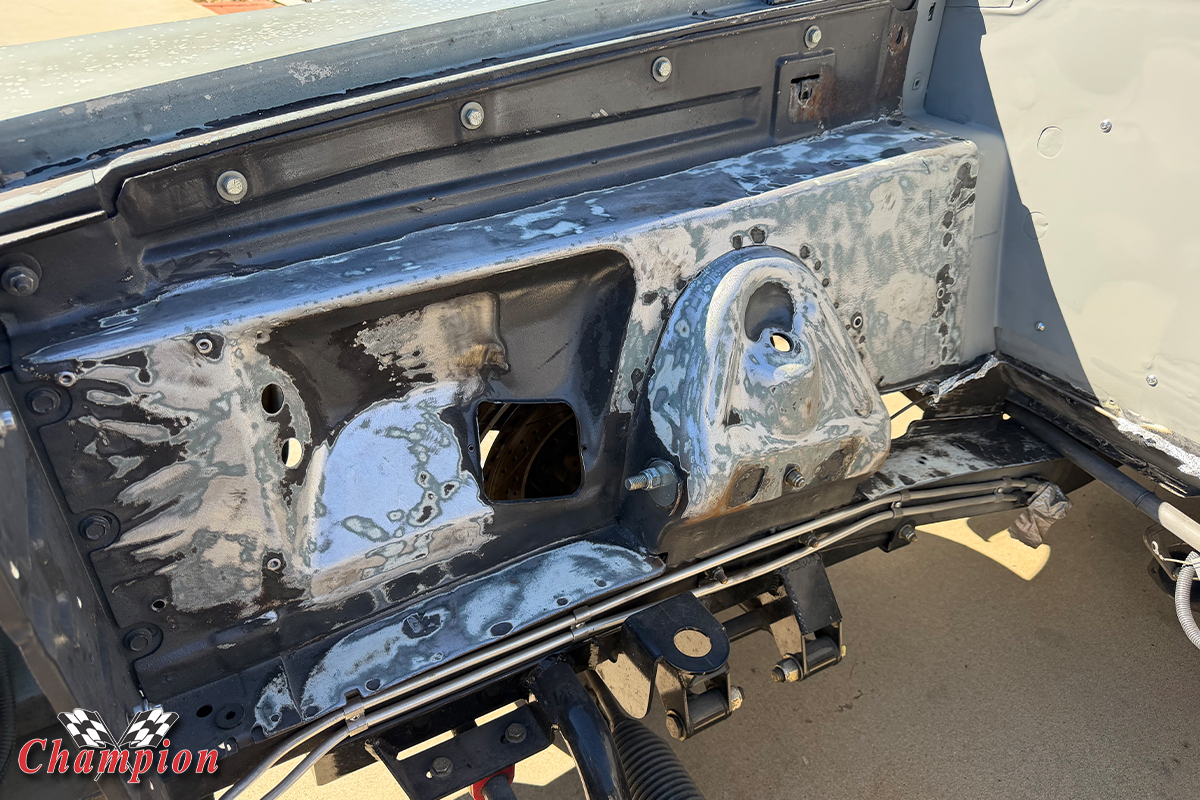
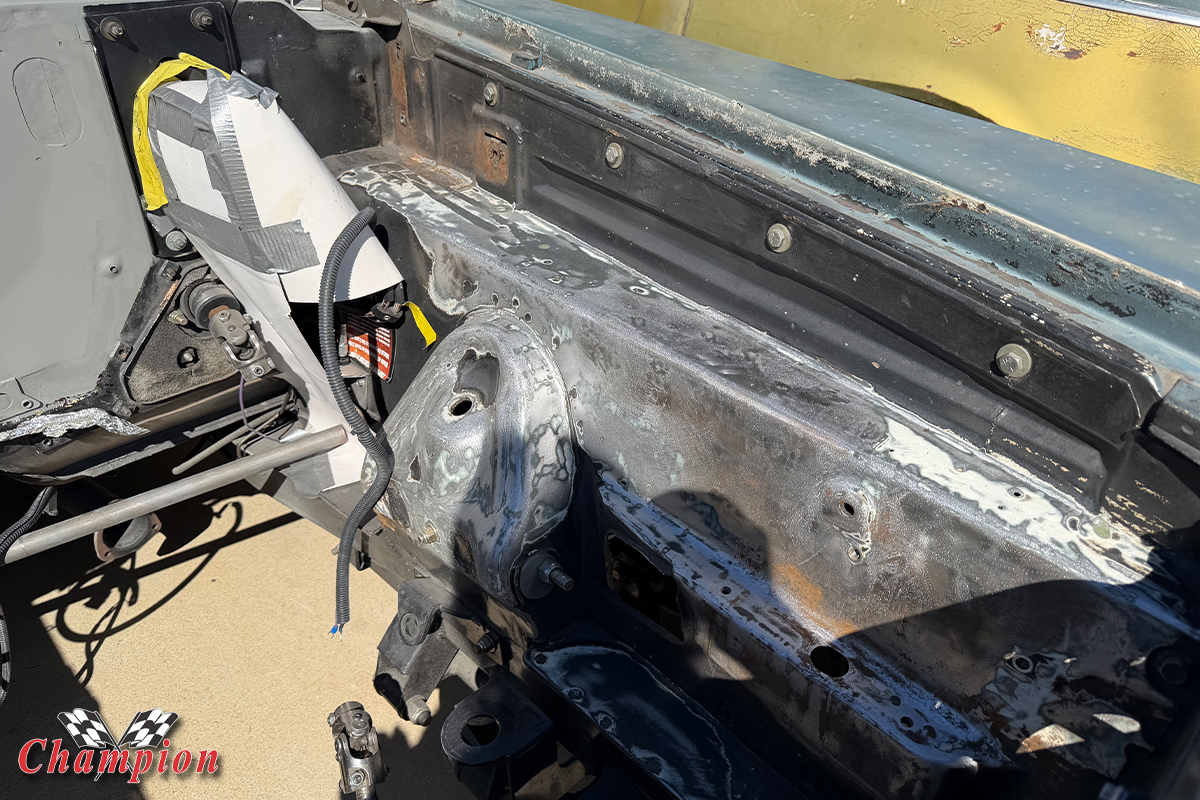
A lot of grinding pads were sacrificed for this cleanup, but it came out very nice. We could have opted for perfection, but this car is a driver, not a trophy hound. We wanted it nice, not perfect.
The fender aprons were a bit tattered; lots of screw holes from mounting components over the years were not going to be utilized for this episode of the build, so Dane went to town welding up all the small holes and grinding them down. We didn’t expect him to take it as far as he did, but he looked at it and figured, “This will have my name on it, I want it to look better.” That’s something we can truly appreciate; as he mentioned to us, “The work I do is what I would want on my own car, so I’m not going to cut corners because I wouldn’t do that on my own car.”
While his original goal was to master every aspect of auto building and open his own shop, that dream was overshadowed when he became a father, and his plans changed overnight. These days, he’s in his garage working on one project at a time, which allows him to make ends meet and be there for his family.
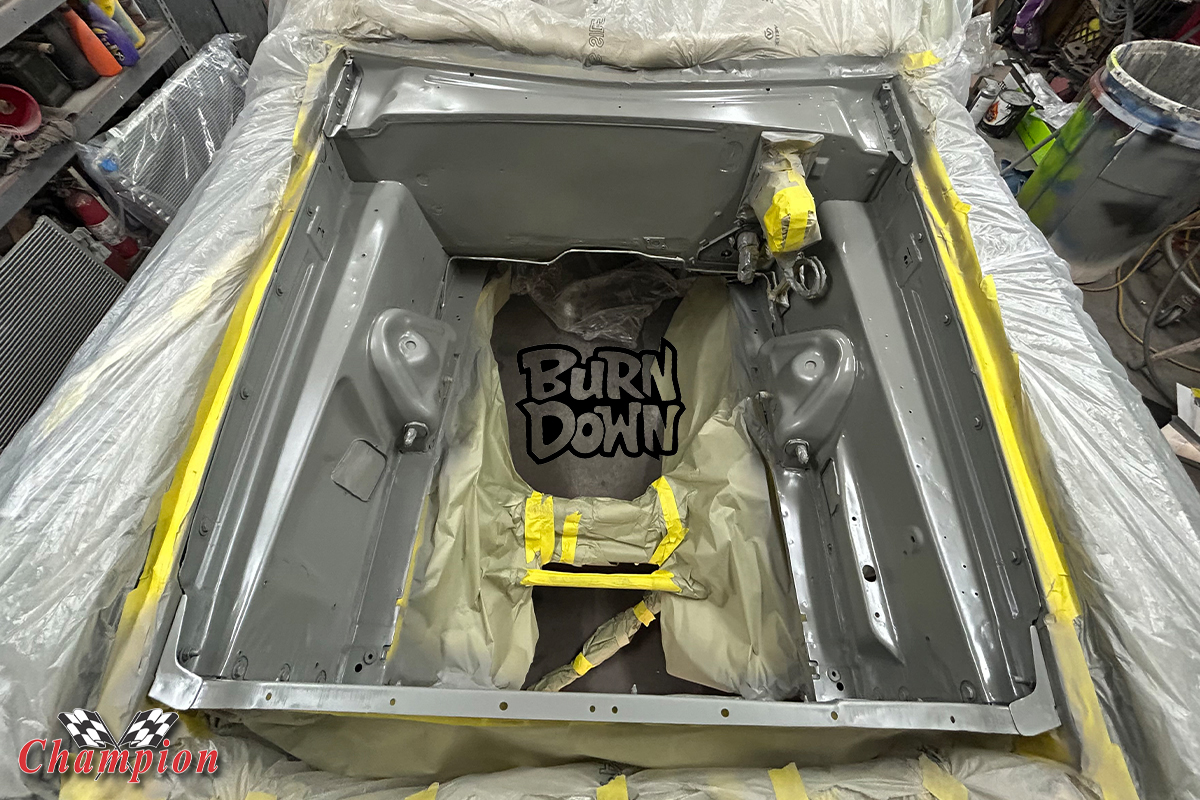
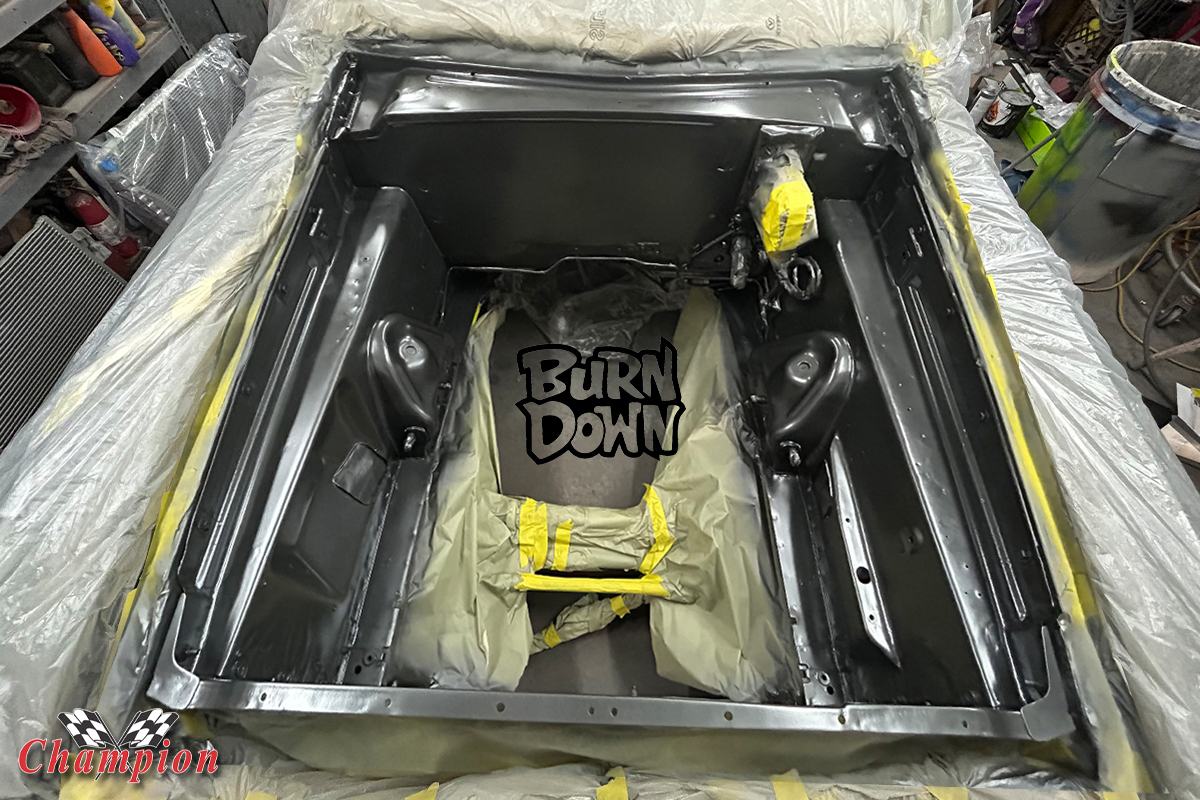
After masking off the rest of the car and hitting the engine bay with a solid coat of ceramic primer, he then covered it all up with our paint of choice: Rustoleum Hammered Matte Black.
Throughout this build, Dane’s work has been exceptional, one of the few car guys you’ll ever find who treats your build as he would treat his own. He definitely went above and beyond, and takes pride in his work. We just hope once the Hellcat Redeye is installed and running, he will remember to relinquish that feeling of ownership back to us.
If you check out Dane’s YouTube channel, you’ll find one of his other passions: drag-and-drive racing. He has frequented Rocky Mountain Race Week, where he’s been able to be competitive building his own car, and doing so on a budget. Look for a feature of his Maliboom Chevrolet in the Cool Rides section of our blog real soon.
Project Windstorm: Follow the Cat
Control Freak Suspension – The suspension that makes it possible
Getting Catty – Purchasing a Hellcat engine from a wrecked car
Cleaning the Cat – Removing what we don’t need, and cleaning it up
Test Fit Parts – The search for a proper starter
Dakota Digital Part 1 – Installing custom-made gauges
Dakota Digital Part 2 – Mounting the TFT displays
Removing Blower Pulley – Using the right tool, the right way
Metco Motorsports – A pulley set that looks killer
Earl’s Intercooler Manifold – When real estate is at a premium
MSD Coils – Getting the best spark we can get
Holley Oil Pan – Getting the right oil pan
FEAD the Hellcrate – Things you’ll need for the Redeye
Prepping for the Hellcat – Pulling the LA 408 and cleaning up
Creature Comforts – Mocking Up for A/C
Connecting the Dots – The Engine Side Crate Harness
Oil Filter Oops – The Big Oops!
A Rusted Development – This article