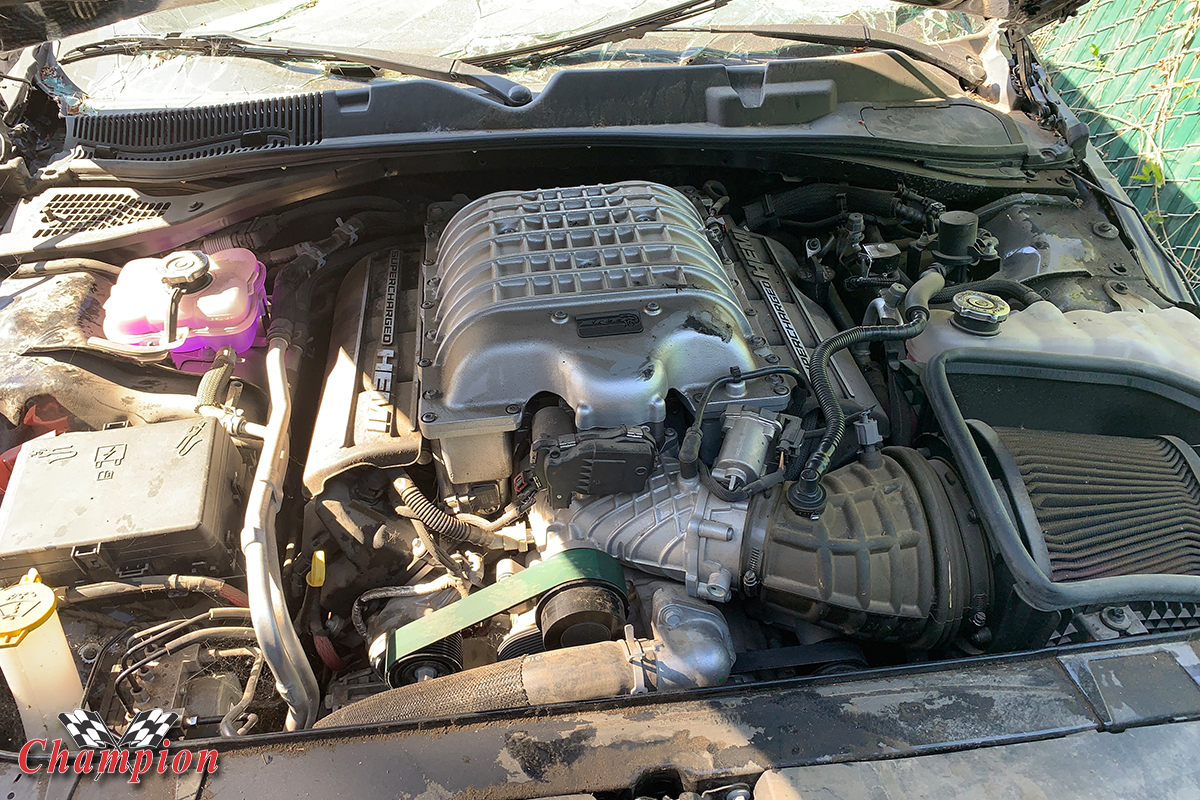
The pursuit of happiness is often met with obstacles along the way. For a gearhead like myself, those obstacles could be a number of things: money, time, space, or relying on others. Such was the case for this Hellcat Redeye: I bought the drivetrain and paid up front; the agreement was that the shop that sold it to me would remove the engine and transmission, all underhood components, and a few other parts that I wanted to collect.
Since the parts I paid for were still wrapped in a mangled 2019 Dodge Challenger body, it wasn’t unreasonable to make such an agreement because moving the car was difficult. Unfortunately, the shop took advantage of our so-called ‘friendship’ and took a couple of years before disassembling the car. That was the first obstacle I had to deal with; there was little I could do about his procrastination. Despite my pleas and reminding him that I already paid for it, and have it all in writing, at was at his mercy.
After several months, it was starting to hit a nerve, and I was wondering if I had bitten off more than I could chew. It’s new territory for me to swap such a modern mill into a classic Plymouth, and I quite literally didn’t have all the space and tools to complete what I was aiming for with this engine swap, let alone to pull the engine myself from the wrecked car; hence, our agreement.
The goal, prior to stabbing the kitty into the Mopar, was to clean up the engine bay and try to erase – or just hide – a multitude of sins from years gone by. In other words, while I wasn’t aiming for show car status, I did want the car to be at lease presentable and worthy of the engine that was going to occupy that space. That meant finding a worthy partner to take care of some of the issues that were above my pay grade.
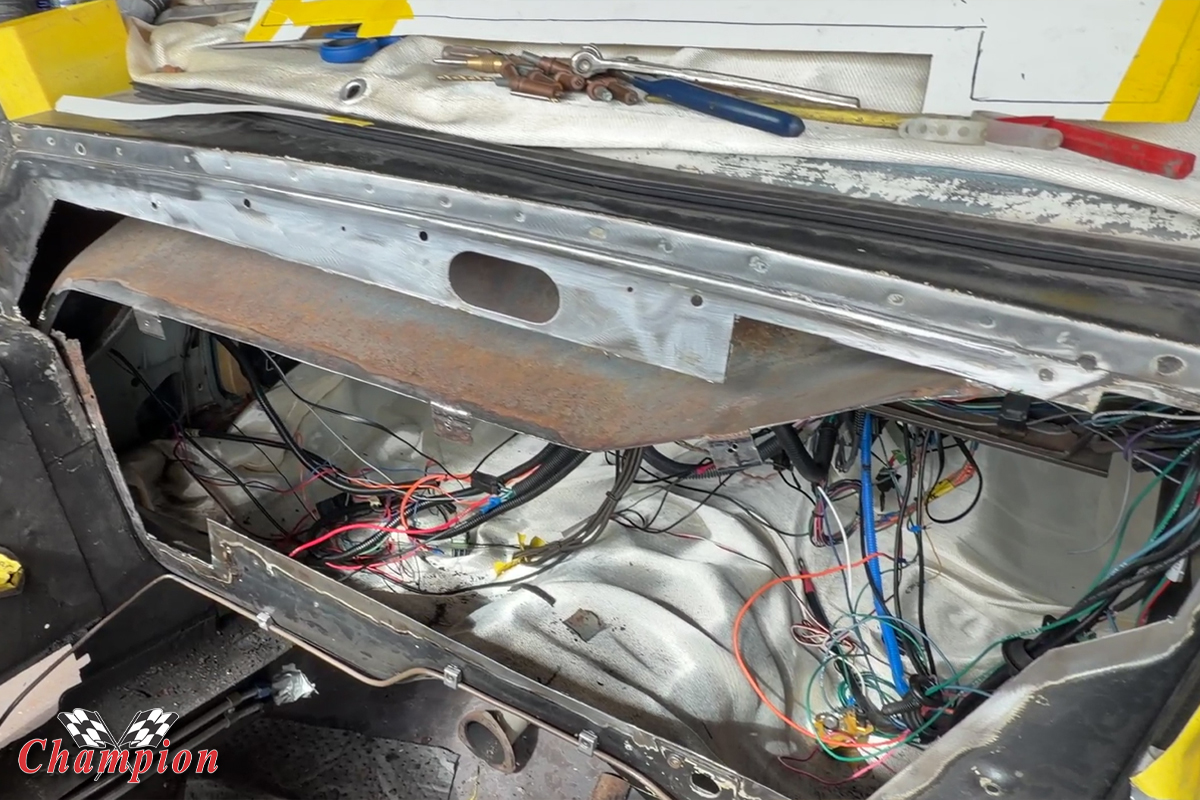
As was mentioned in a previous article, installing a modern engine often means quadrupling the amount of electrical wiring, plus the addition of modules, computers, and the need for locating them somewhere safe and tidy in the engine bay. It’s one thing to plan out the electrical and where to mount things like the PCM and other modules in a wide open engine bay. But we knew that in order to do so properly, the engine needed to be lowered into place in order to execute that plan.
Belonging to a Hellcat Swap group on Facebook has been a huge benefit; not only are there members who have already done the swap, but also those who are solving some of the issues that arise as they progress, and sharing it with the rest of the group. Then we get to share what we’ve learned, what we’ve done, and how we achieved it with those who are just embarking on such a swap. It’s literally the cycle of life for a gearhead.
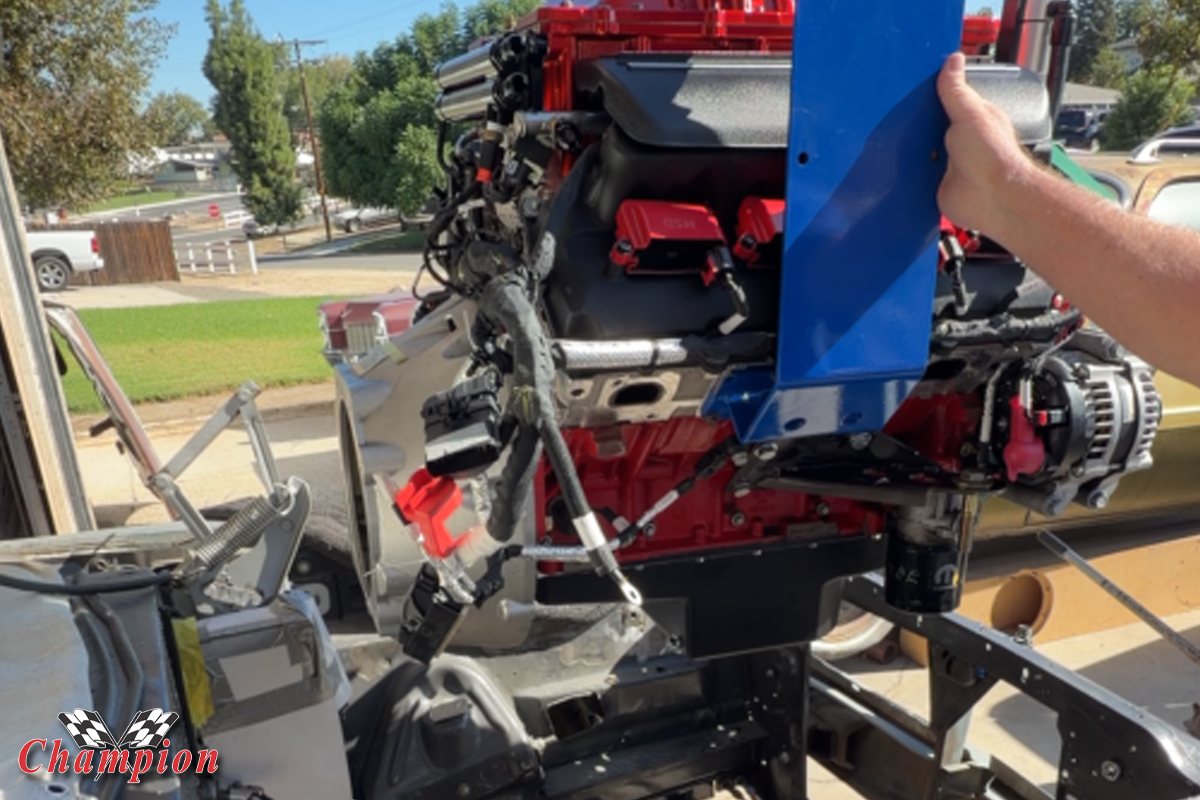
When approaching the task of where to mount components in the engine bay, it helps to have the engine in place so that you know how much room you have, and how much you don’t have. It’s also a way to determine if you might have planned to install something a little too close to a heat source, like the headers. We also wanted to see how well everything would fit when the engine is resting on the engine mounts.
For our Belvedere, we were pretty certain that notching the frame rails to make room for the low-mounted alternator wasn’t a requirement. We were also informed that the A/C compressor, also mounted low on the engine, was not going to interfere with anything. This is not the case for the E-body cars, like the Challenger and the ‘Cuda. After seeing a Challenger at an event with a Gen 3 Hemi swap, it did concern me a little, but lowering the engine in place resolved those concerns.
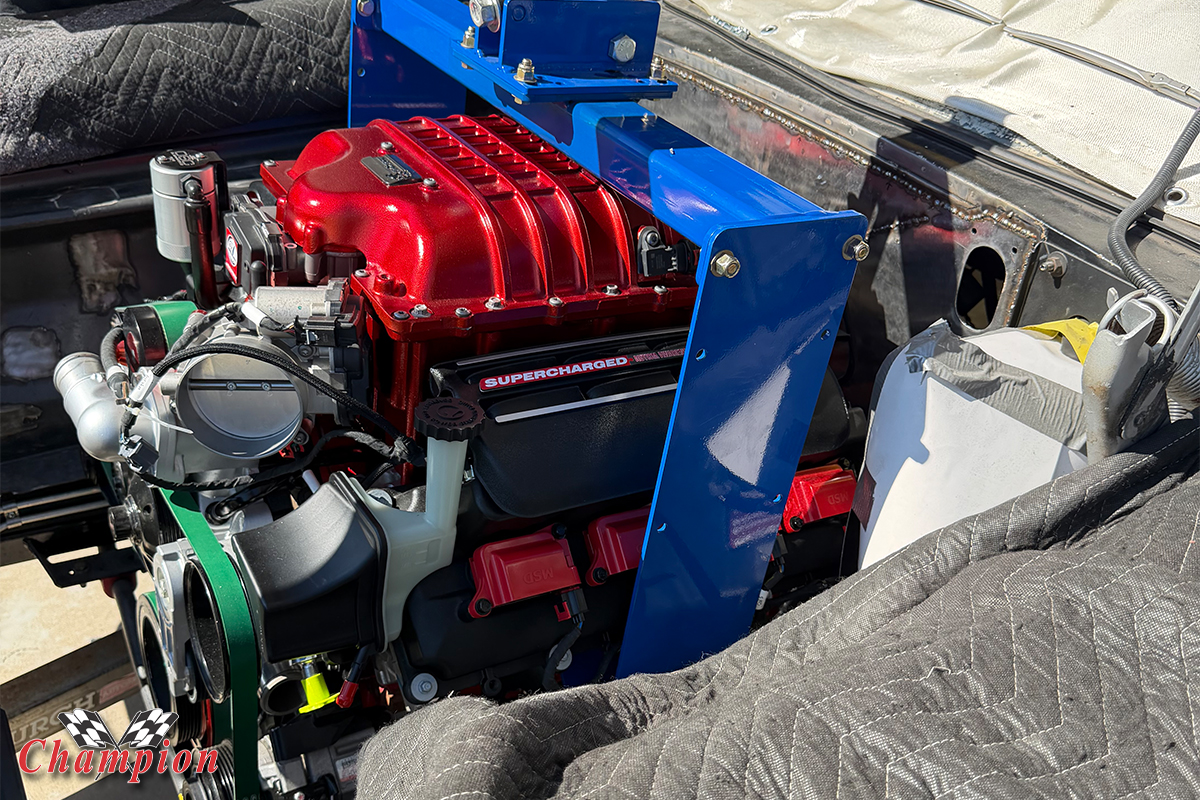
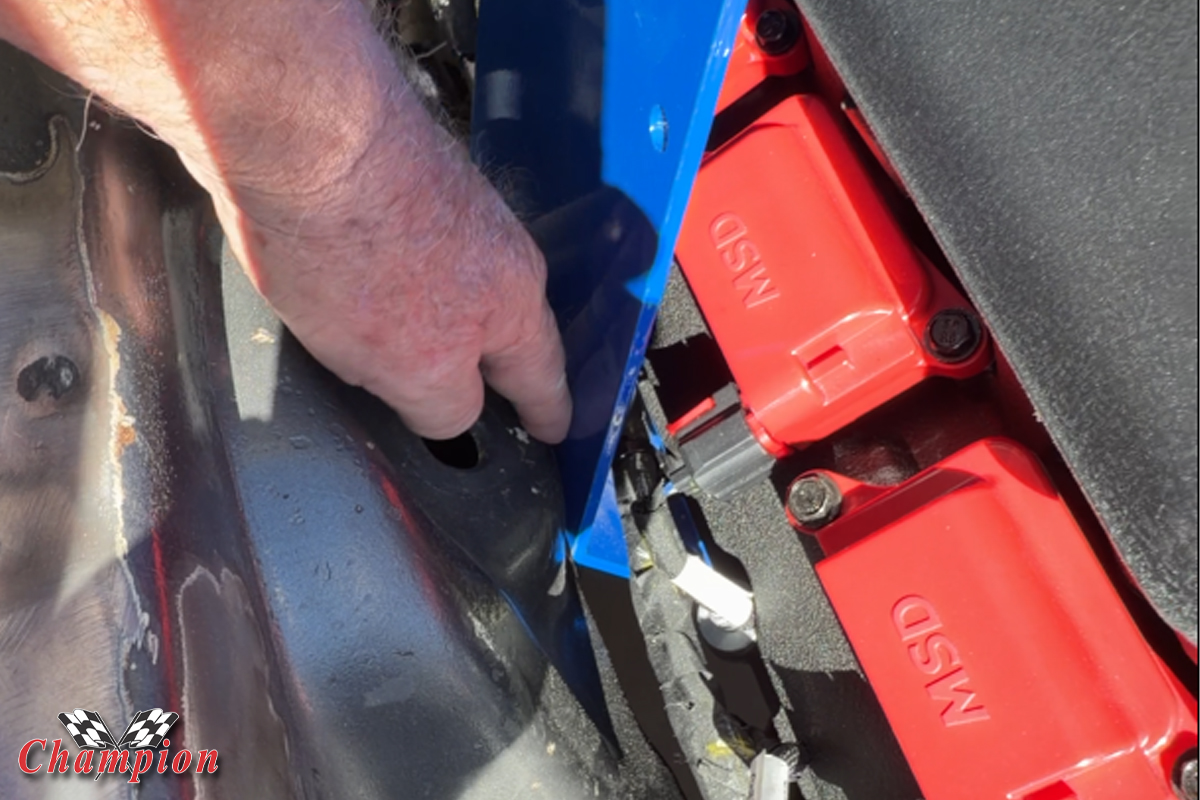
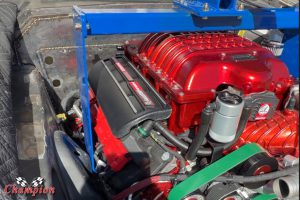
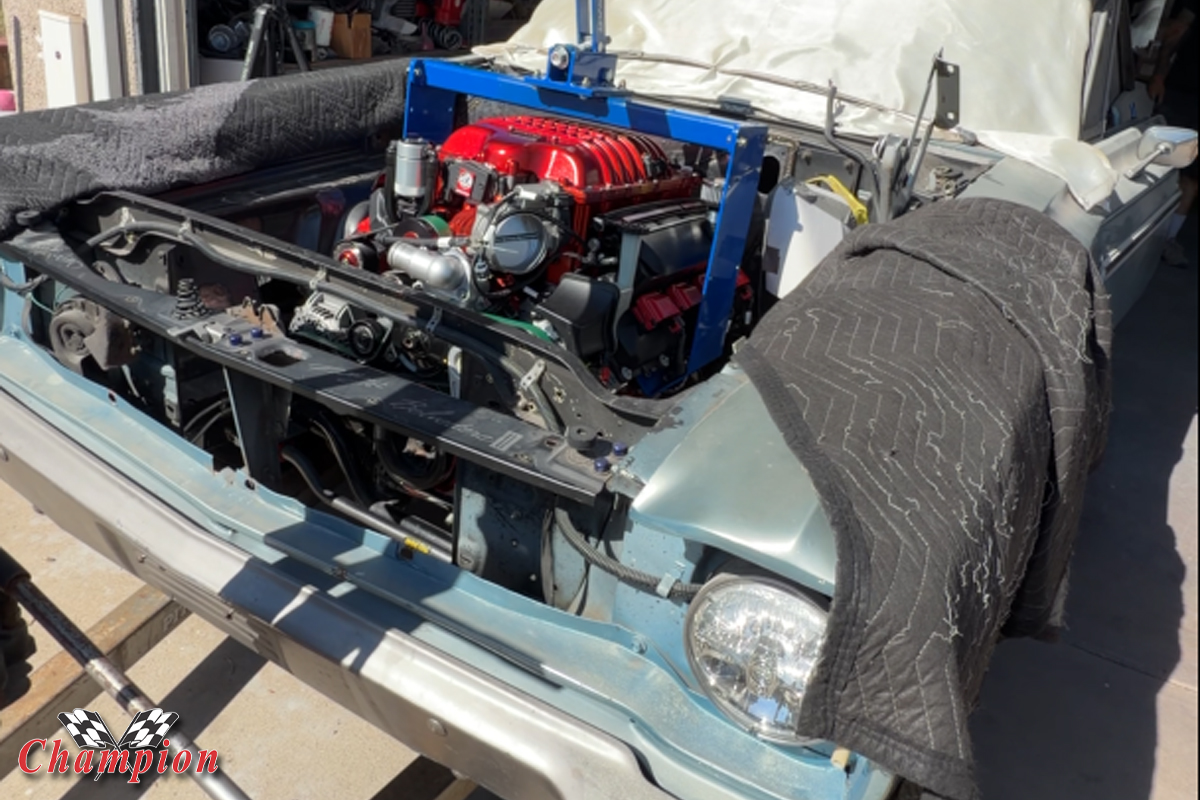
These lift adapters are a nice way to lower a fully dressed Hellcat engine into a classic car, and work for all Gen 3 Hemi swaps with adjustable mounting points for the crosssbar.
Once the engine was lowered into place, we noticed that the traditional offset mounting location typical on classic Mopars did its due diligence in providing plenty of room on the driver’s side, while squeezing every inch from the passenger’s side. Early Mopars had a huge power steering box, and that required a bit more room for the steering shaft, as well as clearance for the exhaust.
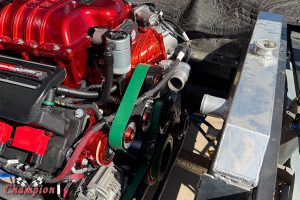
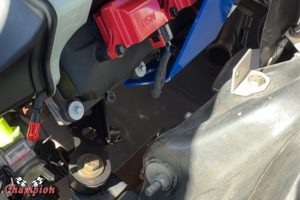
Even though we’ve converted to rack & pinion, the factory transmission tunnel still dictates that the engine location needs to be shifted towards the right side for clearance. The only way to avoid this shift is to build a complete new floor section and relocate the trans tunnel to the middle. That’s a lot of work for a couple of inches, so not many people go through that effort. As you can see in the second photo above, we had a very tight squeeze on the right side.
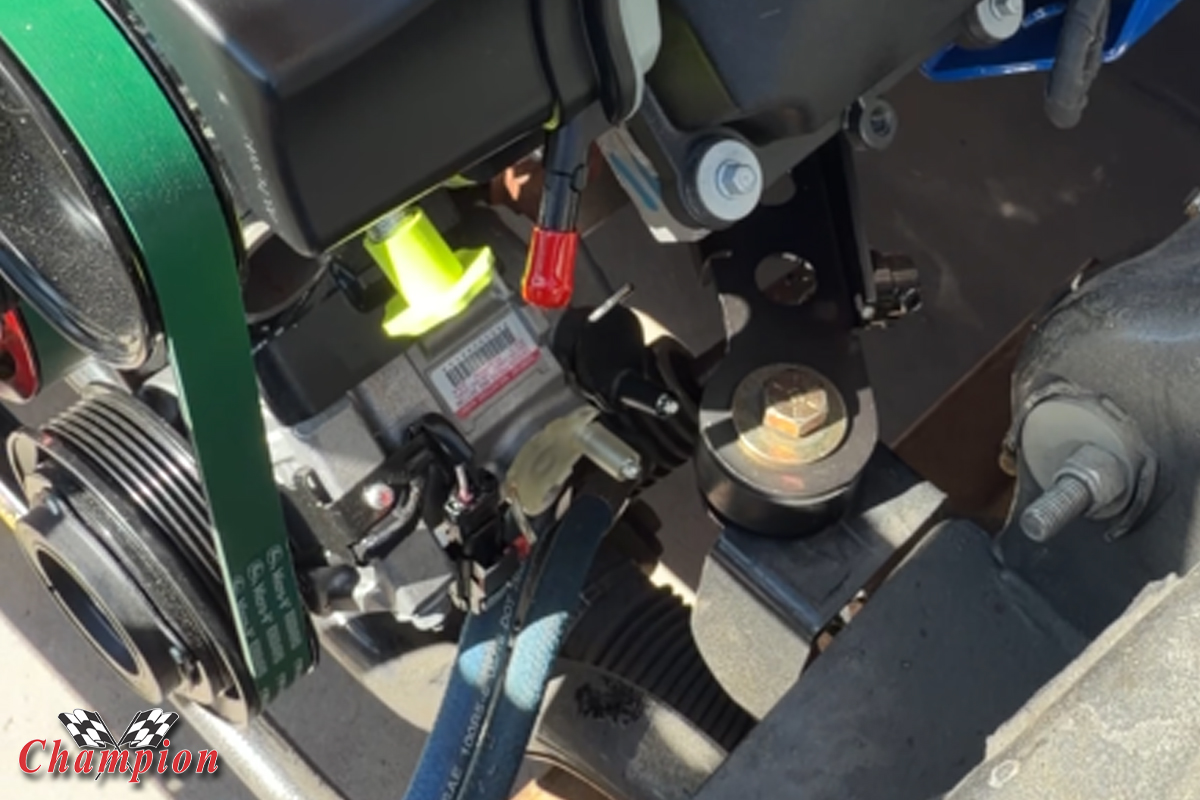
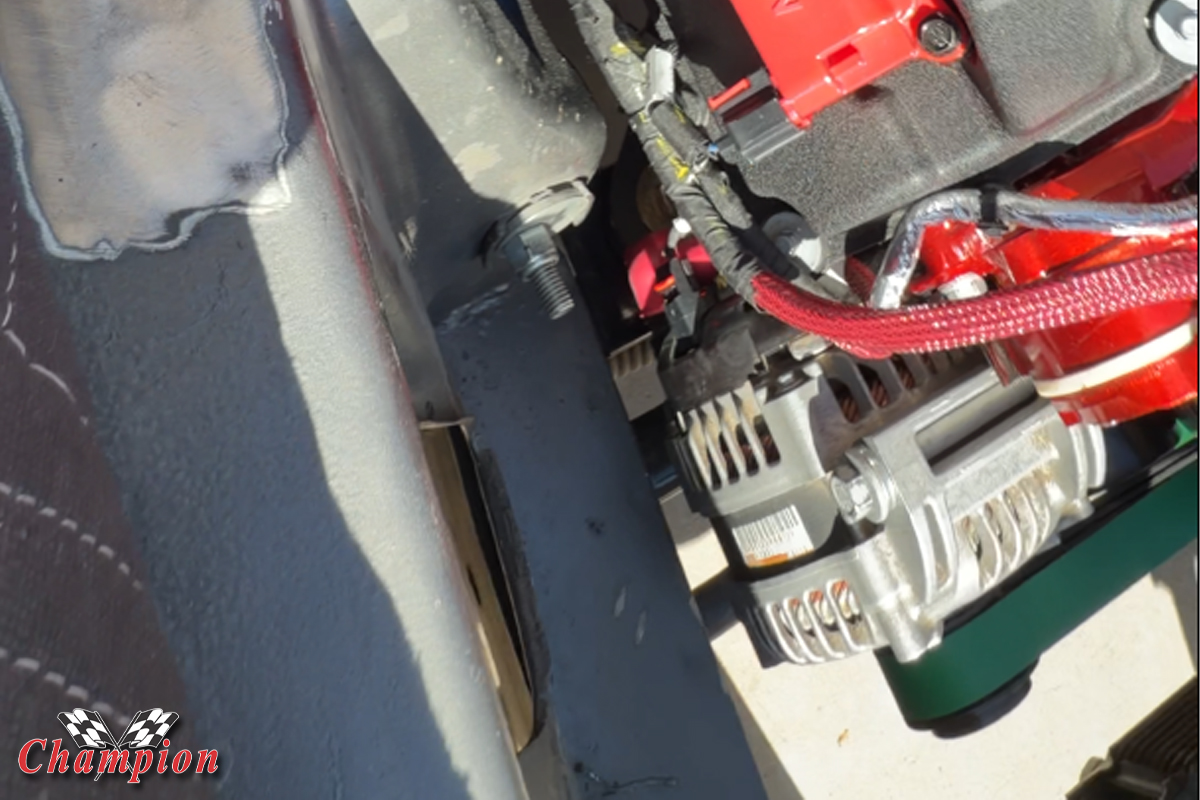
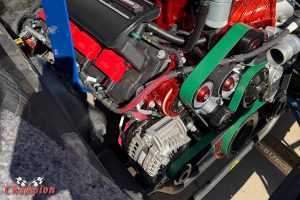
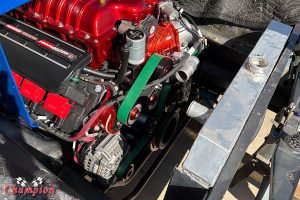
As suspected, the compressor had plenty of room, and the alternator cleared the frame rail as well. The bolts for the alternator might be a concern, some have taken the approach to notch the frame rail for additional clearance.
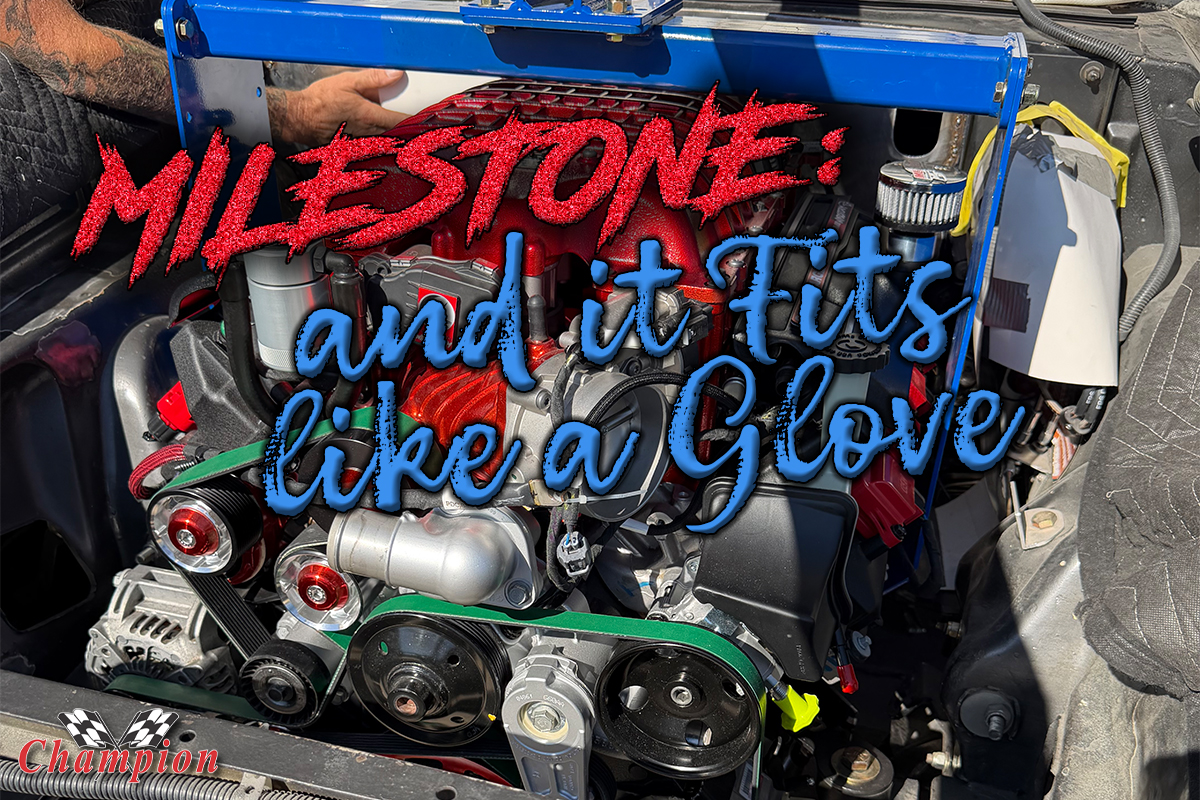
Knowing that the front accessory drive cleared the frame rails, having the engine in place meant relocating the PCM we has planned on mounting to the firewall. The large connectors made for a tight fit, and we decided to fabricate a mount on the right side fender apron. Even with the bulge removed from the firewall, it was still a tight fit, but smoothing out the firewall was a good decision, regardless.
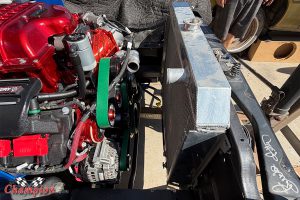
Then we looked at the front of the engine, and were amazed that we literally gained another two inches of real estate between the front of the engine and the core support. The Hellcat engine was actually shorter than the LA360 with a serpentine front drive kit installed. This is good news, because we’re not only adding a heat exchanger in front of the radiator, but we’ll be installing a condenser for our Vintage Air system that we’re installing.
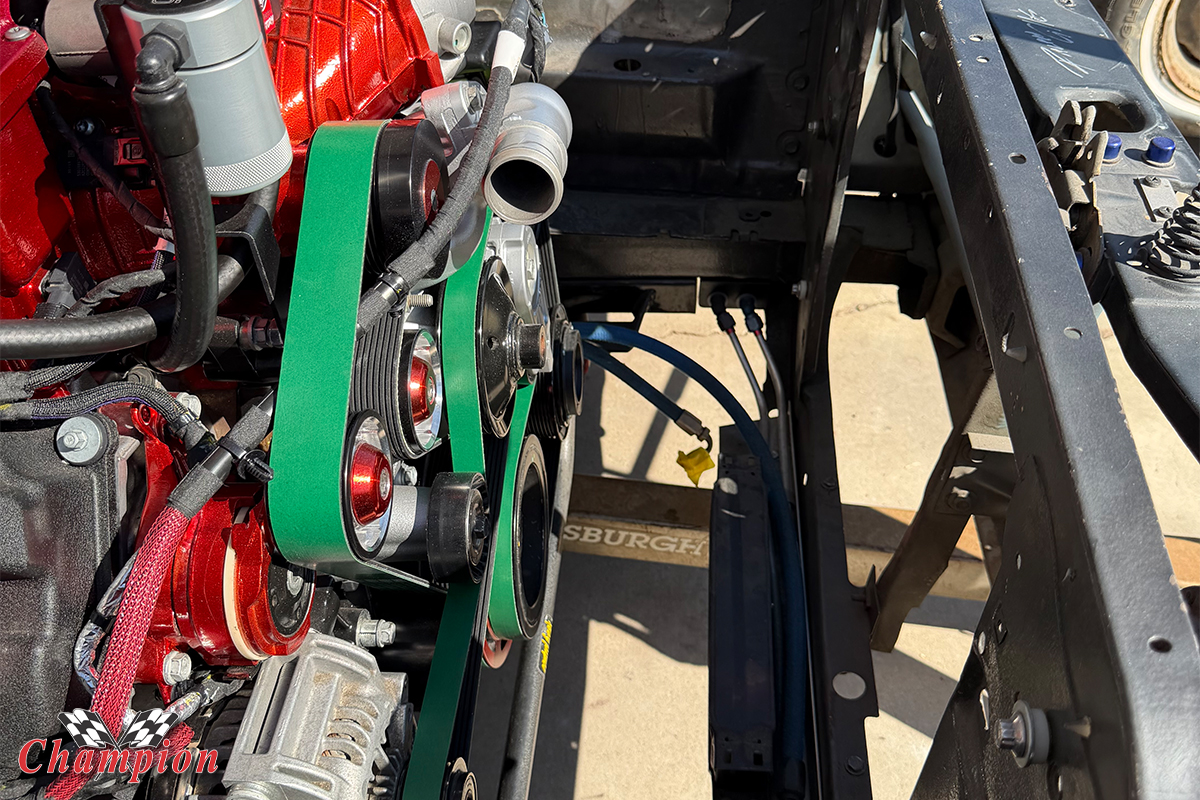
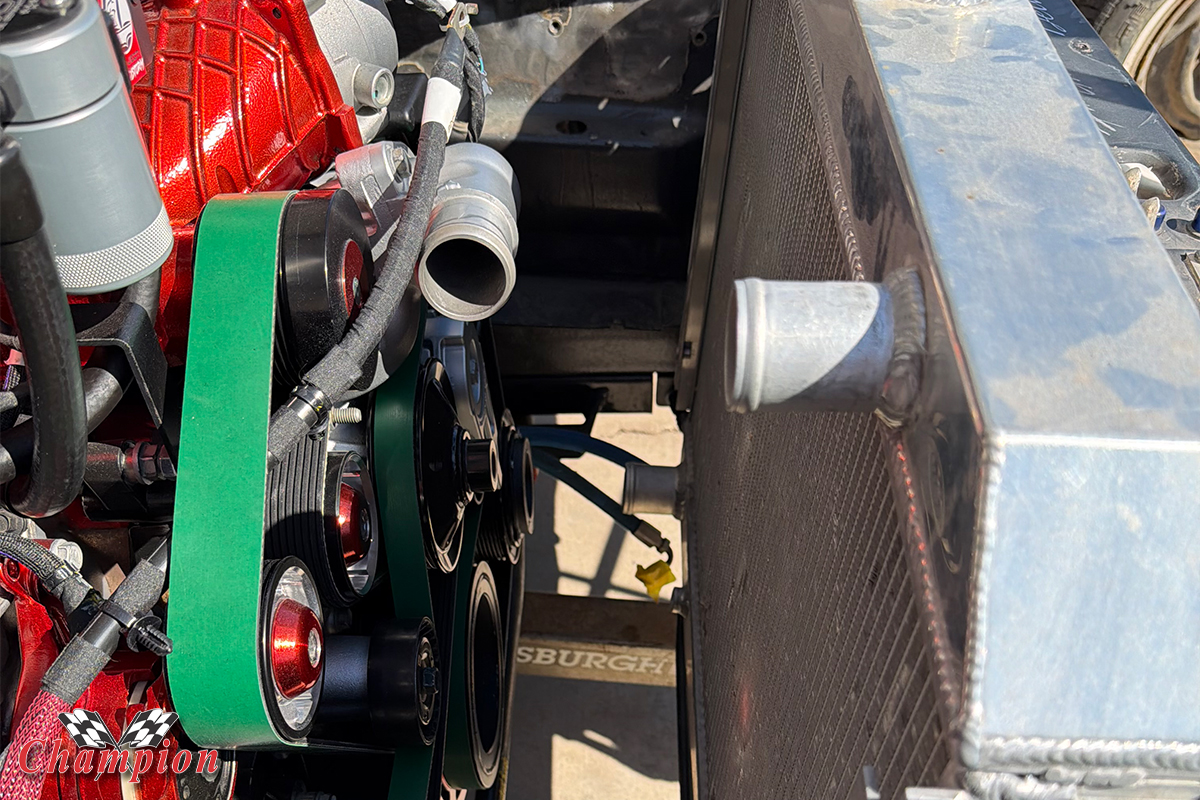
That additional room in front of the engine is a blessing. We’ll be running a 19″ brushless fan with it’s own cage, and that still allows us to move the radiator about 1.5″ closer to the engine to make room for the condenser and the heat exchanger.
Overall, this little exercise was worth the effort. It showed us where we have room, and where we don’t have room. It’s not unusual to make a plan, and later change it once you have the engine in place. It’s difficult to change those plans after you’ve already done the work to fabricate mounting tabs or locations, only to realize that you have to go back to the proverbial drawing board.
We’re sure that we will have to make some slight adjustments here and there, but the bulk of the work determining where we’ll mount some components is resolved by taking about an hour to lower the engine into place, and pulling it back out again. The firewall isn’t completed yet, because we needed to see where we’ll mount these components before final clean up and painting. We want to know before paintwork where we’ll be drilling holes and mounting brackets, harnesses, and modules.
Project Windstorm: Follow the Cat
Control Freak Suspension – The suspension that makes it possible
Getting Catty – Purchasing a Hellcat engine from a wrecked car
Cleaning the Cat – Removing what we don’t need, and cleaning it up
Test Fit Parts – The search for a proper starter
Dakota Digital Part 1 – Installing custom-made gauges
Dakota Digital Part 2 – Mounting the TFT displays
Removing Blower Pulley – Using the right tool, the right way
Metco Motorsports – A pulley set that looks killer
Earl’s Intercooler Manifold – When real estate is at a premium
MSD Coils – Getting the best spark we can get
Holley Oil Pan – Getting the right oil pan
FEAD the Hellcrate – Things you’ll need for the Redeye
Prepping for the Hellcat – Pulling the LA 408 and cleaning up
Creature Comforts – Mocking Up for A/C
Crate Harness 1 – Installing the engine harness
Engine Test Fit – This article